#1.はじめに
「Openshift VirtulizationでIBM FlashSystem Storageを使用する」という記事で、3つの方法があることを紹介しましたが、この記事では、IBM Fusion Access for SANについて、導入方法等をご紹介します。
#2. 導入手順
(1)前提条件
・サーバー: OpenShiftのノードとして3台以上必要です。
・ストレージ:ボリュームを作成し、対象のノードにマッピング済みであること。
・Openshiftクラスターの内部イメージレジストリを構成済みであること。構成されていないと導入に失敗します。
(2)導入手順(概要)
-
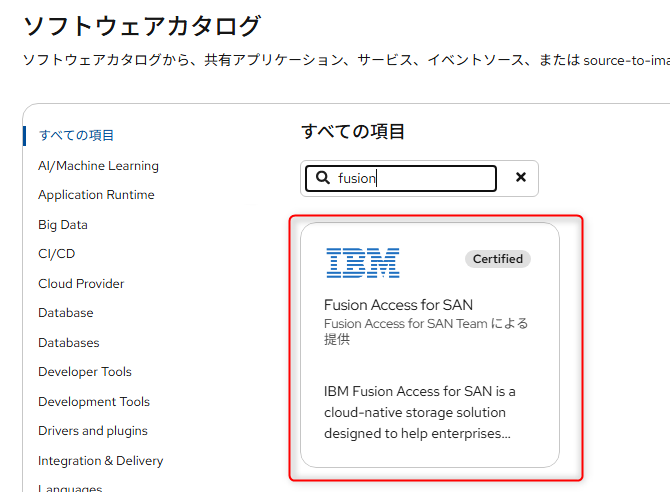
Operatorの導入
Operator Catalogから「Fusion Access for SAN」を選択して導入してください。
-
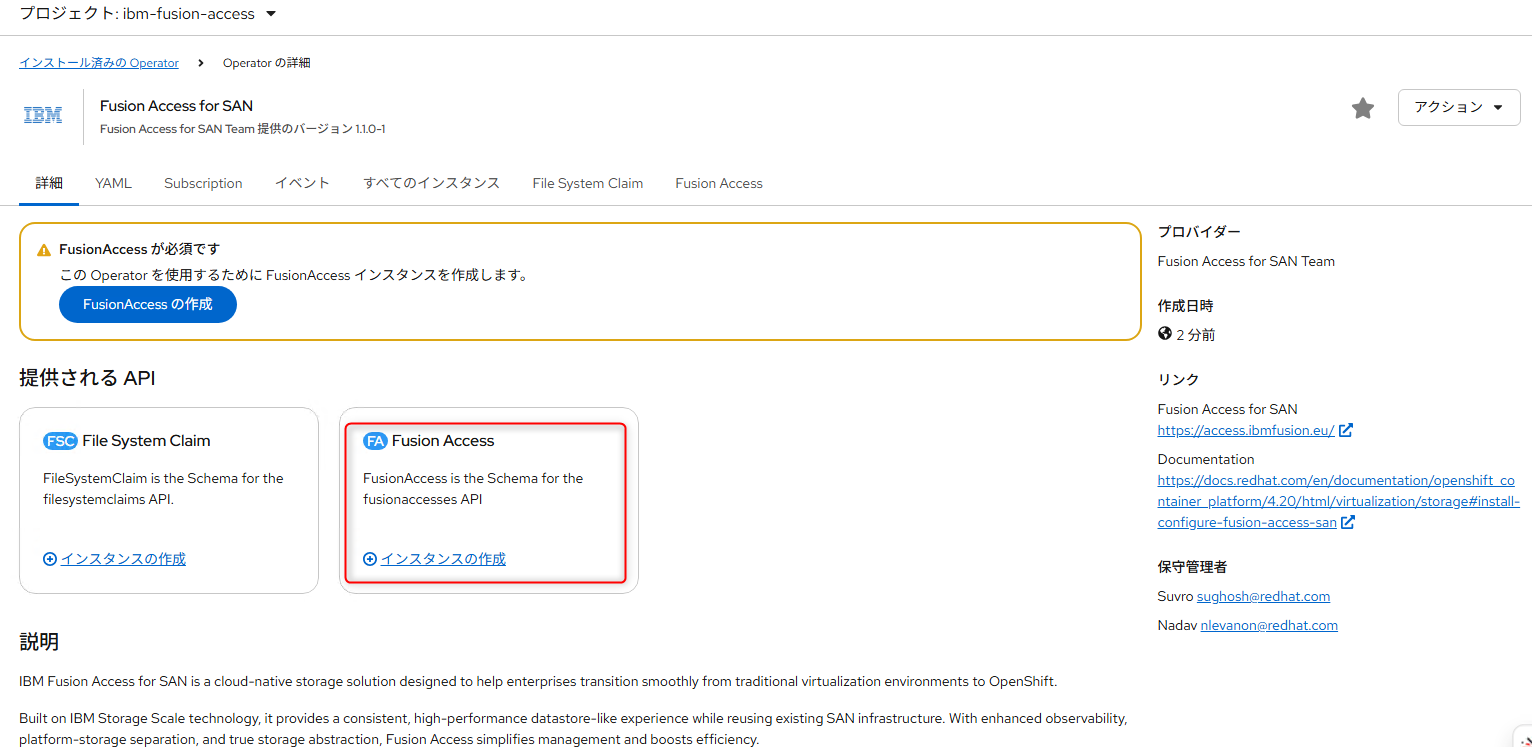
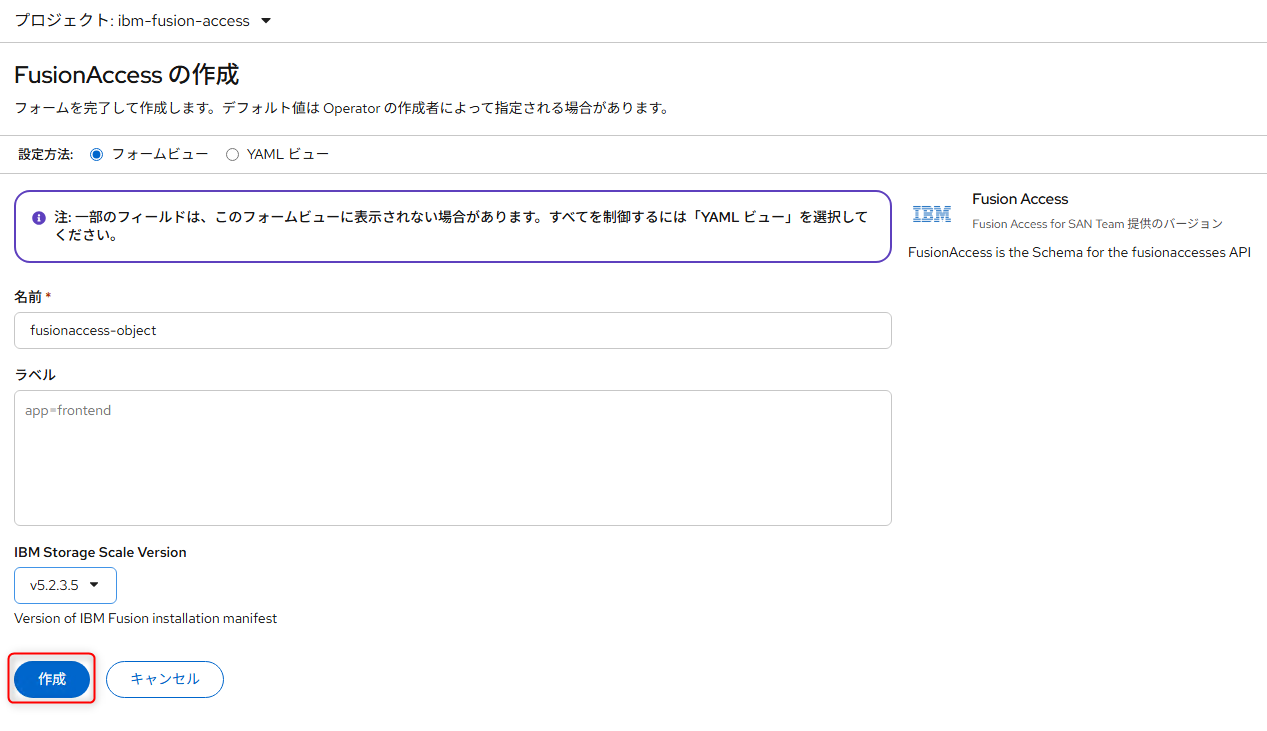
Fusion Access の作成
インストール済みのOperatorの画面から、「Fusion Access」のインスタンスの作成をしてください。
-
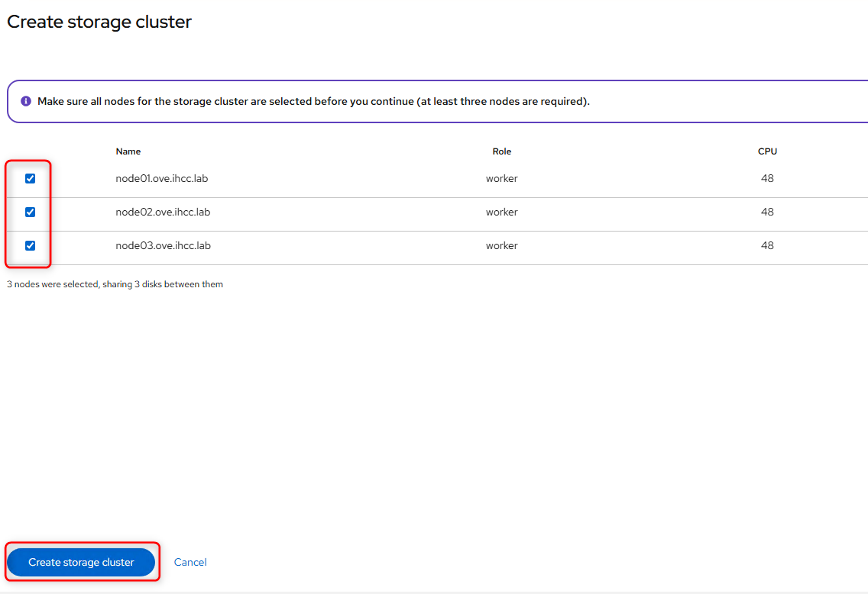
Storage Clusterの作成
Fusion Access for SANの画面から「Create Storage Cluster」をクリックします。

対象のノードにチェックをつけ、「Create Storage Cluster」をクリックします。
-
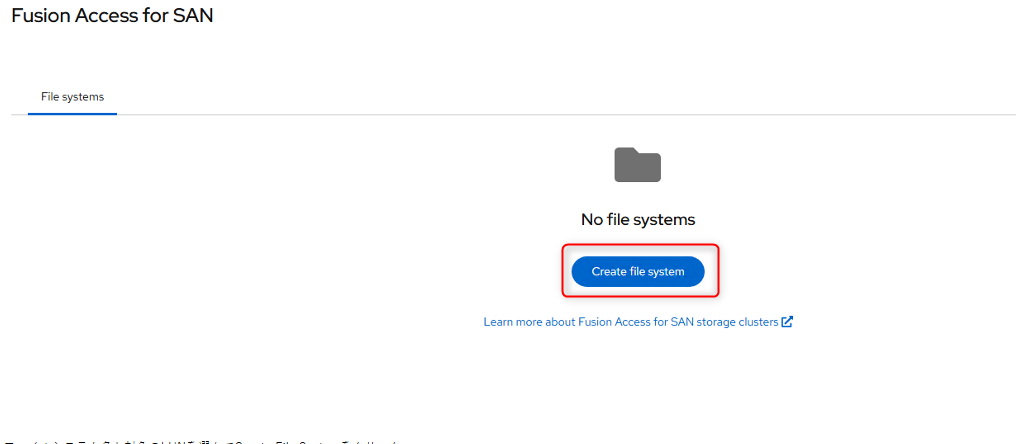
Filesystemの作成
Fusion Access for SANの画面から「Create file system」をクリックします。
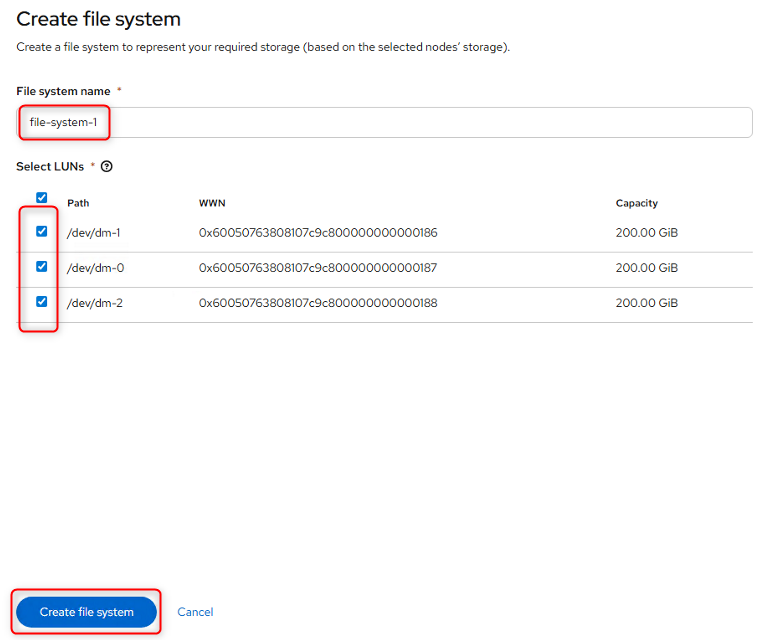
File system nameに任意の名前を付け、対象のディスクにチェックをし、「Create file system」をクリックします。
-
VolumeSnapshotClassの作成
下記のようなyamlを元に、VolumeSnapshotClassを作成します。
apiVersion: snapshot.storage.k8s.io/v1
kind: VolumeSnapshotClass
metadata:
  name: ibm-spectrum-scale-snapshot
  labels:
    velero.io/csi-volumesnapshot-class: "true"
driver: spectrumscale.csi.ibm.com
deletionPolicy: Retain
#3. 仮想マシンでの使用方法
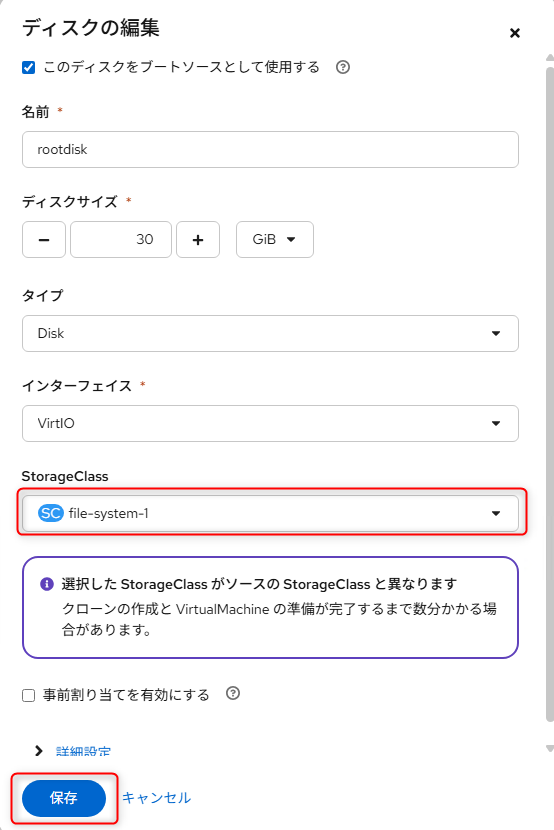
仮想マシンのカスタマイズ画面で、「Disks」タブを選択し、起動ディスクの右側のメニューアイコンから、「編集」を選択します。
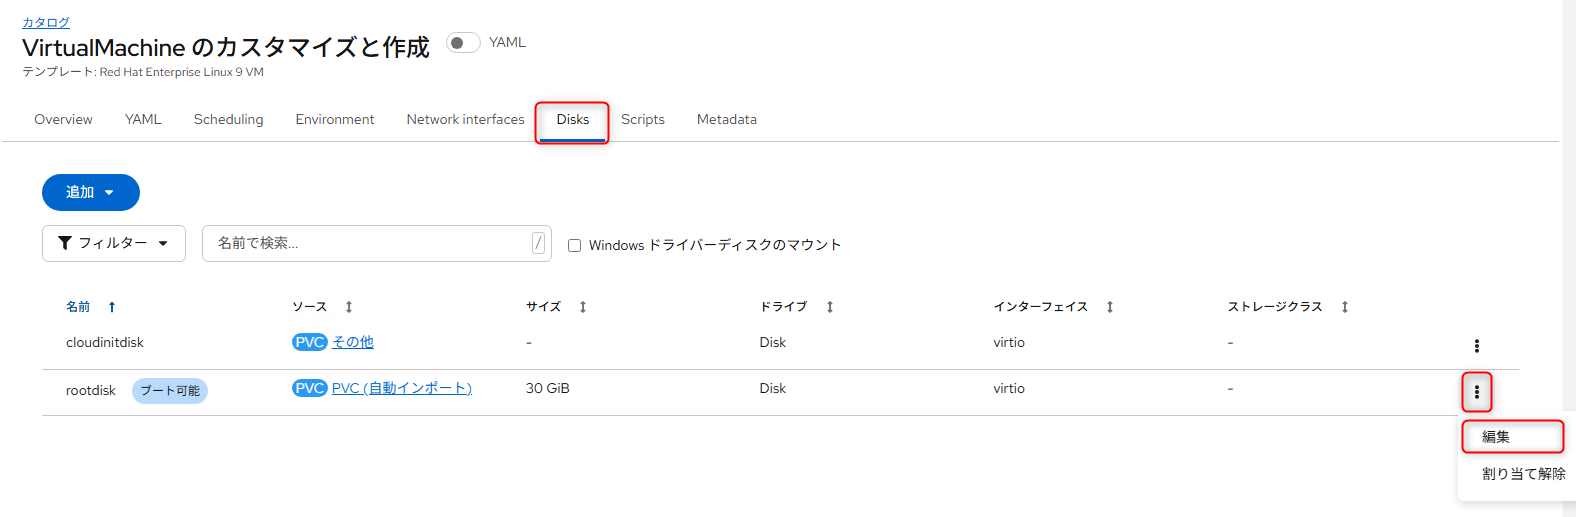
StorageClassに、Filesystemで作成したものを指定し、保存をクリックします。