Spring MVCのJava Configによる設定
Spring MVCの基本的なWEBアプリの設定方法を備忘録として記載していきます。
この設定をすればHello World程度のアプリが作成できると思います。
私自身、社内研修でSpring Bootではアプリを作成した経験があるのですが、
Spring MVCで一から設定をしてアプリを作ることがなかったので作成してみました。
業務では既に設定済で動く状態のものに触れることが大半だったので、今回は非常に良い機会になりました。
さて、xmlベースの設定も可能ですが、今回はJavaベースで設定を行っていきます。
まず基盤となる設定クラスの一例をいくつか紹介していきます。
WebAppInitializer
public class WebAppInitializer extends AbstractAnnotationConfigDispatcherServletInitializer {


	@Override
    protected String[] getServletMappings() {
        return new String[]{"/"};
    }

    @Override
    protected Class<?>[] getRootConfigClasses() {
        return new Class<?>[] {ApplicationConfig.class};
    }

    @Override
    protected Class<?>[] getServletConfigClasses() {
        return null;
    }

    @Override
	protected FrameworkServlet createDispatcherServlet(WebApplicationContext servletAppContext) {
		return new DispatcherServlet(servletAppContext);
	}

}
このあと作成する設定クラス(ApplicationConfig)と素のままのDispatcherServletを登録しています。
独自実装を加えている場合はこちらの設定を変更することで設定が可能です。
ApplicationConfig
@Configuration
@EnableAspectJAutoProxy(proxyTargetClass = true)
@ComponentScan(basePackageClasses = Application.class)
class ApplicationConfig {

	@Bean
	public static PropertySourcesPlaceholderConfigurer propertySourcesPlaceholderConfigurer() {
		return new PropertySourcesPlaceholderConfigurer();
	}

}
主にコンポーネントスキャンの対象となるアプリケーションインターフェースの設定を行っています。
basePackageClasses属性に設定しているApplication.classは、スキャン対象となるパッケージにインターフェースとして作成してください。
また、@EnableAspectJAutoProxyはAspectJを使用するために必要となります。
WebMvcConfig
@Configuration
class WebMvcConfig extends WebMvcConfigurationSupport {

	private static final String CHARACTER_ENCODING = "UTF-8";

	private static final String VIEW_LOCATION = "/WEB-INF/view/";

	private static final String[] PROPERTIES_LIST = { "classpath:/MessageResources" };

	@Bean(name = "messageSource")
	public MessageSource messageSource() {
		ReloadableResourceBundleMessageSource messageSource = new ReloadableResourceBundleMessageSource();
		messageSource.setBasenames(PROPERTIES_LIST);
		messageSource.setCacheSeconds(5);
		messageSource.setDefaultEncoding(CHARACTER_ENCODING);
		return messageSource;
	}

	@Bean(name = "messageResources")
	public MessageResources messageResources() {
		return new MessageResources();
	}

	@Override
	protected void configureViewResolvers(ViewResolverRegistry registry) {
		registry.jsp().prefix(VIEW_LOCATION).suffix("");
	}

}
ここでは主にメッセージリソース、ViewResolverの設定を行っています。
設定値は適宜変更してください。
jspを使用している場合は上記のような設定形式で問題ないのですが、Thymeleafなどのテンプレートエンジンを使用する場合は設定を変更する必要があります。
ファイルアップロード関連(MultipartResolver)やtilesの設定もここで可能ですが、今回そこまでマストではないので割愛します。
(別記事で書こうかな)
Java側での主な設定としては以上になります。
あとは気持ち程度にweb.xmlを書いてあげます。
web.xml
<?xml version="1.0" encoding="UTF-8"?>
<web-app xmlns:xsi="http://www.w3.org/2001/XMLSchema-instance"
	xmlns="http://java.sun.com/xml/ns/javaee"
	xsi:schemaLocation="http://java.sun.com/xml/ns/javaee http://java.sun.com/xml/ns/javaee/web-app_2_5.xsd"
	version="2.5">
	<display-name>Spring-MVC</display-name>

	<error-page>
		<error-code>404</error-code>
		<location>/WEB-INF/view/error/404.jsp</location>
	</error-page>
	<error-page>
		<error-code>405</error-code>
		<location>/WEB-INF/view/error/405.jsp</location>
	</error-page>
	<error-page>
		<error-code>500</error-code>
		<location>/WEB-INF/view/error/500.jsp</location>
	</error-page>

</web-app>
エラーページの設定のみでシンプルですね。
filterやlistenerの設定、taglibのカスタイマイズなど必要に応じてこちらに追記していけば良いと思います。
(filter・listenerに関してはJava Configでも設定可能)
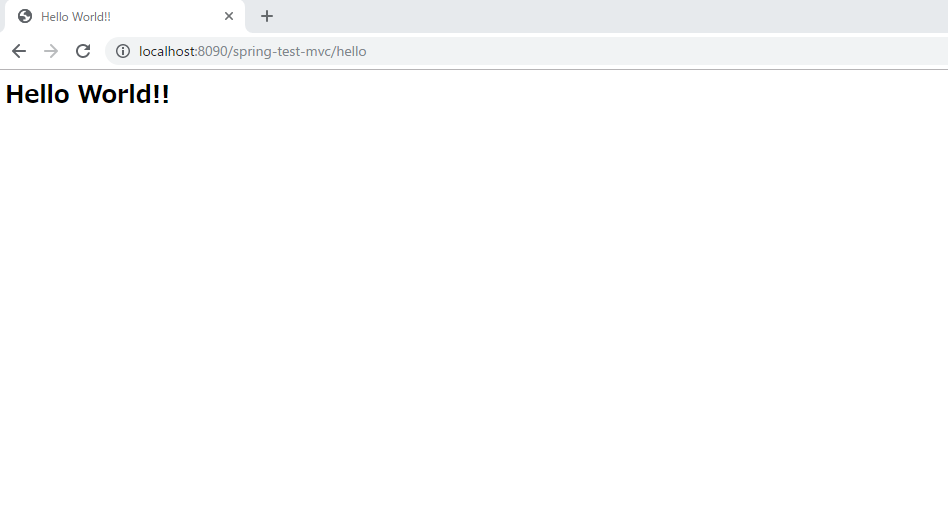
設定は以上であとは簡単なController、jspを実装すればHello Worldができます。
めでたしめでたし。
Spring MVCでアプリ作成をする際などに参考になれば幸いです。
おしまい。
