はじめに
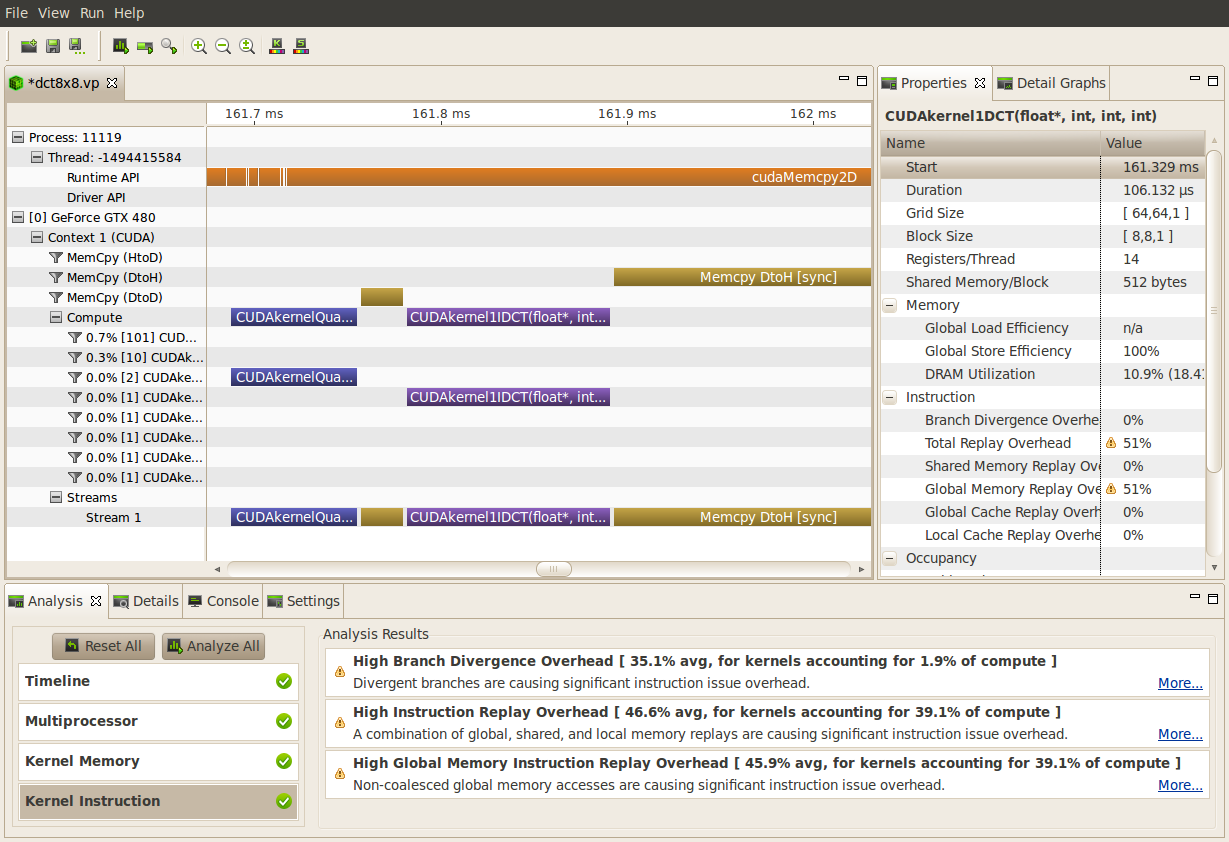
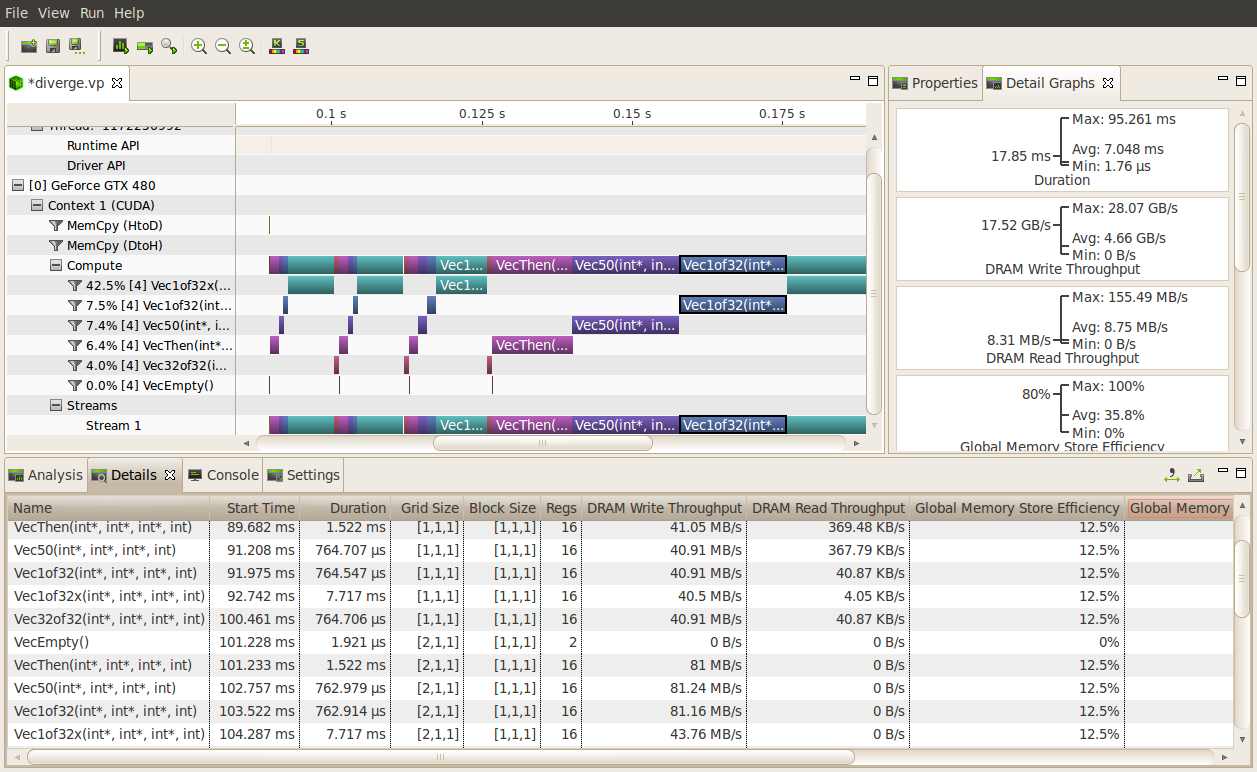
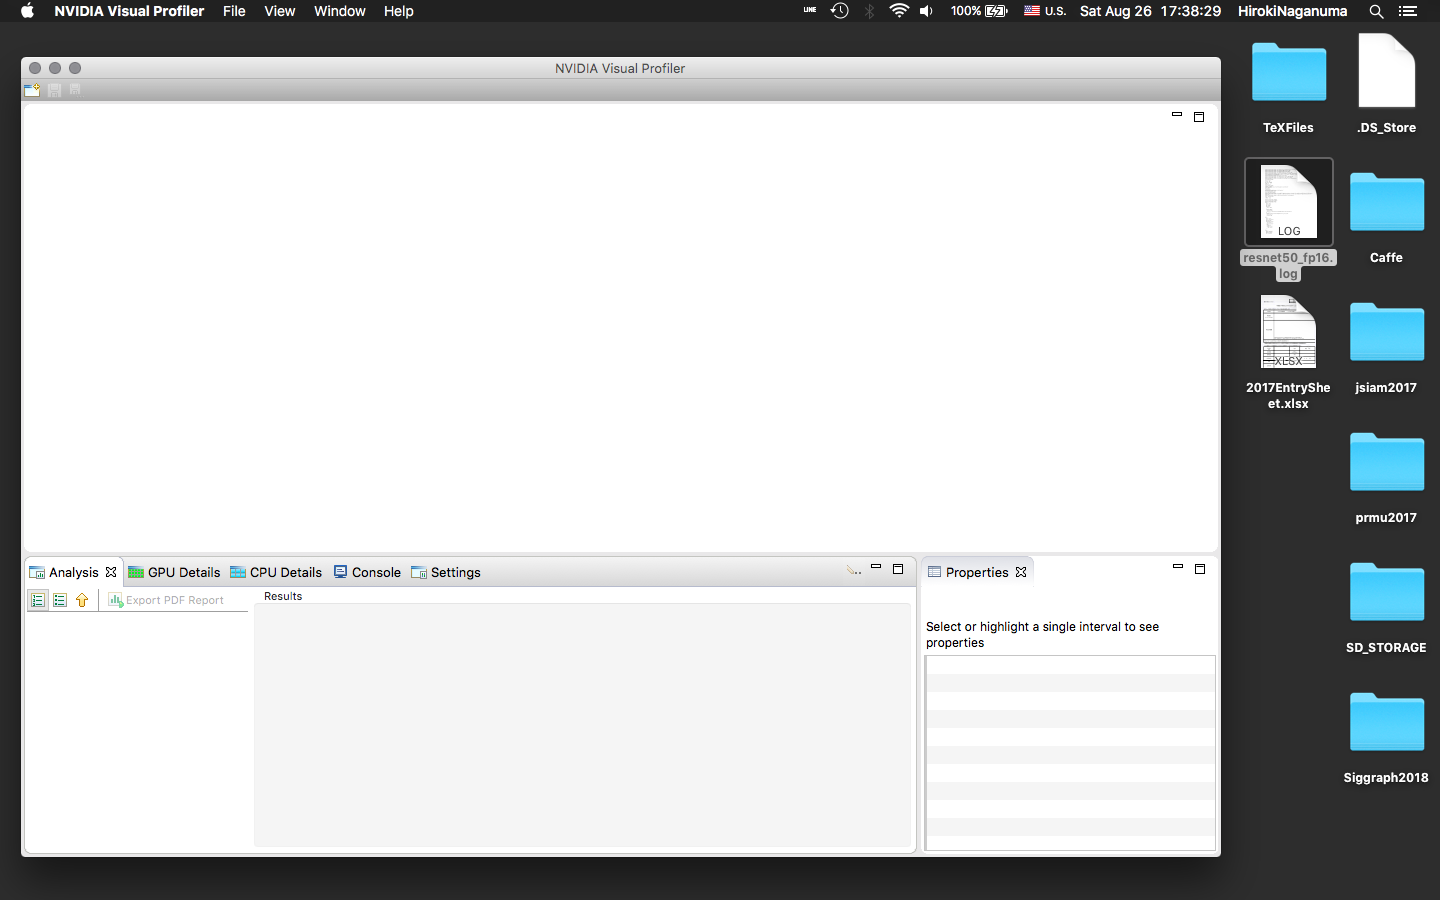
NVIDIA Visual Profilerという、CUDAに関する、描画が少しリッチなProfilerがあります。
こんな感じです。
ボトルネックを解析したり、Optimizationしたりするのに有効です。
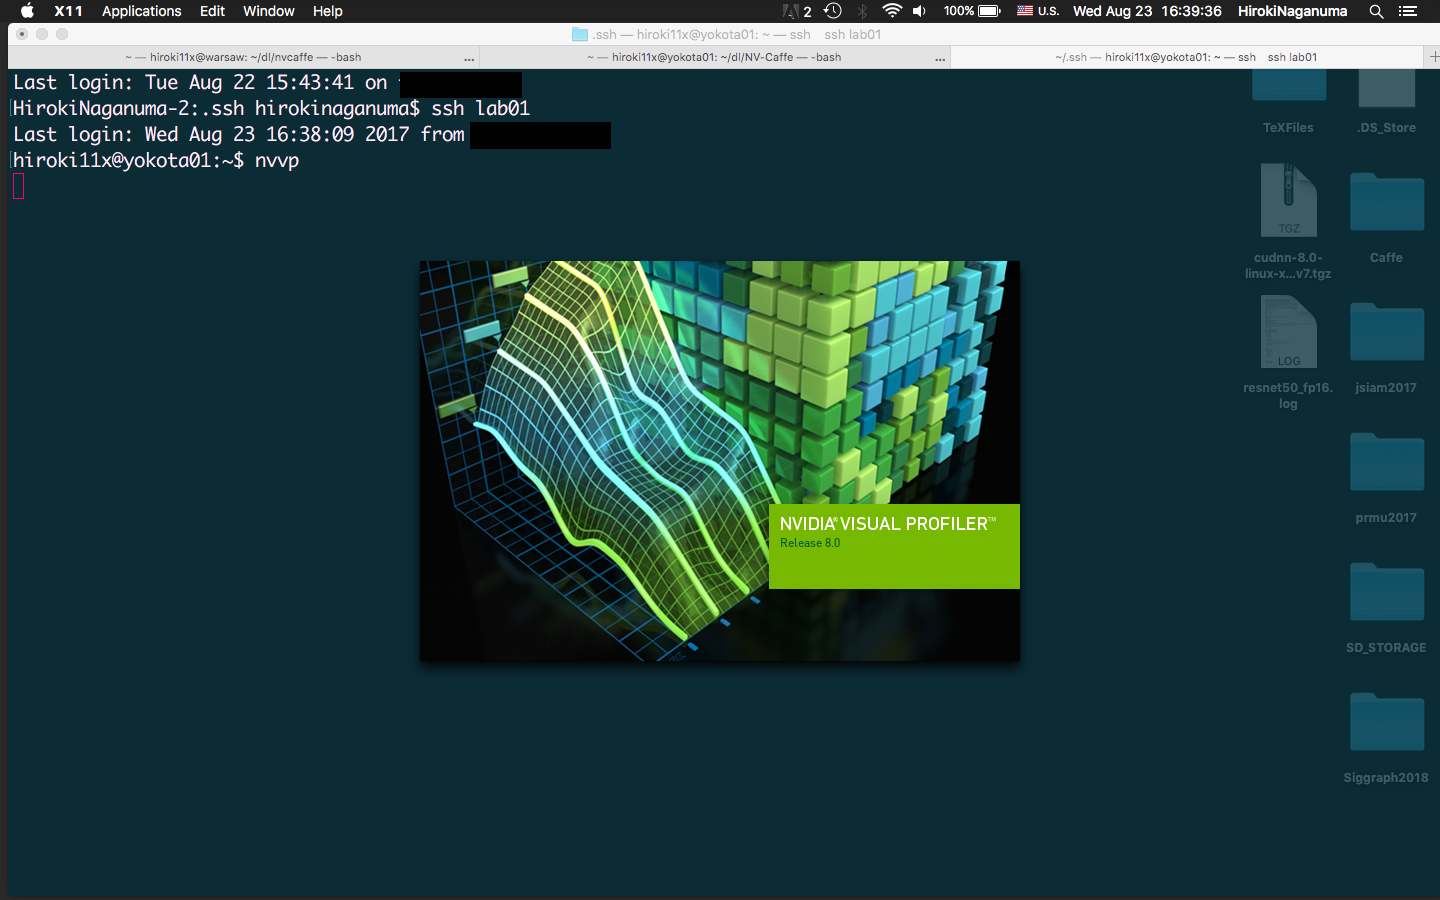
リモートマシンでInstallしておいて nvvp とすると起動して、以下のようにターミナル端末からX11とかで起動することもできますが
動作が重くなりがちなので、 nvprof でprofilingだけリモートマシンで行なって、 scp でローカルマシンに結果を飛ばして、
ローカルの NVIDIA Visual Profilerを使う という一連の流れを紹介したいと思います。
(なお、リモートマシンは nvprofが使えることを前提としてます)
公式のドキュメントはここにあります。(英語)
http://docs.nvidia.com/cuda/profiler-users-guide/index.html#visual
http://cs.colby.edu/courses/S14/cs336/online_materials/CUDA_Profiler_Users_Guide.pdf
http://www.sie.es/wp-content/uploads/2015/12/cuda-profiling-tools.pdf
http://people.maths.ox.ac.uk/gilesm/cuda/lecs/NV_Profiling_lowres.pdf
こちらも参考になりました。
http://topsecret.hpc.co.jp/wiki/index.php/CUDA_5%E3%81%AE%E6%96%B0%E6%A9%9F%E8%83%BD(4):_nvprof%E3%83%97%E3%83%AD%E3%83%95%E3%82%A1%E3%82%A4%E3%83%A9
ローカルマシンのセットアップ
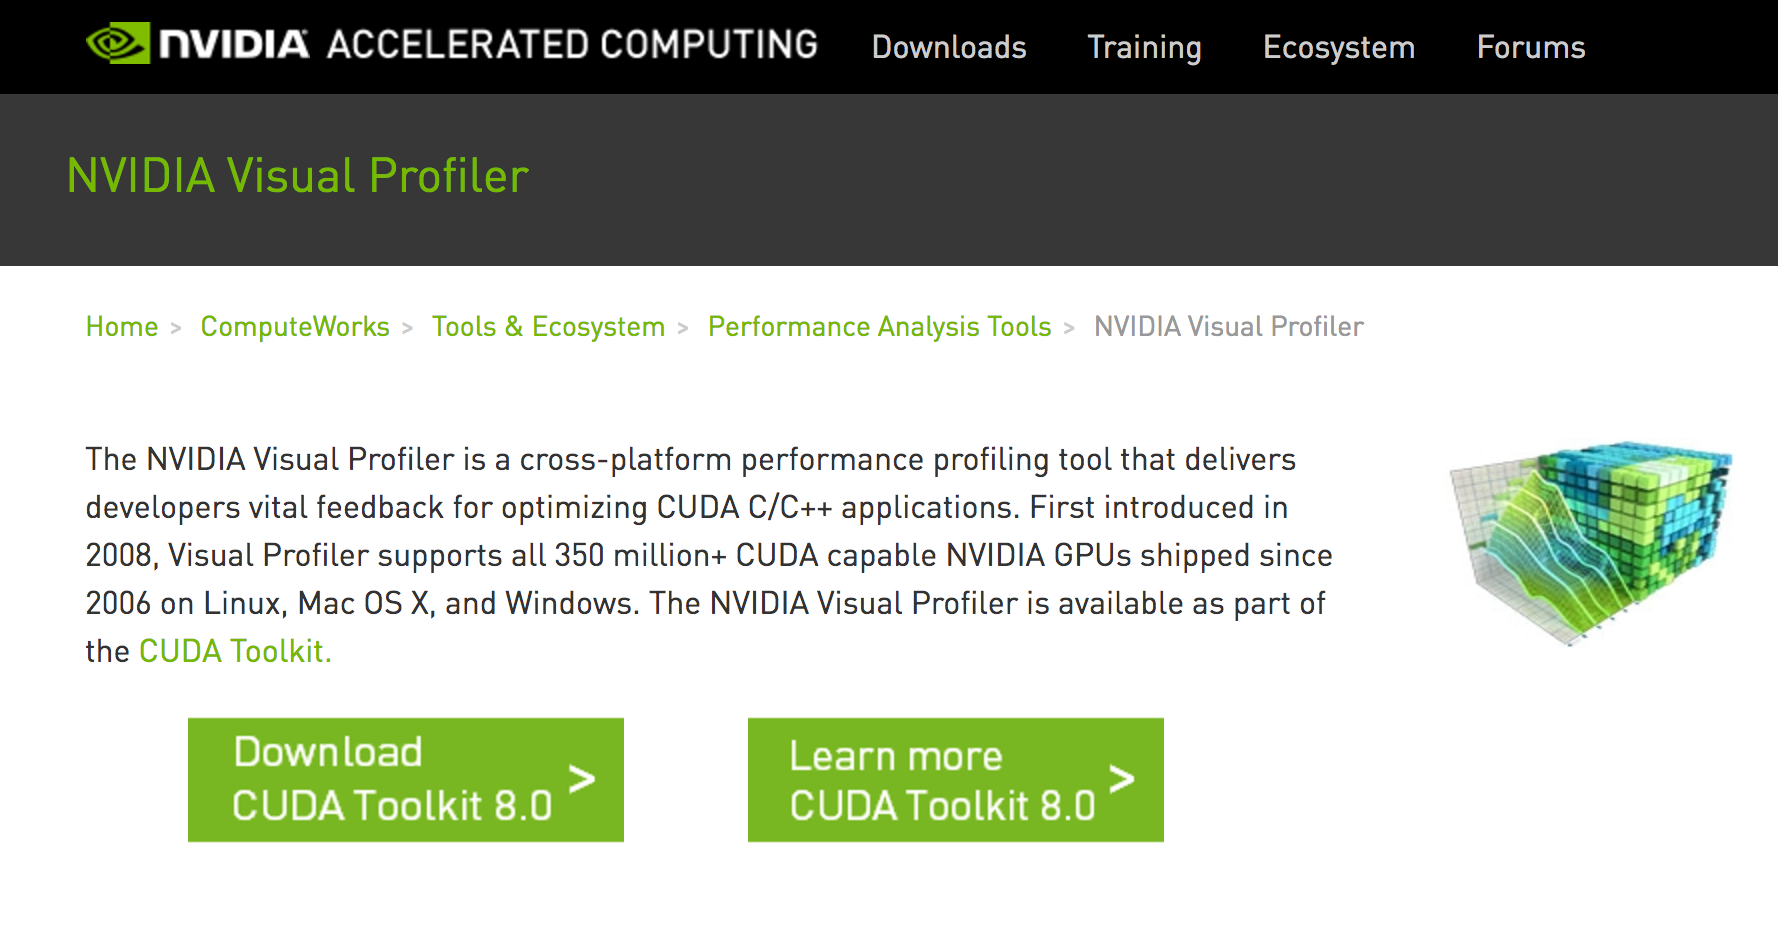
まずはここからローカルマシンにダウンロード & インストール
https://developer.nvidia.com/nvidia-visual-profiler
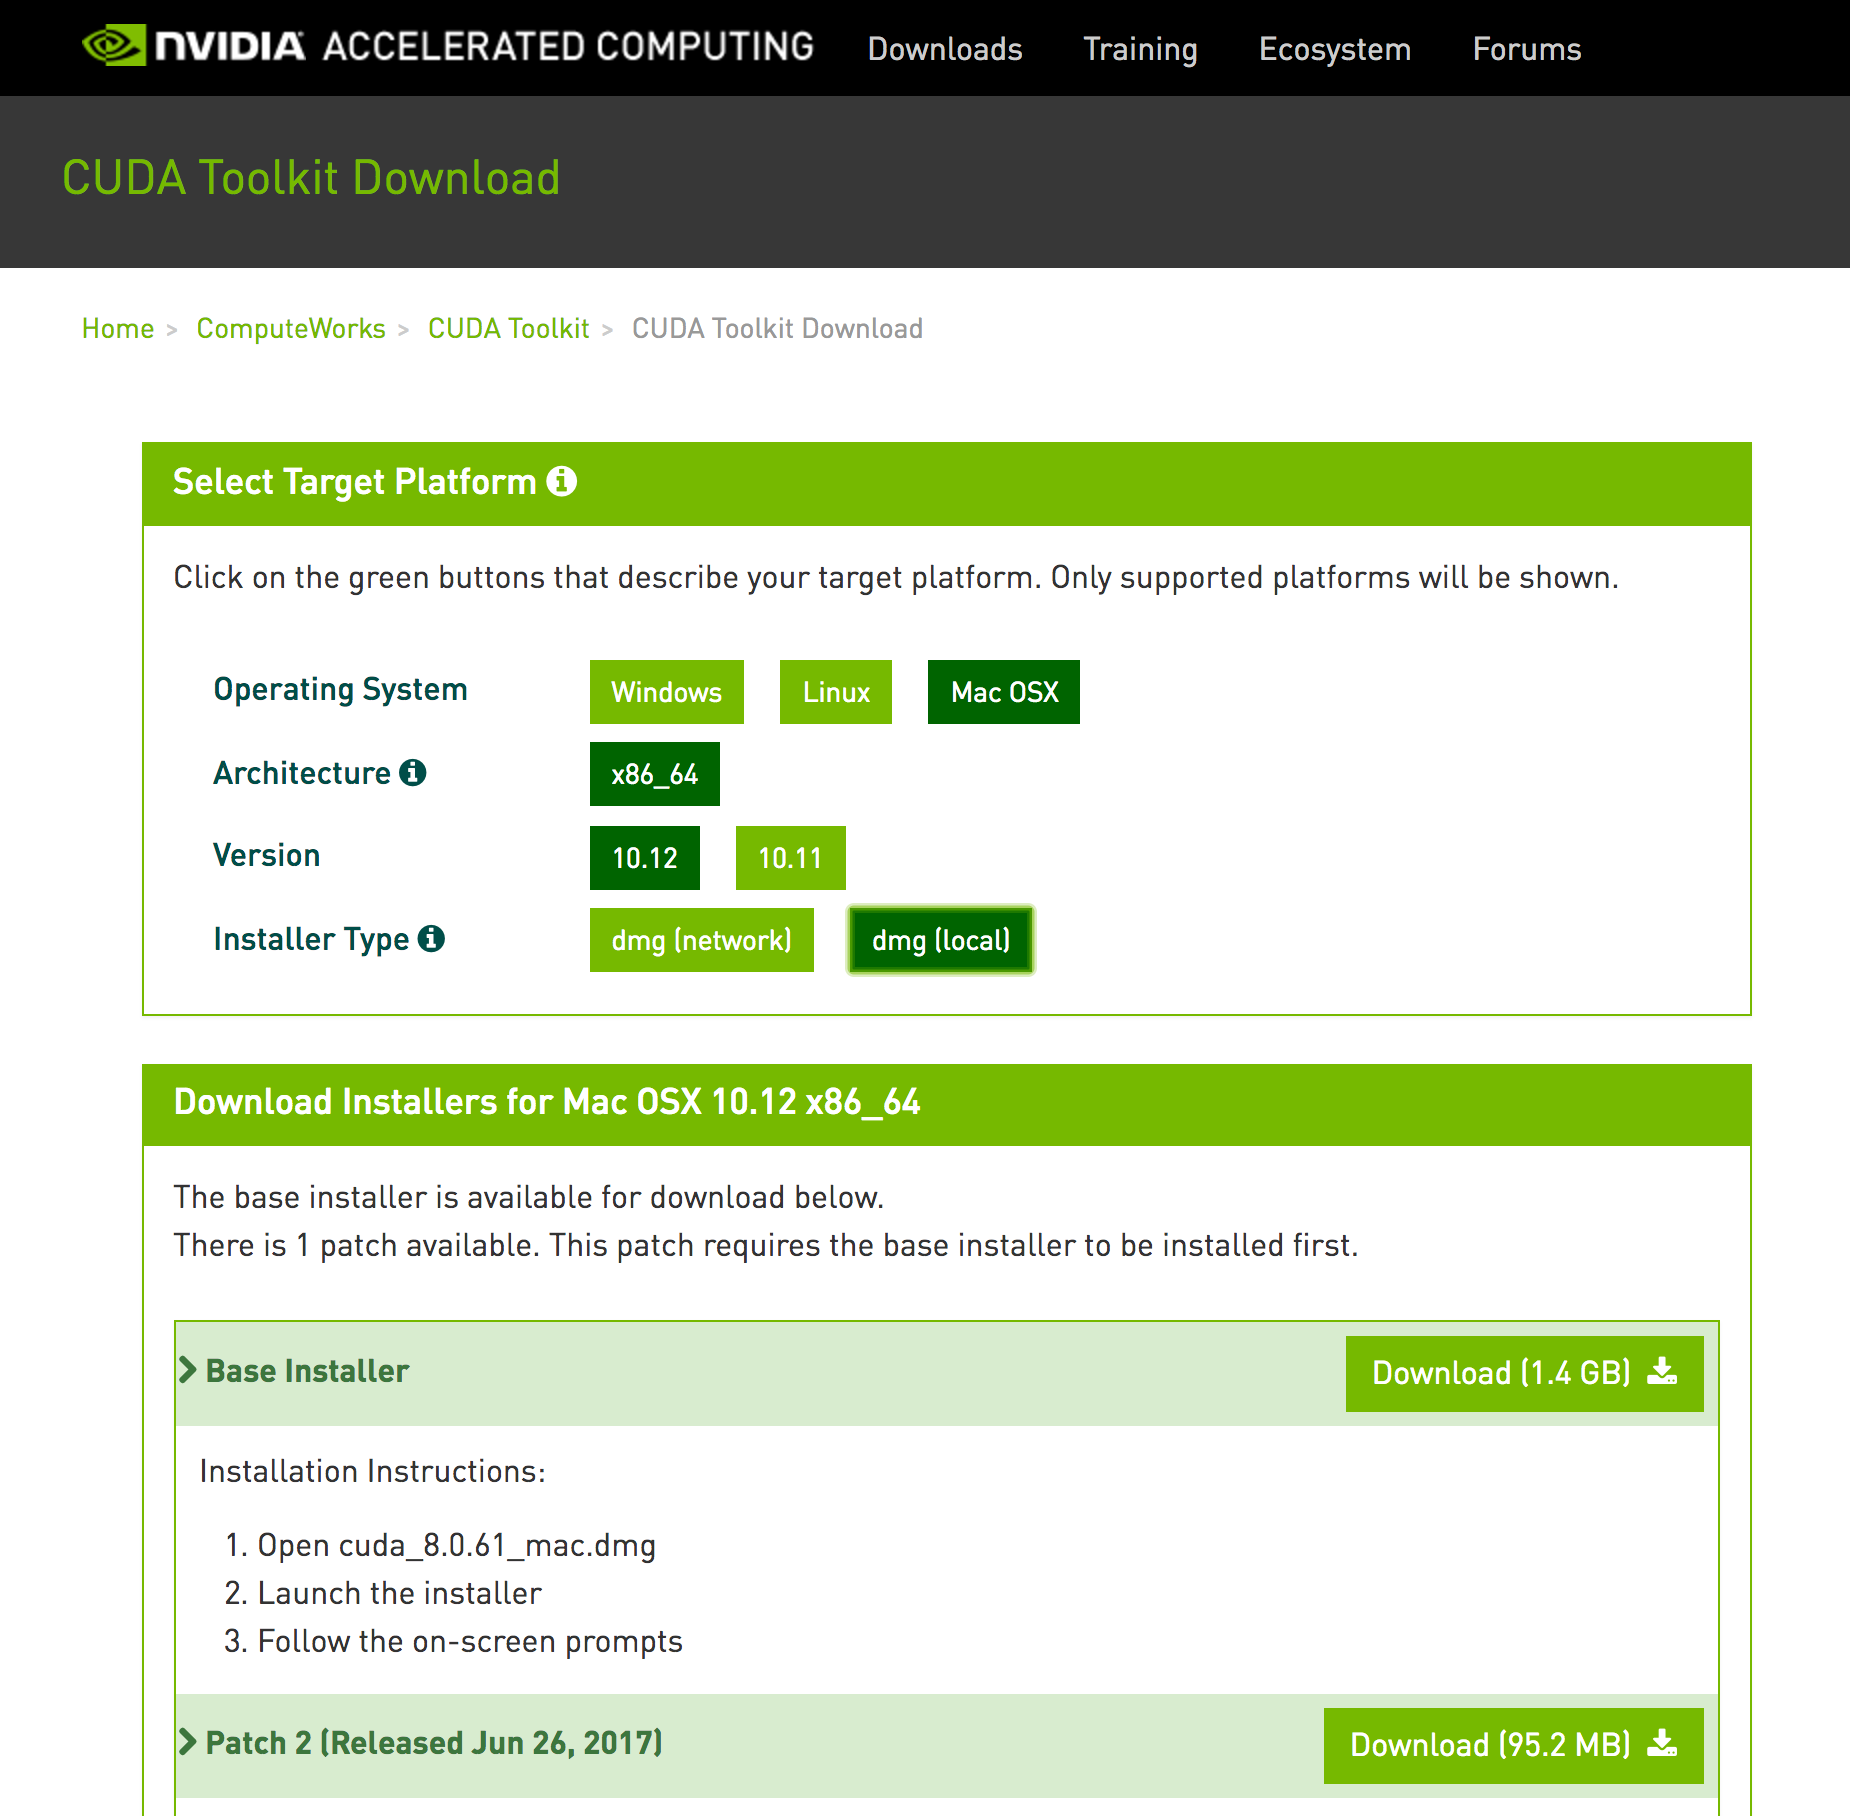
- 左側のDownload CUDA Toolkit 8.0を選択
- 今回、localマシンがOSXなので、OSXの最新版っぽいものを選択して、dmgとpatchをダウンロード
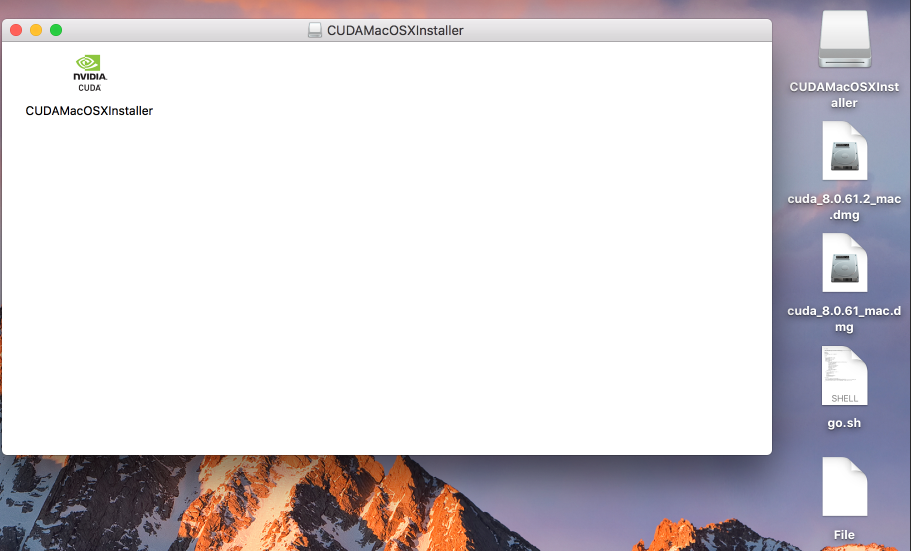
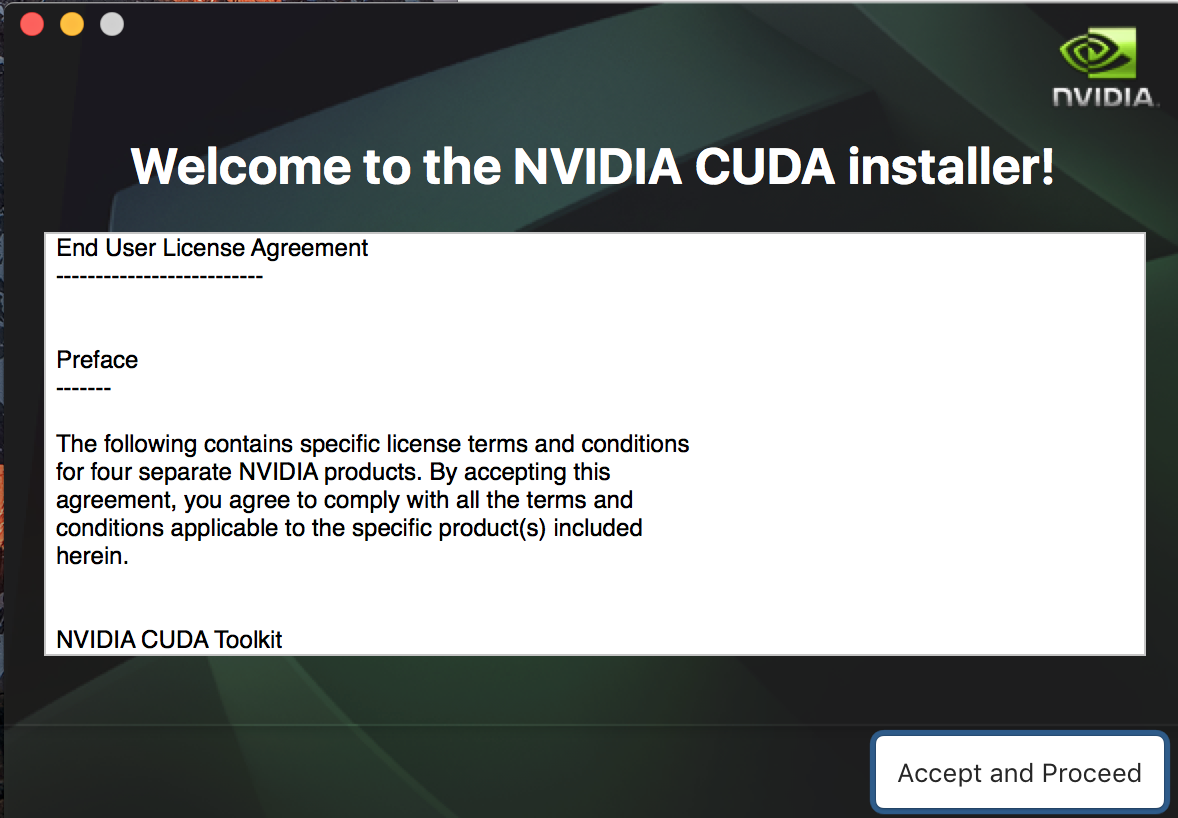
- まず、容量大きい方のdmgを開いて、インストーラーを起動、この時パスワードを求められる
- Accept and Proceedを選択
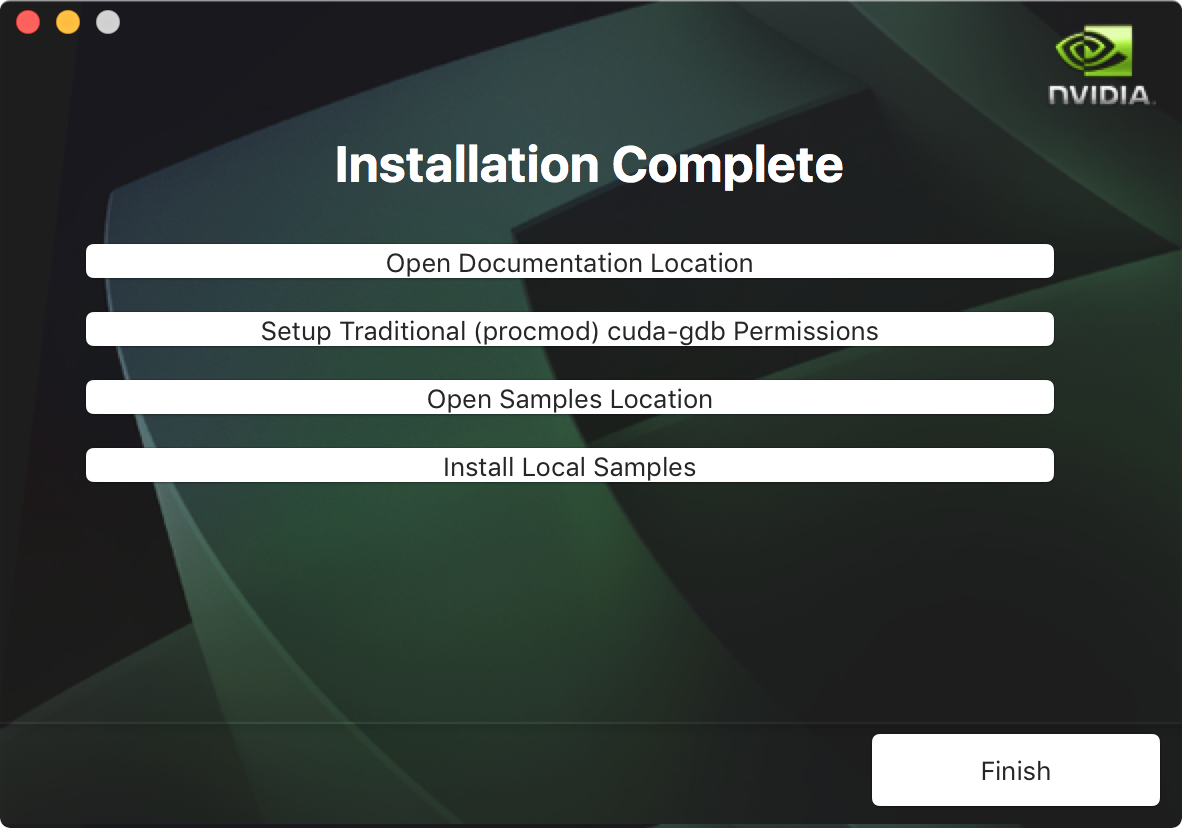
- Install CompleteしたらFinish
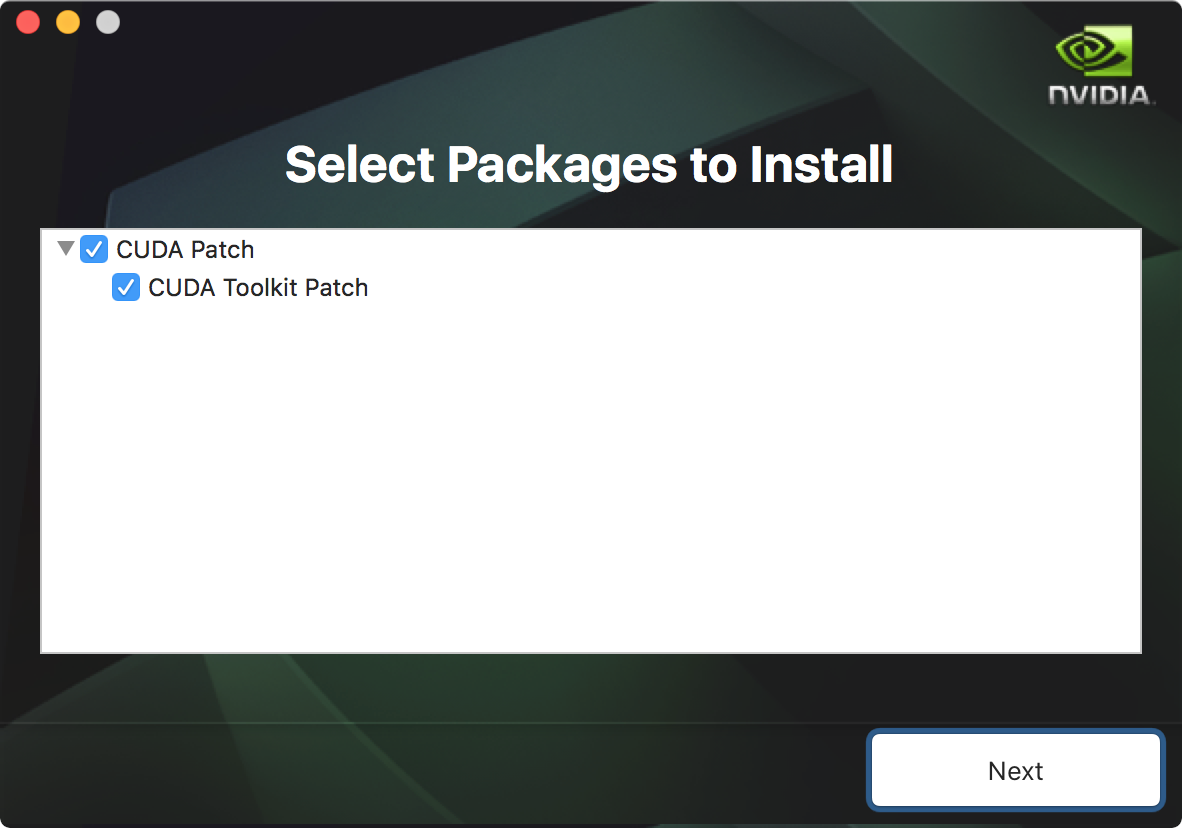
- 同様にpatchを開き、CUDA Patchを選択したまま、Next
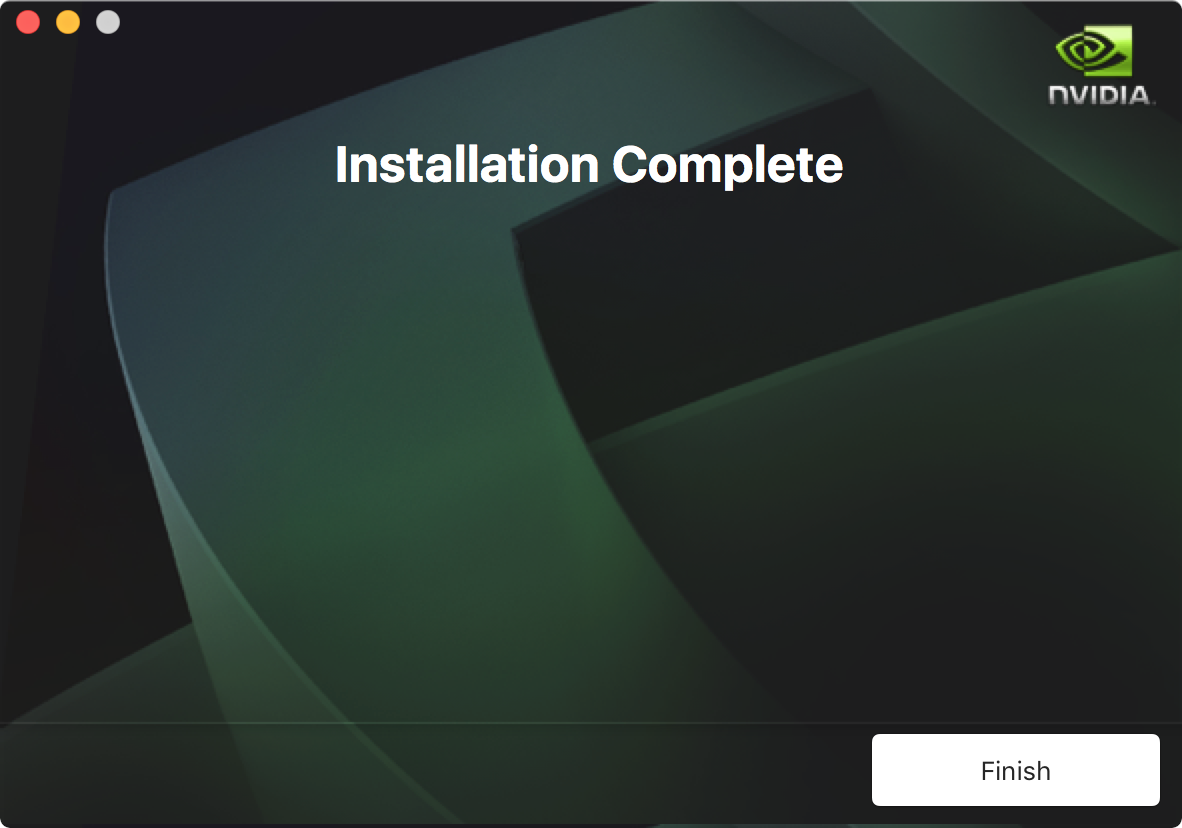
- Install CompleteしたらFinish
これにて準備は完了。
nvvpアプリケーションを探し出して、起動すれば、NVIDIA Visual Profilerがローカル環境で使えるようになります。

使ってみる
nvprofでprofileをとる
例えばCaffe2とかで、以下のようなコマンドを、先頭に、nvprof -o profile.nvp をつけるような形でprofilingします。
nvprofに関しては、以下のサイトを
http://docs.nvidia.com/cuda/profiler-users-guide/index.html#nvprof-overview
nvprof -o profile.nvp \
	  python \
          ${CAFFE2_HOME}/caffe2/python/examples/resnet50_trainer.py  \
          --train_data $TRAIN_DATA \
          --num_gpus $NUM_GPUS \
          --batch_size 32 \
          --epoch_size 90 \
          --num_epochs 1 \
          --base_learning_rate 1.0 \
          --weight_decay 0.0001
このようにして、nvprofの結果をprofile.nvpとして、保存します。
scpなどでローカルマシンに結果を転送
このprofile.nvpをscpコマンドなどを用いて、ローカルマシンにダウンロードし、NVIDIA Visual Profilerで見てみます。
$ scp username@XXX_Cluster:/hoge/profile.nvp /hoge/Desktop
NVIDIA Visual Profilerでprofile.nvpを開く
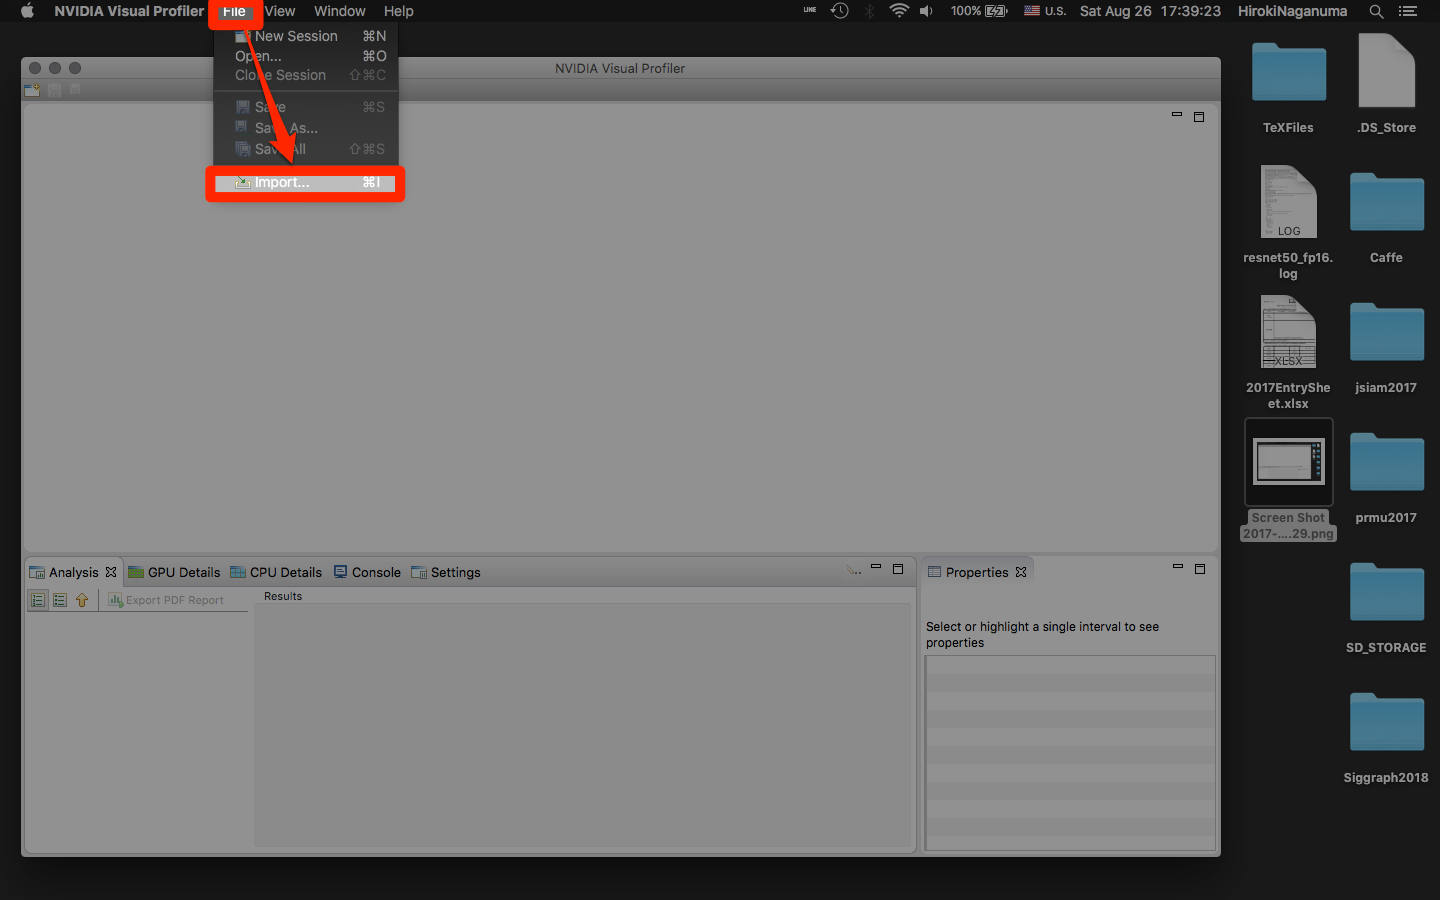
- まずNVIDIA Visual Profilerを起動し、importから
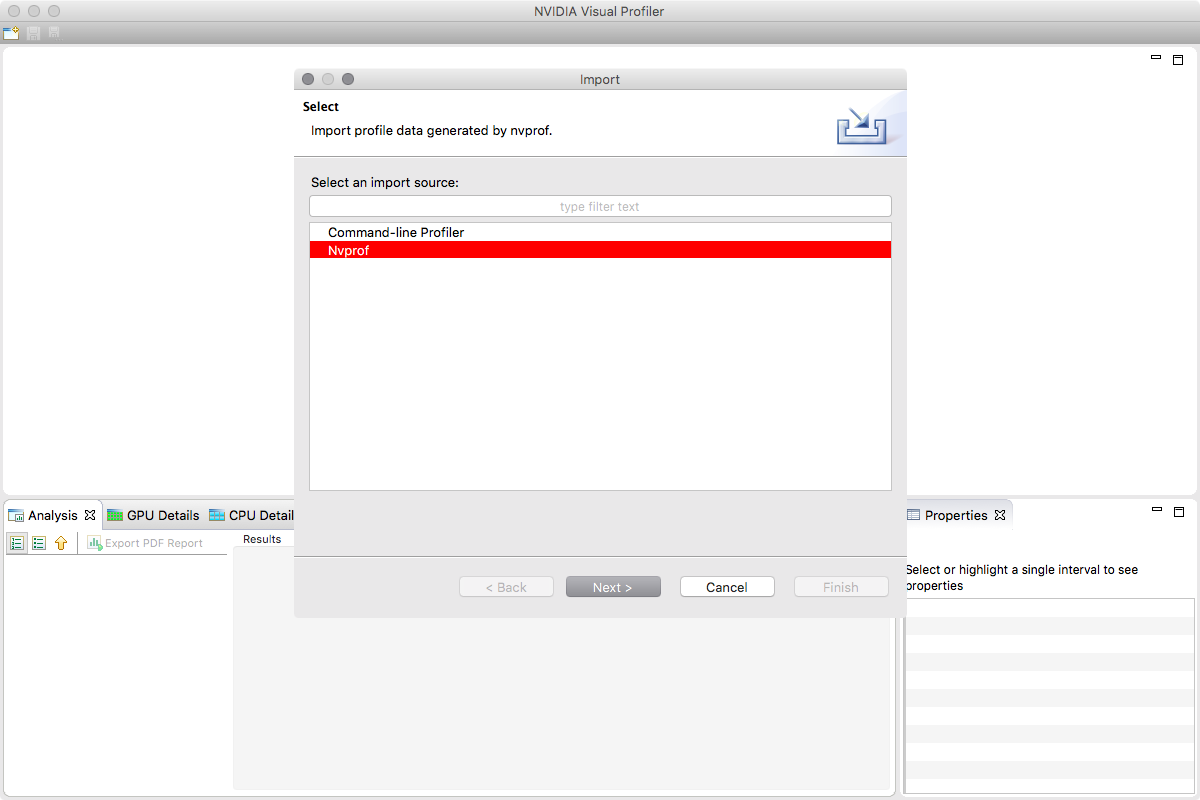
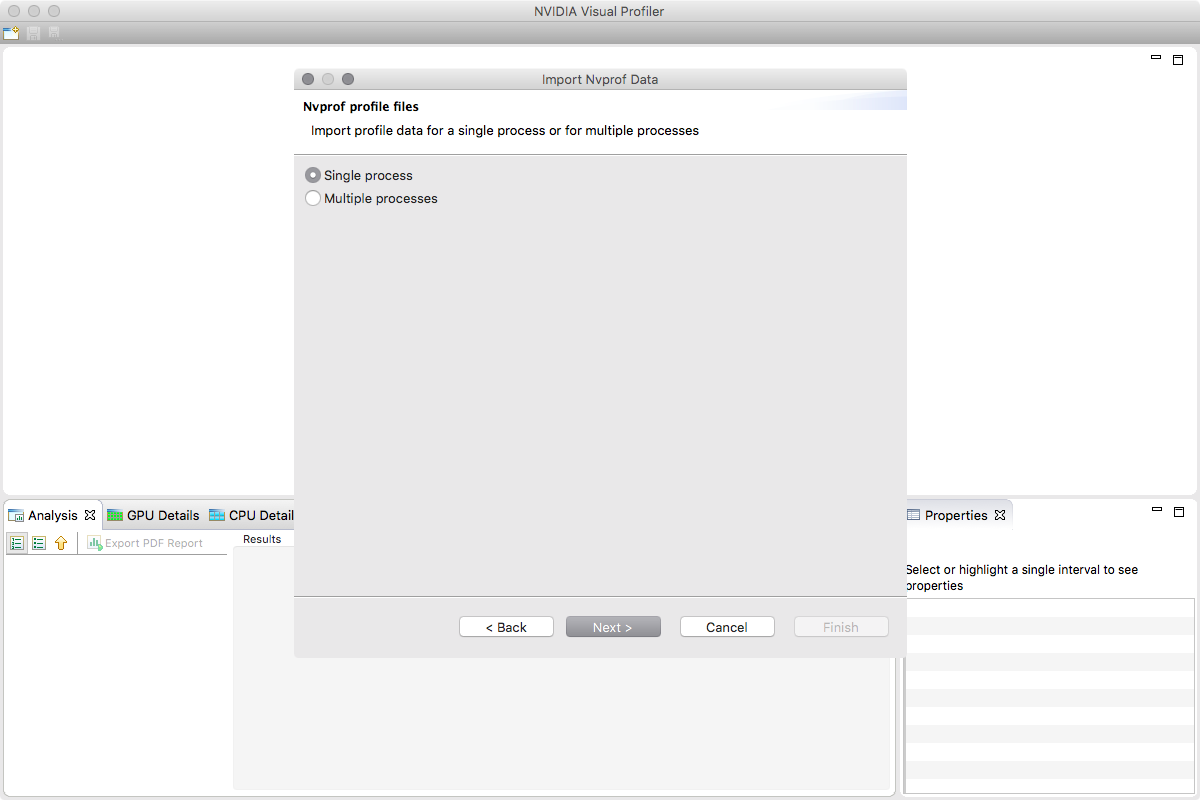
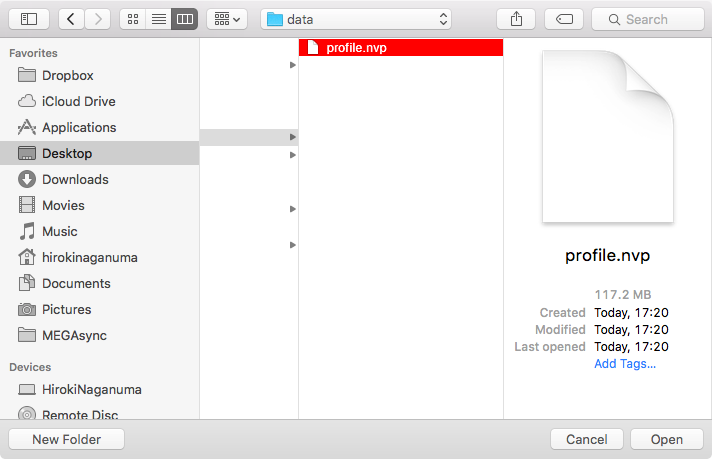
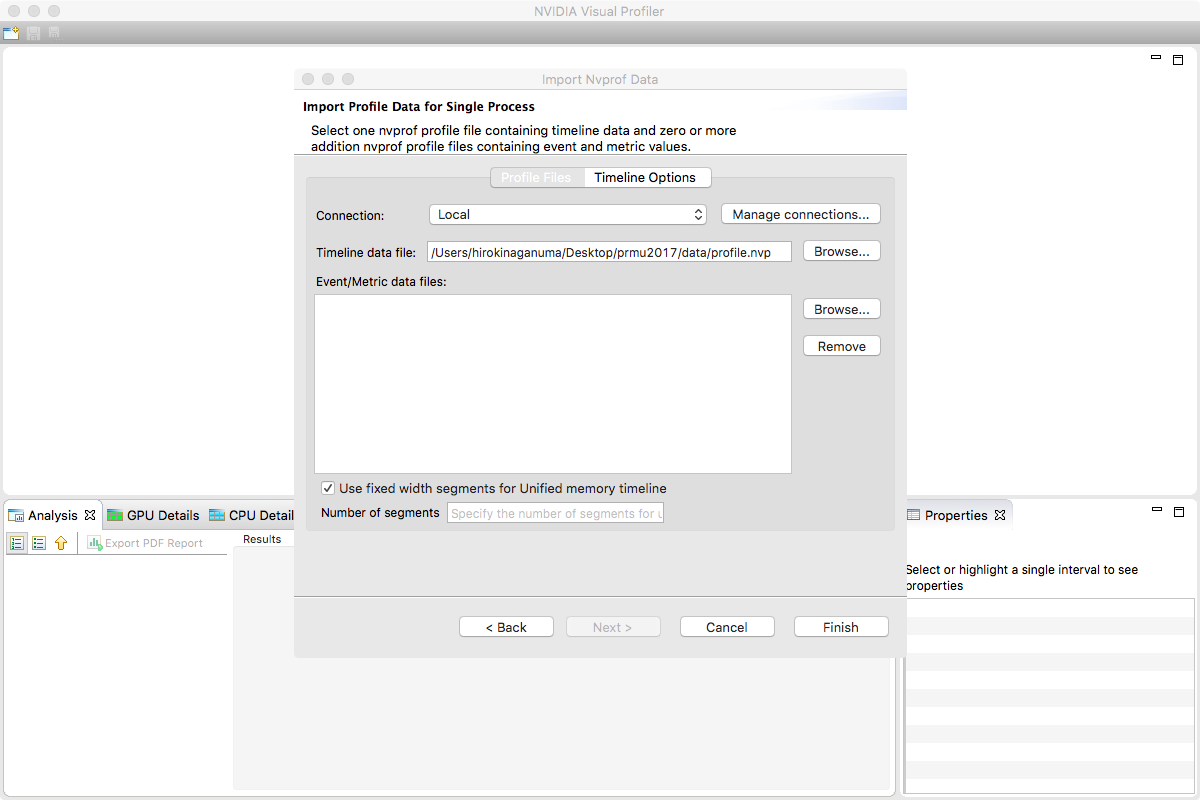
profile.nvpを開きます - nvprofを選択し、今回はsingle processを選択します。
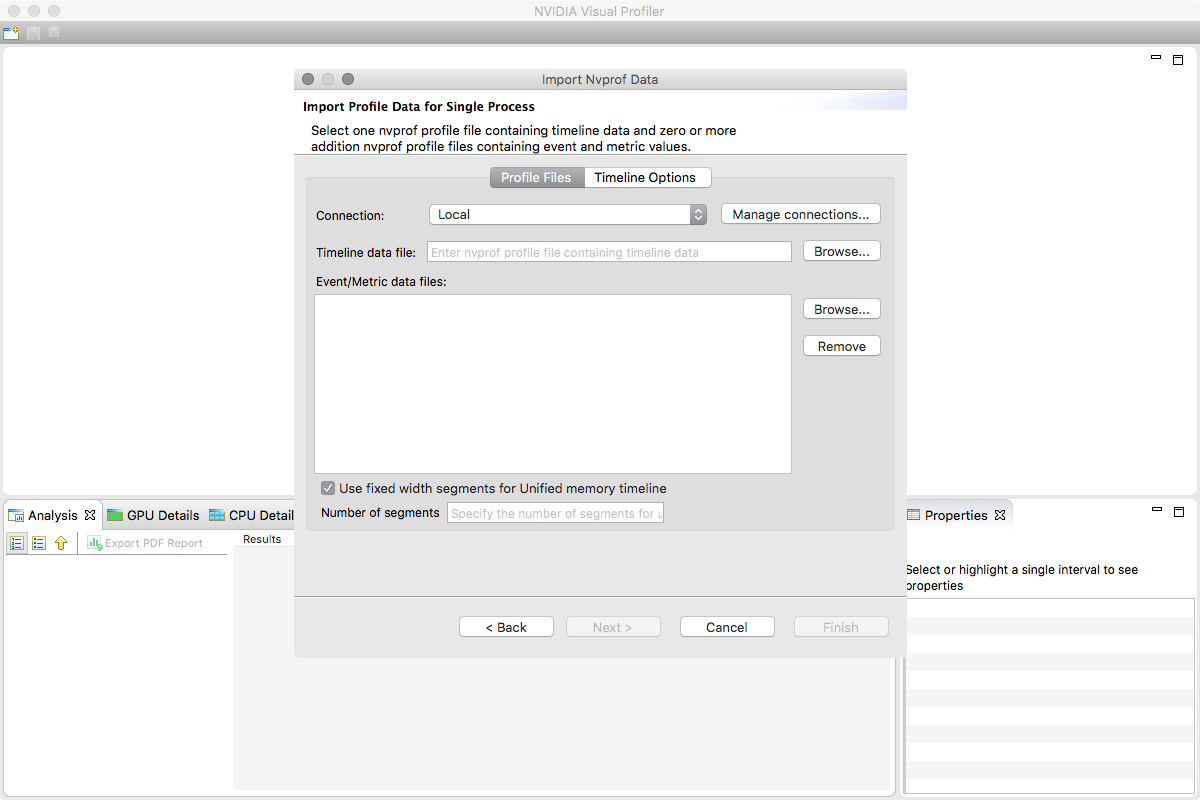
- Timeline data file から Browseを選択し、
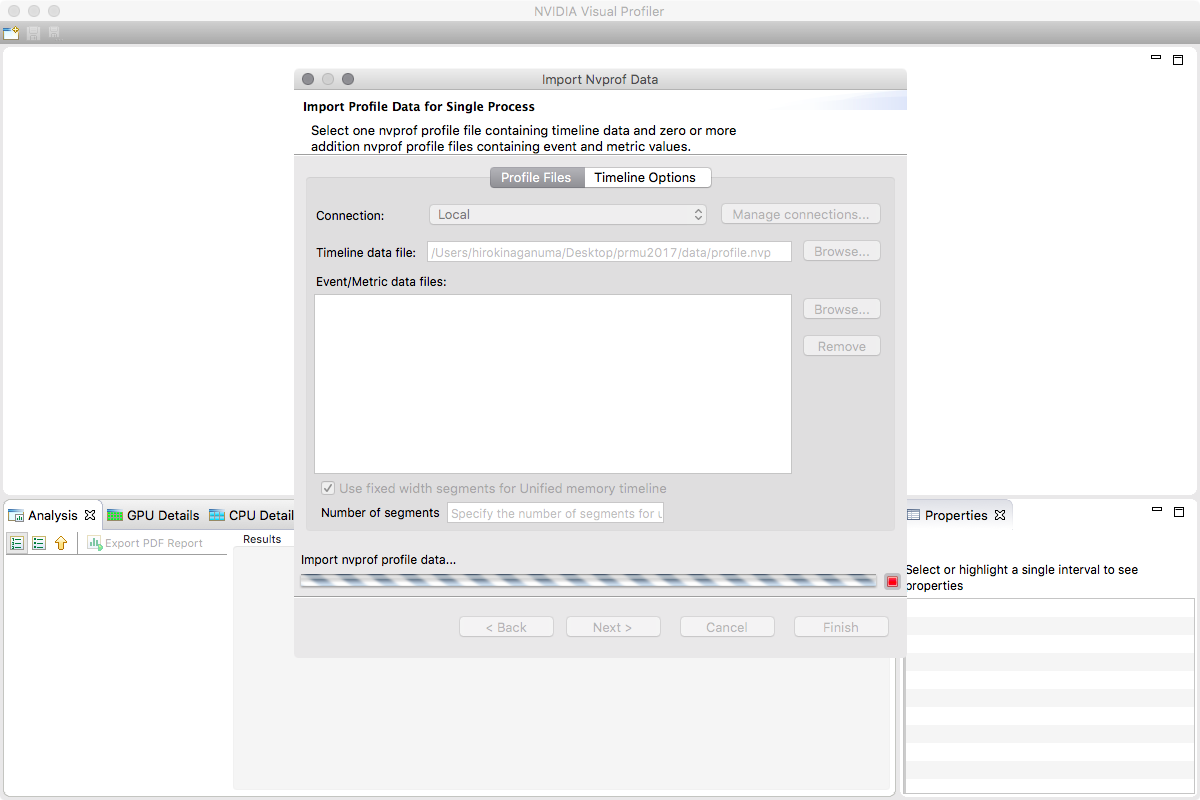
profile.nvpのパスを指定 - 選択したらFinishでloadする
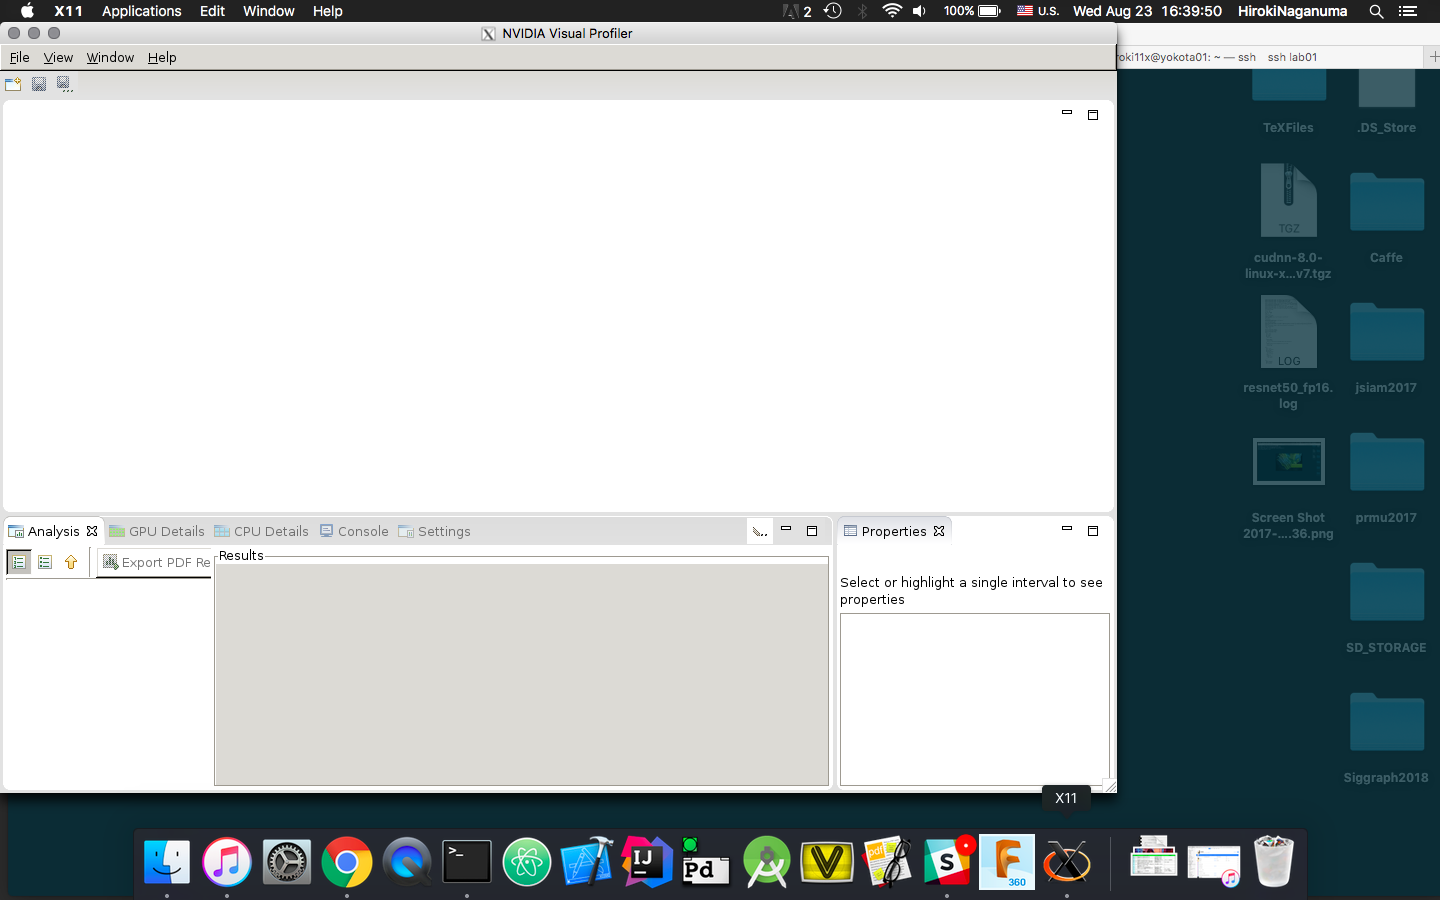
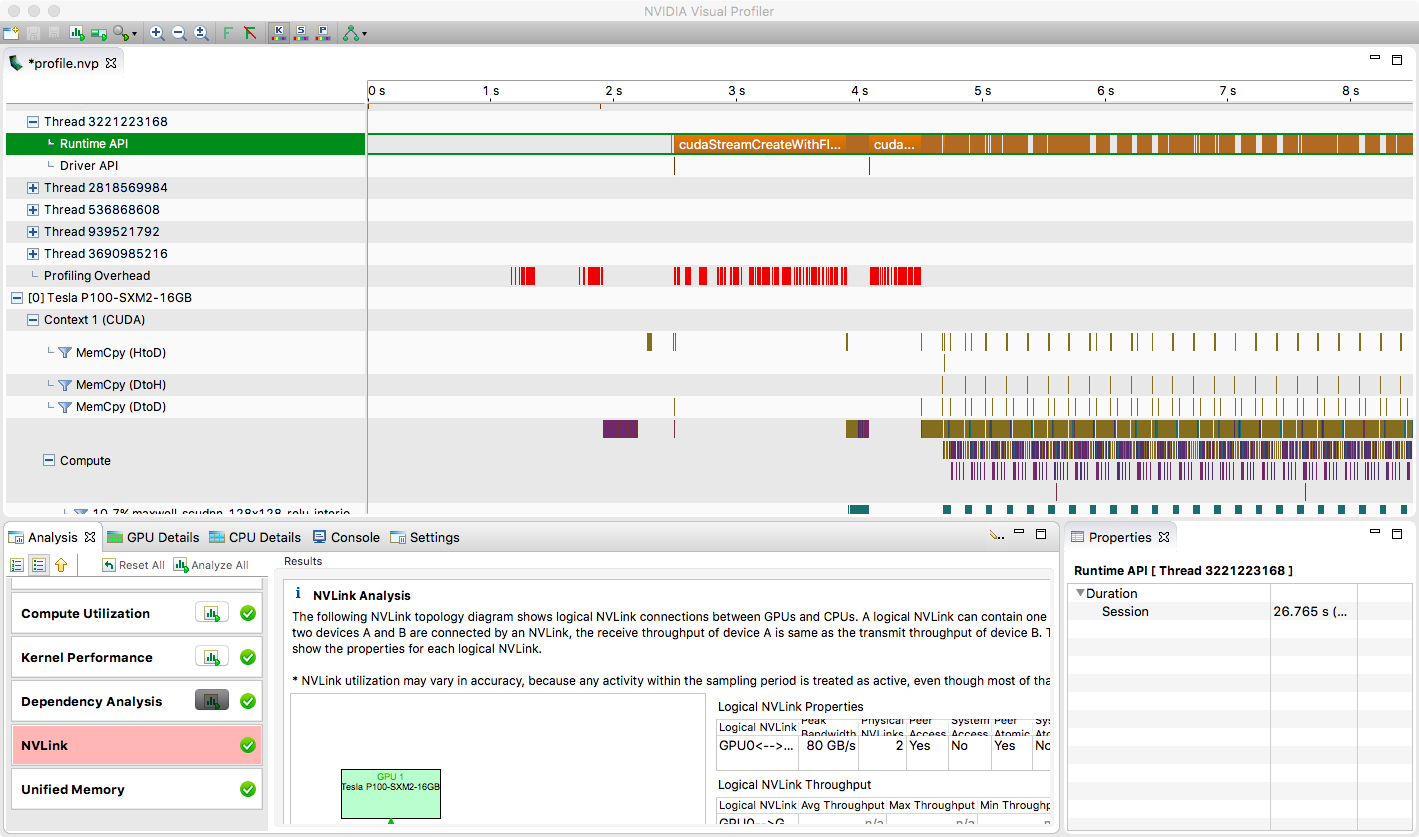
すると、以下のような画面が表示されます。
参考
