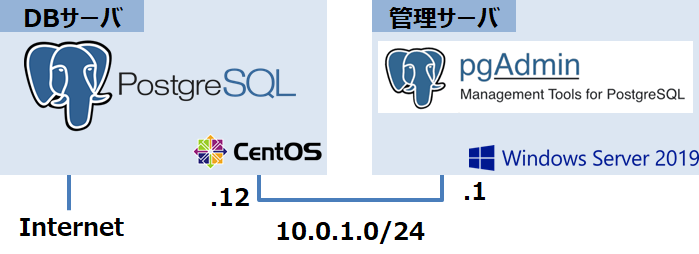
postgreSQLの新規インストールからpgAdminでの接続までの記録になります。
DBサーバ
CentOS 7.6
postgreSQL 13.3
※Internet接続環境(インストール時のみ)
※selinux,firewalldは停止
管理サーバ
Windows Server 2019
pgAdmin 4 v5.2
1.postgreSQLのインストール
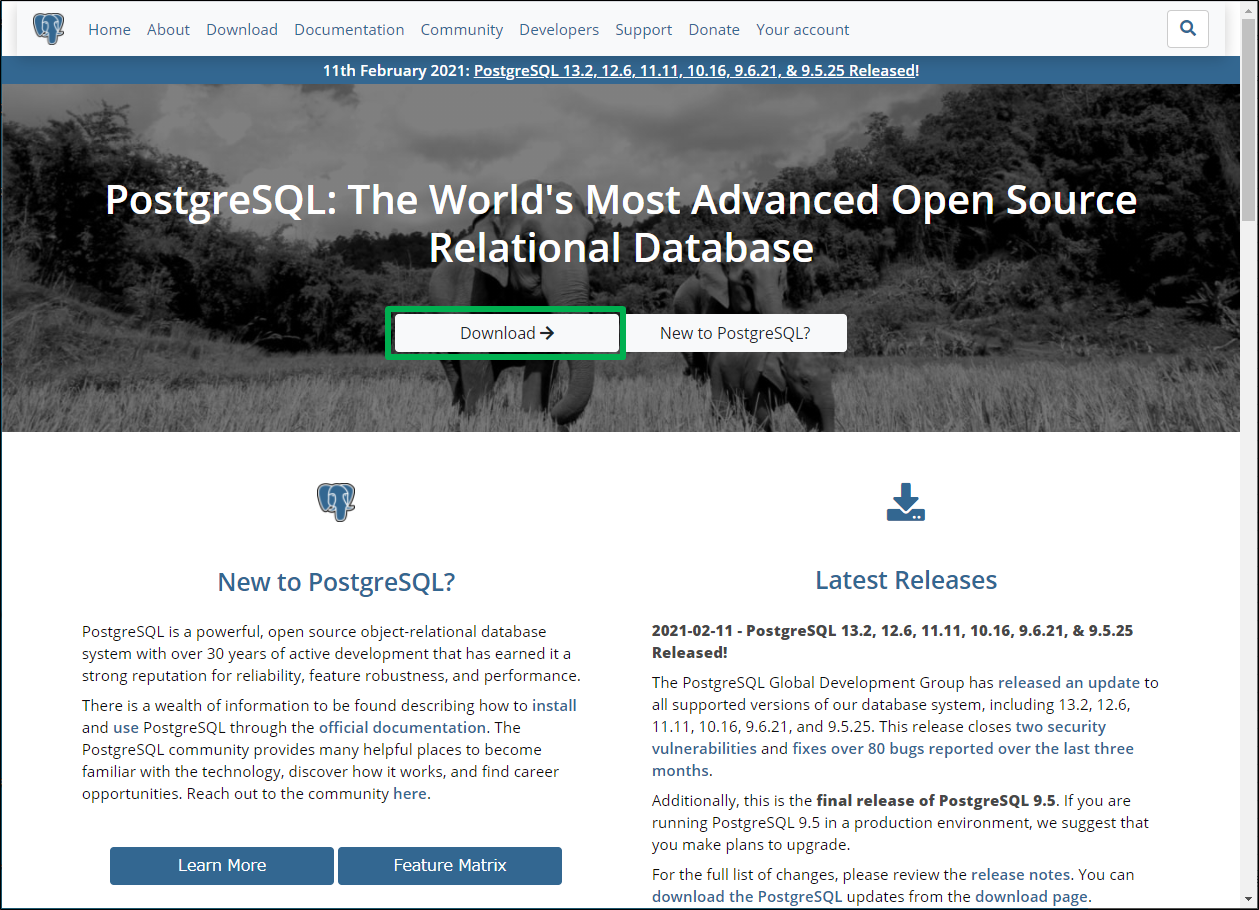
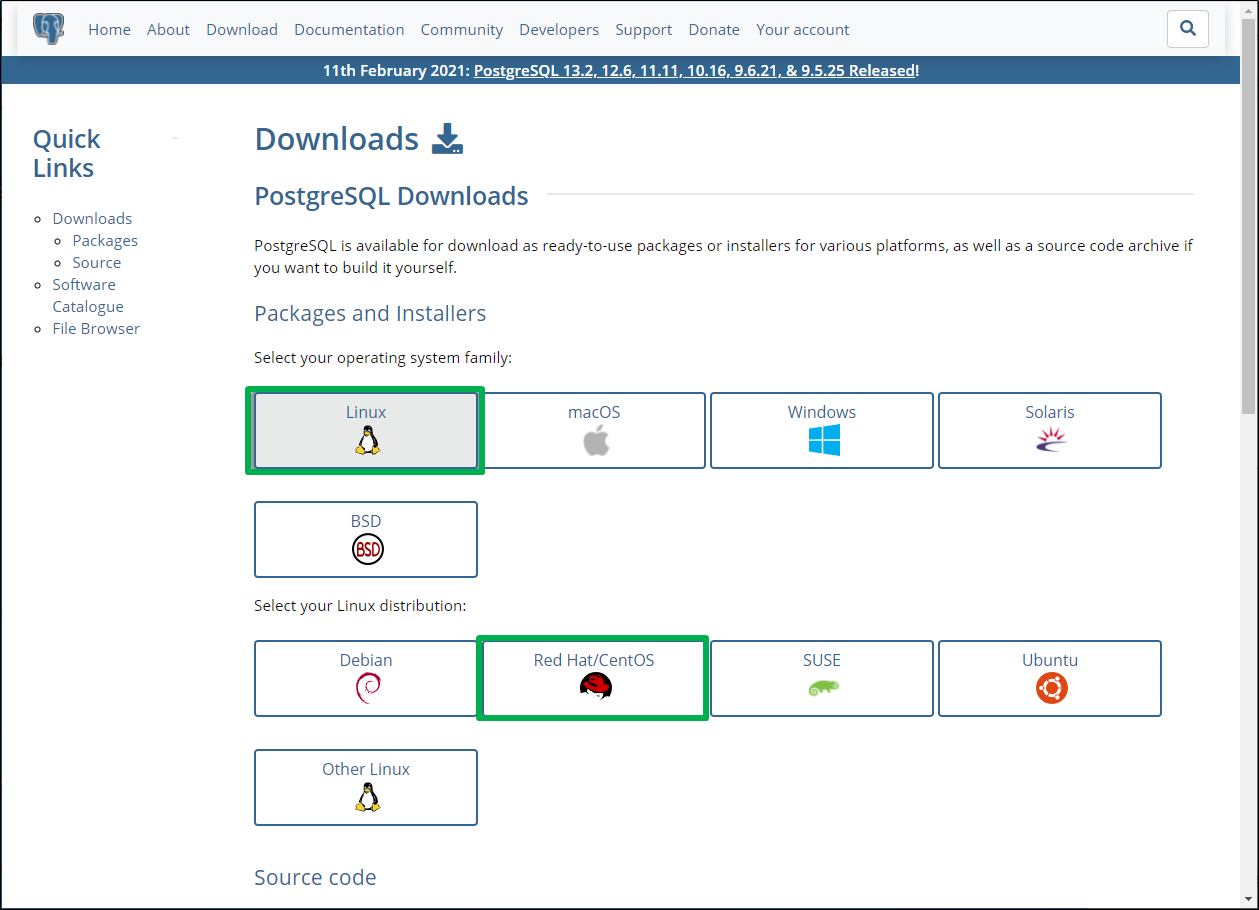
centOS7のデフォルトパッケージはpostgreSQL9.2系なので、postgreSQL公式サイトに従ってインストールを進めていきます。
インストールしたいpostgreSQLのバージョンおよびOSバージョンとアーキテクチャを選択すると、セットアップ用のコマンドが表示されるのでこちらを控えます。
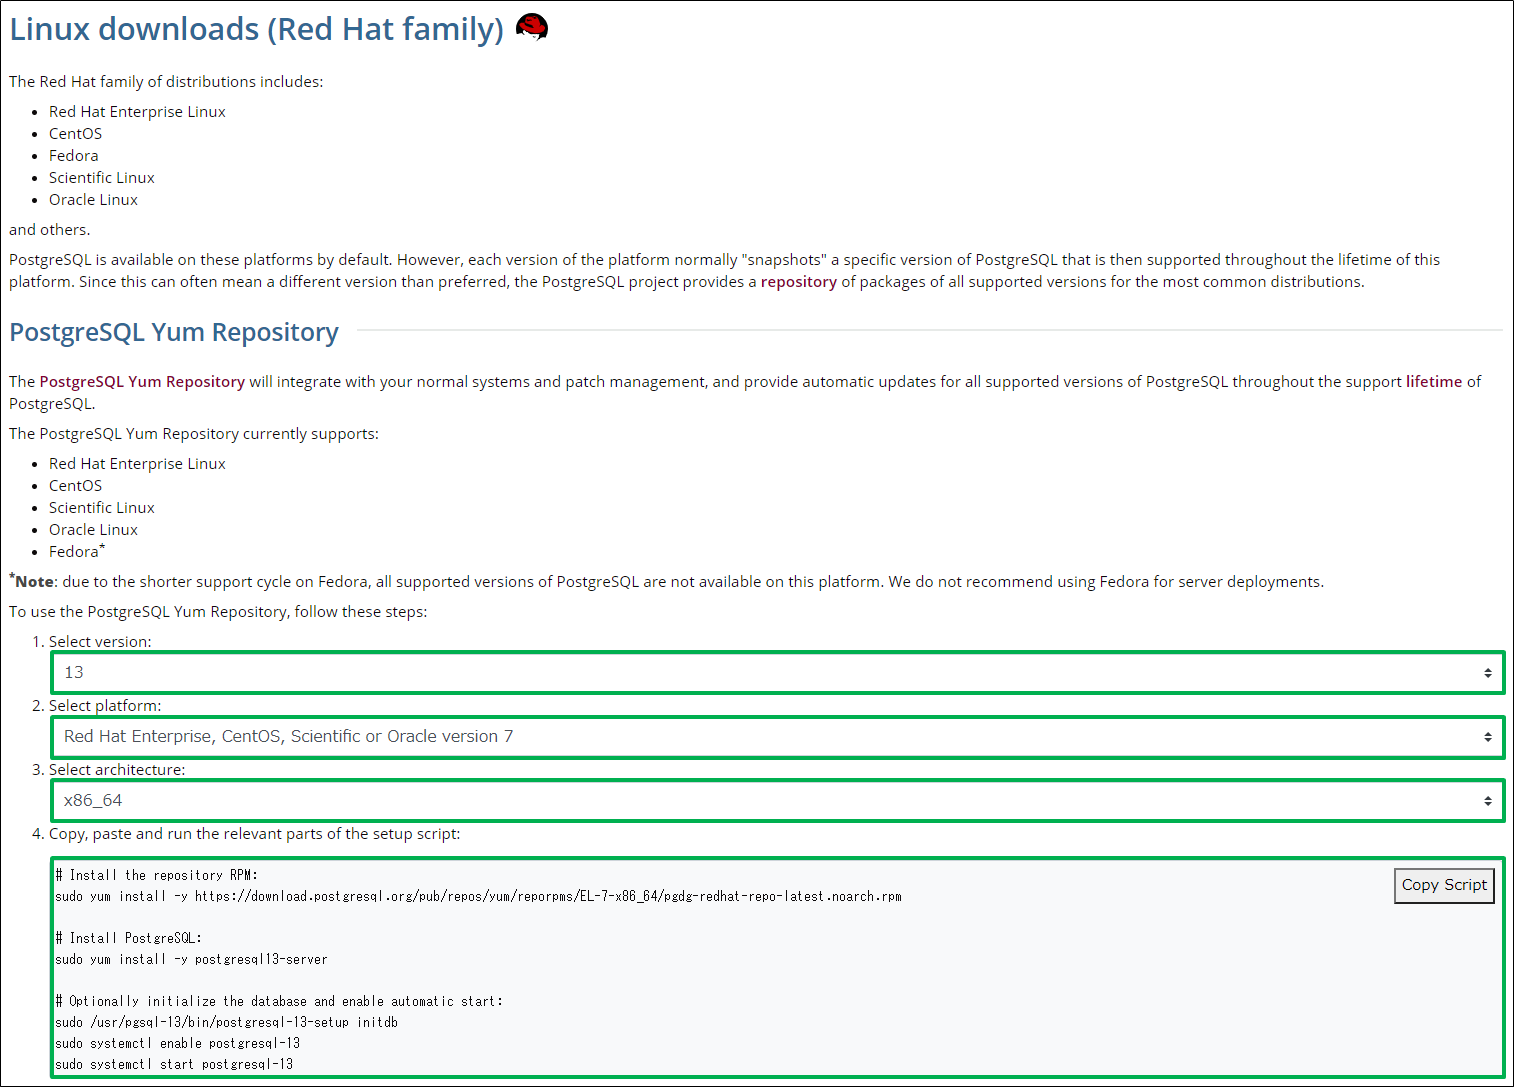
# Install the repository RPM:
sudo yum install -y https://download.postgresql.org/pub/repos/yum/reporpms/EL-7-x86_64/pgdg-redhat-repo-latest.noarch.rpm

# Install PostgreSQL:
sudo yum install -y postgresql13-server

# Optionally initialize the database and enable automatic start:
sudo /usr/pgsql-13/bin/postgresql-13-setup initdb
sudo systemctl enable postgresql-13
sudo systemctl start postgresql-13
Linux側でpostgreSQLのリポジトリをインストールします。
[root@cent76-d2 ~]# yum install -y https://download.postgresql.org/pub/repos/yum/reporpms/EL-7-x86_64/pgdg-redhat-repo-latest.noarch.rpm
これでインストール対象のpostgreSQL13が表示されるようになりました。
[root@cent76-d2 ~]# yum list postgresql13*
読み込んだプラグイン:fastestmirror
Loading mirror speeds from cached hostfile
 * base: ty1.mirror.newmediaexpress.com
 * extras: ty1.mirror.newmediaexpress.com
 * updates: ty1.mirror.newmediaexpress.com
利用可能なパッケージ
postgresql13.x86_64                    13.3-1PGDG.rhel7                       pgdg13
postgresql13-contrib.x86_64            13.3-1PGDG.rhel7                       pgdg13
postgresql13-devel.x86_64              13.3-1PGDG.rhel7                       pgdg13
postgresql13-docs.x86_64               13.3-1PGDG.rhel7                       pgdg13
postgresql13-libs.x86_64               13.3-1PGDG.rhel7                       pgdg13
postgresql13-llvmjit.x86_64            13.3-1PGDG.rhel7                       pgdg13
postgresql13-odbc.x86_64               13.00.0000-1PGDG.rhel7                 pgdg13
postgresql13-plperl.x86_64             13.3-1PGDG.rhel7                       pgdg13
postgresql13-plpython3.x86_64          13.3-1PGDG.rhel7                       pgdg13
postgresql13-pltcl.x86_64              13.3-1PGDG.rhel7                       pgdg13
postgresql13-server.x86_64             13.3-1PGDG.rhel7                       pgdg13
postgresql13-test.x86_64               13.3-1PGDG.rhel7                       pgdg13
[root@cent76-d2 ~]#
今回利用したいpostgreSQL13をインストールします。
[root@cent76-d2 ~]# yum install -y postgresql13-server

《中略》

================================================================================================================
 Package                                アーキテクチャー      バージョン               リポジトリー        容量
================================================================================================================
インストール中:
 postgresql13-server                    x86_64                13.3-1PGDG.rhel7         pgdg13             5.4 M
依存性関連でのインストールをします:
 postgresql13                           x86_64                13.3-1PGDG.rhel7         pgdg13             1.4 M
 postgresql13-libs                      x86_64                13.3-1PGDG.rhel7         pgdg13             380 k

トランザクションの要約
================================================================================================================
インストール  1 パッケージ (+2 個の依存関係のパッケージ)

総ダウンロード容量: 7.2 M
インストール容量: 30 M

《中略》

インストール:
  postgresql13-server.x86_64 0:13.3-1PGDG.rhel7

依存性関連をインストールしました:
  postgresql13.x86_64 0:13.3-1PGDG.rhel7                                                postgresql13-libs.x86_64 0:13.3-1PGDG.rhel7

完了しました!
[root@cent76-d2 ~]#
[root@cent76-d2 ~]# yum install -y postgresql13*

《中略》

エラー: パッケージ: postgresql13-devel-13.3-1PGDG.rhel7.x86_64 (pgdg13)
             要求: llvm5.0-devel >= 5.0
エラー: パッケージ: postgresql13-llvmjit-13.3-1PGDG.rhel7.x86_64 (pgdg13)
             要求: llvm5.0 >= 5.0
エラー: パッケージ: postgresql13-devel-13.3-1PGDG.rhel7.x86_64 (pgdg13)
             要求: llvm-toolset-7-clang >= 4.0.1
エラー: パッケージ: postgresql13-llvmjit-13.3-1PGDG.rhel7.x86_64 (pgdg13)
             要求: libLLVM-5.0.so()(64bit)
 問題を回避するために --skip-broken を用いることができます。
 これらを試行できます: rpm -Va --nofiles --nodigest
[root@cent76-d2 ~]#
[root@cent76-d2 ~]# yum -y install epel-release centos-release-scl

《中略》

インストール:
  centos-release-scl.noarch 0:2-3.el7.centos                                                                 epel-release.noarch 0:7-11

依存性関連をインストールしました:
  centos-release-scl-rh.noarch 0:2-3.el7.centos

完了しました!
[root@cent76-d2 ~]#
2.postgreSQLの自動起動と実行
プロセスの自動起動を有効化します。
[root@cent76-d2 ~]# systemctl enable postgresql-13
Created symlink from /etc/systemd/system/multi-user.target.wants/postgresql-13.service to /usr/lib/systemd/system/postgresql-13.service.

[root@cent76-d2 ~]# systemctl is-enabled postgresql-13
enabled
[root@cent76-d2 ~]#
プロセスの起動をしますが、エラーが表示されます。
[root@cent76-d2 ~]# systemctl start postgresql-13
Job for postgresql-13.service failed because the control process exited with error code. See "systemctl status postgresql-13.service" and "journalctl -xe" for details.
[root@cent76-d2 ~]#
エラーの原因はinitdb処理がされていないためなので、initdbを実行します。
root@cent76-d2 ~]# /usr/pgsql-13/bin/postgresql-13-setup initdb
Initializing database ... OK

[root@cent76-d2 ~]#
これでプロセスが正常に起動します。
[root@cent76-d2 ~]# systemctl start postgresql-13
[root@cent76-d2 ~]#
3.ローカル接続確認
まずはローカルで接続確認を行います。
[root@cent76-d2 ~]# sudo -u postgres psql -U postgres
could not change directory to "/root": 許可がありません
psql (13.3)
Type "help" for help.

postgres=#
postgres=# \q
[root@cent76-d2 ~]#
4.リモート接続設定(postgresql.conf)
リモート接続を受け付ける自セグメントを定義するため、以下コンフィグファイルに追記をします。最上1行が追記部分です。
ファイル:/var/lib/pgsql/13/data/postgresql.conf
listen_addresses = '*'                  ### CUSTOM ADD ###
# listen_addresses = 'localhost'		# what IP address(es) to listen on;
5.リモート接続設定(pg_hba.conf)
リモート接続してくるセグメントについての接続許可設定をするため、以下コンフィグファイルに追記をします。最下2行が追記部分です。
ファイル:/var/lib/pgsql/13/data/pg_hba.conf
# TYPE  DATABASE        USER            ADDRESS                 METHOD
# "local" is for Unix domain socket connections only
local   all             all                                     peer
# IPv4 local connections:
host    all             all             127.0.0.1/32            ident
# IPv6 local connections:
host    all             all             ::1/128                 ident
# Allow replication connections from localhost, by a user with the
# replication privilege.
local   replication     all                                     peer
host    replication     all             127.0.0.1/32            ident
host    replication     all             ::1/128                 ident

### CUSTOM ADD ###
host    all             postgres        10.0.1.0/24             trust
| 項目 | 内容 | 説明 |
|---|---|---|
| TYPE | host | 認証対象。'host'は任意の対象。 |
| DATABASE | all | 対象DB。'all'は全てのDBを対象。 |
| USER | postgres | 対象ユーザ。'postgres'でスーパーユーザのみの指定 |
| ADDRESS | 10.0.1.0/24 | 接続元。指定のセグメントをCIDR表記で記載。 |
| METHOD | trust | 認証方式。trustは認証無しでログイン可能。 |
| ※認証METHODをtrustとした場合、ユーザ名のみで接続可能なため、適切な構築タイミングでmd5認証やpeer認証に変更することを推奨します。 |
5.pgAdminから接続
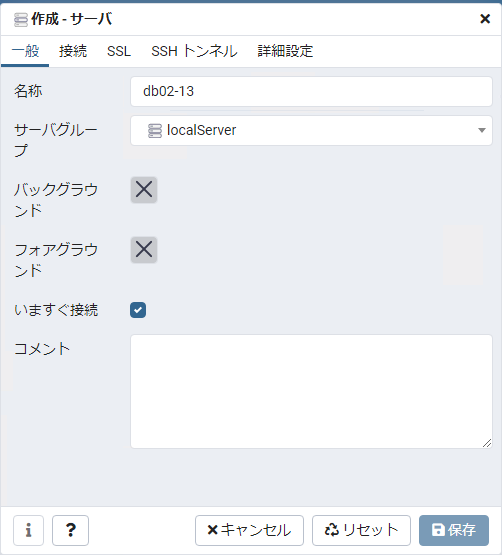
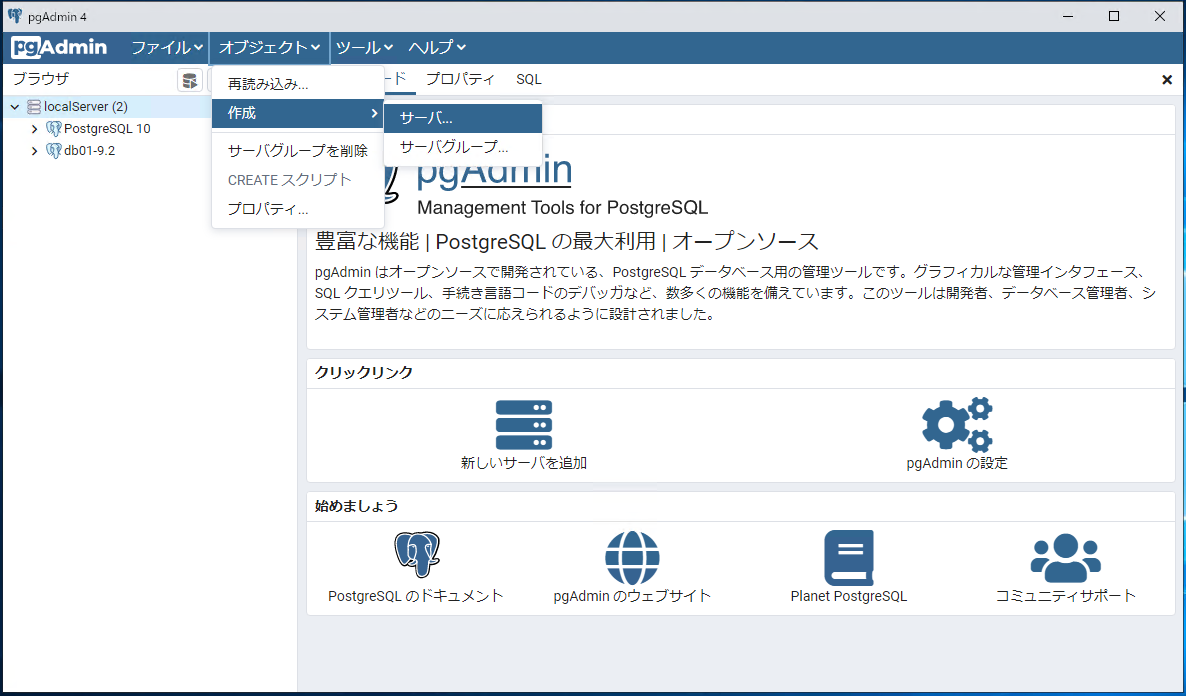
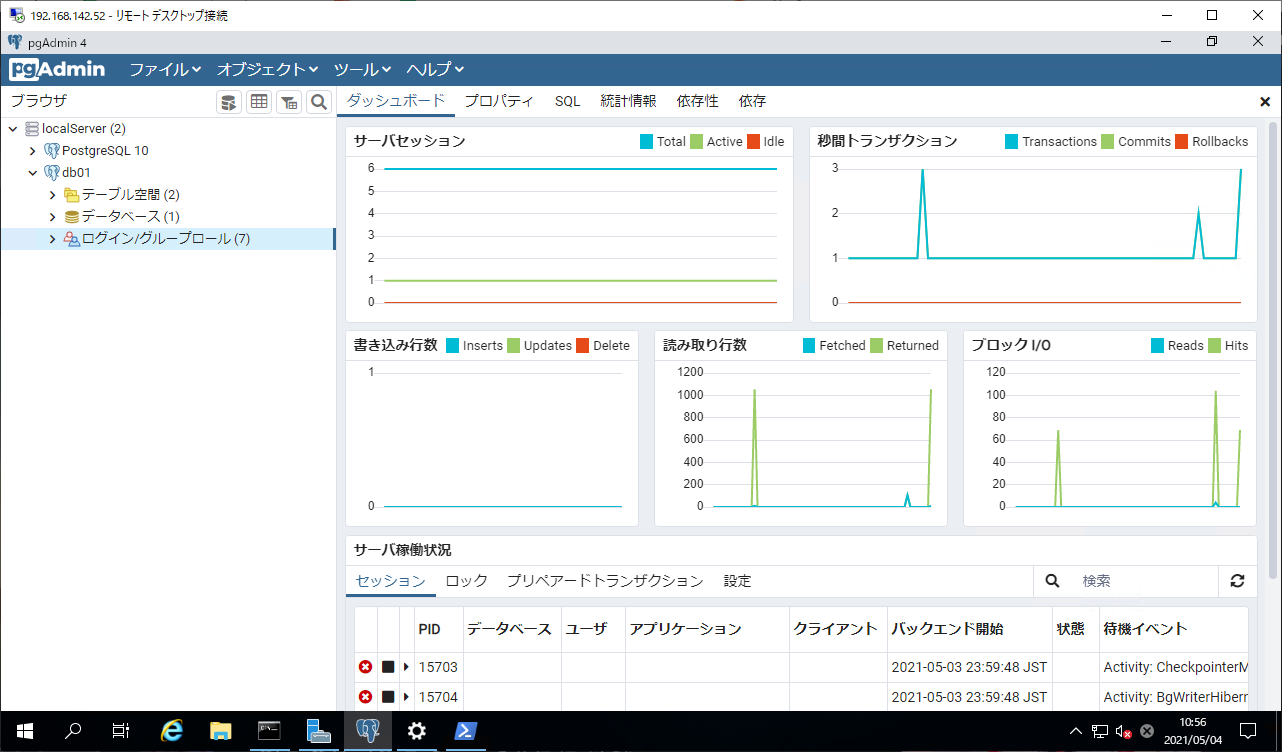
管理サーバ(Windows)にてpgAdminを起動します。
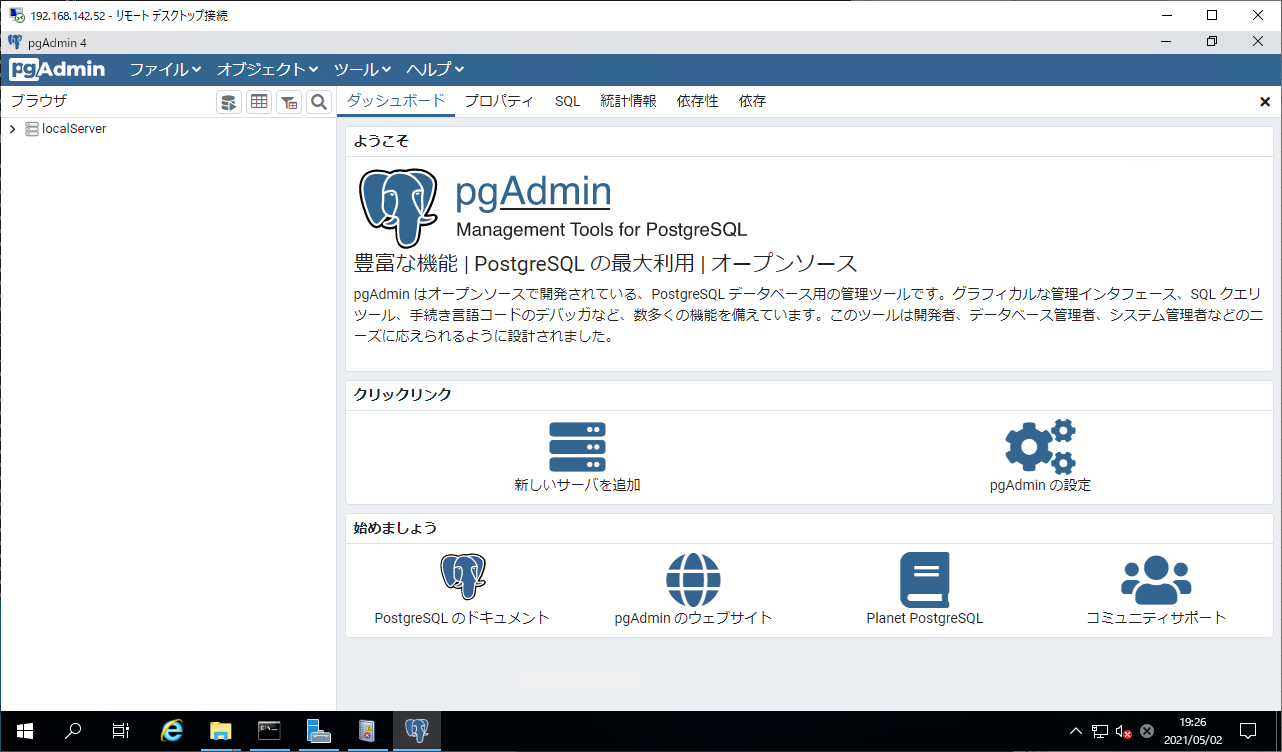
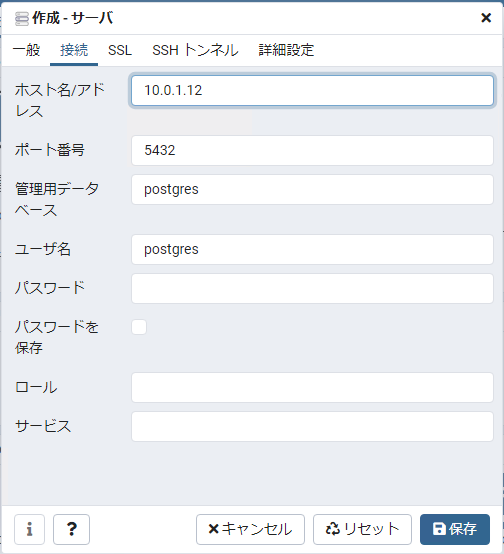
一般タブ、接続タブにて各種設定を記載します。
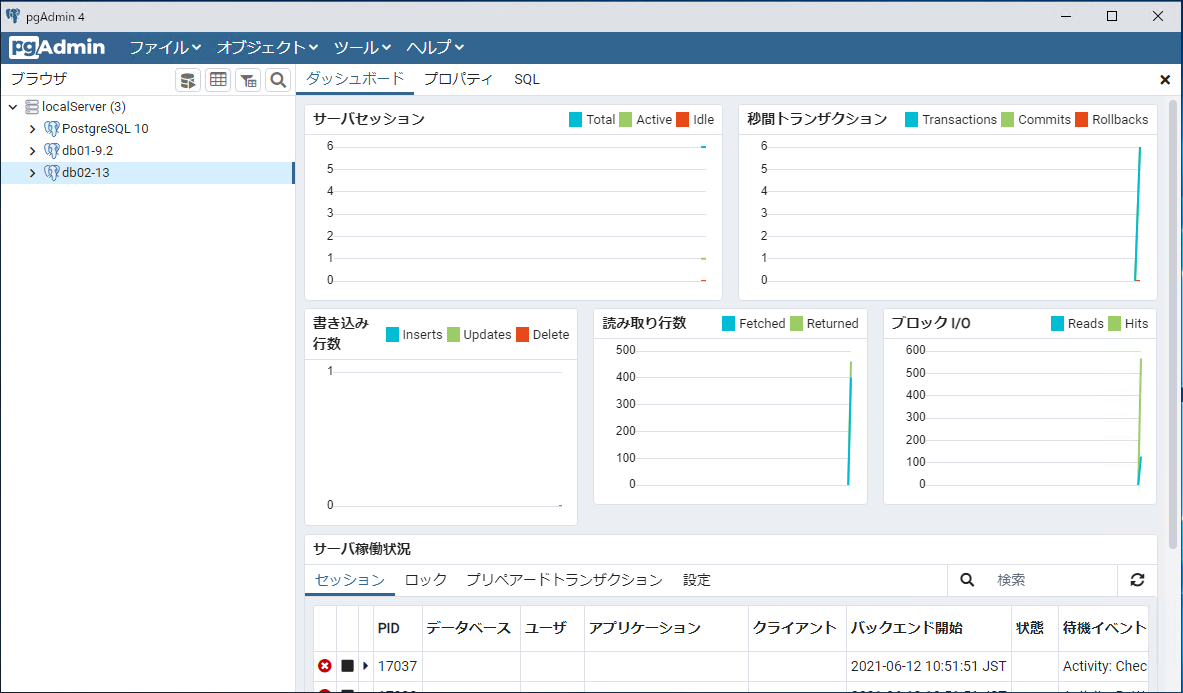
なお、接続タブのパスワードについてはtrust認証のため無入力としています。
