この記事について
職場の後輩向けに書いた「環境構築手順書」です。「理解すること」や「セキュリティ」は後回しにして、まずは動かしてみることに特化させた記事となっています。
なお、筆者は業務での WEB アプリ開発経験がありませんので、手順の誤りや勘違いが含まれている可能性があります。記事中に誤記や手順の誤りを見つけられた方は、編集リクエストやコメントでご指摘いただけると嬉しいです。
対象者
この記事は以下の様な方を想定して書いています。
- WEBアプリ開発の学習を始めたい人
- 過去に学習用の開発環境構築で挫折した人
VSCode 拡張機能のインストール
VSCode に以下の拡張機能を事前にインストールしておいてください。
Ubuntu 20.04 のインストール on WSL2
@slangsoft さんの記事を参考に、distrod でサクッとインストールします。
cd c:\tools
./distrod_wsl_launcher.exe -d Ubuntu20
システムの最新化 ( おまじない )
sudo apt update
# Get:1 http://security.ubuntu.com/ubuntu focal-security InRelease [114 kB]
#   :
# All packages are up to date.
sudo apt upgrade
# Reading package lists... Done
#   :
# 0 upgraded, 0 newly installed, 0 to remove and 0 not upgraded.
必要なパッケージのインストール
sudo apt -y install wget mysql-server mysql-client python-dev default-libmysqlclient-dev
MySQL の設定
MySQL の root ユーザーにパスワードを設定
{password} を設定するパスワードに置き換えてください。
sudo mysql -uroot
mysql> ALTER USER 'root'@'localhost' IDENTIFIED WITH mysql_native_password by '{password}';
# Query OK, 0 rows affected (0.01 sec)
mysql> quit
MySQL の初期設定
sudo mysql_secure_installation
# Securing the MySQL server deployment.
Enter password for user root: # {password} + Enter
#
# VALIDATE PASSWORD COMPONENT can be used to test passwords
# and improve security. It checks the strength of password
# and allows the users to set only those passwords which are
# secure enough. Would you like to setup VALIDATE PASSWORD component?
#
Press y|Y for Yes, any other key for No: # y + Enter
#
# There are three levels of password validation policy:
#
# LOW    Length >= 8
# MEDIUM Length >= 8, numeric, mixed case, and special characters
# STRONG Length >= 8, numeric, mixed case, special characters and dictionary file
#
Please enter 0 = LOW, 1 = MEDIUM and 2 = STRONG: # 0 + Enter
# Using existing password for root.
#
# Estimated strength of the password: 0
Change the password for root ? ((Press y|Y for Yes, any other key for No) : # n + Enter
#
#  ... skipping.
# By default, a MySQL installation has an anonymous user,
# allowing anyone to log into MySQL without having to have
# a user account created for them. This is intended only for
# testing, and to make the installation go a bit smoother.
# You should remove them before moving into a production
# environment.
#
Remove anonymous users? (Press y|Y for Yes, any other key for No) : # y + Enter
# Success.
#
# Normally, root should only be allowed to connect from
# 'localhost'. This ensures that someone cannot guess at
# the root password from the network.
#
Disallow root login remotely? (Press y|Y for Yes, any other key for No) : # y + Enter
# Success.
#
# By default, MySQL comes with a database named 'test' that
# anyone can access. This is also intended only for testing,
# and should be removed before moving into a production
# environment.
#
Remove test database and access to it? (Press y|Y for Yes, any other key for No) : # y + Enter
#  - Dropping test database...
# Success.
#
#  - Removing privileges on test database...
# Success.
#
# Reloading the privilege tables will ensure that all changes
# made so far will take effect immediately.
#
Reload privilege tables now? (Press y|Y for Yes, any other key for No) : # y + Enter
# Success.
#
# All done!
MySQL 接続用ユーザーの作成
{username} を作成するユーザー名に、{password} を設定するパスワードに置き換えてください。
sudo mysql -p
mysql> CREATE USER {username}@'%' IDENTIFIED BY '{password}';
# Query OK, 0 rows affected (0.03 sec)
mysql> grant all on *.* to {username}@'%';
# Query OK, 0 rows affected (0.03 sec)
mysql> quit
pip / venv のインストール
インストールされている Python のバージョンを確認
python3 -V
# Python 3.8.10
pip と venv のインストール
sudo apt -y install python3-pip python3-venv
サンプルプロジェクトの作成
プロジェクトディレクトリの作成
mkdir ~/django-sample
cd ~/django-sample
仮想環境の作成
# 仮想環境名 : sample_env
python3 -m venv sample_env
# 仮想環境をアクティブ化
source sample_env/bin/activate
Django のインストール
pip install django
django-admin --version
# 4.0.5
Django プロジェクトの生成
django-admin startproject djangoproject .
mysqlclient のインストール
大量のエラーが表示される場合がありますが、最後に Successfully installed mysqlclient-X.X.X が表示されていれば問題ありません。
pip install mysqlclient
# Collecting mysqlclient
#   Using cached mysqlclient-2.1.0.tar.gz (87 kB)
# Building wheels for collected packages: mysqlclient
#   Building wheel for mysqlclient (setup.py) ... error
#   ERROR: Command errored out with exit status 1:
#    :
# Failed to build mysqlclient
# Installing collected packages: mysqlclient
#     Running setup.py install for mysqlclient ... done
# Successfully installed mysqlclient-2.1.0
使用するデータベースの変更 ( SQLite to MySQL )
vim ~/django-sample/djangoproject/settings.py
DATABASES セクションを以下の様に修正
{username} と {password} は「MySQL 接続用ユーザーの作成」で作成したユーザー名とパスワードに読み替えてください。
DATABASES = {
    'default': {
-        'ENGINE': 'django.db.backends.sqlite3',
-        'NAME': BASE_DIR / 'db.sqlite3',
+        'ENGINE': 'django.db.backends.mysql',
+        'NAME': 'mysql',
+        'USER': '{username}',
+        'PASSWORD': '{password}',
    }
}
マイグレーションの実行
python manage.py migrate
# Operations to perform:
#   Apply all migrations: admin, auth, contenttypes, sessions
# Running migrations:
#   Applying contenttypes.0001_initial... OK
#   Applying auth.0001_initial... OK
#    :
#   Applying sessions.0001_initial... OK
Djano 管理インターフェース用のユーザー作成
画面の指示に従って「ユーザー名」「メールアドレス」「パスワード」を設定してください。
python manage.py createsuperuser
ALLOWED_HOSTS ( 接続を許可するホスト ) の設定
学習用環境のため、ここでは「全てのホストを許可」に設定しています。
vim ~/django-sample/djangoproject/settings.py
- ALLOWED_HOSTS = []
+ ALLOWED_HOSTS = ['*']
Ubuntu の IP アドレスを確認
以下の例では 172.27.227.36 が Ubuntu ( サーバー ) の IP アドレスになります。
ip addr | grep eth0
# 4: eth0: <BROADCAST,MULTICAST,UP,LOWER_UP> mtu 1500 qdisc mq state UP group default qlen 1000
#     inet 172.27.227.36/20 brd 172.27.239.255 scope global eth0
開発サーバーの起動
上記手順で確認した IP アドレスの 8000 番ポートで開発サーバーを起動します。
python manage.py runserver 172.27.227.36:8000
# Watching for file changes with StatReloader
# Performing system checks...
#
# System check identified no issues (0 silenced).
# June 22, 2022 - 14:03:45
# Django version 4.0.5, using settings 'djangoproject.settings'
# Starting development server at http://172.27.227.36:8000/
# Quit the server with CONTROL-C.
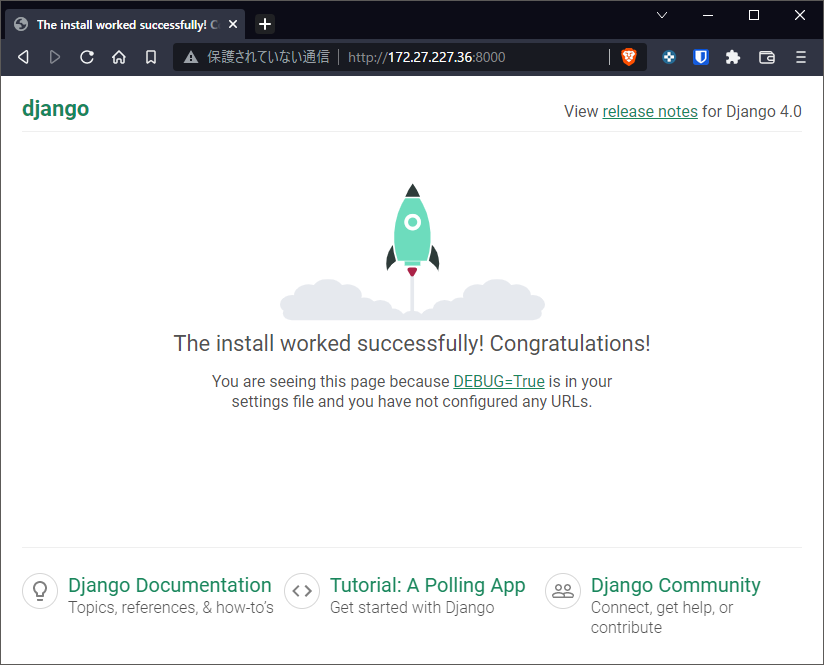
ホストマシン ( Windows ) のブラウザで http://172.27.227.36:8000/ にアクセスして、下図のような画面が表示されたら成功です。
Djano 管理インターフェースの確認
ホストマシン ( Windows ) のブラウザで http://172.27.227.36:8000/admin/ にアクセスし、「Djano 管理インターフェース用のユーザー作成」で作成した「ユーザー名」と「パスワード」を使ってログインします。


コードの編集
開発サーバーを起動したターミナルとは別に、新しいターミナルを開いて以下のコマンドを実行します。これでホストマシン ( Windows ) 上で VSCode が起動します。
cd ~/django-sample
code .
開発サーバーの停止
サーバー起動コマンドを入力したターミナル上で ctrl + c を入力することで停止できます。
# ctrl + c
仮想環境 ( sample_env ) から抜ける
deactivate