以前、Nuxt(v2.4未満) + Typescriptセットアップを書いたが、
Nuxtがv2.4以降公式にTypescriptをサポートしたので、新規のアプリケーションのセットアップをやってみた。
このエントリの結果できあがる構成の
2019/06/10 時点での主なモジュールのバージョンは次の通り。
- nuxt: 2.8.1
- typescript: 3.5.1
- pug: 2.0.3
- node-sass: 4.12.0
アプリケーションの作成
準備として、Node.js、Yarnのインストールが必要がだけど、そこは割愛。
次のコマンドでアプリケーションの初期化を行う。
$ yarn create nuxt-app nuxt-ts-example
上記コマンドを実行するといくつか質問される。
作成するアプリケーションの要件に応じて答えれば良いと思う。
ここでは次の様に答えて作業を進める。
? Project name nuxt-ts-example
? Project description My beautiful Nuxt.js project
? Use a custom server framework none
? Choose features to install Progressive Web App (PWA) Support, Linter / Formatter, Prettier, Axios
? Use a custom UI framework none
? Use a custom test framework jest
? Choose rendering mode Single Page App
? Author name HeRo
? Choose a package manager yarn
答え終わるとモジュールのダウンロードなどのアプリケーションの初期化が実行される。
処理が終了すると次のメッセージが出力される。
  To get started:

	cd nuxt-ts-example
	yarn run dev

  To build & start for production:

	cd nuxt-ts-example
	yarn run build
	yarn start

  To test:

	cd nuxt-ts-example
	yarn run test
上から順に開発サーバの起動方法、ビルド方法、テストの実行法を示している。
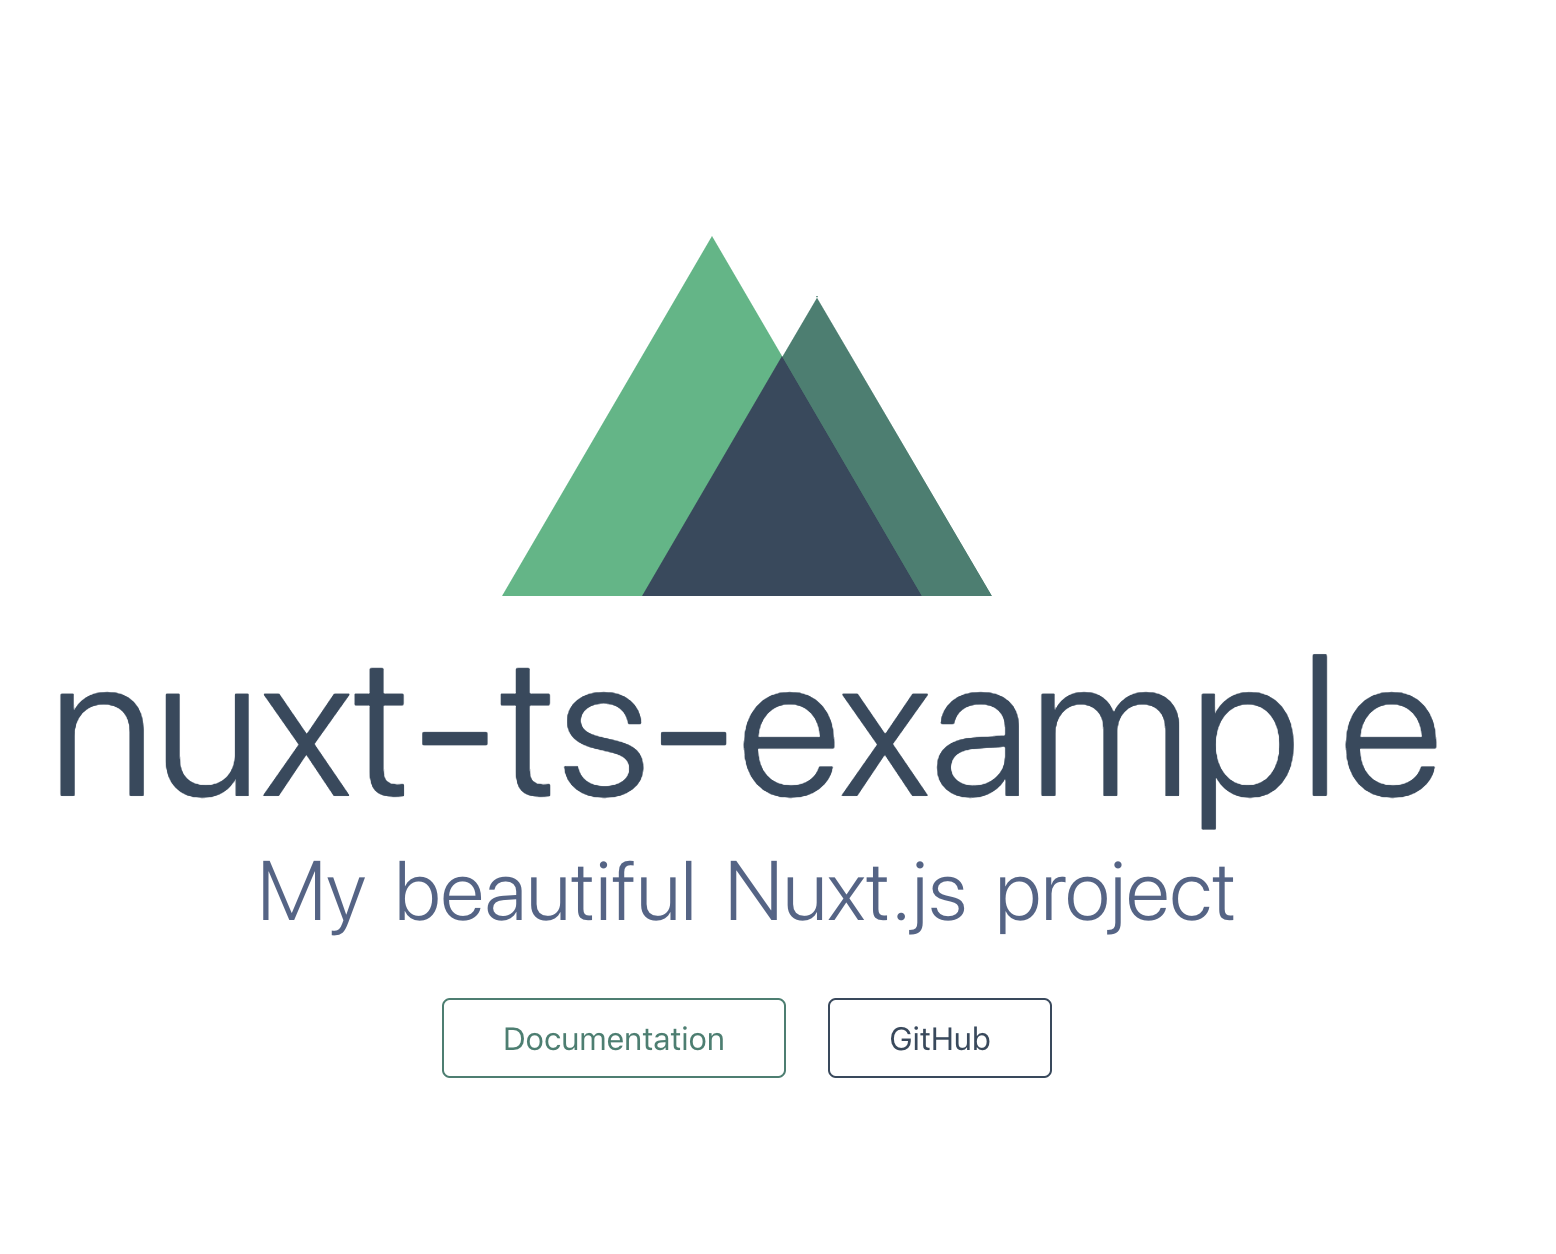
初期化されたアプリケーションをyarn run devを実行して確認してみる。
デフォルトのままだと、http://localhost:3000/にアクセスすれば次のページが開く。
Typescriptの導入
Typescript化に必要なモジュールを次のコマンドでインストールする。
*nuxt-property-decorator*は必須ではないが、Typescriptを導入するならVueモジュールもClassで実装したほうがいいだろう。その場合に役立つ。
$ yarn add -D @nuxt/typescript
$ yarn add ts-node nuxt-property-decorator
$ touch tsconfig.json
tsconfig.jsonはyarn run devを実行すれば空ファイルに中身が書き込まれる。
nuxt.config.js -> nuxt.config.ts
必須ではないのだが、型チェックを受けられるのでnuxt.config.jsをTS化しておく。
公式ドキュメントに記載されている通り、拡張子を.tsに変更する。
$ mv nuxt.config.js nuxt.config.ts
型チェックのためにnuxt.config.tsを次の様に書き換える
import NuxtConfiguration from '@nuxt/config'

const config: NuxtConfiguration = {
  // コンフィグ
}

export default config
モジュールコードのTypescript化
これも必須ではないけれど、pages/index.vueのスクリプト部分をTS化してみる。
<script>
import Logo from '~/components/Logo.vue'

export default {
  components: {
    Logo
  }
}
</script>
上記部分を次の様に書き換えれば良い
<script lang="ts">
import { Component, Vue } from 'nuxt-property-decorator'
import Logo from '~/components/Logo.vue'

@Component({
  components: { logo: Logo }
})
class Index extends Vue {}
export default Index
</script>
Pugの導入
まずは必要なモジュールのインストール。
次のコマンドを実行する。
$ yarn add -D pug pug-plain-loader
あとは、各モジュールの<template>部分をPugで書き換えれば良い。
html2pug - convert your html code to pugなどを使うと簡単。
例としてpages/index.vueのPug化例を以下に示す。
<template>
  <div class="container">
    <div>
      <logo />
      <h1 class="title">
        nuxt-ts-example
      </h1>
      <h2 class="subtitle">
        My beautiful Nuxt.js project
      </h2>
      <div class="links">
        <a href="https://nuxtjs.org/" target="_blank" class="button--green"
          >Documentation</a
        >
        <a
          href="https://github.com/nuxt/nuxt.js"
          target="_blank"
          class="button--grey"
          >GitHub</a
        >
      </div>
    </div>
  </div>
</template>
上記のHTMLを次の様に書き換えれば良い
<template lang="pug">
.container
  div
    logo
    h1.title
      | nuxt-ts-example
    h2.subtitle
      | My beautiful Nuxt.js project
    .links
      a.button--green(href="https://nuxtjs.org/" target="_blank") Documentation
      a.button--grey(href="https://github.com/nuxt/nuxt.js" target="_blank") GitHub
</template>
Sassの導入
必要なモジュールをインストールするには次のコマンドを実行する。
$ yarn add -D node-sass sass-loader
あとはやはり各コンポーネントの<style>部分をSASSで書き換えていくだけ。
css2sass | Convert CSS Snippets to Syntactically Awesome StyleSheets codeなどを使えばサクッと変換できる。
以下にpages/index.vueのSASS化の例を示す。
<style>
.container {
  margin: 0 auto;
  min-height: 100vh;
  display: flex;
  justify-content: center;
  align-items: center;
  text-align: center;
}

.title {
  font-family: 'Quicksand', 'Source Sans Pro', -apple-system, BlinkMacSystemFont,
    'Segoe UI', Roboto, 'Helvetica Neue', Arial, sans-serif;
  display: block;
  font-weight: 300;
  font-size: 100px;
  color: #35495e;
  letter-spacing: 1px;
}

.subtitle {
  font-weight: 300;
  font-size: 42px;
  color: #526488;
  word-spacing: 5px;
  padding-bottom: 15px;
}

.links {
  padding-top: 15px;
}
</style>
上記を以下のように書き換えれば良い。
<style lang="sass">
.container
  margin: 0 auto
  min-height: 100vh
  display: flex
  justify-content: center
  align-items: center
  text-align: center

.title
  font-family: 'Quicksand', 'Source Sans Pro', -apple-system, BlinkMacSystemFont, 'Segoe UI', Roboto, 'Helvetica Neue', Arial, sans-serif
  display: block
  font-weight: 300
  font-size: 100px
  color: #35495e
  letter-spacing: 1px

.subtitle
  font-weight: 300
  font-size: 42px
  color: #526488
  word-spacing: 5px
  padding-bottom: 15px

.links
  padding-top: 15px
</style>
まとめ
公式にTypescriptがサポートされたことにより、以前より簡単にTS化できるようになった。
PugもSASSも必要なモジュールをインストールするだけで特に設定せず使えて簡単。