はじめに
みなさんこんにちわ!
Flutterを学び始めて1ヶ月の新米エンジニアのはるさんです。
現在携わっている仕事にて、『 画面のスクリーンショット&録画を禁止する方法』 について
調査する機会がありました。
いわゆる漫画などのビューワーアプリや映像のビューワーアプリ、機密情報が載っているページなど
その画面の情報が撮影ないしは録画されてはいけないものがあると思います。
調査の結果、screen_protectorというパッケージを使えば簡単に実装することが
できるとわかりました。
その実装方法や原理について簡単にまとめてお話ししたいと思います。
尚、私はもともとSwiftを使ったiOSアプリケーション開発の学習者です。
UIKit半年、SwiftUI半年学習してきました。
そどちらかうというとiOS側からの視点で説明していきたいと思います。
記事の対象者
- Flutterを学習し始めた方
- 元々はSwiftをメインで学習していた方
記事を執筆時点での筆者の環境
- macOS 14.3.1
- Xcode 15.2
- Swift 5.9
- iPhone11 pro ⇒ iOS 17.2.1
- Flutter 3.19.0
- Dart 3.3.0
- IDE ⇒ VSCode
- Pixel 7a ⇒ Android 13
1. Flutterでスクリーンショットと画面録画の防止
1-1. screen_protector概要
まずは基本的な使い方から。
pubspec.yamlに以下を記述して保存ボタンを実行し、パッケージをインストールしましょう
dependencies:
  screen_protector:
  flutter:
    sdk: flutter
もしくは以下のコマンドをターミナルで実行しましょう
flutter pub add screen_protector
使い方は簡単です。
基本的には実装したい画面でパッケージをインポートし、実装するメソッドを呼び出すだけです。
以下では例としてStatefulWidgetの画面を初期化するタイミングで画面保護の機能を実行しています。
そして画面を離れるタイミングで機能の破棄を実行しています。
import 'package:flutter/material.dart';
import 'package:screen_protector/screen_protector.dart';

class PreventScreenshotOnPage extends StatefulWidget {
  const PreventScreenshotOnPage({super.key});

  @override
  State<PreventScreenshotOnPage> createState() =>
      _PreventScreenshotOnPageState();
}

class _PreventScreenshotOnPageState extends State<PreventScreenshotOnPage> {
  @override
  void initState() {
    super.initState();
    // 💡 画面保護メソッドをオン
    ScreenProtector.preventScreenshotOn();
  }

  @override
  void dispose() {
    super.dispose();
    // 💡 画面保護メソッドをオフ
    ScreenProtector.preventScreenshotOff();
  }

   @override
  Widget build(BuildContext context) {
    return Scaffold(
    // 省略 ....
}
READMEには以下のように書かれています。
しかし、initStateとdisposeはともにasyncメソッドにできません。
今回のケースでは無理にawaitさせる必要がないため、上記で示したように
awaitを外してそのまま定義しています。
// このとうりに実行するとエラーになります
class _PreventScreenshotPageState extends State<MyApp> {

  @override
  void initState() async {
    await ScreenProtector.preventScreenshotOn();
    super.initState();
  }

  @override
  void dispose() async {
    await ScreenProtector.preventScreenshotOff();
    super.dispose();
  }
}
補足
メソッドの実行は任意のタイミングで大丈夫です。
例) ボタンをタップした時や、メイン関数で実行してアプリ全体に効果をつけるなど
screen_protectorの基本機能はREADMEを読むといくつかあります。
しかし、iOSとAndroidの両方に対応しているもの、片方にしか対応していないものがあるので注意が必要です。
機能の対応をわかりやすく一覧でまとめてくださっている記事がありますので
詳しくはそちらをご覧ください。
しっかりとしたコンテンツ保護を考えるのであれば次の機能を実装すれば良いと個人的には考えています。
1-2. preventScreenshotOn();
このメソッドを実行すると、iOS、Androidでともに以下を実現します。
- 画面のスクリーンショットと画面録画の結果を黒塗りにします
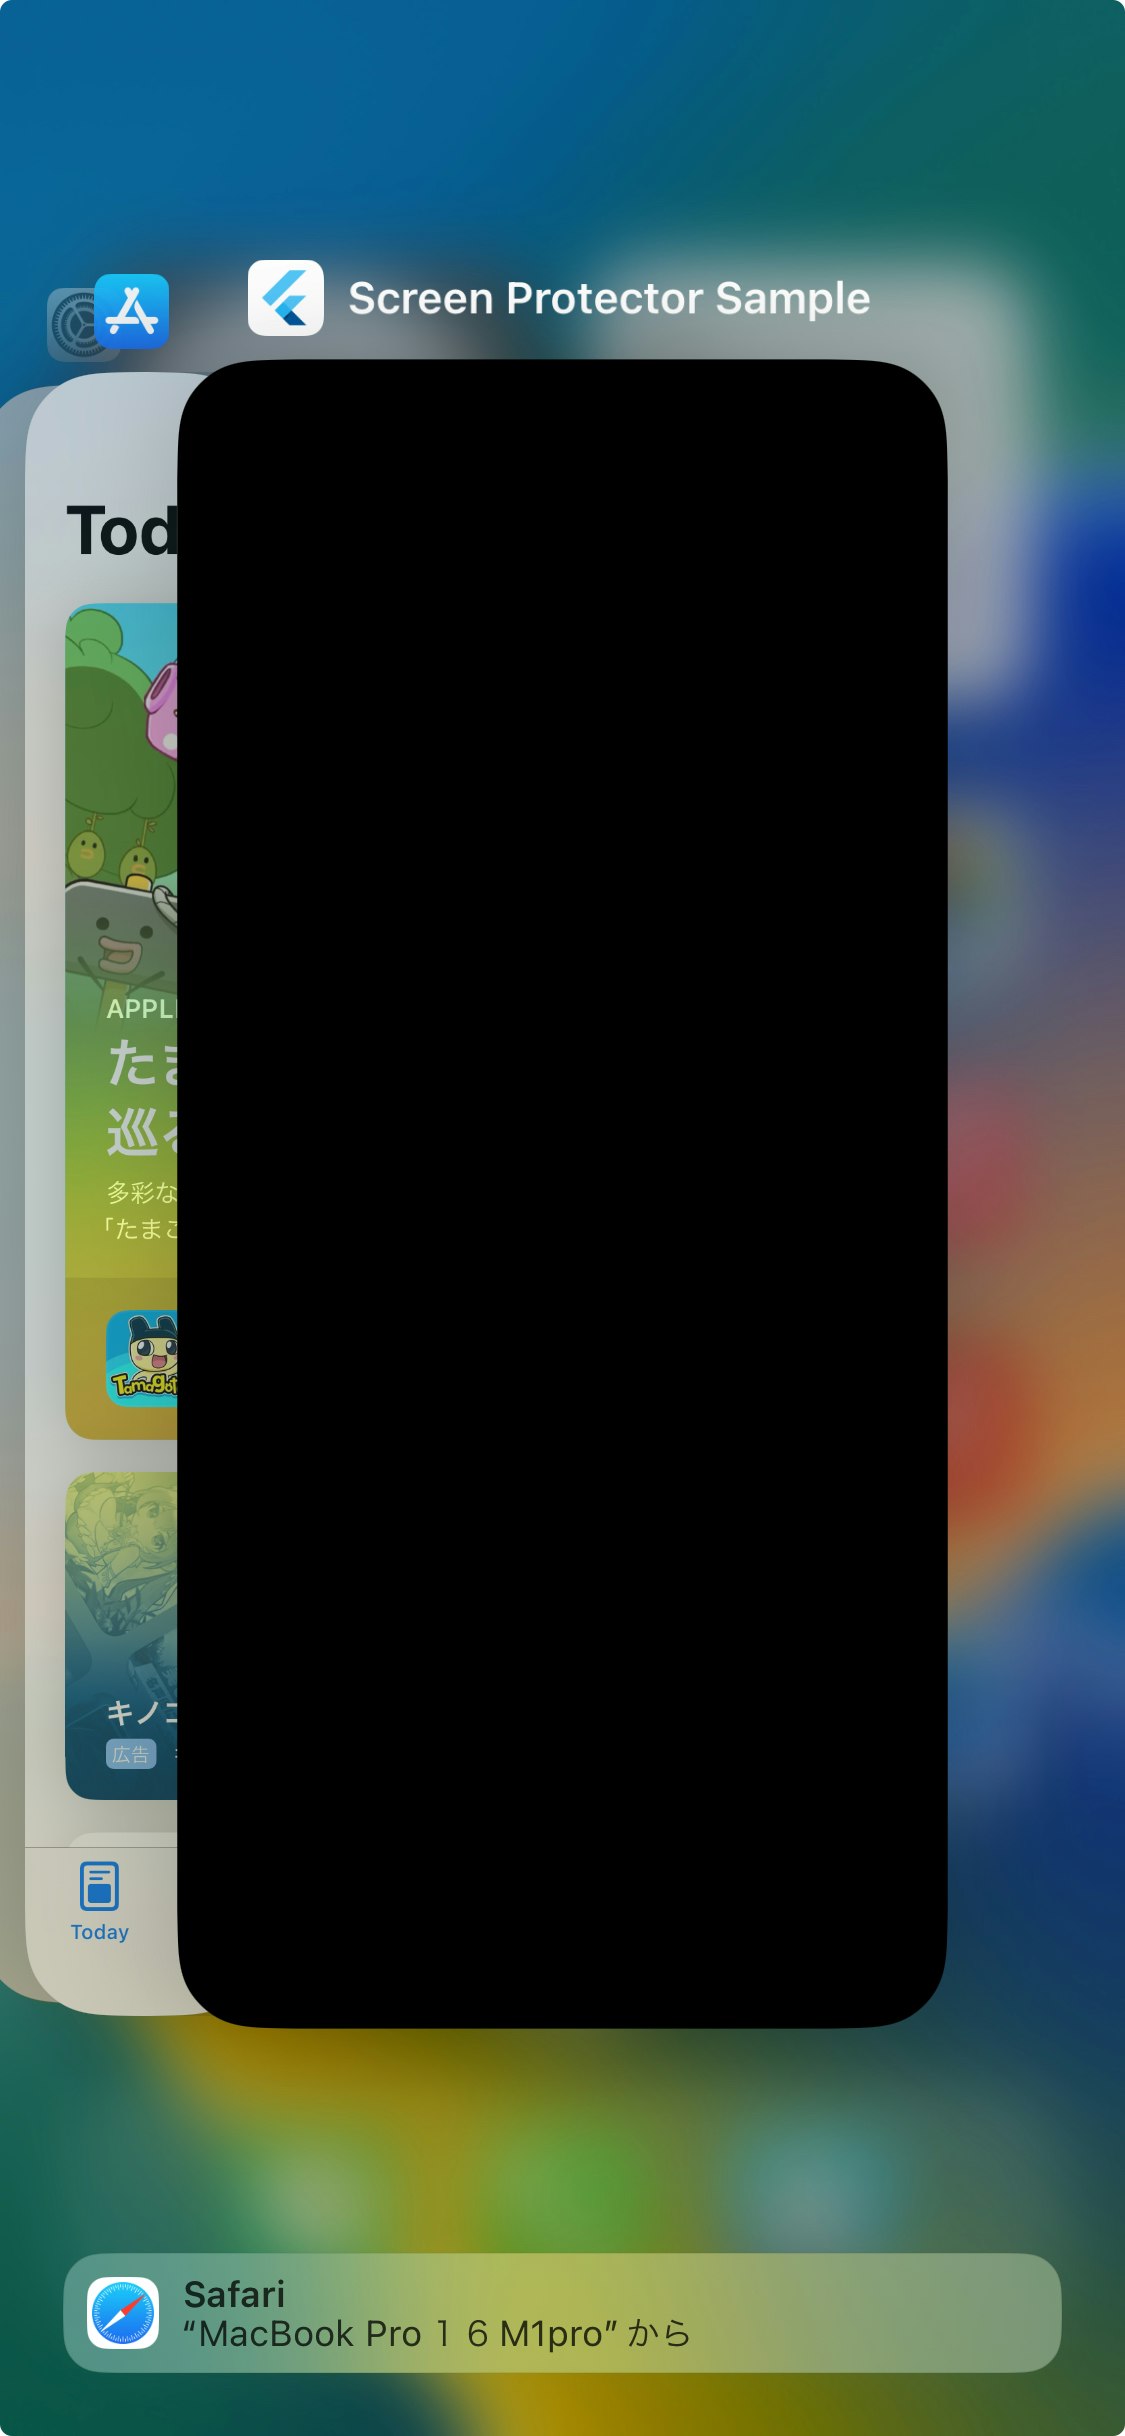
- iOSではマルチタスク画面でのスクリーンショットと画面録画の結果を対象アプリだけ黒塗りにします
- Andoridはタスクマネージャー画面でスクショしようとすると警告が出てブロックされます
ソースコード (タップするとコードが展開されます)
import 'package:flutter/material.dart';
import 'package:screen_protector/screen_protector.dart';

class PreventScreenshotOnPage extends StatefulWidget {
  const PreventScreenshotOnPage({super.key});

  @override
  State<PreventScreenshotOnPage> createState() =>
      _PreventScreenshotOnPageState();
}

class _PreventScreenshotOnPageState extends State<PreventScreenshotOnPage> {
  @override
  void initState() {
    super.initState();
    // 💡 画面保護メソッドをオン
    ScreenProtector.preventScreenshotOn();
  }

  @override
  void dispose() {
    super.dispose();
    // 💡 画面保護メソッドをオフ
    ScreenProtector.preventScreenshotOff();
  }

  @override
  Widget build(BuildContext context) {
  // 省略
  }
}
iOSでアプリをスクリーンショット
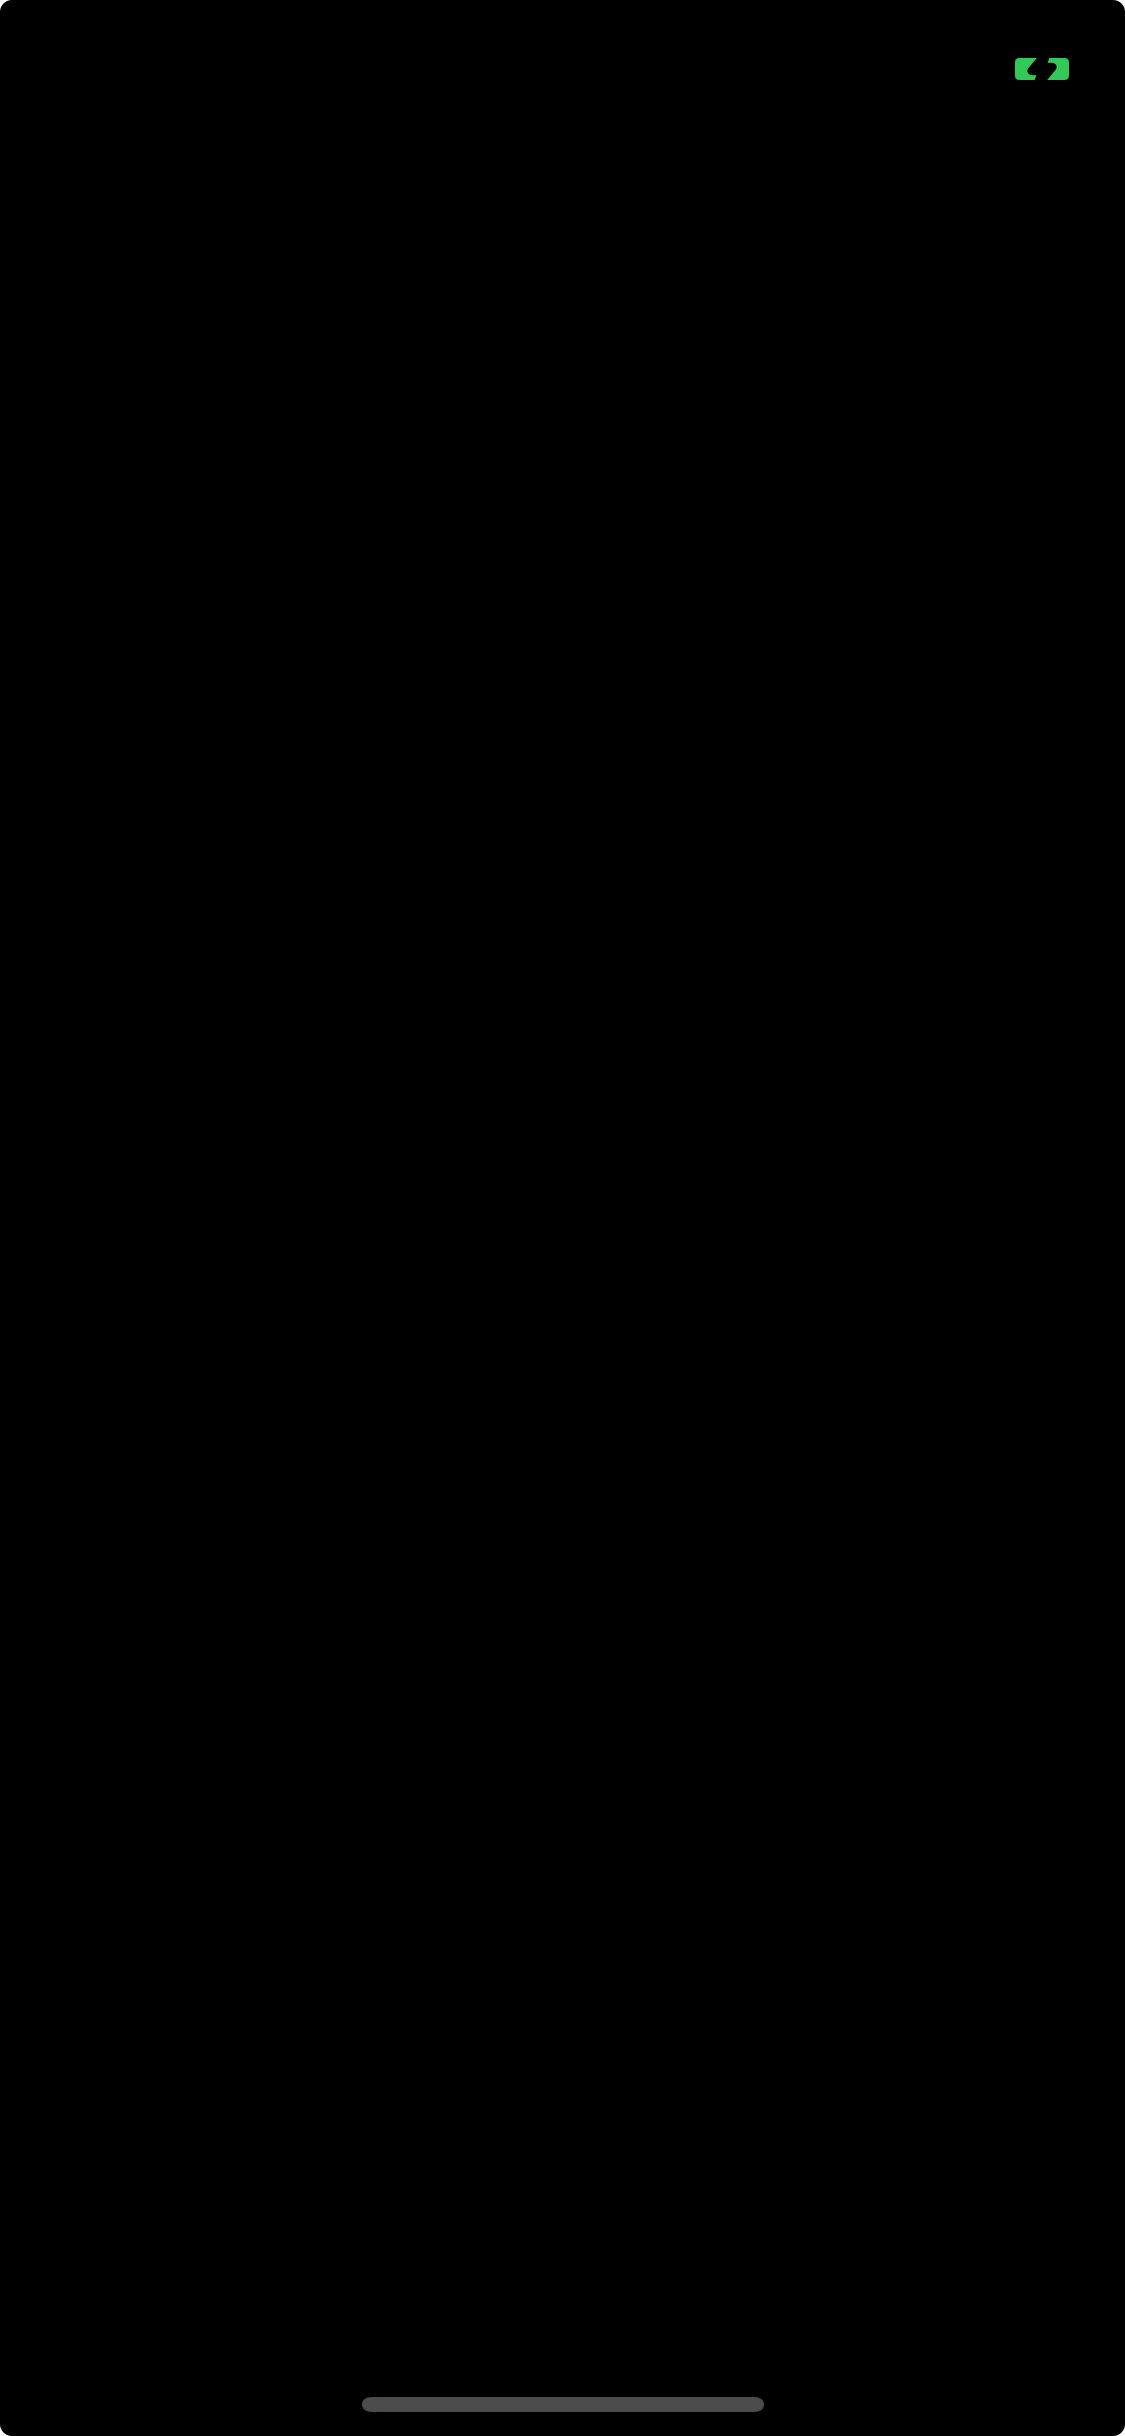
補足
- 画面録画も同じように黒塗りになります
- Androidも同じようなります
iOSでマルチタスク画面をスクリーンショット
Androidでマルチタスク画面をスクリーンショット

しかし、以下の点では対応できていません。
iOS
- マルチタスク画面を表示している時(非撮影時)はそのまま表示される

Android
- アプリ自身からタスクマネージャーを表示した場合はそのまま表示される

- 別アプリまたはホーム画面からタスクマネージャーを開いた場合は黒塗りされる

Androidは自身のアプリからタスクマネージャーを開いた場合以外、画面が黒塗りになっています。
現時点においてはscreen_protectorですべての場合に画面を黒塗りで表示することには対応できません。
ただ、先に述べたように他アプリ、またはホーム画面からタスクマネージャーを開いた場合には
アプリ画面は黒塗りで表示されているため、ほぼ保護ができていると言えるでしょう。
1-3. protectDataLeakageWithColor();
このメソッドはiOS側にだけ有効なメソッドです。
このメソッドを実行するとマルチタスク画面を表示した際に指定した色で塗り替えられます。
今回は試しにカラーをColors.blueにしています。
Android側では色が指定できないので、統一感を出すなら黒にしておいた方が無難かもしれません。
ソースコード (タップするとコードが展開されます)
import 'package:flutter/material.dart';
import 'package:screen_protector/screen_protector.dart';

class ProtectDataLeakageWithColorPage extends StatefulWidget {
  const ProtectDataLeakageWithColorPage({super.key});

  @override
  State<ProtectDataLeakageWithColorPage> createState() =>
      _ProtectDataLeakageWithColorPageState();
}

class _ProtectDataLeakageWithColorPageState
    extends State<ProtectDataLeakageWithColorPage> {
  @override
  void initState() {
    super.initState();
    // 💡 機能をオン
    ScreenProtector.protectDataLeakageWithColor(Colors.blue);
  }

  @override
  void dispose() {
    super.dispose();
    // 💡 機能をオフ
    ScreenProtector.protectDataLeakageWithColorOff();
  }

  @override
  Widget build(BuildContext context) {
  // 省略
  }
}

1-4. 私的なベストプラクティス
以上を踏まえると1-1と1-2で上げたメソッドを合わせた実装がベストと考えています。
import 'package:flutter/material.dart';
import 'package:screen_protector/screen_protector.dart';

class MyBestPage extends StatefulWidget {
  const MyBestPage({super.key});

  @override
  State<MyBestPage> createState() => _MyBestPageState();
}

class _MyBestPageState extends State<MyBestPage> {
  @override
  void initState() {
    // 💡 機能をオン
    super.initState();
    ScreenProtector.preventScreenshotOn();
    ScreenProtector.protectDataLeakageWithColor(Colors.black);
  }

  @override
  void dispose() {
    // 💡 機能をオフ
    super.dispose();
    ScreenProtector.preventScreenshotOff();
    ScreenProtector.protectDataLeakageWithColorOff();
  }

  @override
  Widget build(BuildContext context) {
    // 以下省略
    }
  }
全体のソースコード (タップするとコードが展開されます)
import 'package:flutter/material.dart';
import 'package:screen_protector/screen_protector.dart';

void main() {
  runApp(const App());
}

class App extends StatelessWidget {
  const App({super.key});

  @override
  Widget build(BuildContext context) {
    return const MaterialApp(home: HomePage());
  }
}

/// ホーム画面
class HomePage extends StatefulWidget {
  const HomePage({super.key});

  @override
  State<HomePage> createState() => _HomePageState();
}

class _HomePageState extends State<HomePage> {
  Color bgColor = Colors.white;

  @override
  Widget build(BuildContext context) {
    return Scaffold(
      appBar: AppBar(
        title: const Text('HomePage'),
      ),
      body: Container(
        color: bgColor,
        child: Column(
          mainAxisAlignment: MainAxisAlignment.spaceEvenly,
          children: [
            ElevatedButton(
                onPressed: () {
                  Navigator.push(
                      context,
                      MaterialPageRoute(
                          builder: (context) =>
                              const PreventScreenshotOnPage()));
                },
                child: const Text('PreventScreenshotOnPage')),
            ElevatedButton(
                onPressed: () {
                  Navigator.push(
                      context,
                      MaterialPageRoute(
                          builder: (context) =>
                              const ProtectDataLeakageWithColorPage()));
                },
                child: const Text('ProtectDataLeakageWithColorPage')),
            ElevatedButton(
                onPressed: () {
                  Navigator.push(
                      context,
                      MaterialPageRoute(
                          builder: (context) => const MyBestPage()));
                },
                child: const Text('MyBestPage'))
          ],
        ),
      ),
    );
  }
}

class PreventScreenshotOnPage extends StatefulWidget {
  const PreventScreenshotOnPage({super.key});

  @override
  State<PreventScreenshotOnPage> createState() =>
      _PreventScreenshotOnPageState();
}

class _PreventScreenshotOnPageState extends State<PreventScreenshotOnPage> {
  @override
  void initState() {
    super.initState();
    // 💡 画面保護メソッドをオン
    ScreenProtector.preventScreenshotOn();
  }

  @override
  void dispose() {
    super.dispose();
    // 💡 画面保護メソッドをオフ
    ScreenProtector.preventScreenshotOff();
  }

  @override
  Widget build(BuildContext context) {
    return Scaffold(
      appBar: AppBar(
        title: const Text('PreventScreenshotOnPage'),
      ),
      body: Center(
          child: Container(
              padding: const EdgeInsets.symmetric(horizontal: 50),
              child: const Column(
                mainAxisAlignment: MainAxisAlignment.center,
                children: [
                  Padding(
                    padding: EdgeInsets.only(bottom: 30),
                    child: Text(
                        'iOS\nスクショと画面収録は黒塗りになる\nマルチタスク画面のスクショ&録画も黒塗りされる\nマルチタスク画面の表示は【黒塗りされない】'),
                  ),
                  Text(
                      'Android\nスクショと画面収録は黒塗りになる\nマルチタスク画面の撮影&録画はシステムでブロック\nマルチタスク画面の最初の表示は【黒塗りされない】\n別アプリからのマルチタスク画面は【黒塗りされる】'),
                ],
              ))),
    );
  }
}

class ProtectDataLeakageWithColorPage extends StatefulWidget {
  const ProtectDataLeakageWithColorPage({super.key});

  @override
  State<ProtectDataLeakageWithColorPage> createState() =>
      _ProtectDataLeakageWithColorPageState();
}

class _ProtectDataLeakageWithColorPageState
    extends State<ProtectDataLeakageWithColorPage> {
  @override
  void initState() {
    super.initState();
    // 💡 機能をオン
    ScreenProtector.protectDataLeakageWithColor(Colors.blue);
  }

  @override
  void dispose() {
    super.dispose();
    // 💡 機能をオフ
    ScreenProtector.protectDataLeakageWithColorOff();
  }

  @override
  Widget build(BuildContext context) {
    return Scaffold(
      appBar: AppBar(
        title: const Text('ProtectDataLeakageWithColorPage'),
      ),
      body: Center(
          child: Container(
              padding: const EdgeInsets.symmetric(horizontal: 50),
              child: const Column(
                mainAxisAlignment: MainAxisAlignment.center,
                crossAxisAlignment: CrossAxisAlignment.start,
                children: [
                  Padding(
                    padding: EdgeInsets.only(bottom: 30),
                    child: Text('iOS\nマルチタスク画面の【表示が青になる】'),
                  ),
                  Text('Android\n影響なし'),
                ],
              ))),
    );
  }
}

class MyBestPage extends StatefulWidget {
  const MyBestPage({super.key});

  @override
  State<MyBestPage> createState() => _MyBestPageState();
}

class _MyBestPageState extends State<MyBestPage> {
  @override
  void initState() {
    // 💡 機能をオン
    super.initState();
    ScreenProtector.preventScreenshotOn();
    ScreenProtector.protectDataLeakageWithColor(Colors.black);
  }

  @override
  void dispose() {
    super.dispose();
    // 💡 機能をオフ
    ScreenProtector.preventScreenshotOff();
    ScreenProtector.protectDataLeakageWithColorOff();
  }

  @override
  Widget build(BuildContext context) {
    return Scaffold(
      appBar: AppBar(
        title: const Text('MyBestPage'),
      ),
      body: Center(
          child: Container(
              padding: const EdgeInsets.symmetric(horizontal: 50),
              child: const Column(
                mainAxisAlignment: MainAxisAlignment.center,
                crossAxisAlignment: CrossAxisAlignment.start,
                children: [
                  Padding(
                    padding: EdgeInsets.only(bottom: 30),
                    child: Text(
                        'iOS\nスクショと画面収録は黒塗りになる\nマルチタスク画面のスクショ&録画も黒塗りされる\nマルチタスク画面の表示は【黒塗りされる】'),
                  ),
                  Text(
                      'Android\nスクショと画面収録は黒塗りになる\nマルチタスク画面の撮影&録画はシステムでブロック\nマルチタスク画面の最初の表示は【黒塗りされない】\n別アプリからのマルチタスク画面は【黒塗りされる】'),
                ],
              ))),
    );
  }
}
GitHubでも公開しています
2. Androidでネイティブ実装するには?
ではネイティブで実装するにはどうしているのでしょう?
Androidの場合はすごく簡単で、OSが用意したフラグを切り替えるだけで実装できます。
以下のコードをActivityに設定するだけのようです。
override fun onCreate(savedInstanceState: Bundle?) {
    super.onCreate(savedInstanceState)
    window.setFlags(
        WindowManager.LayoutParams.FLAG_SECURE,
        WindowManager.LayoutParams.FLAG_SECURE
    )
}
3. iOSで実装するには?
iOSは複雑です。まず、純粋に機能を制限するフラグは存在しません。
スクリーンショットの撮影を検知する方法や動画撮影を検知する方法はあります。
しかし、いずれも撮影後に検知するため画像を元から黒塗りにすることができません。
ではどうするかというと、UITextFieldのパスワード入力モード機能を応用します。
UITextFieldは一般的に文字を入力するFlutterでも使うTextFieldと同じ
UIパーツです。
その中のパラメータであるisSecureTextEntry をtrueにすると
パスワードを入力するフィールドと認識され、スクリーンショットや画面録画時に画面を
黒塗りにするという仕様があります。
以下の記事を読んで実装方法の糸口を知ることになりました。
3-1. ScreenProtectorKitから原理を学ぶ
screen_protectorパッケージがiOS用の処理を記述しているライブラリーである
ScreenProtectorKitのソースコード読むと理解が深まりました。
以下はライブラリーのソースコードの一部抜粋になります。
各処理についてコメントを入れてみました。
import UIKit

public class ScreenProtectorKit {

  private var window: UIWindow? = nil
  private var screenImage: UIImageView? = nil
  private var screenBlur: UIView? = nil
  private var screenColor: UIView? = nil
  /// 💡今回の肝となるUITextField
  private var screenPrevent = UITextField()
  private var screenshotObserve: NSObjectProtocol? = nil
  private var screenRecordObserve: NSObjectProtocol? = nil

  public init(window: UIWindow?) {
    self.window = window
  }

  /// 💡 アプリ全体にUITextFieldを適用するためのメソッド
  public func configurePreventionScreenshot() {
    guard let w = window else { return }

    if (!w.subviews.contains(screenPrevent)) {
      // 💡 screenPreventのウィンドウへの追加
      w.addSubview(screenPrevent)
      // 💡 screenPreventの中央配置の設定
      screenPrevent.centerYAnchor.constraint(equalTo: w.centerYAnchor).isActive = true
      screenPrevent.centerXAnchor.constraint(equalTo: w.centerXAnchor).isActive = true
      // 💡 screenPreventのレイヤーをウィンドウのレイヤーのスーパーレイヤーに追加
      w.layer.superlayer?.addSublayer(screenPrevent.layer)
      if #available(iOS 17.0, *) {
        // 💡 screenPreventのレイヤーの最後のサブレイヤーにwindowレイヤーを追加
        screenPrevent.layer.sublayers?.last?.addSublayer(w.layer)
      } else {
        // 💡 それ以前のバージョンでは最初のサブレイヤーにwindowのレイヤーを追加
        screenPrevent.layer.sublayers?.first?.addSublayer(w.layer)
      }
    }
  }

  /// 💡UITextFieldのセキュリティーモードをオンにして、画面保護を起動する
  public func enabledPreventScreenshot() {
    screenPrevent.isSecureTextEntry = true
  }

  /// 💡UITextFieldのセキュリティーモードをオフにして、画面保護を解除する
  public func disablePreventScreenshot() {
    screenPrevent.isSecureTextEntry = false
  }
}
実装の要約
configurePreventionScreenshotでは画面にUITextFieldを中央に配置しています。
ただこのままだと画面をタップするとキーボードが出てきてしまいます。
そこで、このアプリのスーパーレイヤーをUITextFieldにして、サブレイヤーにアプリのレイヤーを入れることをしています。
ざっくり説明すると、UITextFieldを土台にしてその上にアプリがのっている状態です。
あとは任意のタイミングでenabledPreventScreenshotメソッドを実行して、
UITextFieldをセキュリティーモードにすれば、アプリ全体が保護されるというわけです。
要注意
今回は先にも述べたようにレイヤーを変更しているわけですが、これはあまり推奨される
やり方ではないようです。
よって画面によっては思いもよらない挙動が発生する可能性もありそうです。
また、iOSのバージョンアップによって挙動が大きく変わる可能性もあります。
3-2. ScreenProtectorKitを使った実装例
前項を踏まえて実装する例です。
今回はアプリを起動したらそのアプリの全画面が画面保護されるようにしました。
import UIKit
import ScreenProtectorKit

class SceneDelegate: UIResponder, UIWindowSceneDelegate {

  var window: UIWindow?
  /// 💡インスタンス化
  private lazy var screenProtectorKit = { return ScreenProtectorKit(window: window) }()

  func scene(
    _ scene: UIScene,
    willConnectTo session: UISceneSession,
    options connectionOptions: UIScene.ConnectionOptions
  ) {
    guard let _ = (scene as? UIWindowScene) else { return }
    // 💡 アプリが起動したらconfigurePreventionScreenshotを実行して
    // 💡 アプリ全体を`UITextField`のレイヤーに配置する
    screenProtectorKit.configurePreventionScreenshot()
  }

  func sceneDidDisconnect(_ scene: UIScene) {}

  func sceneDidBecomeActive(_ scene: UIScene) {
    // 💡 アプリがアクティブになったら画面保護を有効にする
    screenProtectorKit.enabledPreventScreenshot()
  }

  func sceneWillResignActive(_ scene: UIScene) {
    // 💡 アプリが非アクティブになったら(なる直前に)画面保護を無効にする
    // 💡 マルチタスク画面でも画面保護をするなら常にオンでいいので今回はコメントアウトしてる
//    screenProtectorKit.disablePreventScreenshot()
  }

  func sceneWillEnterForeground(_ scene: UIScene) {}

  func sceneDidEnterBackground(_ scene: UIScene) {}

}
終わりに
いかがだったでしょうか?
今回の調査を通じてFlutter側では簡単に実装できる方法がわかりました。
パッケージの製作者様には感謝ですねm(_ _)m
その反面、プラットフォームによって実装方法がかなり異なることもわかりました。
各OSの機能に依存しているからこそ、OSのバージョンアップによってはもっと楽に実装できる
ことがあるかもしれません。
逆に今までの実装が動かなくなることも(。_。);。
今後はiOSとAndroid、ともにバージョンアップ情報には目を光らせておこうと思いました。
この記事が誰かのお役に立てれば幸いです。