私について
- CKAD, CKA 保有
- 業務では AWS EKS(Elastic Kubernetes Service) を基盤とするシステムの SRE
- AWS は 10年近く触っているが、Alibaba Cloud に触れるのは初めて
今回の概要
- 基本的に GUI で作成 (※ Terraform や CLI での作成はまた別の機会に)
今回の流れ
- クラスタ作成
- モニタリング、ロギング、監査機能確認
- Nginx コンテナデプロイ
- ロードバランサーデプロイ
クラスタ作成
ログイン後、左側のナビゲーションペイン展開 -> Container Service for Kubernetes をクリック

400エラーになってしまった
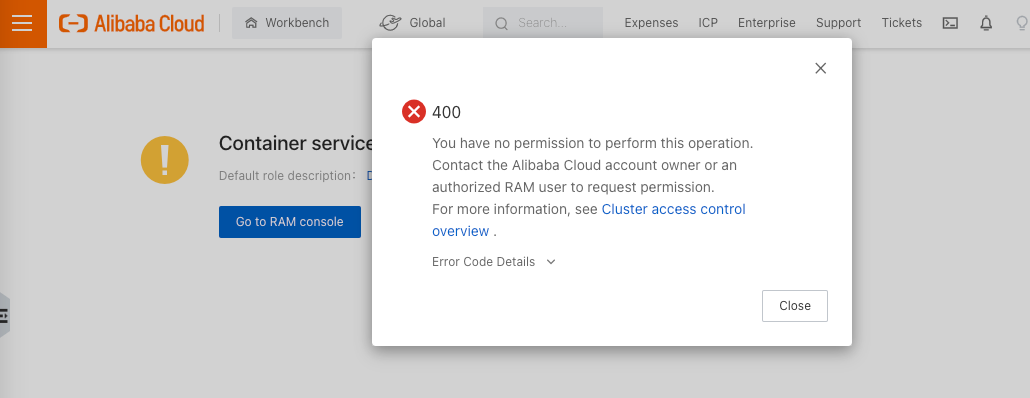
「Go to RAM console」をクリック

CS(Container Service ?) が必要とするアクセス権限を作成する


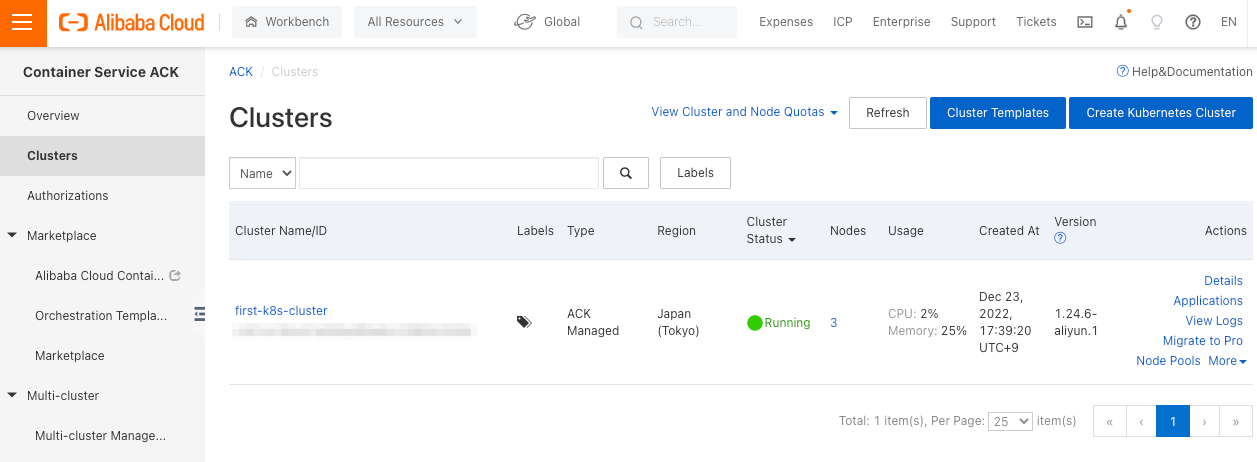
ACK / Clusters 画面が表示されるようになった

ページの右上隅にある Create Kubernetes Cluster をクリック

以下のパラメータで Cluster を作成
- Cluster Name :
{任意の名前} - Cluster Specification :
Standard edition - Region :
Japan (Tokyo) - Billing Method :
Pay-As-You-Go - Kubernetes Version :
1.24.6-aliyun.1 - Container Runtime :
containerd 1.5.13 - VPC :
{任意のVPC} - Network Plug-in :
Terway - vSwitch :
{VPC 内に作成した vSwitch を選択} - Pod vSwitch :
{VPC 内に作成した vSwitch を選択} - Service CIDR :
192.168.0.0/16 - Configure SNAT : ✅
- Access to API Server :
slb.s2.small - Security Group :
Create Advanced Security Group - Deletion Protection : □
- Resource Group :
default resource group
[ Next:Node Pool Configurations ] をクリック

Node Pool Configurations 画面では、
インスタンスタイプを1つ(または複数)選択

Key Pair を1つ選択
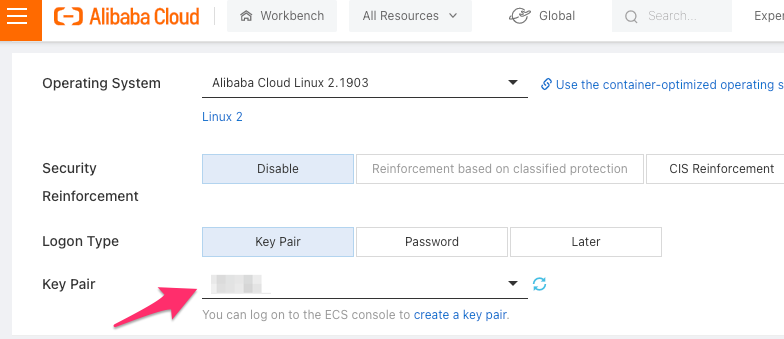
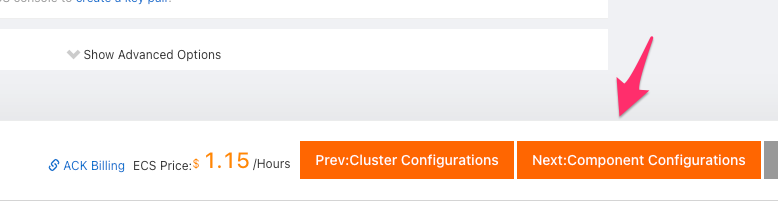
[ Next:Component Configurations ] をクリック
-
Ingress :
Nginx Ingress -
SLB Network Type :
Public Network -
SLB Specifications :
slb.s2.small -
Servcie Discovery : ✅
-
Volume Plug-in :
CSI -
Monitoring Agents : すべてチェック
-
Alerts : □ (チェックを外す)
-
Log Service : すべてチェック

-
Log Collection for Control Plane Components : □
-
Cluster Inspection : ✅
[ Next:Confirm Order ] をクリック

2つステータスチェックに失敗している

ACK activations check アクティベートする

Log Service Prometheus Monitoring Apsara File Storage NAS をアクティベートする

Log Service Prometheus Monitoring をアクティベートする
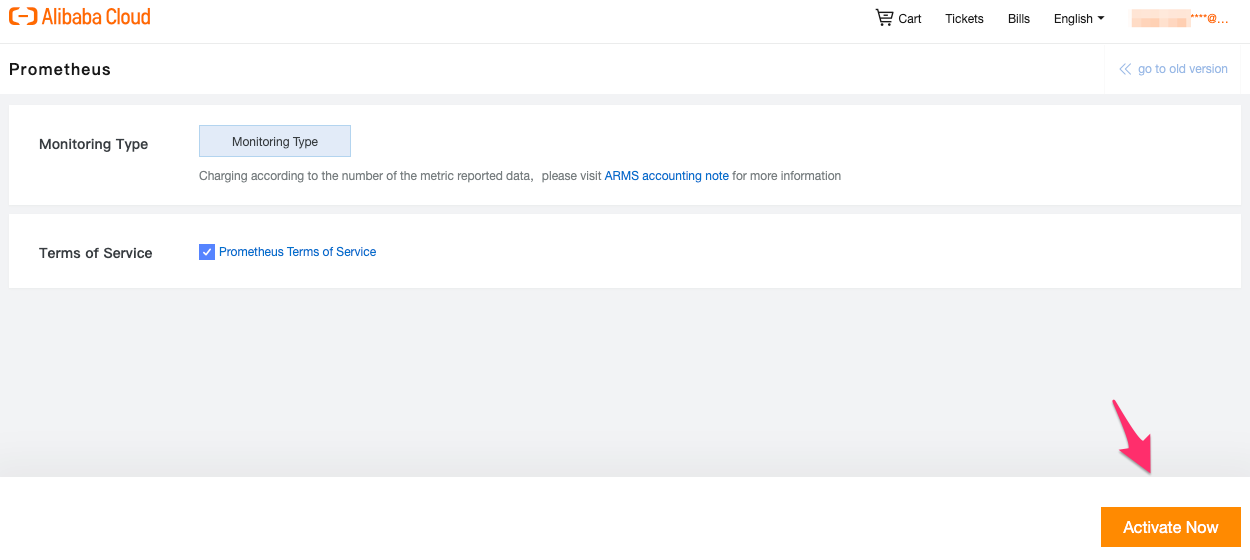
Log Service をアクティベートする

これで全ての Dependaency Check が Pass した
Create Cluster をクリック

10分ほど待ち、すべて Created され、Cluster Status も Running となった。
ローカル PC からクラスターに接続
をインストールします
API Server Public Endpoint を生やします
目的:ローカル PC から kubectl でアクセスする為
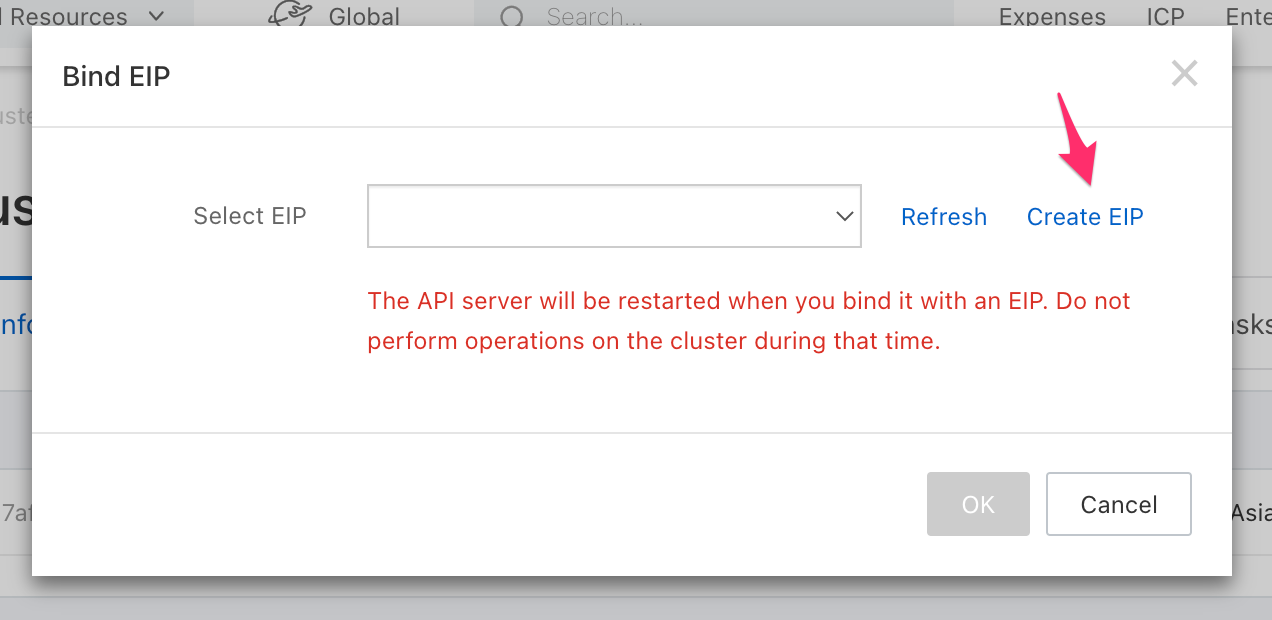
クラスター一覧画面 > クラスター選択 > [Basic information] タブ内 > [Bind EIP] をクリック

Create EIP
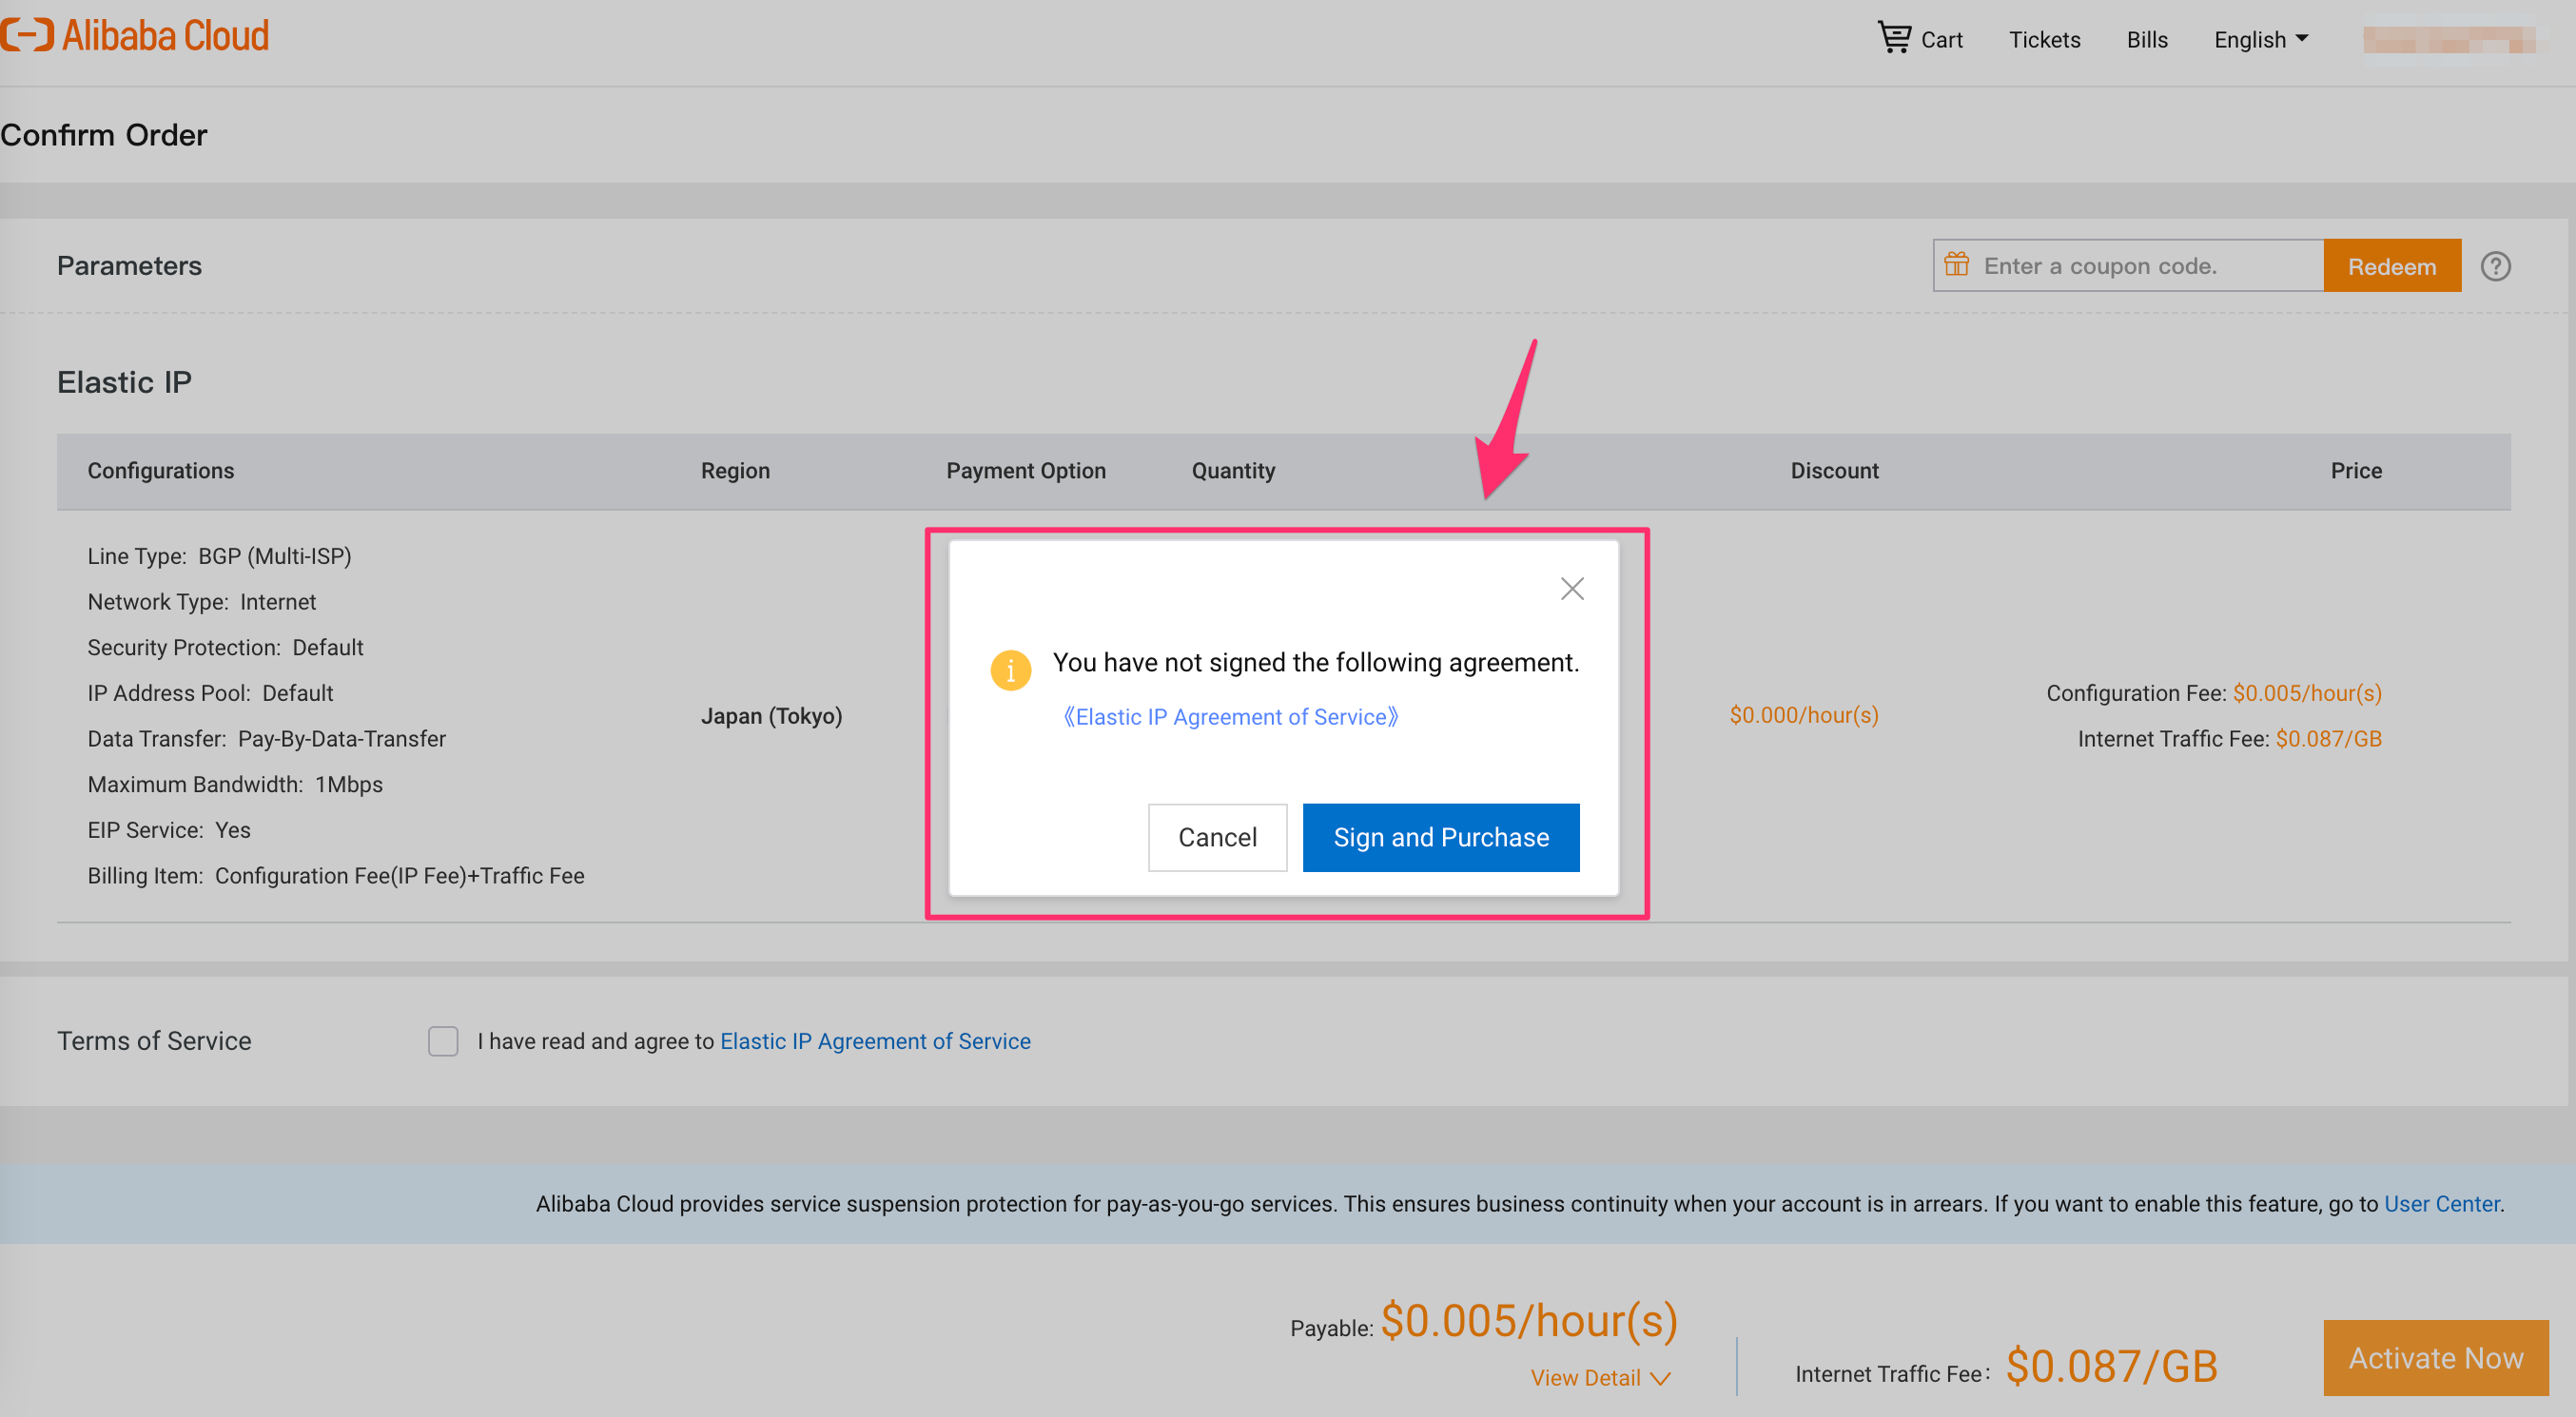
Region を Japan にして、あとはデフォルトの値のまま、[Buy Now]

[Activate now]

サインを求められる
EIP が選べるようになる

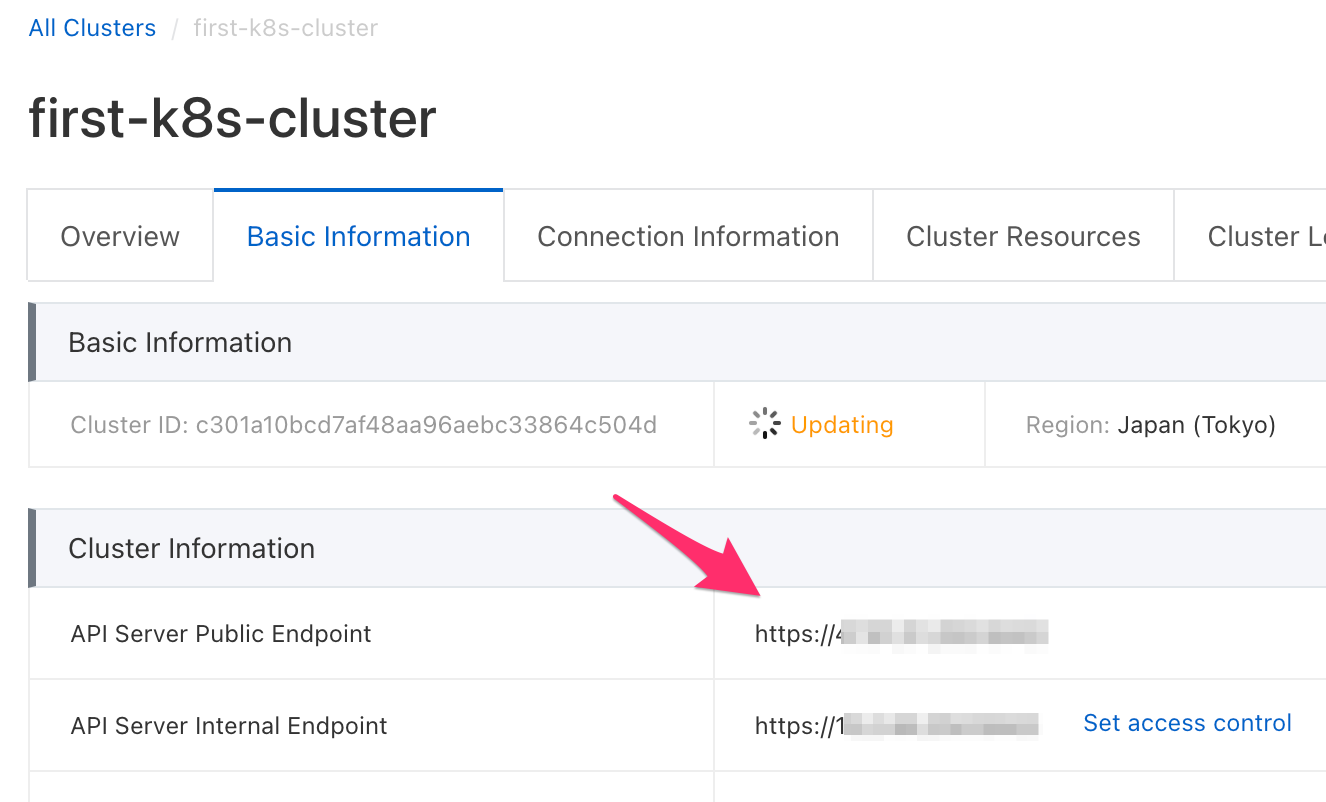
[API Server Public Endpoint] が付与された
kubeconfig 情報を取得
クラスター一覧画面 > クラスター選択 > [Connection Infomaion] > [Public Access]

Mac の場合、$HOME/.kube/config に COPY した情報を記入
apiVersion: v1
clusters:
- cluster:
    server: https://XX.XX.XX.XX:XXXX
    certificate-authority-data:
(以下略)
ターミナルにて kubectx と入力すると、ACK クラスターが選択できるようになっている

ターミナルにて kubectl コマンドと入力すると、ACK リソースが見れる
Pod 一覧
$ kubectl get po --all-namespaces

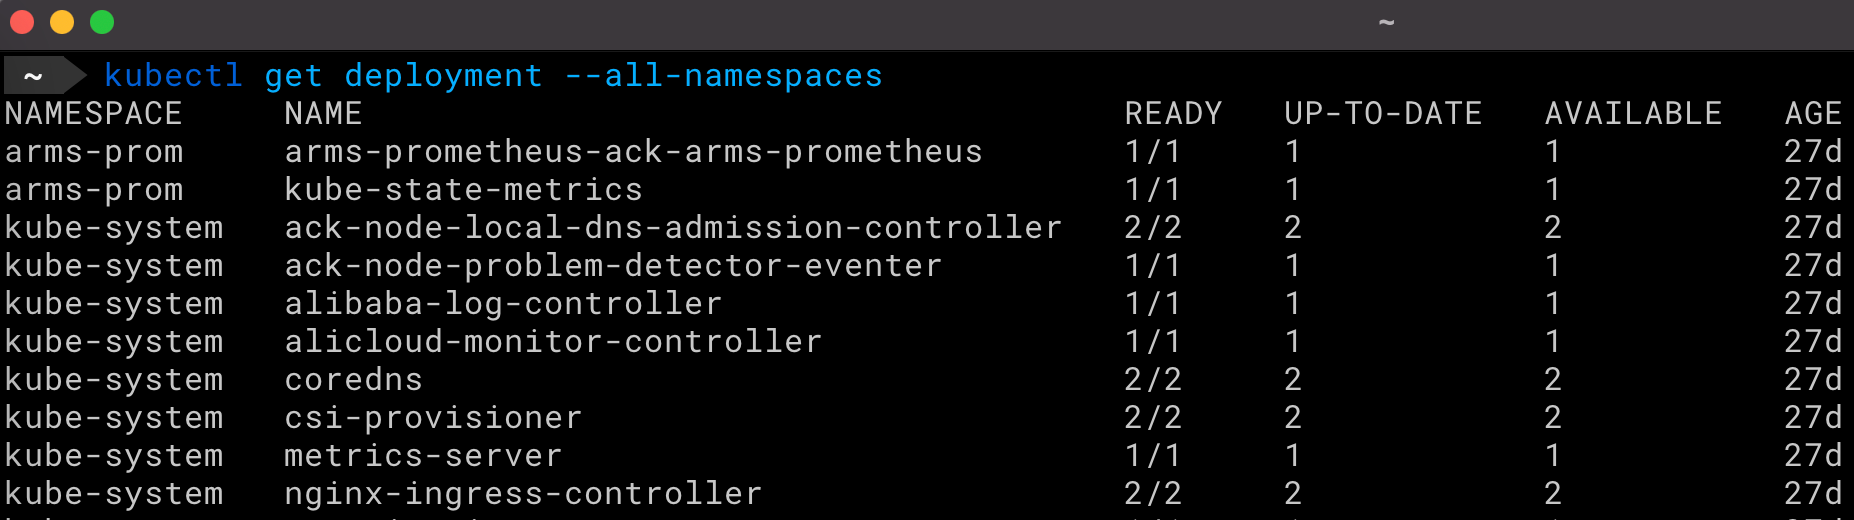
Deployment 一覧
$ kubectl get deployment --all-namespaces
k9s でもアクセスしてみる

GUI
Pod や Deployment が確認できる
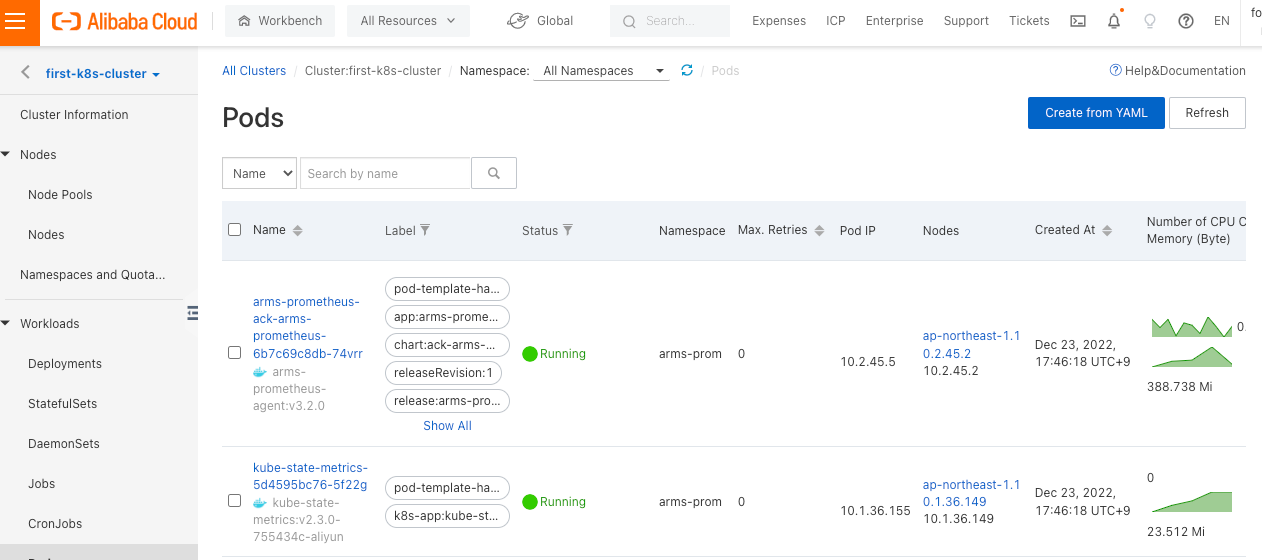

その他にも Nodes Network Configurations Volumes Applications Operations Security 等のメニューがある

モニタリング
[Operations] > [Prometheus Monitoring] にて、
Prometheus による Monitoring が見れる


構築時に [Monitoring Agents : すべてチェック] としていた為と思われる
ロギング
[Operations] > [Log center] にて、
クラスター、ネットワーク、アプリケーションのロギングが見れる


構築時に [Log Service : すべてチェック] としていた為と思われる
イベント履歴
[Operations] > [Event Center] にて、これまでのイベントが確認できる

監査
[Security] > [Cluster Auditing] にて、監査系の情報が確認できる
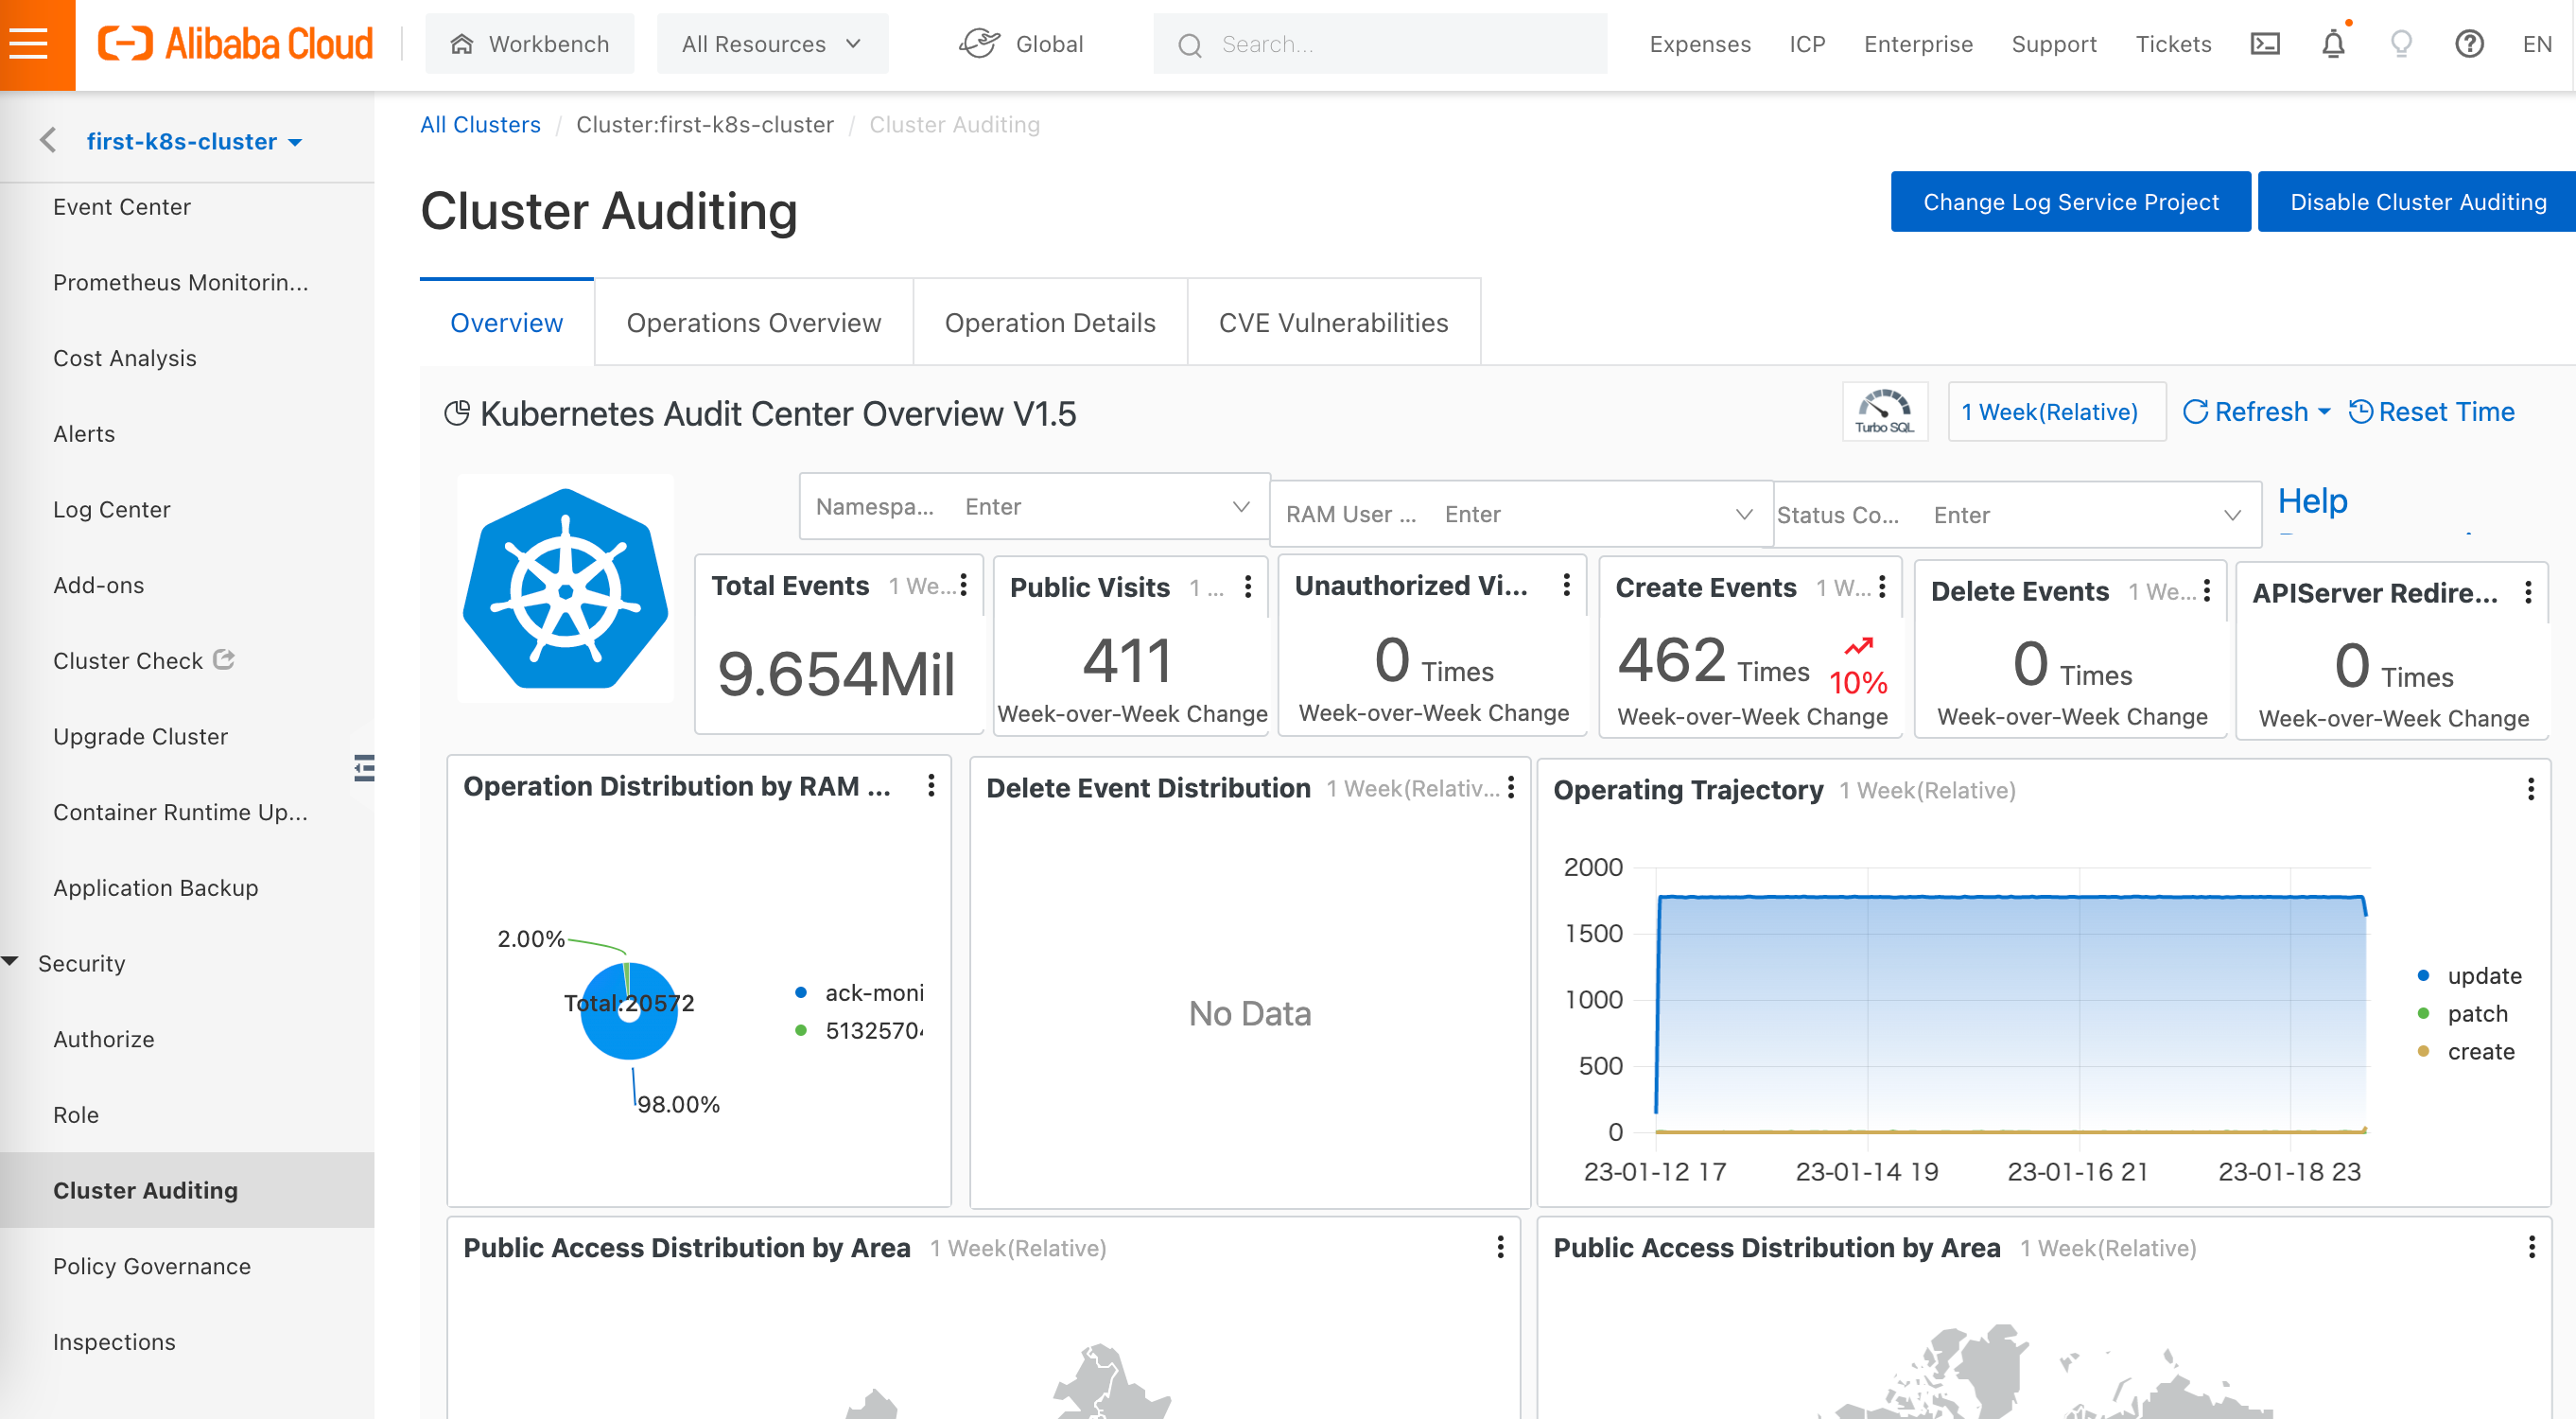
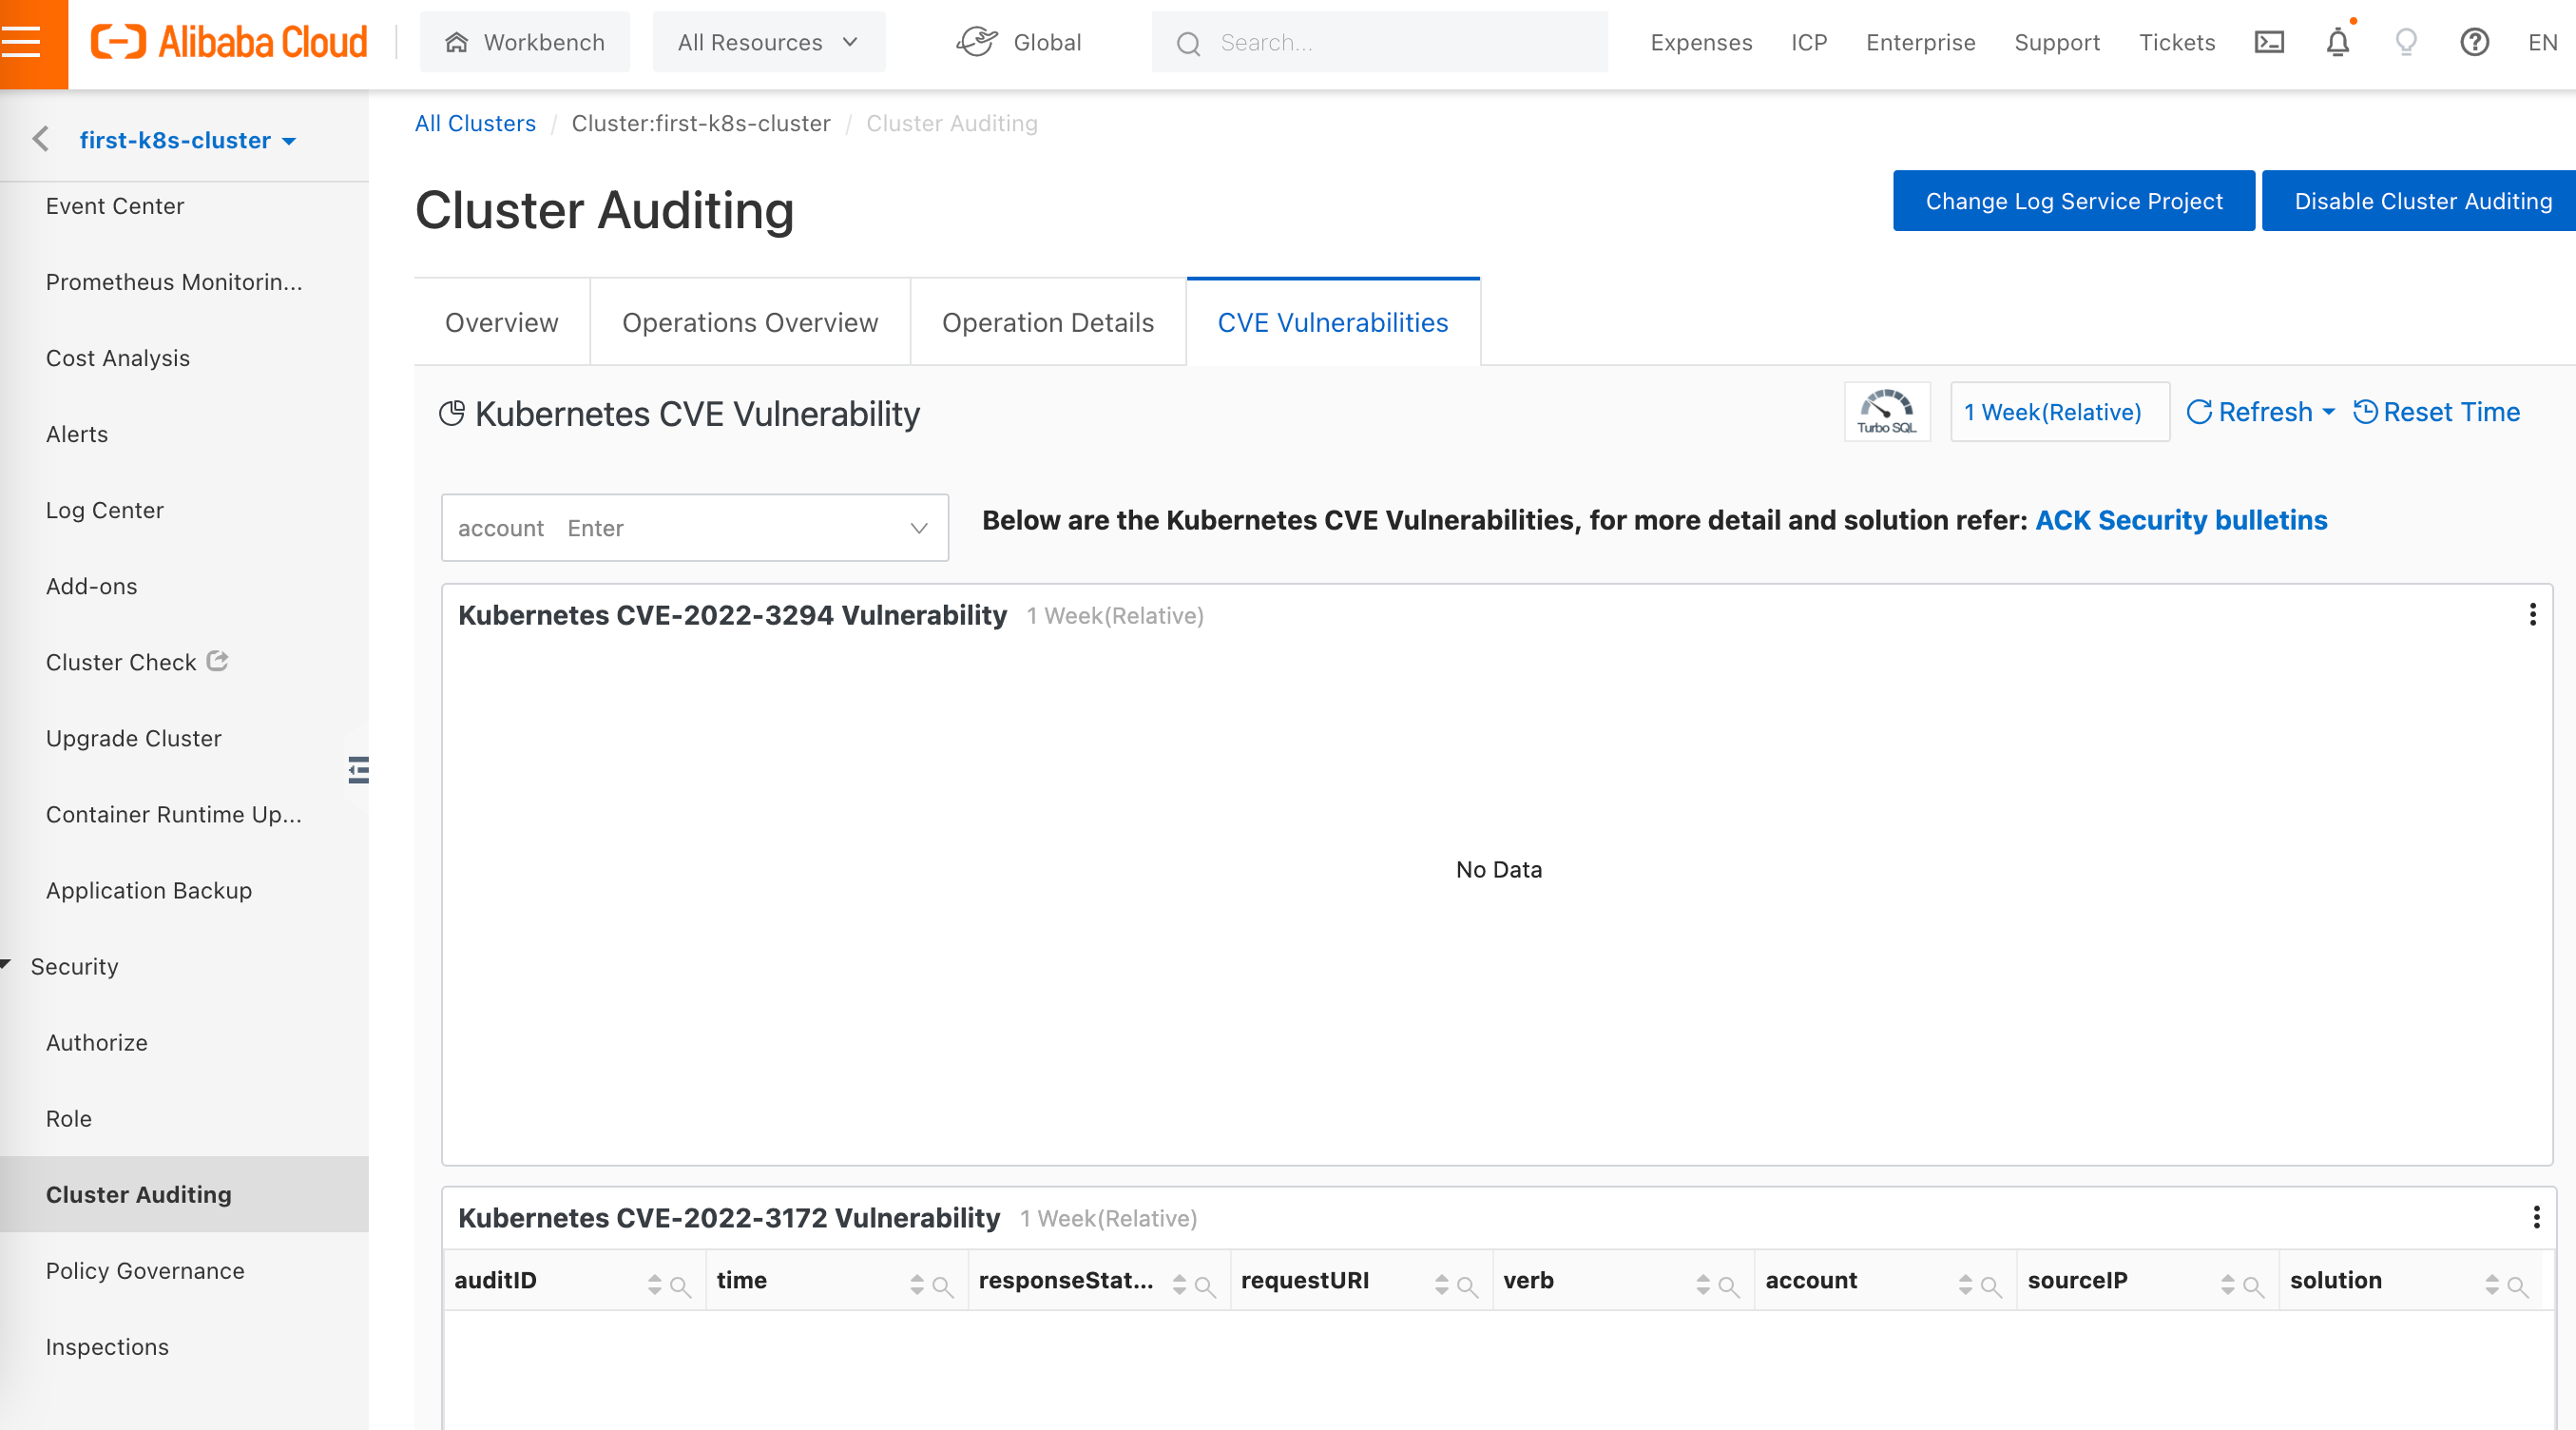
クラスター操作履歴や CVE 脆弱性情報も確認できる


ACK コンソールを使用してアプリケーションをデプロイ
NGINX をデプロイ
[Workloads] > [Deployment] > [Create from YAML]

サンプル テンプレートとして [Resource - basic Deployment] を選択、Create
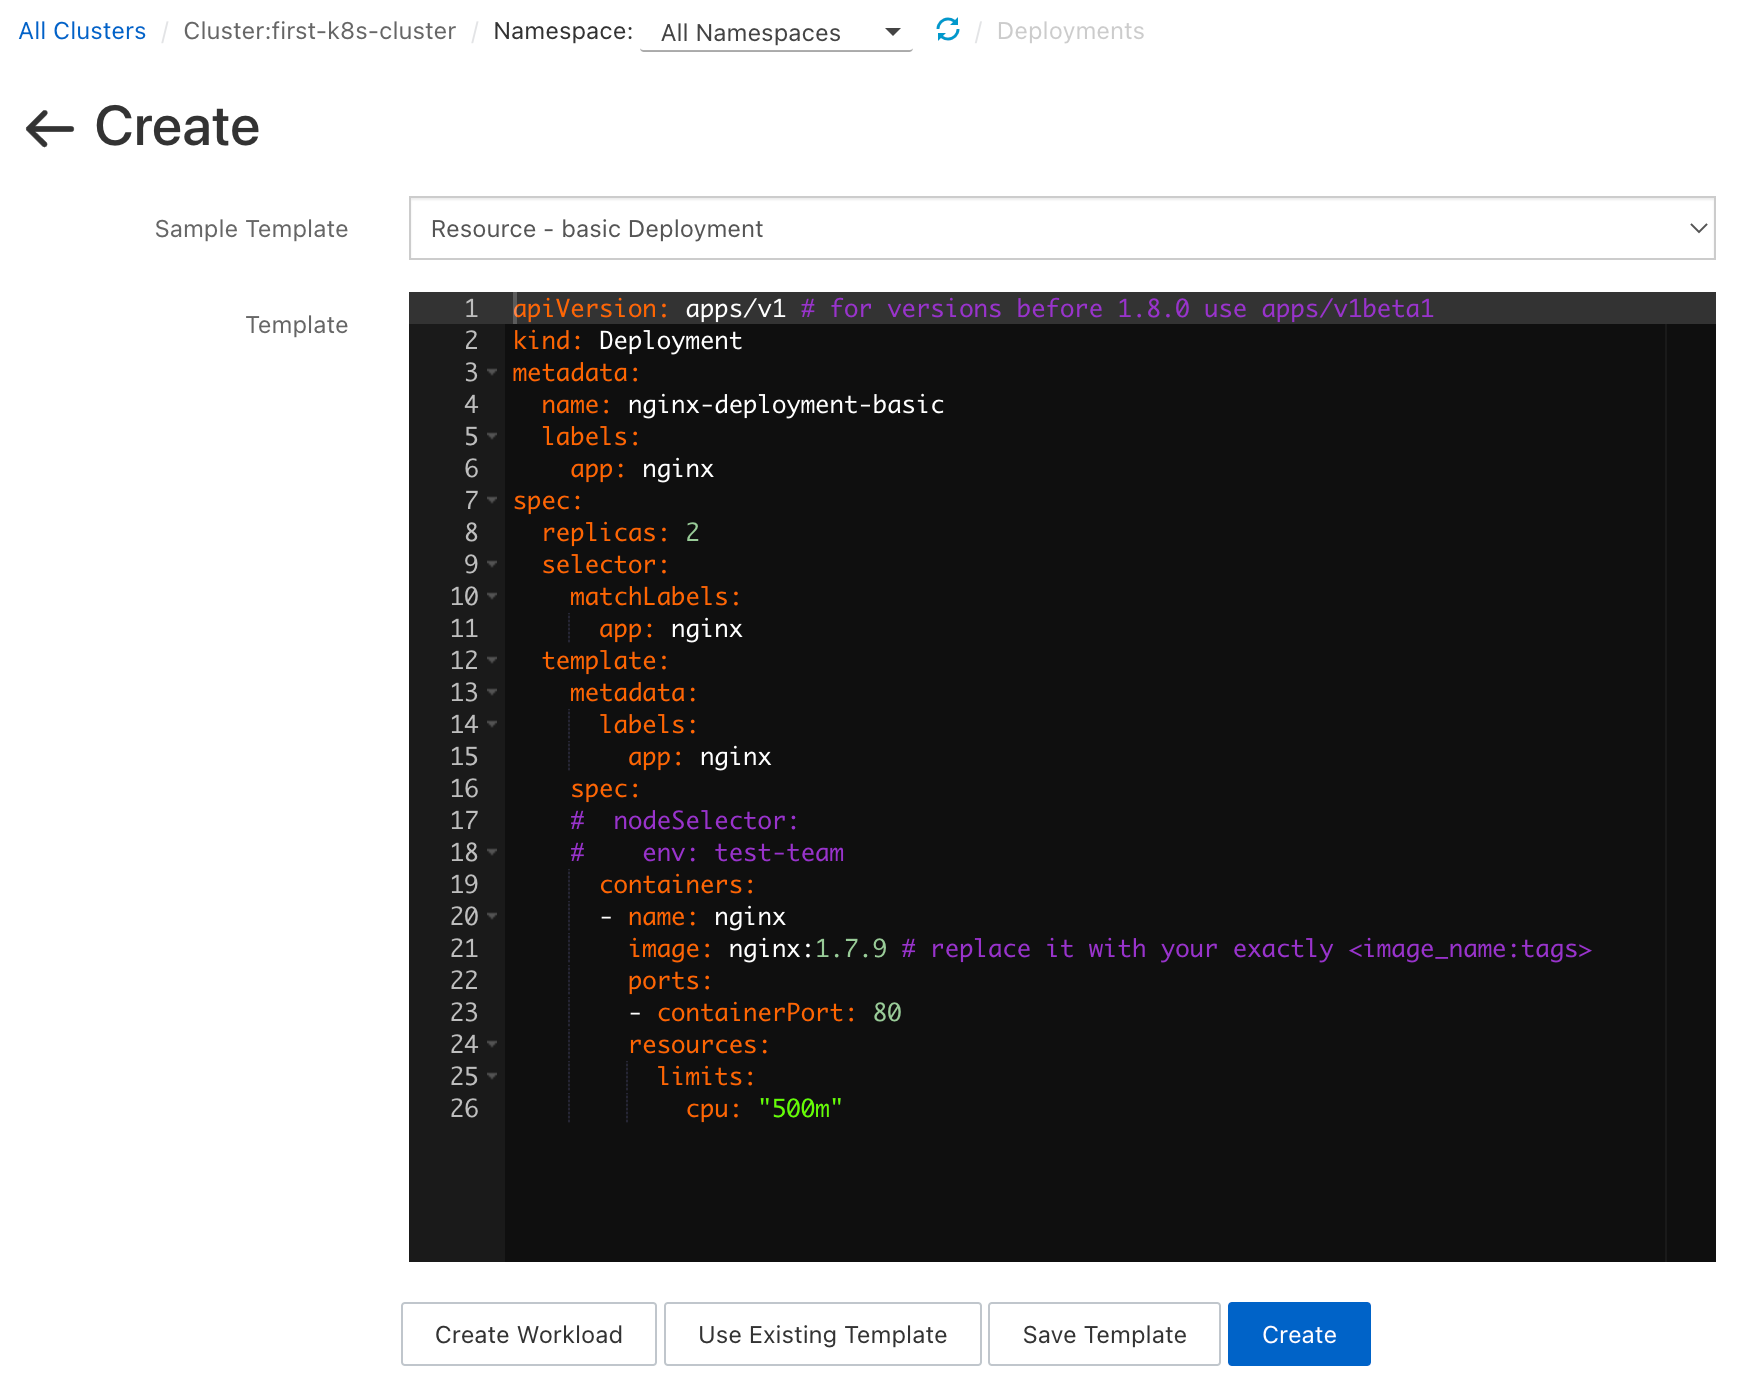
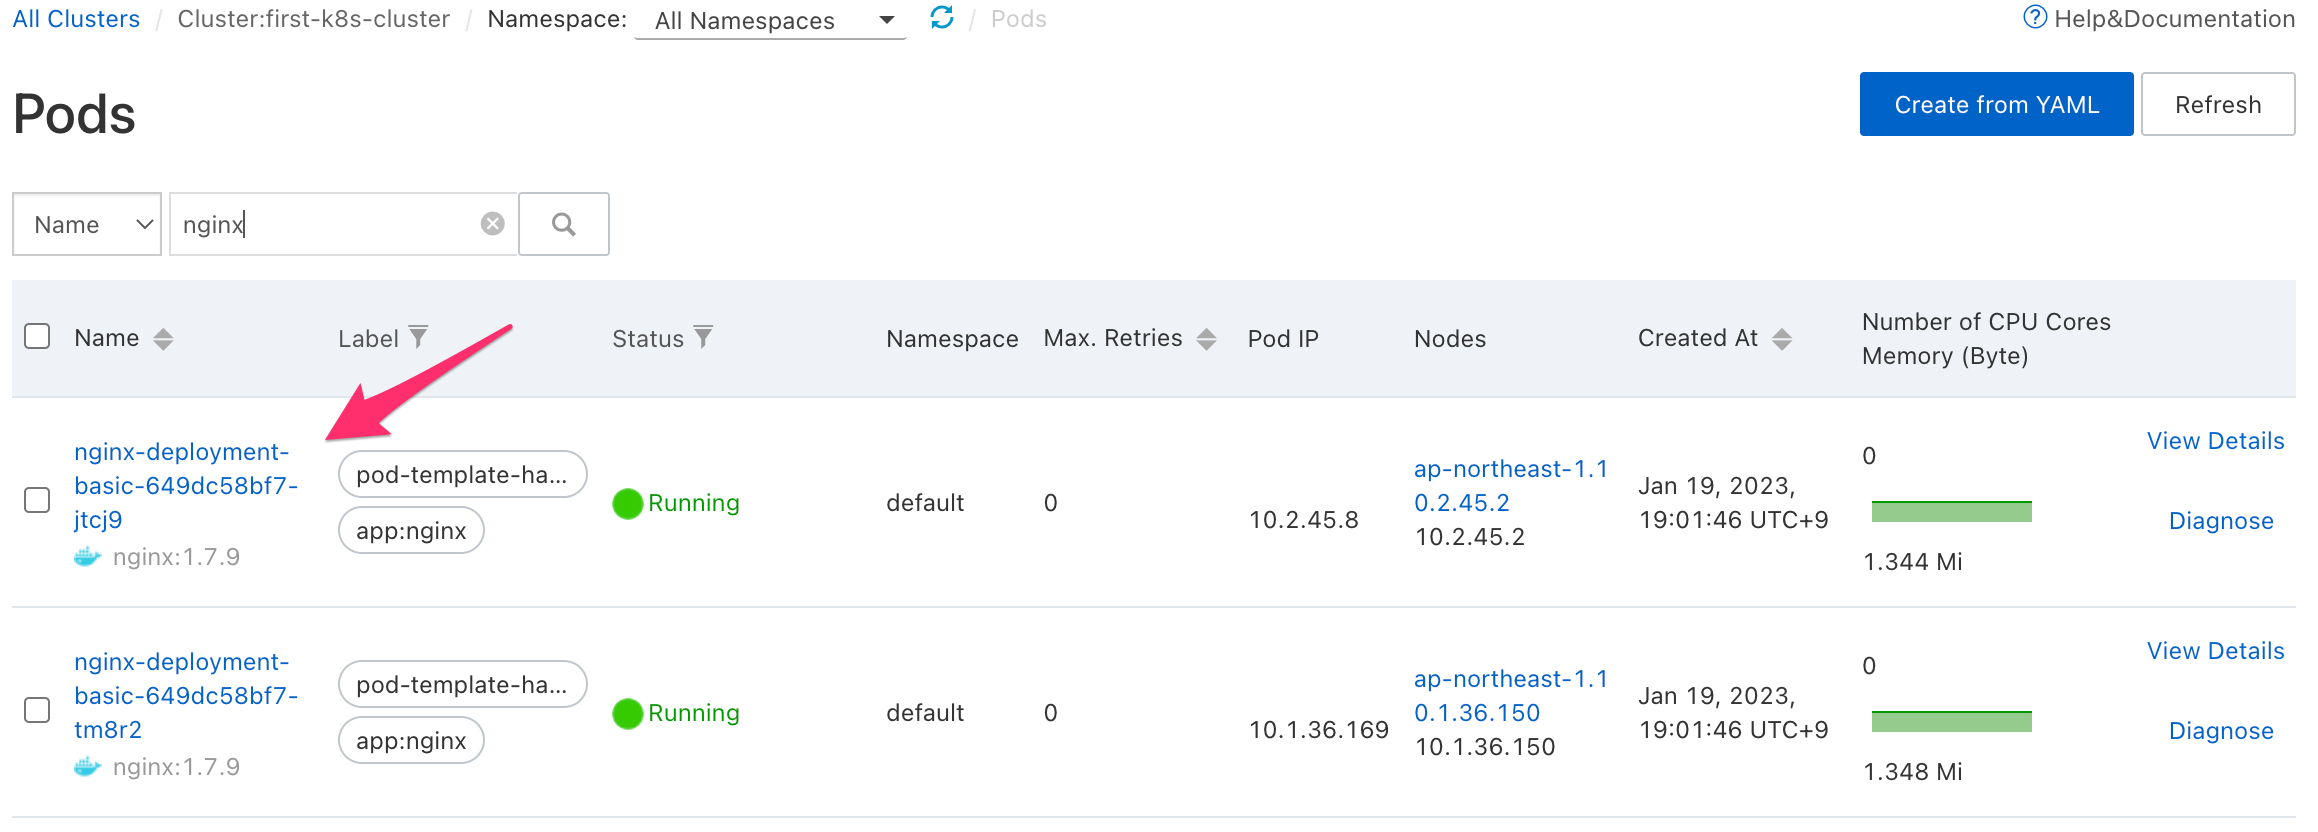
Deployment 画面や、Pod 画面で Nginx がデプロイされていることが確認できる

ロードバランサー(Ingress)デプロイし、NGINX を公開する
[Network] > [Services] > [Create] をクリック
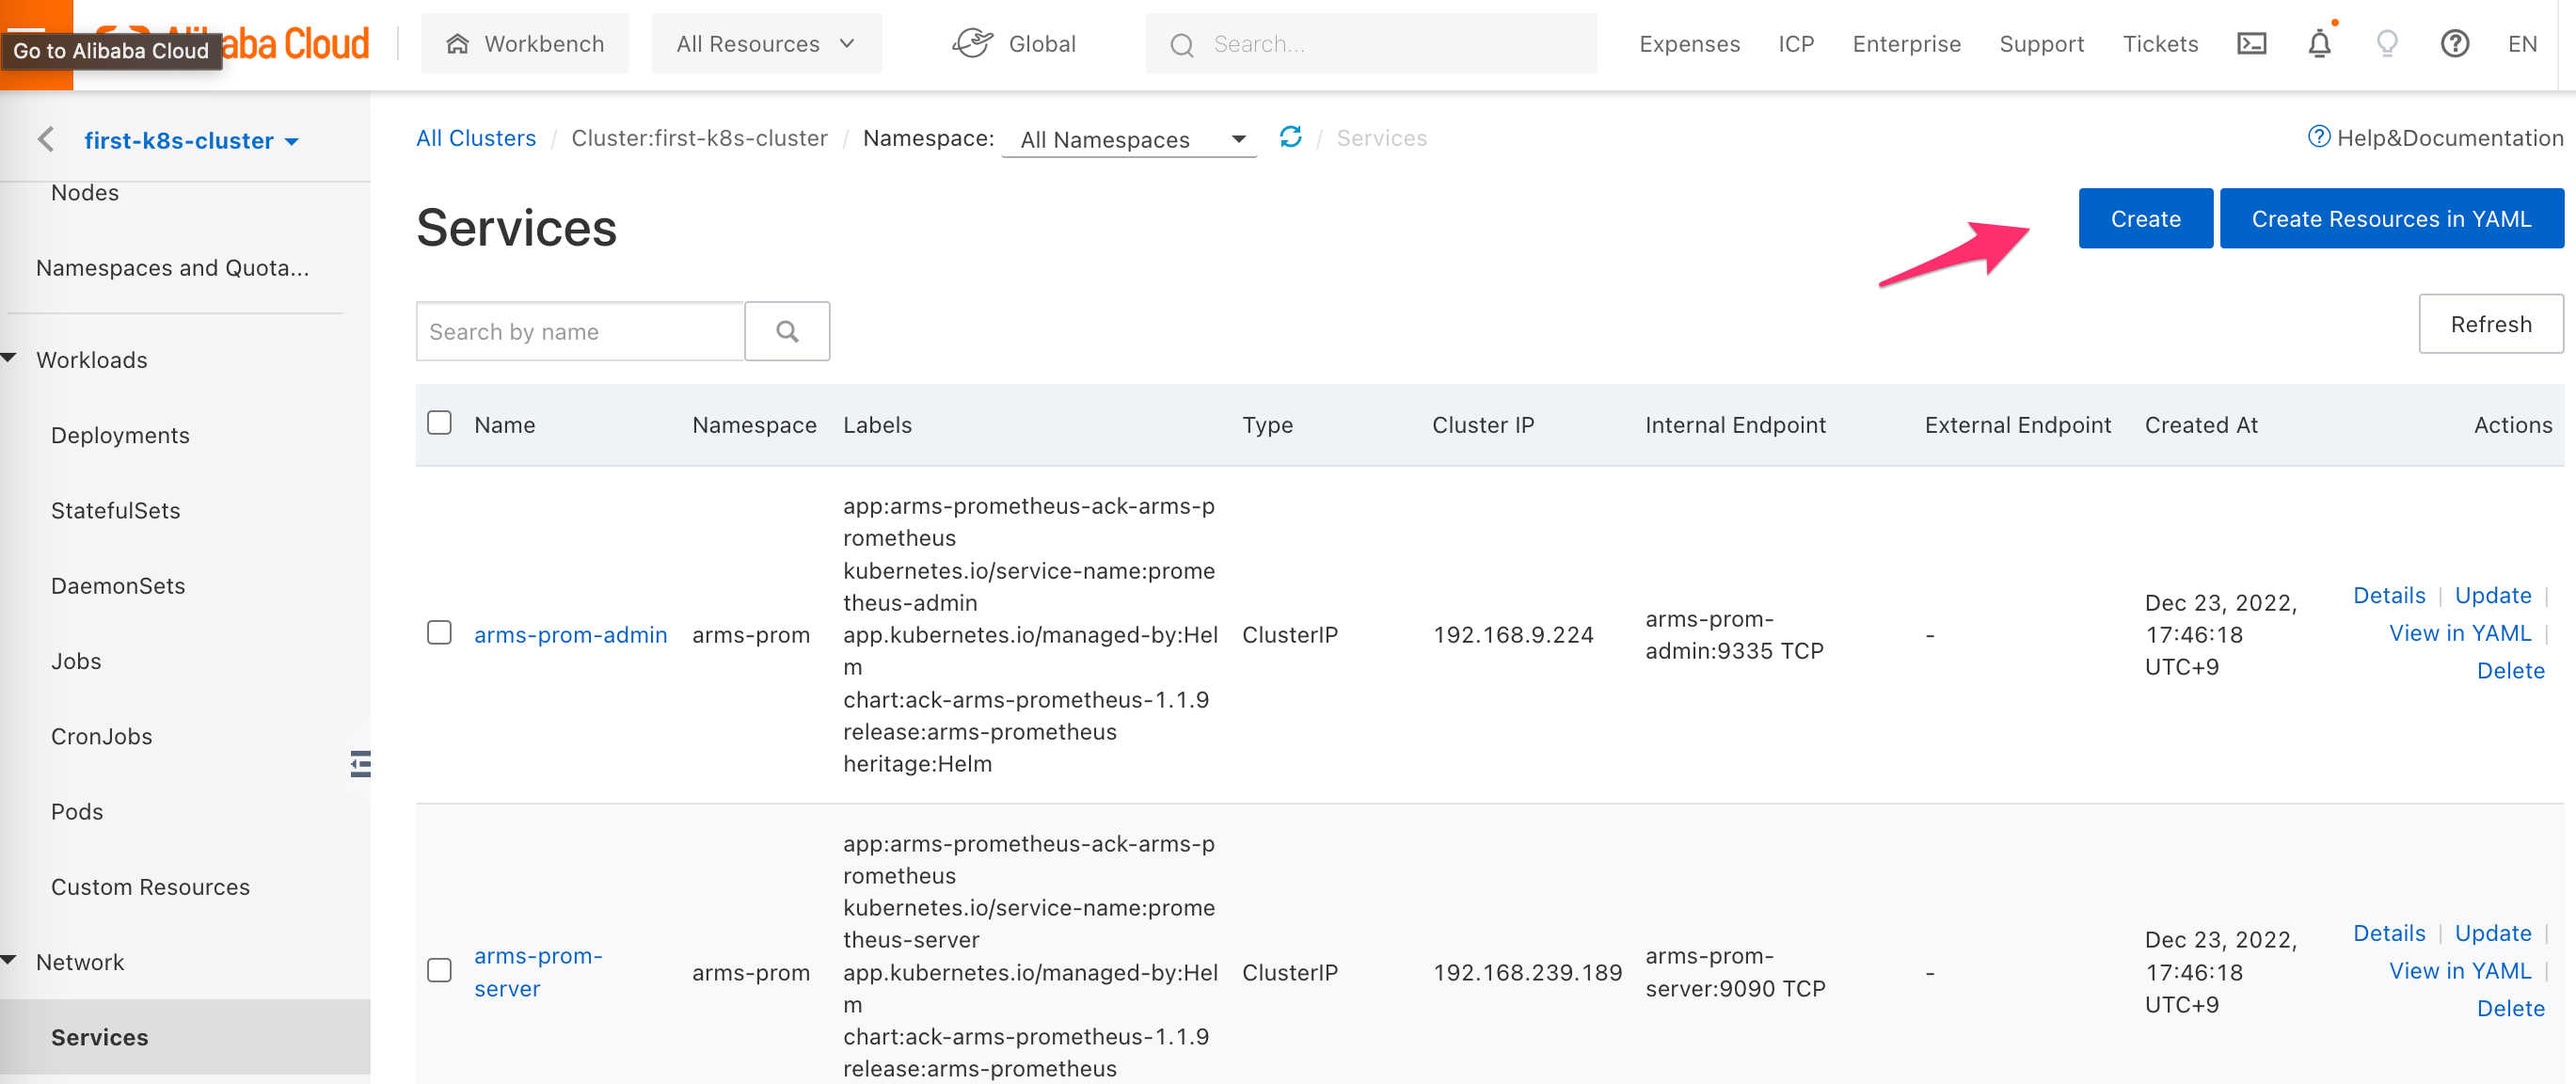
Cluster IP Type の Service をデプロイ

名前を入力し、Typeで Cluster IPを選択し、 Backend で nginx-deployment-basic を選択し、サービスポートとコンテナーポートを 80 に設定
[Network] > [Ingress] > [Create] をクリック
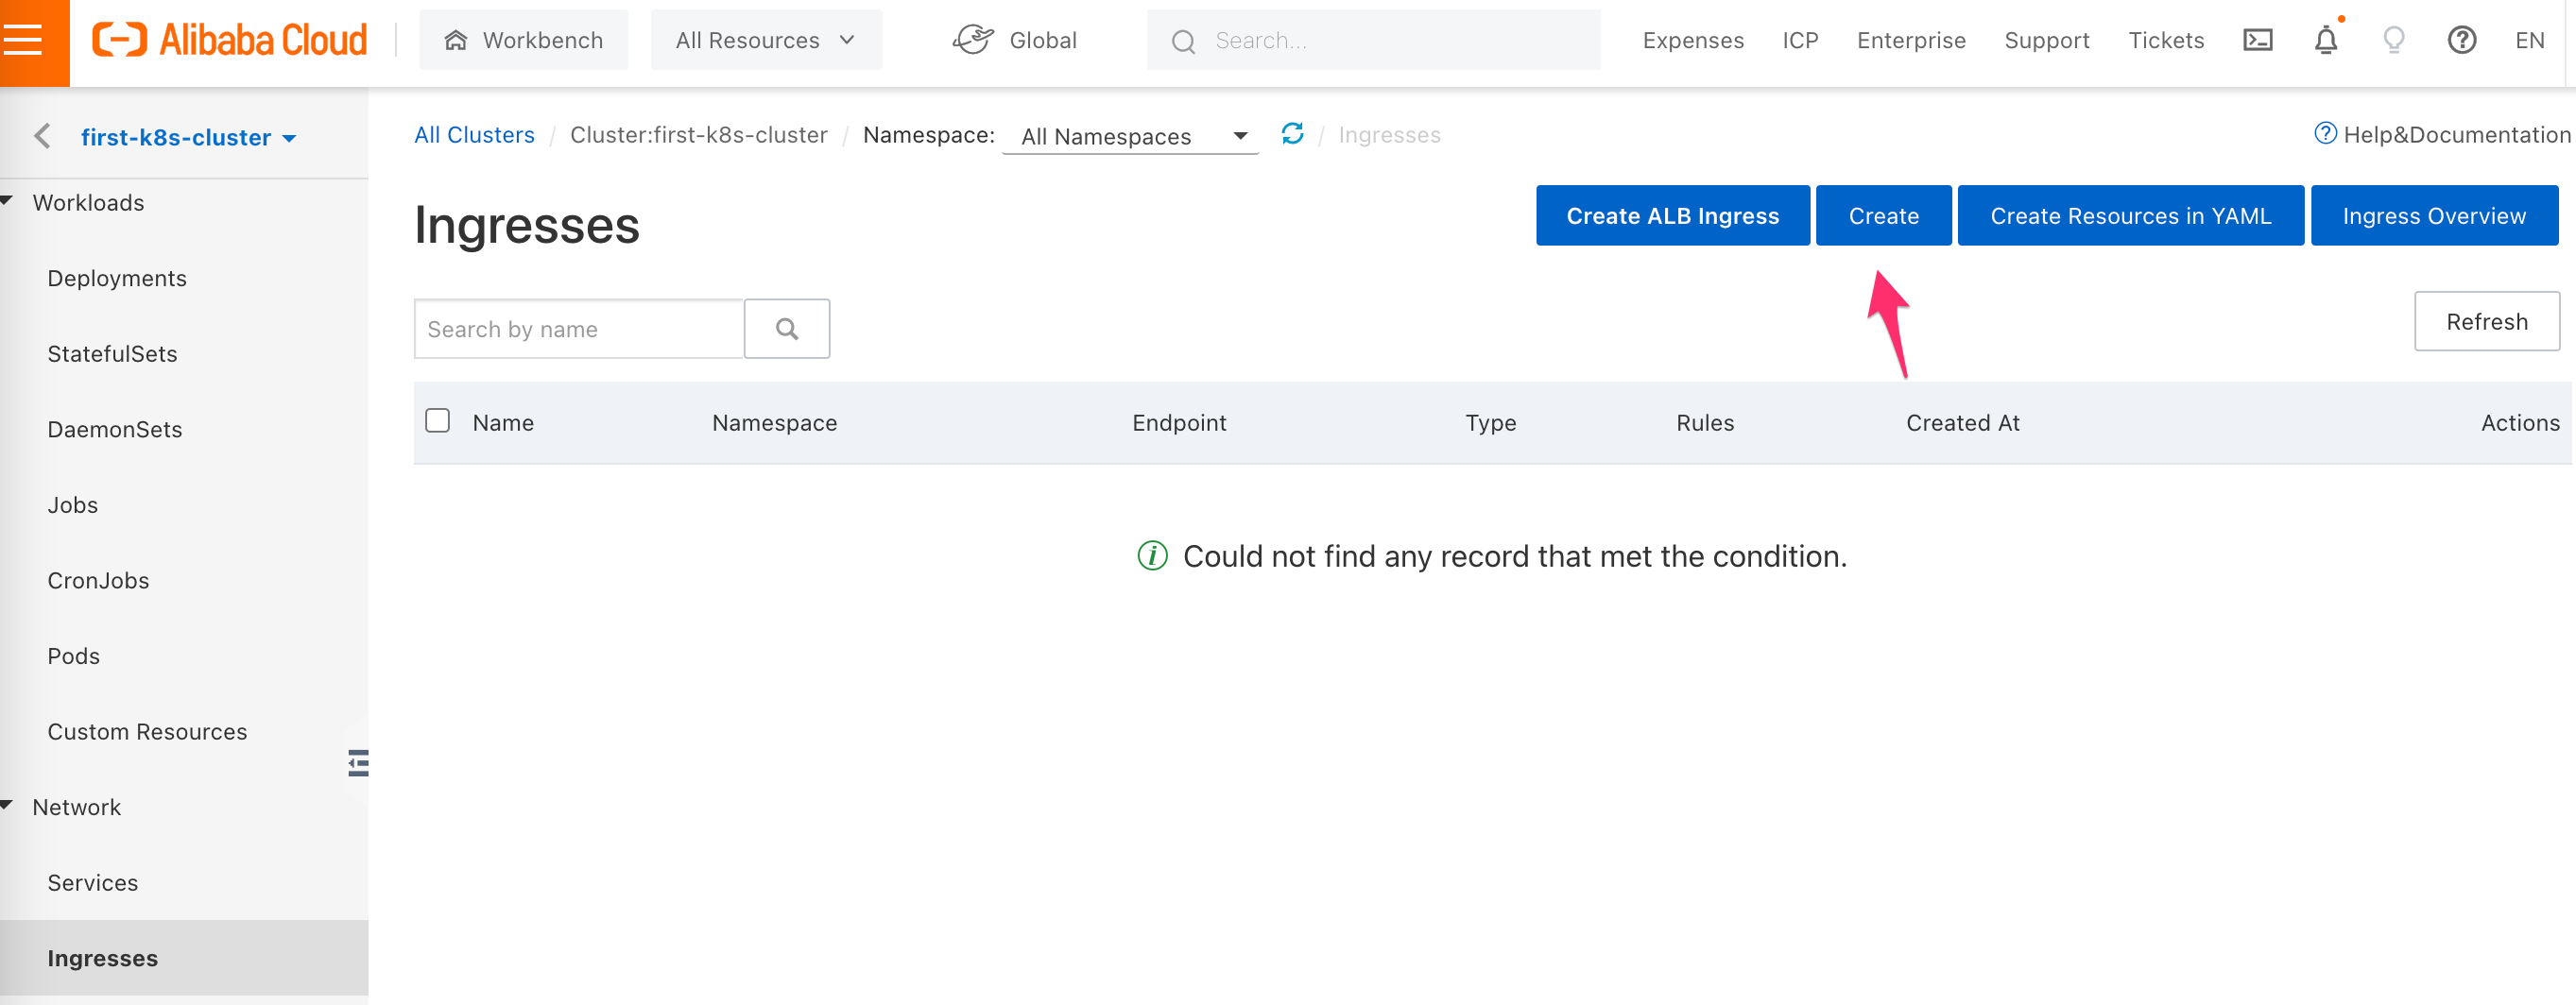
名前にingress-demo、パスに/を入力し、サービスにnginx-svcを選択

生えた IP アドレスにアクセスします
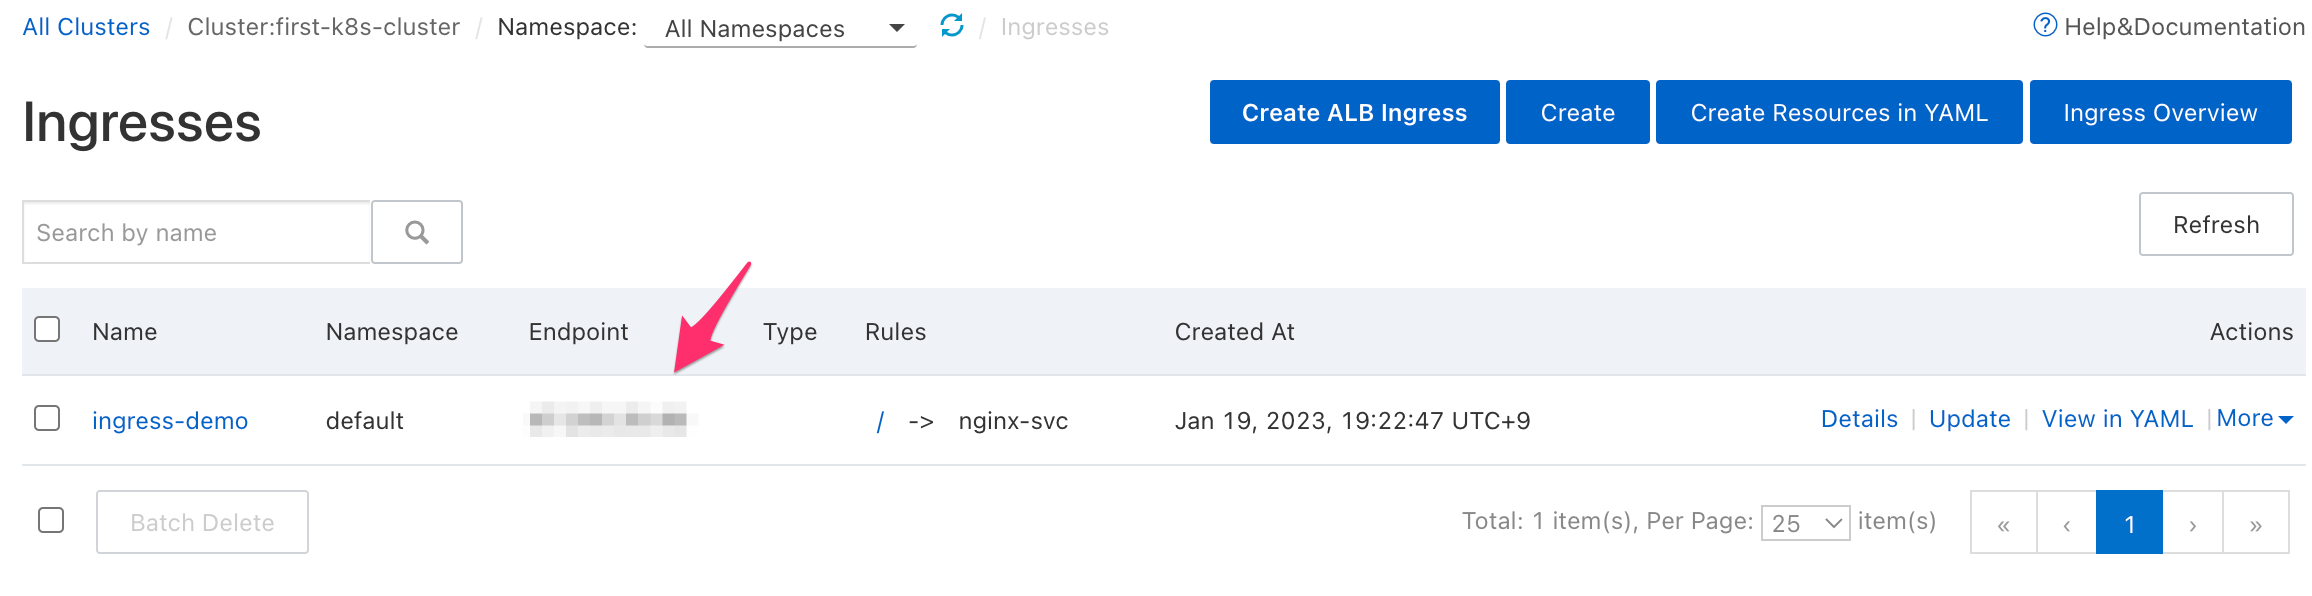
Nginx のデフォルト画面が表示されました

後片付け
1. EIP の開放
[VPC] >[Elastic IP Addresses] 画面にて Release

2. Server Load Balancer (SLB) の削除
[Resource Management] > [My Resource]
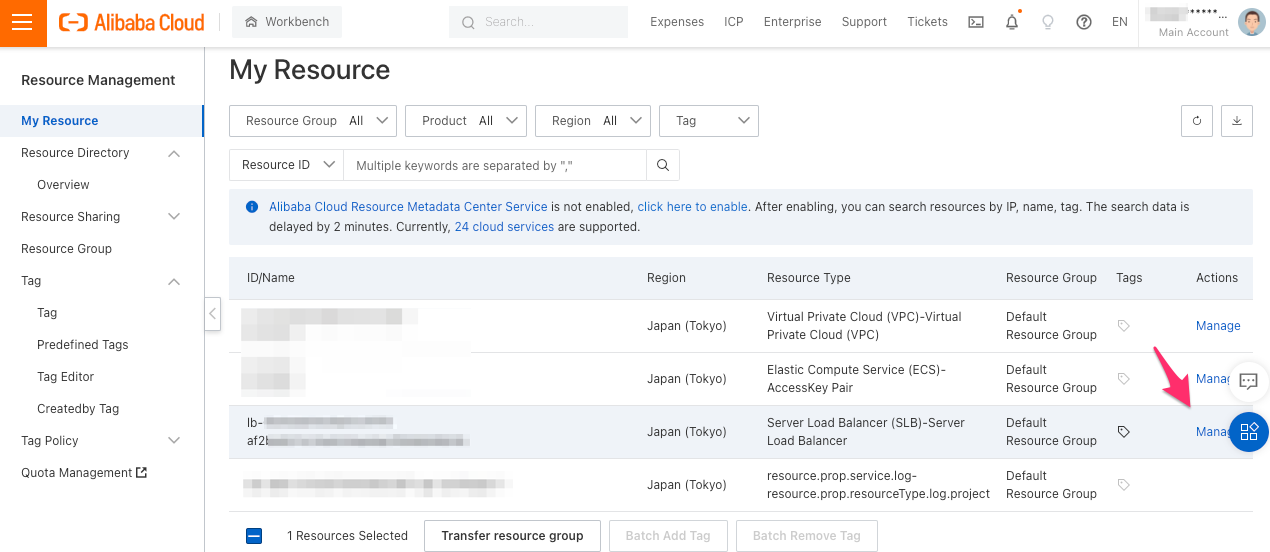
Read Only mode や 削除保護を解除する

解除し、Release

現在の料金の確認
感想
クラスターが立ち上がるまでの構築ウィザードにて、入力したり、選択しなくてはいけないパラメータは多くて面食らうかもしれないが、
構築後は GUI 上で確認できる情報(メトリクス、ログ等々)は他パブリッククラウドと比べても一番と言っても良いほど、豊富で親切だと思う。
ウィザードもなかなか親切で、どうしたらいいのか困って詰まってしまうということもなかった。
各種コンポーネントがセットアップされる時間も、サクサクデプロイされたのも好印象。
参考資料
Container Service for Kubernetes (英語)
Container Service for Kubernetes (日本語)
Container Service for Kubernetes で Pod を作ってアクセスしてみよう | SBクラウド チャンネル - YouTube
マルチクラウド時代のAlibaba Cloud活用事例と最新技術 - TECH PLAY Magazine