本記事は、サムザップ Advent Calendar 2019 #2 の12/13の記事です。
昨日は @kazuhiro1128 さんの Next.js + FirebaseAuthでサインイン機能を実装してみた でした。
本日はAndroid端末での実機デバッグで役立つコマンドと、その使用例をご紹介したいと思います。
adb reverseコマンド
adb reverseコマンドは端末からPCへのポート転送を行うコマンドです。
この逆、PCから端末へポート転送するadb forwardコマンドは、
UnityのProfilerを繋ぐために使うのでよく知られているのではないでしょうか。
私はこのコマンドを、
- PCでProxyサーバを立てて、通信内容を確認したり書き換えてデバッグする
- PCでWebページをホスティングして、端末での動作を確認しつつ内容を編集する
と活用しています。
使用例
サーバの準備
まずPCで動かすサーバアプリケーションを用意します。
言語は何でもいいですが、簡単に記述できるのでgoを選びました。
ローカルホストのポート8080番を待ち受けて、固定の文字列を返すAPIとファイル配信機能のある単純なサーバアプリケーションです。
説明の簡略化のためにエラーハンドリングは省いています。
package main

import "net/http"

func main() {
	http.HandleFunc("/api/", func(w http.ResponseWriter, r *http.Request) {
		w.Write([]byte("ok"))
	})
	http.Handle("/resource/", http.StripPrefix("/resource/", http.FileServer(http.Dir("./resource/"))))

	http.ListenAndServe("127.0.0.1:8080", nil)
}
ディレクトリ構成は下記のようにしました、スクリプト以外にクライアントへ渡すための画像ファイルも配置しています。
.
├── main.go
└── resource
    └── red.png
クライアントの準備
クライアントにはUnityを使用して、こちらも動作に必要な最低限のコードを用意します。
ボタンが2つと、通信の結果を確認するためTextとRawImageを持つ単純な構成です。
接続先アドレスは127.0.0.1を、ポートは8080番を指定しています。
using System.Collections;
using UnityEngine;
using UnityEngine.Networking;
using UnityEngine.UI;

public class MainBehaviour : MonoBehaviour
{
    [SerializeField] private Button _callApiButton;
    [SerializeField] private Button _getResourceButton;
    [SerializeField] private Text _text;
    [SerializeField] private RawImage _image;

    private void Awake() {
        _callApiButton.onClick.AddListener(() => StartCoroutine(CallApi()));
        _getResourceButton.onClick.AddListener(() => StartCoroutine(GetResource()));
    }

    public IEnumerator CallApi() {
        using (var request = UnityWebRequest.Get("http://127.0.0.1:8080/api/")) {
            yield return request.SendWebRequest();
            _text.text = request.downloadHandler.text;
        }
    }

    public IEnumerator GetResource() {
        using (var request = UnityWebRequestTexture.GetTexture("http://127.0.0.1:8080/resource/red.png")) {
            yield return request.SendWebRequest();
            _image.texture = DownloadHandlerTexture.GetContent(request);
        }
    }
}
接続準備
端末をUSBケーブルでPCに接続して、開発者オプションとUSBデバッグをONにします。
adb devicesコマンドで端末がアタッチされていることを確認したら、adb reverseコマンドを実行してみましょう。
このときローカル、リモート共にtcpで、ポートは8080を指定します。
$ adb reverse tcp:8080 tcp:8080
転送設定が有効化できたか、コマンドの--listオプションで確かめてみます。
$ adb reverse --list
(reverse) tcp:8080 tcp:8080
ここまで確認できましたら、PCでサーバを立ち上げて、端末でビルドしたクライアントを動かします。
結果
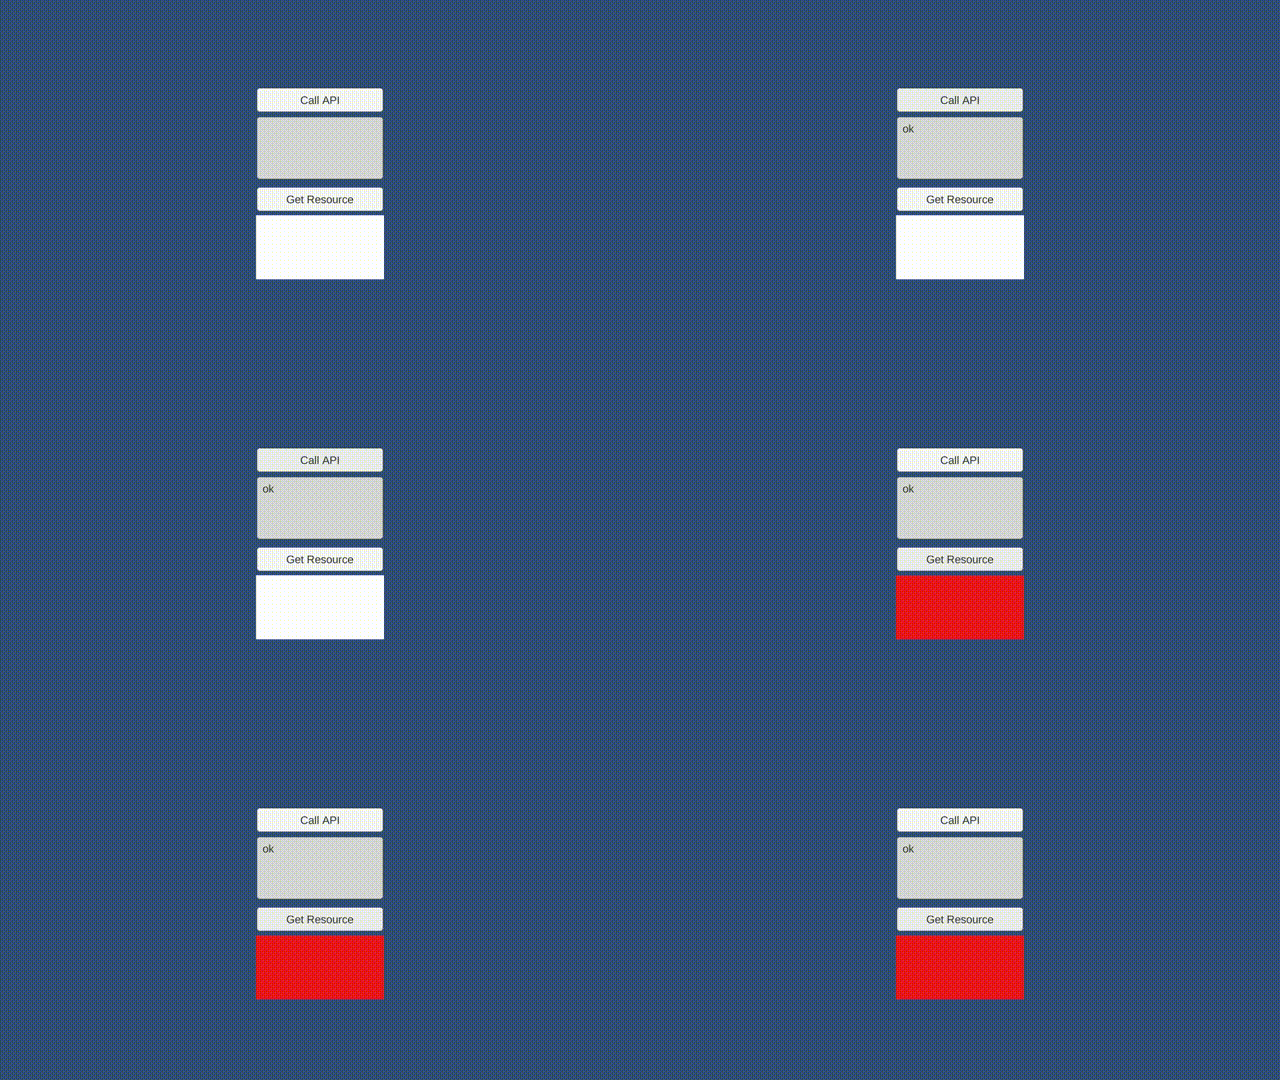
こちらは実機で動作しているのをキャプチャしたものになります。
各ボタンの押下で通信が走り、結果がTextとRawImageに反映されているのが分かると思います。

まとめ
以上、adb reverseコマンドのご紹介でした。
用途は限定的ですが、ローカルPCと端末との間で通信を完結できる点が便利だと思います。
明日は、@kojima_akira さんの記事です。