本記事は、サムザップ Advent Calendar 2019 #2 の12/12の記事です。
株式会社サムザップの枦川です。
クライアントエンジニアをしています
はじめに
直近今関わっているPJの案件でSNSのサインイン機能を検討しているのですが、
Webの知識は乏しいので勉強をかねて簡易なサインイン機能を
Vue.js + Nuxt.js + FirebaseAuth
の組み合わせで実装してみたいと思います
今回は簡易版のためgoogleアカウントでのログインができるところまでをゴールとして
記事を書きます
Nuxt.jsとは
Zeit社が開発したユニバーサルなReactアプリの開発が可能なフレームワーク。
Webアプリ開発の機能が最初から組み込まれているVue.jsベースのJavaScriptフレームワークです。
環境情報
Node v10.16.0
プロジェクトの準備
1.Nuxtのプロジェクトを作成してみましょう
以下のサイトを参考にインストールしてみてください
https://ja.nuxtjs.org/guide/installation/
を確認してみてください。
とりあえすプロジェクトを作成してみましょう
npm i -g create-nuxt-app
npx create-nuxt-app <project-name>
いくつか質問されますが今回はそのままEnterで大丈夫です。
create-nuxt-app v2.12.0
✨  Generating Nuxt.js project in firebase_auth_sample
? Project name firebase_auth_sample
? Project description My impeccable Nuxt.js project
? Author name HashikawaKazuhiro
? Choose the package manager Yarn
? Choose UI framework None
? Choose custom server framework None (Recommended)
? Choose Nuxt.js modules (Press <space> to select, <a> to toggle all, <i> to invert selection)
? Choose linting tools (Press <space> to select, <a> to toggle all, <i> to invert selection)
? Choose test framework None
? Choose rendering mode Universal (SSR)
? Choose development tools (Press <space> to select, <a> to toggle all, <i> to invert selection)
⠋ Installing packages with yarn
⠹ Installing packages with yarn
⠼ Installing packages with yarn
2.作成したプロジェクトを起動してみましょう
cd <作成したprojectのディレクトリ>
yarn dev
http://localhost:3000/ にアクセスしてみる
以下のように表示されればOKです。

Firebaseと連携してみる
事前準備
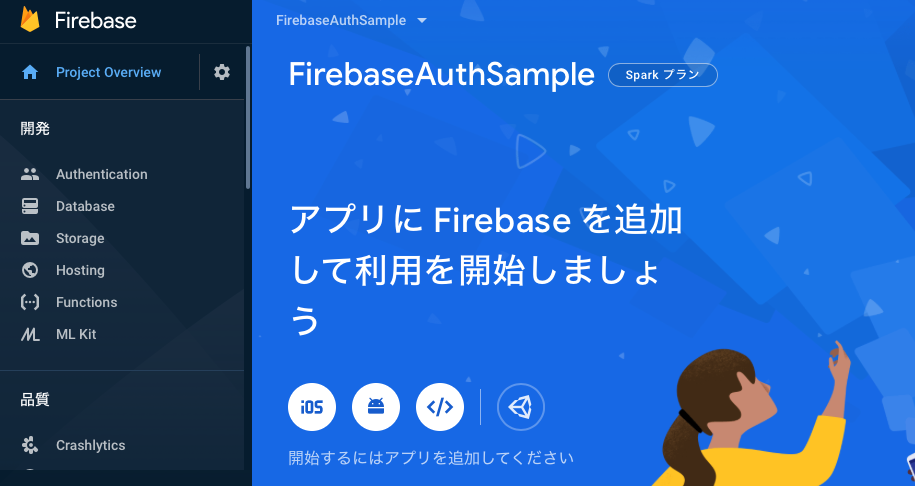
1.Firebaseのアプリ登録を行う
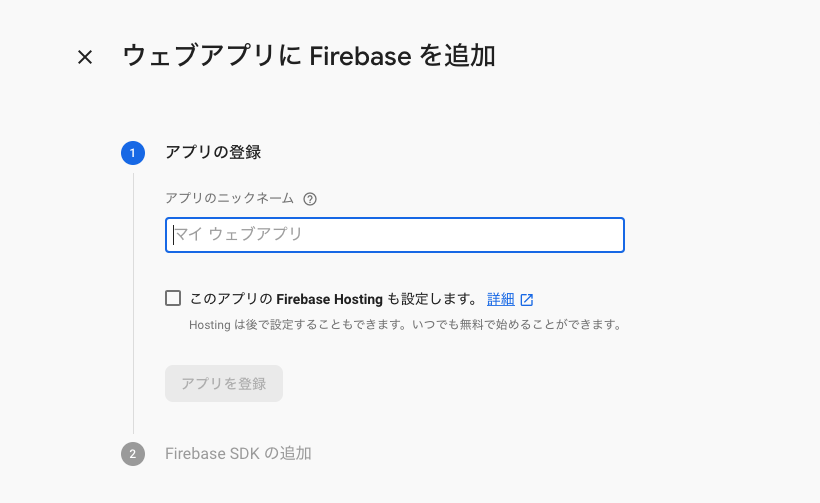
1.「プロジェクトの設定」からプロジェクトにアプリを追加します。
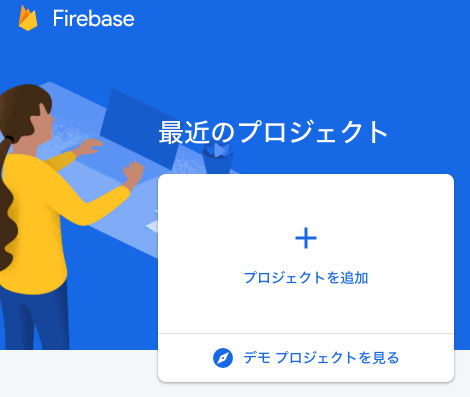
今回はFirebaseAuthSampleというプロジェクト名にします
4.アプリ登録をすると以下のにように表示されるのでfirebaseConfigの内容をひかえておく
<script>
  // Your web app's Firebase configuration
  var firebaseConfig = {
    apiKey: "AIzaSyDE0mFS6zU-570bEu-r4UiGrCNGzDjwTK4",
    authDomain: "fir-authsample-ead7e.firebaseapp.com",
    databaseURL: "https://fir-authsample-ead7e.firebaseio.com",
    projectId: "fir-authsample-ead7e",
    storageBucket: "fir-authsample-ead7e.appspot.com",
    messagingSenderId: "982089738436",
    appId: "1:982089738436:web:870f3c6e92964d24a38191",
    measurementId: "G-YWWT4JPEFR"
  };
  // Initialize Firebase
  firebase.initializeApp(firebaseConfig);
  firebase.analytics();
</script>
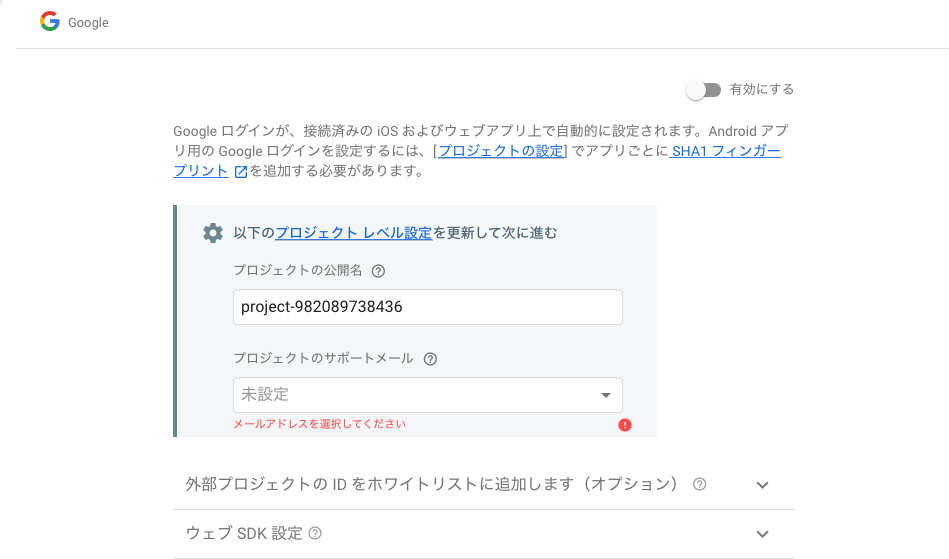
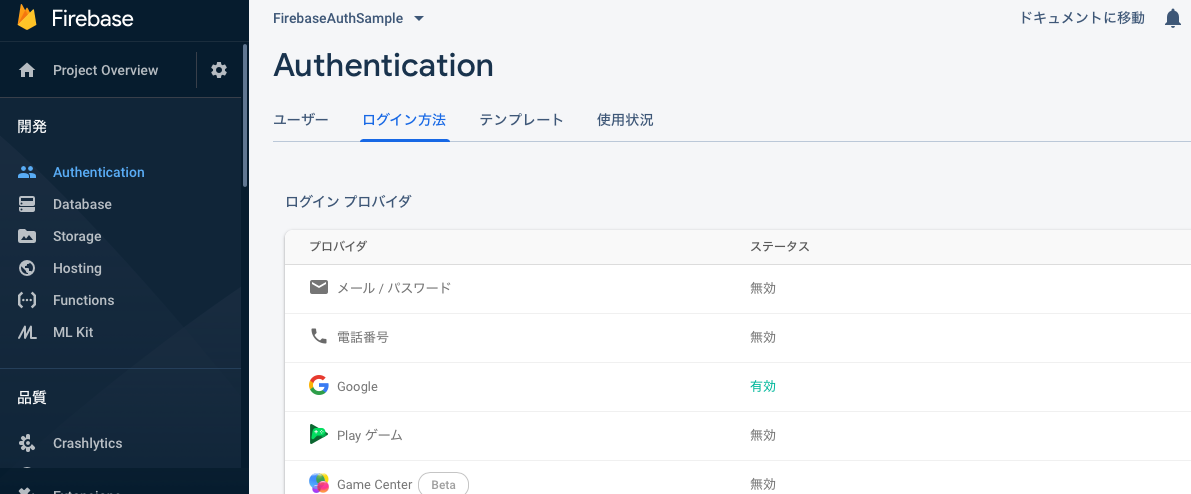
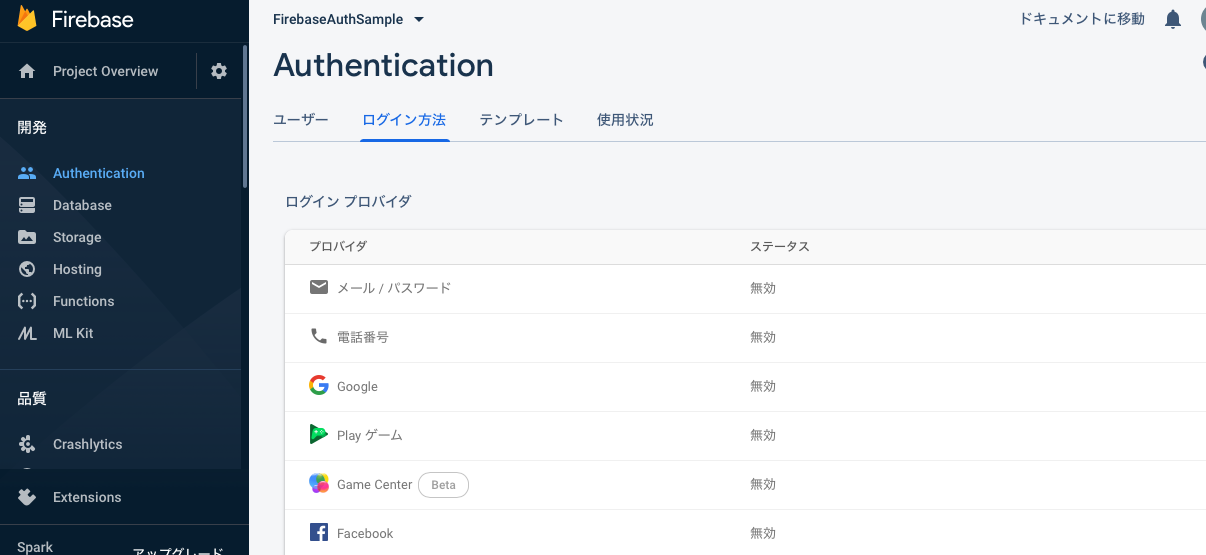
5.FirebaseAuth機能にて、gmailのみ連携を有効にしてみる
プロジェクトに導入する
1.Firebaseのプラグインを作成する
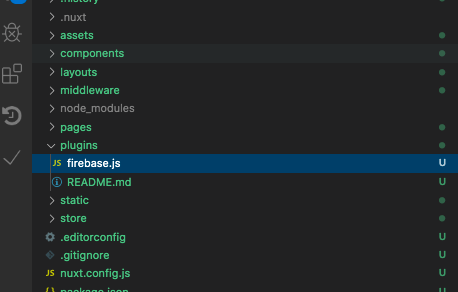
Firebaseの初期は一度のみ行えば良いのでpluginを作成して初期化を行う
dotenvとかでenvファイルに外だしで指定できますが今回はその辺は省略で
import firebase from 'firebase'

//一度だけ初期化する
if (!firebase.apps.length) {
    var firebaseConfig = {
      apiKey: "AIzaSyDE0mFS6zU-570bEu-r4UiGrCNGzDjwTK4",
      authDomain: "lfir-authsample-ead7e.firebaseapp.com",
      databaseURL: "https://fir-authsample-ead7e.firebaseio.com://lynomi-staging-711e3.firebaseio.com",
      projectId: "fir-authsample-ead7e",
      storageBucket: "fir-authsample-ead7e.appspot.com",
      messagingSenderId: "982089738436",
      appId: "1:982089738436:web:a68cf505064bc7a8a38191"
    }

    firebase.initializeApp(firebaseConfig)
}

export default firebase
2.ルーターを作成する
https://ja.nuxtjs.org/guide/routing/
3.ログイン画面を作成する
<template>
  <div class="container">
    <div class="row">
        <div class="button--green"> <b-button block variant="primary" @click="login">Google Login</b-button></div>
    </div>
  </div>
</template>

<script>
import firebase from 'firebase/app'
import router from '../router'

export default {
   name: 'login',
   methods: {
      login:function (){
        var provider = new firebase.auth.GoogleAuthProvider()
        firebase.auth().signInWithRedirect(provider)
        .then(res => {
          this.$router.push('/logout')
        })
      }
   }
}
</script>
4.ログインする。以下のようにログイン画面が表示されます。
あとは、ログインできたらsignInWithRedirect.thenで結果を受け取って処理するだけです

まとめ
FirebaseAuthを利用することで、Nuxt.jsで作成したwebサイトに簡単にログイン機能を実装することができました。FB/Twitterとも連携できるので今後そちらも試してみたいと思います。
明日は @Gaku_Ishii さんの記事です。
