はじめに
この記事は「fukuoka.ex Elixir/Phoenix Advent Calendar 2021」の21日目です。
昨日は@iyanayatudazeさんの「"phx.server"コマンドの実装を追い掛ける」でした。
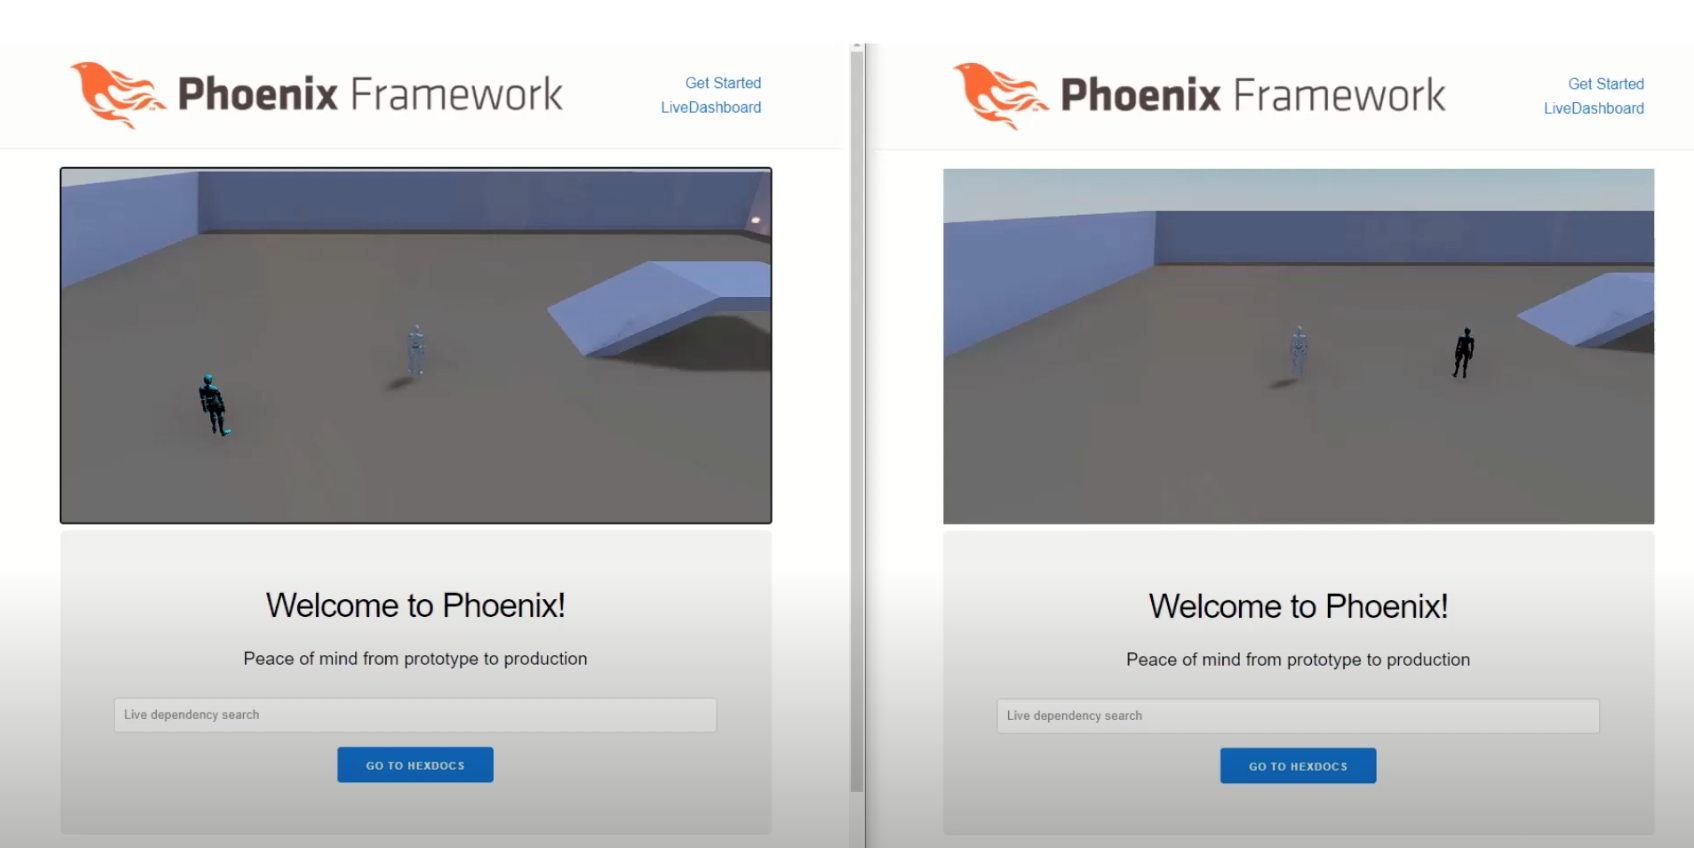
LiveViewのJavaScript interoperabilityを使ったお手軽オンラインゲーム開発をやってみます。
ブラウザに表示するゲーム部分はbabylon.jsのサンプルを使用します。
動画では少しカクカクしていますが、実際には滑らかに動作しています。
開発環境
| PC | Mac Book Pro (Retina, 13-inch, Late 2013) |
|---|---|
| OS | Catalina |
| Memory | 8GB |
| 言語 | elixir v1.11 |
| FW | phoenix1.5 |
| Client | babylon.js v4.2 |
プロジェクト作成
mix phx.new --live mmo_lv
LiveViewハンドラの作成
ブラウザ上のキー入力をpushevent経由で取得/処理する部分を作成します。
defmodule MmoLvWeb.PageLive do
  use MmoLvWeb, :live_view

  alias MmoLvWeb.Endpoint

  @impl true
  def mount(params, _session, socket) do
    MmoLvWeb.Endpoint.subscribe("room")
    {:ok, socket, query: "", results: %{})}
  end

  def handle_info(%{event: "update_player_pos", payload: new_message,topic: _}=payload,%{assigns: assigns}=socket) do
    %{id: id , x: x , y: y , z: z} = new_message
    {:noreply, push_event(socket,"moveto",%{id: id, x: x , y: y , z: z})}
  end

  def handle_event("kew_down", params, %{assigns: assigns}=socket) do
    %{"key" => key , "x"=> x , "y"=>y , "z"=>z}=params
    %{id: id} = assigns

    case key do
      "w"->Endpoint.broadcast!("room", "update_player_pos", %{id: id , x: x , y: y , z: z} )
      "s"->Endpoint.broadcast!("room", "update_player_pos", %{id: id , x: x , y: y , z: z} )
      "a"->Endpoint.broadcast!("room", "update_player_pos", %{id: id , x: x , y: y , z: z} )
      "d"->Endpoint.broadcast!("room", "update_player_pos", %{id: id , x: x , y: y , z: z} )
      _->1
    end
    {:noreply, socket}
  end
end
Viewの設定
babylon.jsのdistディレクトリとnode_modulesディレクトリをpriv/jsにコピーし、htmlから読み込むように設定します。
<head>
    <!-- 追記-->
    <script src="<%= Routes.static_path(@conn, "/js/dist/bundle.js") %>" type="text/javascript"></script>
    <script src="<%= Routes.static_path(@conn, "/js/node_modules/cannon/build/cannon.js") %>" type="text/javascript"></script>
  </head>
<!--追記-->
<div id="rpc" phx-update="ignore" phx-hook="RPC" >
  <canvas id="renderCanvas" style="width:100%"></canvas>
</div>

<script type="text/javascript">
    window.game = new window.game.Game();
</script>
Javascriptの設定
ブラウザ上のキー入力をサーバに通知する処理とキャラクタ位置情報を更新する処理を作成します。
var HOOKS = {};

HOOKS.RPC={
    mounted(){
        this.handleEvent("moveto",function({id,x,y,z}){
            const player = window.Players;
            player.moveTo(id,x,y,z);

        });

        window.addEventListener("keydown", e => {
            const player = window.players;
            const p = player.getPosition(id);
            this.pushEvent("kew_down", {key: e.key, x: p[0] , y: p[1], z: p[2]})
        });
    },
    updated(){

    }

}
実行
サーバを起動します。
mix phx.server
下記のアドレスにアクセスするとゲーム画面が表示されます。
http://localhost:4000
まとめ
- LiveViewを使ったお手軽ゲーム開発をやってみました。
- ネットワーク通信は挫折しやすい箇所ですが、Liveviewをつかうと通信部分は最低限の実装のみで完結します。
- 初学者にとっては目標実現までにモチベーション維持をしやすいのではないでしょうか!
最後まで読んでいただきありがとうございました。
