Ansibleを使用して、CentOS 7にGitLabをインストールする
GitLabとは何ぞや?という方は、下記をご一読いただければと思います。
作成するに至った経緯
- GitLabを手動でインストールするのが面倒なので、自動化したかったため
対象者
- CentOS 7 にGitLabを簡単にインストールしたい方
前提条件
- Webブラウザはインストール済みであるとする
- Ansibleはインストール済みであるとする
- config、inventoryの設定は完了済みであるとする
- 鍵生成、鍵交換、疎通確認は完了済みであるとする
- 今回は、proxy環境下ではないものとする
実行環境
# cat /etc/redhat-release
CentOS Linux release 7.7.1908 (Core)
# ansible --version
ansible 2.8.4
  config file = /etc/ansible/ansible.cfg
  configured module search path = [u'/root/.ansible/plugins/modules', u'/usr/share/ansible/plugins/modules']
  ansible python module location = /usr/lib/python2.7/site-packages/ansible
  executable location = /bin/ansible
  python version = 2.7.5 (default, Aug  7 2019, 00:51:29) [GCC 4.8.5 20150623 (Red Hat 4.8.5-39)]
本playbookで行っていることの概要
- yum updateの実施
- GitLabのインストールに必要なパッケージのインストール
- sshdの自動起動有効化 & sshdの起動
- postfixの自動起動有効化 & postfixの起動
- firewalldのhttpの許可設定
- firewalldのリロード
- GitLabのダウンロード
- GitLabのインストール
- GitLabの再構成
本playbook実行後に得られるもの
- playbookを実行した環境にGitLabがインストールされる
本playbookの実行方法
# ansible-playbook SetupGitLab.yml
yum updateを飛ばして実行したい場合
# ansible-playbook SetupGitLab.yml -v --start-at="Install a list of packages"
VagrantやOpenStackなどで、他のノードに対して本playbookを実行したい場合
下記の"localhost"に、インベントリに記載した変数に変更の上、playbookを実行してください。
hosts: localhost
GitLabをインストールするplaybook
SetupGitLab.yml
- name: Install GitLab
  hosts: localhost
  tasks:
  - name: Upgrade all packages
    yum:
      name: '*'
      state: latest

  - name: Install a list of packages
    yum:
      name:
        - curl
        - golang
        - policycoreutils
        - openssh-server
        - openssh-clients
        - postfix
        - vim
        - wget
        - "@Development tools"
      state: latest

  - name: systemctl enabled sshd & systemctl start sshd
    systemd:
      name: sshd
      state: started
      enabled: yes

  - name: systemctl enabled postfix & systemctl start postfix
    systemd:
      name: postfix
      state: started
      enabled: yes

  - name: Firewalld-cmd --permanent --add-service=http
    firewalld:
      service: http
      state: enabled
      permanent: yes

  - name: Reload service firewalld, in all cases
    systemd:
      name: firewalld
      state: reloaded

  - name: Download gitlab-ce
    get_url:
      url: https://packages.gitlab.com/install/repositories/gitlab/gitlab-ce/script.rpm.sh
      dest: /usr/local/src
      mode: '0755'
    become: yes
    become_user: root

  - name: Run script.rpm.sh
    shell: ./script.rpm.sh
    args:
      chdir: /usr/local/src
    become: yes
    become_user: root

  - name: Install gitlab-ce
    yum:
      name: gitlab-ce
      state: latest

  - name: gitlab-ctl reconfigure
    shell: gitlab-ctl reconfigure
    become: yes
    become_user: root
playbook実行時のログ
# ansible-playbook SetupGitLab.yml

PLAY [Install GitLab] ***************************************************************************************

TASK [Gathering Facts] **************************************************************************************
ok: [127.0.0.1]

TASK [Upgrade all packages] *********************************************************************************
ok: [127.0.0.1]

TASK [Install a list of packages] ***************************************************************************
changed: [127.0.0.1]

TASK [systemctl enabled sshd & systemctl start sshd] ********************************************************
ok: [127.0.0.1]

TASK [systemctl enabled postfix & systemctl start postfix] **************************************************
changed: [127.0.0.1]

TASK [Firewalld-cmd --permanent --add-service=http] *********************************************************
changed: [127.0.0.1]

TASK [Reload service firewalld, in all cases] ***************************************************************
changed: [127.0.0.1]

TASK [Download gitlab-ce] ***********************************************************************************
changed: [127.0.0.1]

TASK [Run script.rpm.sh] ************************************************************************************
changed: [127.0.0.1]

TASK [Install gitlab-ce] ************************************************************************************
changed: [127.0.0.1]

TASK [gitlab-ctl reconfigure] *******************************************************************************
changed: [127.0.0.1]

PLAY RECAP **************************************************************************************************
127.0.0.1                  : ok=11   changed=8    unreachable=0    failed=0    skipped=0    rescued=0    ignored=0
GitLabのバージョン確認
下記のコマンドを実行して、インストールされたGitLabのバージョンを確認してみましょう。
# gitlab-rake gitlab:env:info

System information
System:
Current User:	git
Using RVM:	no
Ruby Version:	2.6.3p62
Gem Version:	2.7.9
Bundler Version:1.17.3
Rake Version:	12.3.2
Redis Version:	3.2.12
Git Version:	2.22.0
Sidekiq Version:5.2.7
Go Version:	go1.11.5 linux/amd64

GitLab information
Version:	12.3.1
Revision:	3440d0f6100
Directory:	/opt/gitlab/embedded/service/gitlab-rails
DB Adapter:	PostgreSQL
DB Version:	10.9
URL:		http://gitlab.example.com
HTTP Clone URL:	http://gitlab.example.com/some-group/some-project.git
SSH Clone URL:	git@gitlab.example.com:some-group/some-project.git
Using LDAP:	no
Using Omniauth:	yes
Omniauth Providers:

GitLab Shell
Version:	10.0.0
Repository storage paths:
- default: 	/var/opt/gitlab/git-data/repositories
GitLab Shell path:		/opt/gitlab/embedded/service/gitlab-shell
Git:		/opt/gitlab/embedded/bin/git
GitLabへのアクセス確認
-
Webブラウザを起動し、[http://localhost] にアクセスします。
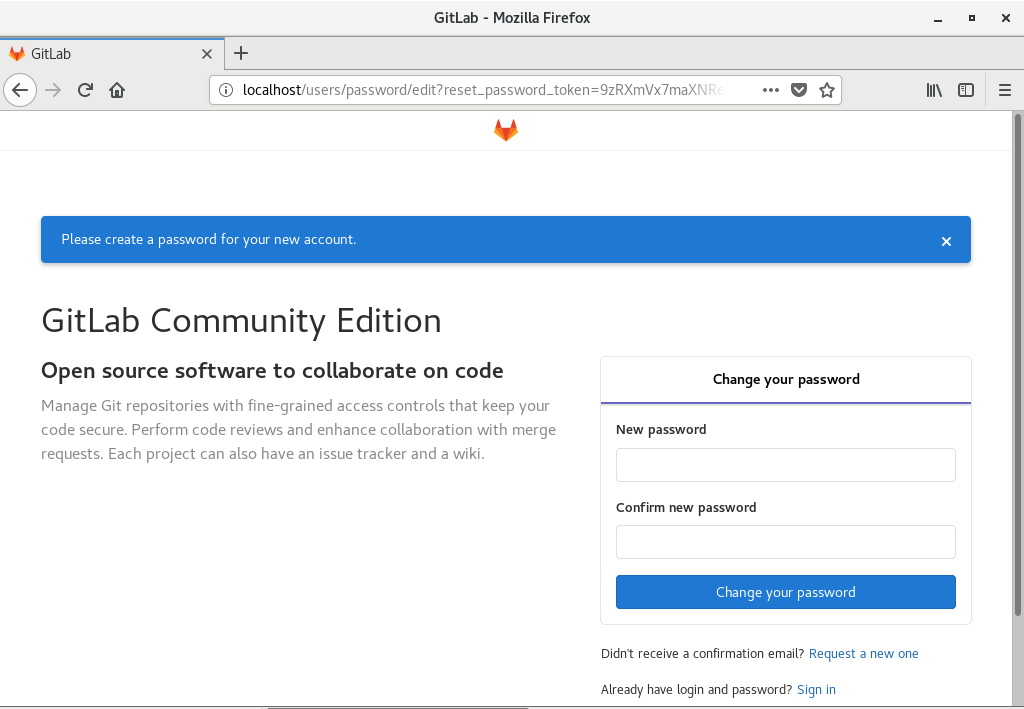
-
GitLabのログイン画面が開けました。パスワードの変更を求められるので、パスワードを設定します。
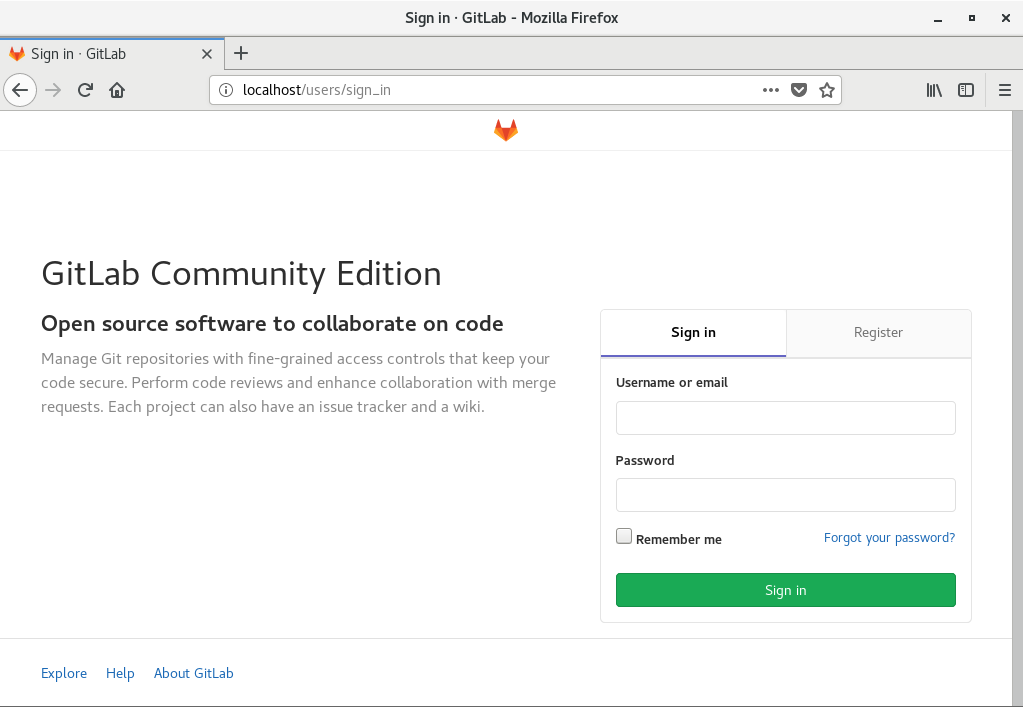
-
パスワード設定後、[Username / Password]を入力して、ログインします。
- Username: root
- Password: [手順2で設定した値]
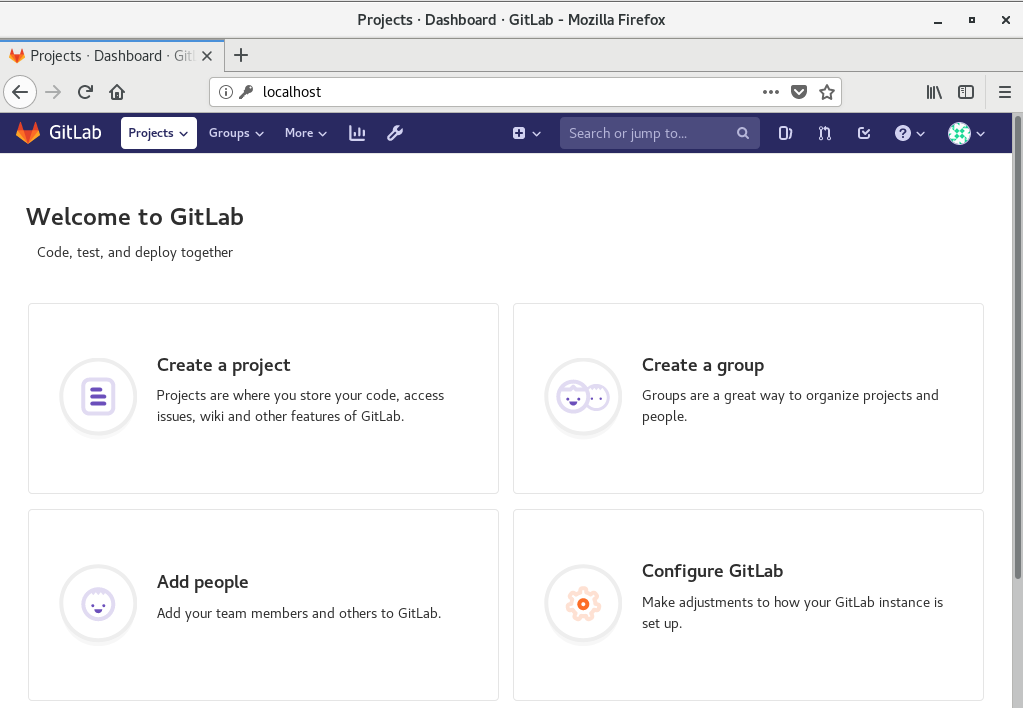
-
GitLabに無事ログインすることができました。
備忘録:GitLabに必要なポートが使用済みで割り当てられない場合
下記ファイルにポート番号設定を行う。
# vi /etc/gitlab/gitlab.rb
...
redis['port'] = 16379
postgresql['port'] = 15432
unicorn['port'] = 18080
...
設定完了後、下記のコマンドでGitLabの再構成を実施
# gitlab-ctl reconfigure
まとめ
Ansibleを使用して、CentOS 7にGitLabをインストールし、ログインするところまで確認することができました。あとは参考書籍に従って、管理者権限を使用してGitLabの機能を色々使ってみようと思います。今試したいのは、GitLab Runner です。
今後試したいこと
- GitLabコンポーネント割り当て変更もplaybookに盛り込んでみる
参考URL
今回使用したモジュール
- [【docs.ansible.com】yum – Manages packages with the yum package manager]
(https://docs.ansible.com/ansible/latest/modules/yum_module.html?highlight=yum) - 【docs.ansible.com】systemd – Manage services
- 【docs.ansible.com】firewalld – Manage arbitrary ports/services with firewalld
- 【docs.ansible.com】get_url – Downloads files from HTTP, HTTPS, or FTP to node
- 【docs.ansible.com】shell – Execute shell commands on