PyCharmを使う時に以下の2点が少しわかりにくかったので記録しておきます。
- pyenv + venvでPython環境を作っている場合の設定方法
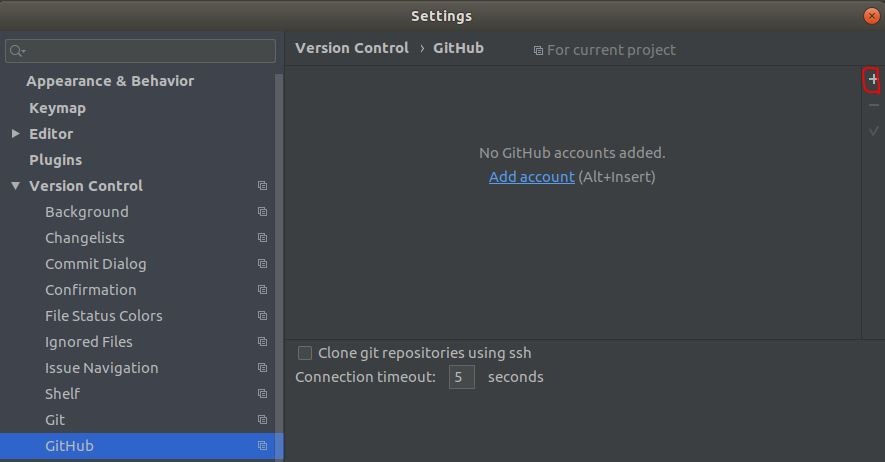
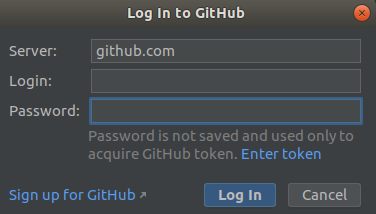
- GitHub連携方法
pyenvとvenvの環境構築に関しては、別記事「UbuntuにpyenvとvenvでPython開発環境構築」を参照ください。
環境
| 種類 | バージョン | 内容 |
|---|---|---|
| OS | Ubuntu18.04.1 LTS | Windows8.1から仮想で動かしています。 Windows10でも同様なことを確認 |
| PyCharm | PyCharm CE 2019.1.2 | Community Editionです |
| pyenv | 1.2.11 | 2019/5/29時点で最新 |
前提
venvでこんなpy35で仮想環境を作り、tensorflow1.13.1をインストールしました。Gitインストール済みです。
python -m venv py35
source py35/bin/activate
pip install --no-cache-dir --upgrade pip
pip install tensorflow
Python Interpreter設定
Settings画面のナビゲーションエリアで「Project interpreter」を選択して右側の+ボタンを押します。

"Add Python Interpreter"画面のナビゲーションエリアで、「Virtualenv Environment」を選択して、「/<仮想環境名>/bin/python」 を選択します。
※今回の仮想環境名は"py35"
Virtualenvを使っていないかったので、少し迷いましたがこれで大丈夫なようです。
GitHub連携
メニューの「VCS」>「Enable Version Control Integration Dialog」から「Git」を選択。

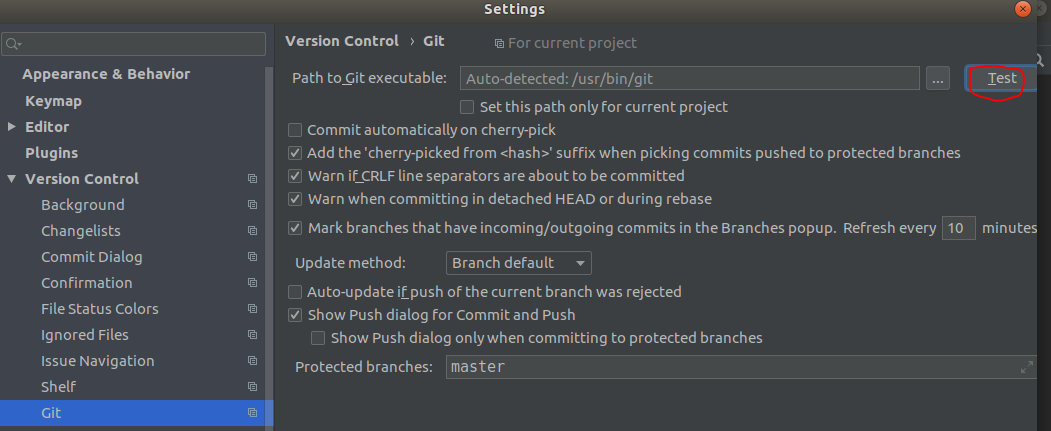
SettingsでVersion Control -> GitでGit実行ファイルのパスが正しく設定されているかを「Test」ボタンを押して確認


