この記事のコードをまとめたものはGithubにあります。
まだPowerPointで摩耗してるの?
研究発表をパワポで作るってダサくね?
R及びRStudioを使っているなら、TeXやLaTeXも使えたほうがカッコいい!
それに、Beamerを使いこなせばスライドもポスターも作れる!作業効率は10倍(当社比)
でも、TeXの環境構築って時間かかるよね...。
そこで、TinyTeX!
TinyTeXを使えば3時間かかるTeXの環境構築が20分で終わる!
操作が全てR及びRStudioで完結するので、プロジェクトフォルダを工夫するとRmdのタブを切り替えるだけでOK!
パワポを起動する必要なし!
本題
TinyTeX のインストール
早速、TinyTeXをインストールしよう!
install.packages('tinytex')
tinytex::install_tinytex()
Rmdで作業: yamlの設定
yamlヘッダーの設定はこんな感じ!
latex_engine: lualatexと\usepackage{luatexja}が日本語文書の出力に必須。
以下の二つでブロックの色をいじる。
\setbeamercolor{block title}{bg=hoge, fg=hoge}
\setbeamercolor{block body}{bg=hoge, fg=hoge}
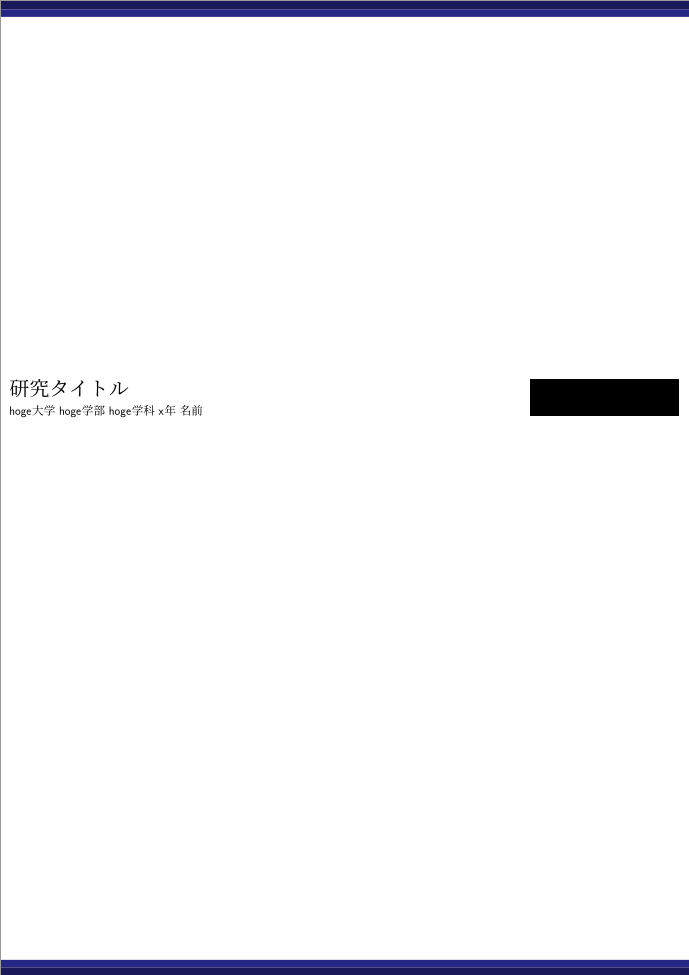
このyamlヘッダーのみでknitすると青色のバーが上下にあるポスターが出力される。
ちなみに、ポスターの上下にあるバーの色は
\usecolortheme[RGB={x,x,x}]{structure}で色を変えることができる。
---
output:
beamer_presentation:
latex_engine: lualatex
theme: "Berlin"
fonttheme: "professionalfonts" # フォントの設定
header-includes:
- \usepackage{luatexja} # 日本語の文章を作成
- \usepackage[orientation=portrait,size=a0,scale=1.4,debug]{beamerposter} # posterを作ると明示
- \useinnertheme{circles} # 箇条書きのスタイルの設定
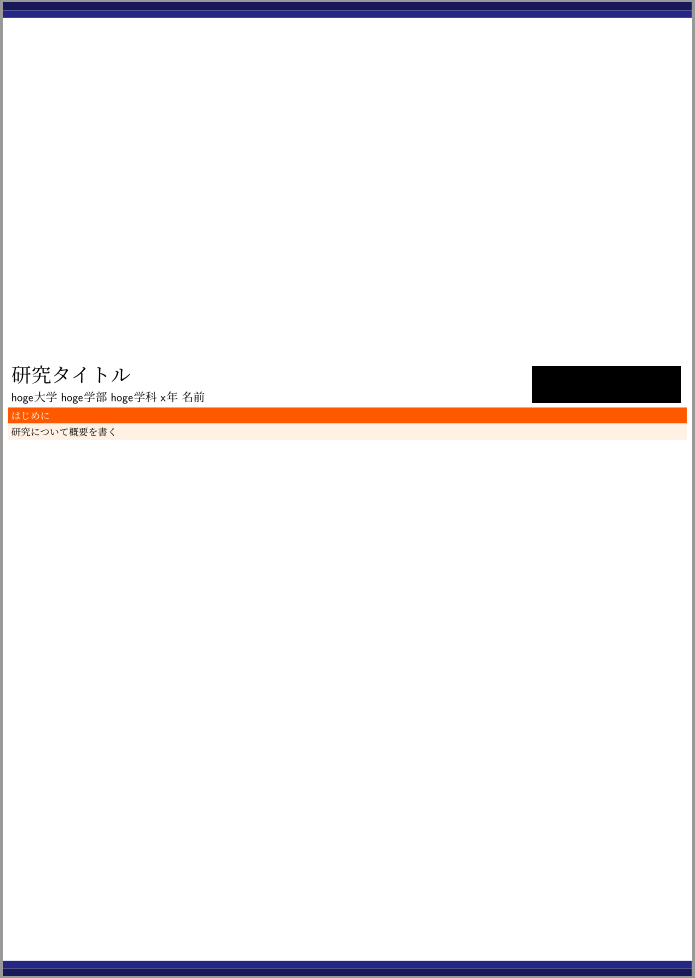
- \setbeamercolor{block title}{bg=orange!130, fg=white} # blockのtitleの色
- \setbeamercolor{block body}{bg=orange!10, fg=black} # blockのbodyの色
- \renewcommand{\figurename}{図} #図のキャプションをfigureから図に
- \renewcommand{\tablename}{表} #表のキャプションをtableから表
---

タイトルの作成
チャンクは{r}ではなく{=latex}とエンジンを指定する必要がある。
minipageを2つ横に並べている。
1つ目: 研究タイトルとか名前とか所属とか。
2つ目: 大学のエンブレムなどの画像を貼る。
\begin{minipage}[]{0.77\columnwidth}
\huge 研究タイトル\\
[5mm]
\large hoge大学 hoge学部 hoge学科 x年 名前
\end{minipage}

\begin{minipage}[]{0.22\columnwidth}
\begin{figure}\centering
\includegraphics[width=\columnwidth]{Logo/logo.png}
\end{figure}
\end{minipage}
内容を書く
以下の各コードを各チャンクに入れるとポスターになる。
「はじめに」のblockを作る
\begin{minipage}[]{\columnwidth}
\begin{block}{はじめに}
研究について概要を書く
\end{block}
\end{minipage}
blockを2列に並べる
A0サイズのポスターは結構大きいので、2列にblockを並べると丁度良い。
\begin{columns}[T] % columns環境の開始
\begin{column}{.49\linewidth} % ここから1列目

\begin{block}{Section1}
hogehoge
\end{block}

\end{column} % 1列目の終了

\begin{column}{.49\linewidth} % ここから2列目

\begin{block}{Section2}
hogehoge
\end{block}

\end{column} % 2列目の終了
\end{columns}% columns環境の終了

blockを増やす
blockを2列並べることに成功したら、あとはblockを足していくだけだ。
\begin{columns}[T] % columns環境の開始
\begin{column}{.49\linewidth} % ここから1列目

\begin{block}{Section1}
hogehoge
\end{block}

\begin{block}{Section2}
hogehoge
\end{block}

\begin{block}{Section3}
hogehoge
\end{block}

\begin{block}{Section4}
hogehoge
\end{block}

\end{column} % 1列目の終了

\begin{column}{.49\linewidth} % ここから2列目

\begin{block}{Section5}
hogehoge
\end{block}

\begin{block}{Section6}
hogehoge
\end{block}

\begin{block}{Section7}
hogehoge
\end{block}

\begin{block}{Section8}
hogehoge
\end{block}

\end{column} % 2列目の終了
\end{columns}% columns環境の終了

最後に
これでポスターの形を作るのは終了!
画像を貼りつけたり、箇条書きの書き方はこのサイトを参考にすれば分かります。
blockに研究内容を入れていけば勝手にタイトルが上に登っていきます。
あと、blockとblockの間隔をいじるのは\vspace{0.0\textheight}でできます。0.0の箇所をいじれば幅を調整できます。