やること
- Playwright MCPを使ってみる
- UAとViewportを設定してみる(forkして自分で作る)
MCP(Model Context Protocol)とは
- この方のスライドがネット上で一番わかりやすかったです(2025/4/11現在)
- この記事ではくわしく解説しませんが、MCPという共通規格を通じて、AIエージェントが外部のツールやリソースへアクセスできるようになりました
- 以下みたいなイメージ
- MCPクライアント:CursorやClaude Desktop、VSCodeなどのAIエージェント
- MCPサーバー:playwright-mcpや天気予報ツールなど、MCPクライアントの要求を基に実サービスへの中継とデータの返却を行う
Playwright MCP
- ブラウザの自動操作ライブラリであるPlaywright(from Microsoft)が、MCPサーバ化しました
- CursorなどのMCPクライアントから指示を受け取って、ブラウザ操作として実行します
できること(2025/4/11時点)
- ブラウザの操作
- クリック
- ホバー
- ドラッグアンドドロップ
- スクリーンショット
- テキスト入力
- タブ管理
- 開く・閉じる
- 一覧を取得する
- 遷移
- URL指定でアクセス
- 次へ・戻る
- ファイルアップロード
などなど
できないこと(2025/4/11時点)
- UserAgentの指定・Cookieの指定
- https://github.com/microsoft/playwright-mcp/issues/23
- このIssue曰く、しばらく公式に追加される見込みもなさそうに見える
- Viewportの指定
- https://github.com/microsoft/playwright-mcp/issues/5
-
このIssue曰く、しばらくしたら対応しそうに見える- https://github.com/microsoft/playwright-mcp/releases/tag/v0.0.11 で対応されました(2025/4/15)
- HTTPヘッダの指定
- https://github.com/microsoft/playwright-mcp/issues/142
- このIssue曰く、しばらく公式に追加される見込みもなさそうに見える
困ったことと解決方法
困ったこと
- UserAgentやViewportによってレスポンシブ対応するようなWebサイトのUIテストをやりたい時に困る
解決方法
- Playwright MCPをforkして、自分用にカスタマイズしたバージョンのeno-playwright-mcpを作ってみました
- Cursorを頼りにソースを改良して、useragentとviewportの設定を追加できるようにしました
- PR(https://github.com/Enokisan/eno-playwright-mcp/pull/1 )
修正内容のサマリ by Cursor(一部編集済み)
はい、各ファイルの変更点について詳細に説明させていただきます。
コミットの詳細分析
1. src/context.ts
-
型定義の拡張
-
ContextOptionsインターフェースに新しいオプションを追加contextOptions?: playwright.BrowserContextOptions;
-
-
ブラウザコンテキスト起動ロジックの変更
-
_launchPersistentContextメソッドの修正 - 以前:
return await browserType.launchPersistentContext(this.options.userDataDir, this.options.launchOptions); - 変更後:
return await browserType.launchPersistentContext(this.options.userDataDir, {
  ...this.options.launchOptions,
  ...this.options.contextOptions,
});
-
2. src/index.ts
-
import文の変更
-import type { LaunchOptions } from 'playwright'; +import type { LaunchOptions, BrowserContextOptions } from 'playwright'; -
Options型の拡張
type Options = { // 既存のオプション -cdpEndpoint?: string; +contextOptions?: BrowserContextOptions; vision?: boolean; capabilities?: ToolCapability[]; +cdpEndpoint?: string; // 位置の移動のみ }; -
createServer関数の修正
export function createServer(options?: Options): Server {
  // 既存のオプション
  +contextOptions: options?.contextOptions,
});
3. src/program.ts
-
CLIオプションの追加
.option('--viewport-size <size>', 'Browser viewport size in format "width,height". Example: 1280,720') .option('--user-agent <string>', 'User agent string to use') -
新しいコンテキストオプション処理の追加
const contextOptions: any = {}; // ビューポートサイズの処理 if (options.viewportSize) { const [width, height] = options.viewportSize.split(',').map(Number); if (!isNaN(width) && !isNaN(height)) { contextOptions.viewport = { width, height }; } } // ユーザーエージェントの処理 if (options.userAgent) { contextOptions.userAgent = options.userAgent; } -
ServerList作成時のオプション追加
const serverList = new ServerList(() => createServer({
  // 既存のオプション
  +contextOptions,
  vision: !!options.vision,
  // その他の既存オプション
}));
このコミットでは、3つのファイルに対して変更が行われ、主にPlaywrightのブラウザコンテキストオプションを柔軟に設定できるように機能拡張が実施されました。特に、ビューポートサイズとユーザーエージェントの設定が可能になり、より詳細なブラウザ環境のカスタマイズが実現されました。
実際動かしてみた
- https://testpage.jp/tool/ip_user_agent.php にアクセスしてviewportやuseragentを見てみます
mcpサーバのビルド & 実行
$ npm install

$ npm run build

$ npx ts-node ./cli.js --port 8931 --viewport-size 777,777 --user-agent "EnokiWebKit"
ここまで実施すると、MCPクライアント側での設定情報を出力してくれます。
Support for loading ES Module in require() is an experimental feature and might change at any time
(Use `node --trace-warnings ...` to show where the warning was created)
Listening on http://localhost:8931
Put this in your client config:
{
  "mcpServers": {
    "eno-playwright": {
      "url": "http://localhost:8931/sse"
    }
  }
}
CursorでMCPサーバを追加する

Ctrl + Shift + P(Macなら、Command + Shift + P)で「cursor settings」と入力してCursorの設定画面を開きます。
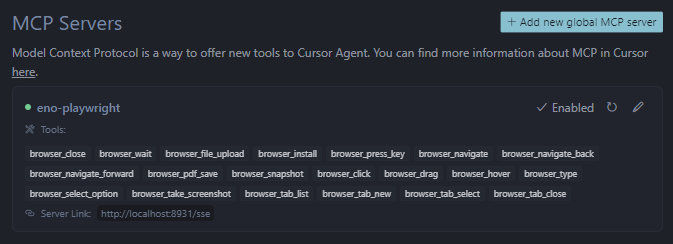
右上の「Add new global MCP server」から、先ほどのterminalで控えた設定内容をコピペすると、MCPクライアント側の設定は完了です。
Cursorにお願いしてみる
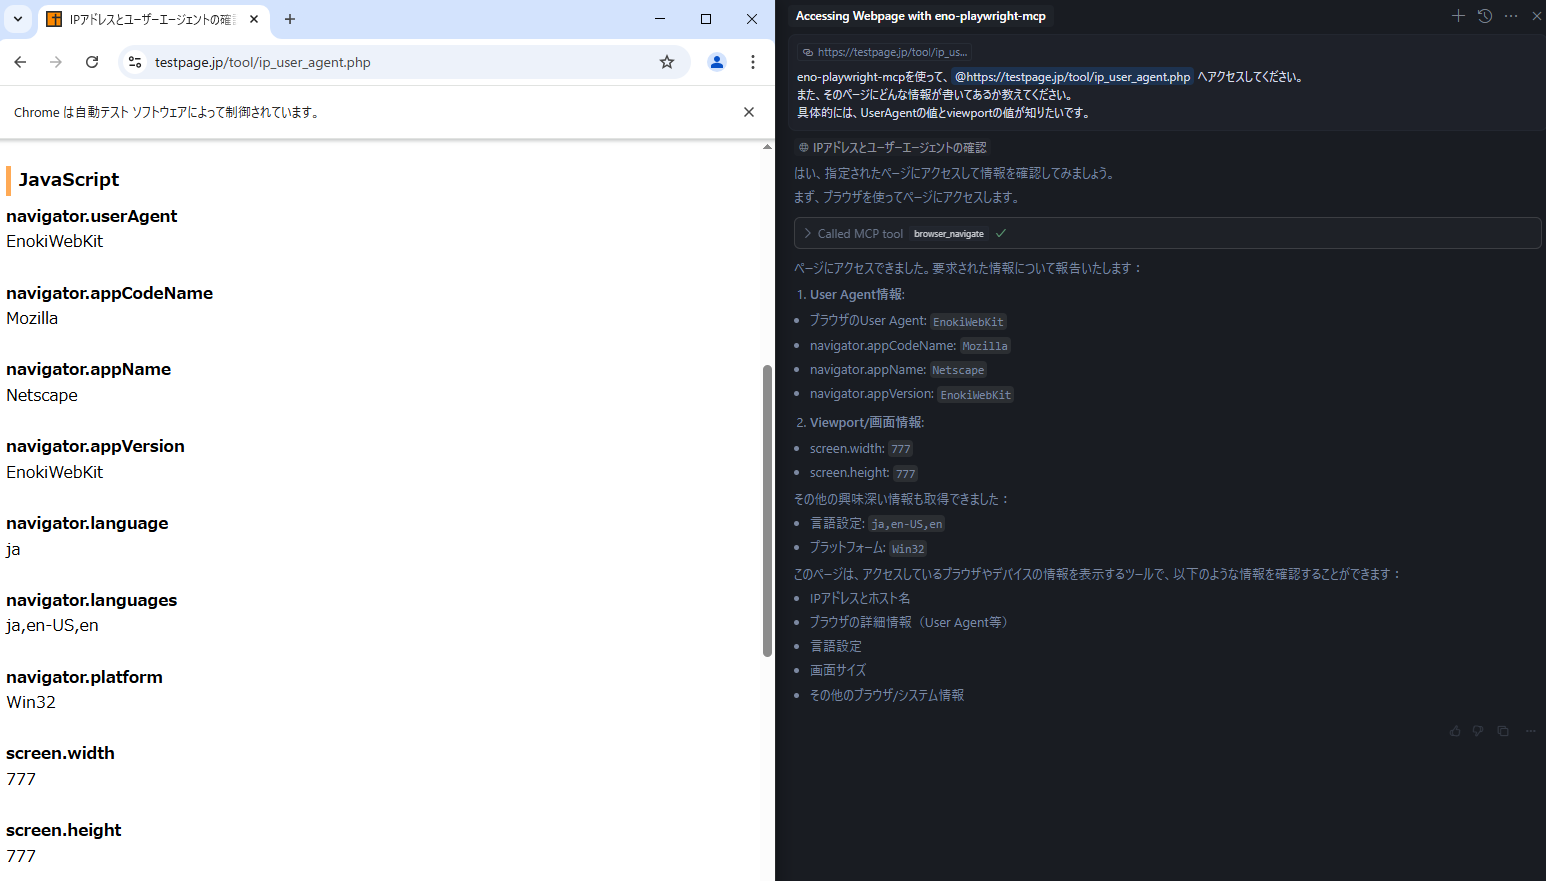
UAの設定と、Viewportの設定ができましたね。
まとめ
今度はiframe内の要素をどう扱うかをちゃんと調べたいなー
参考