はじめに
SpringBootでsessionを操作(保存,取得,削除)する場合の操作方法を学習したので記事にまとめました。お役に立てれば幸いです
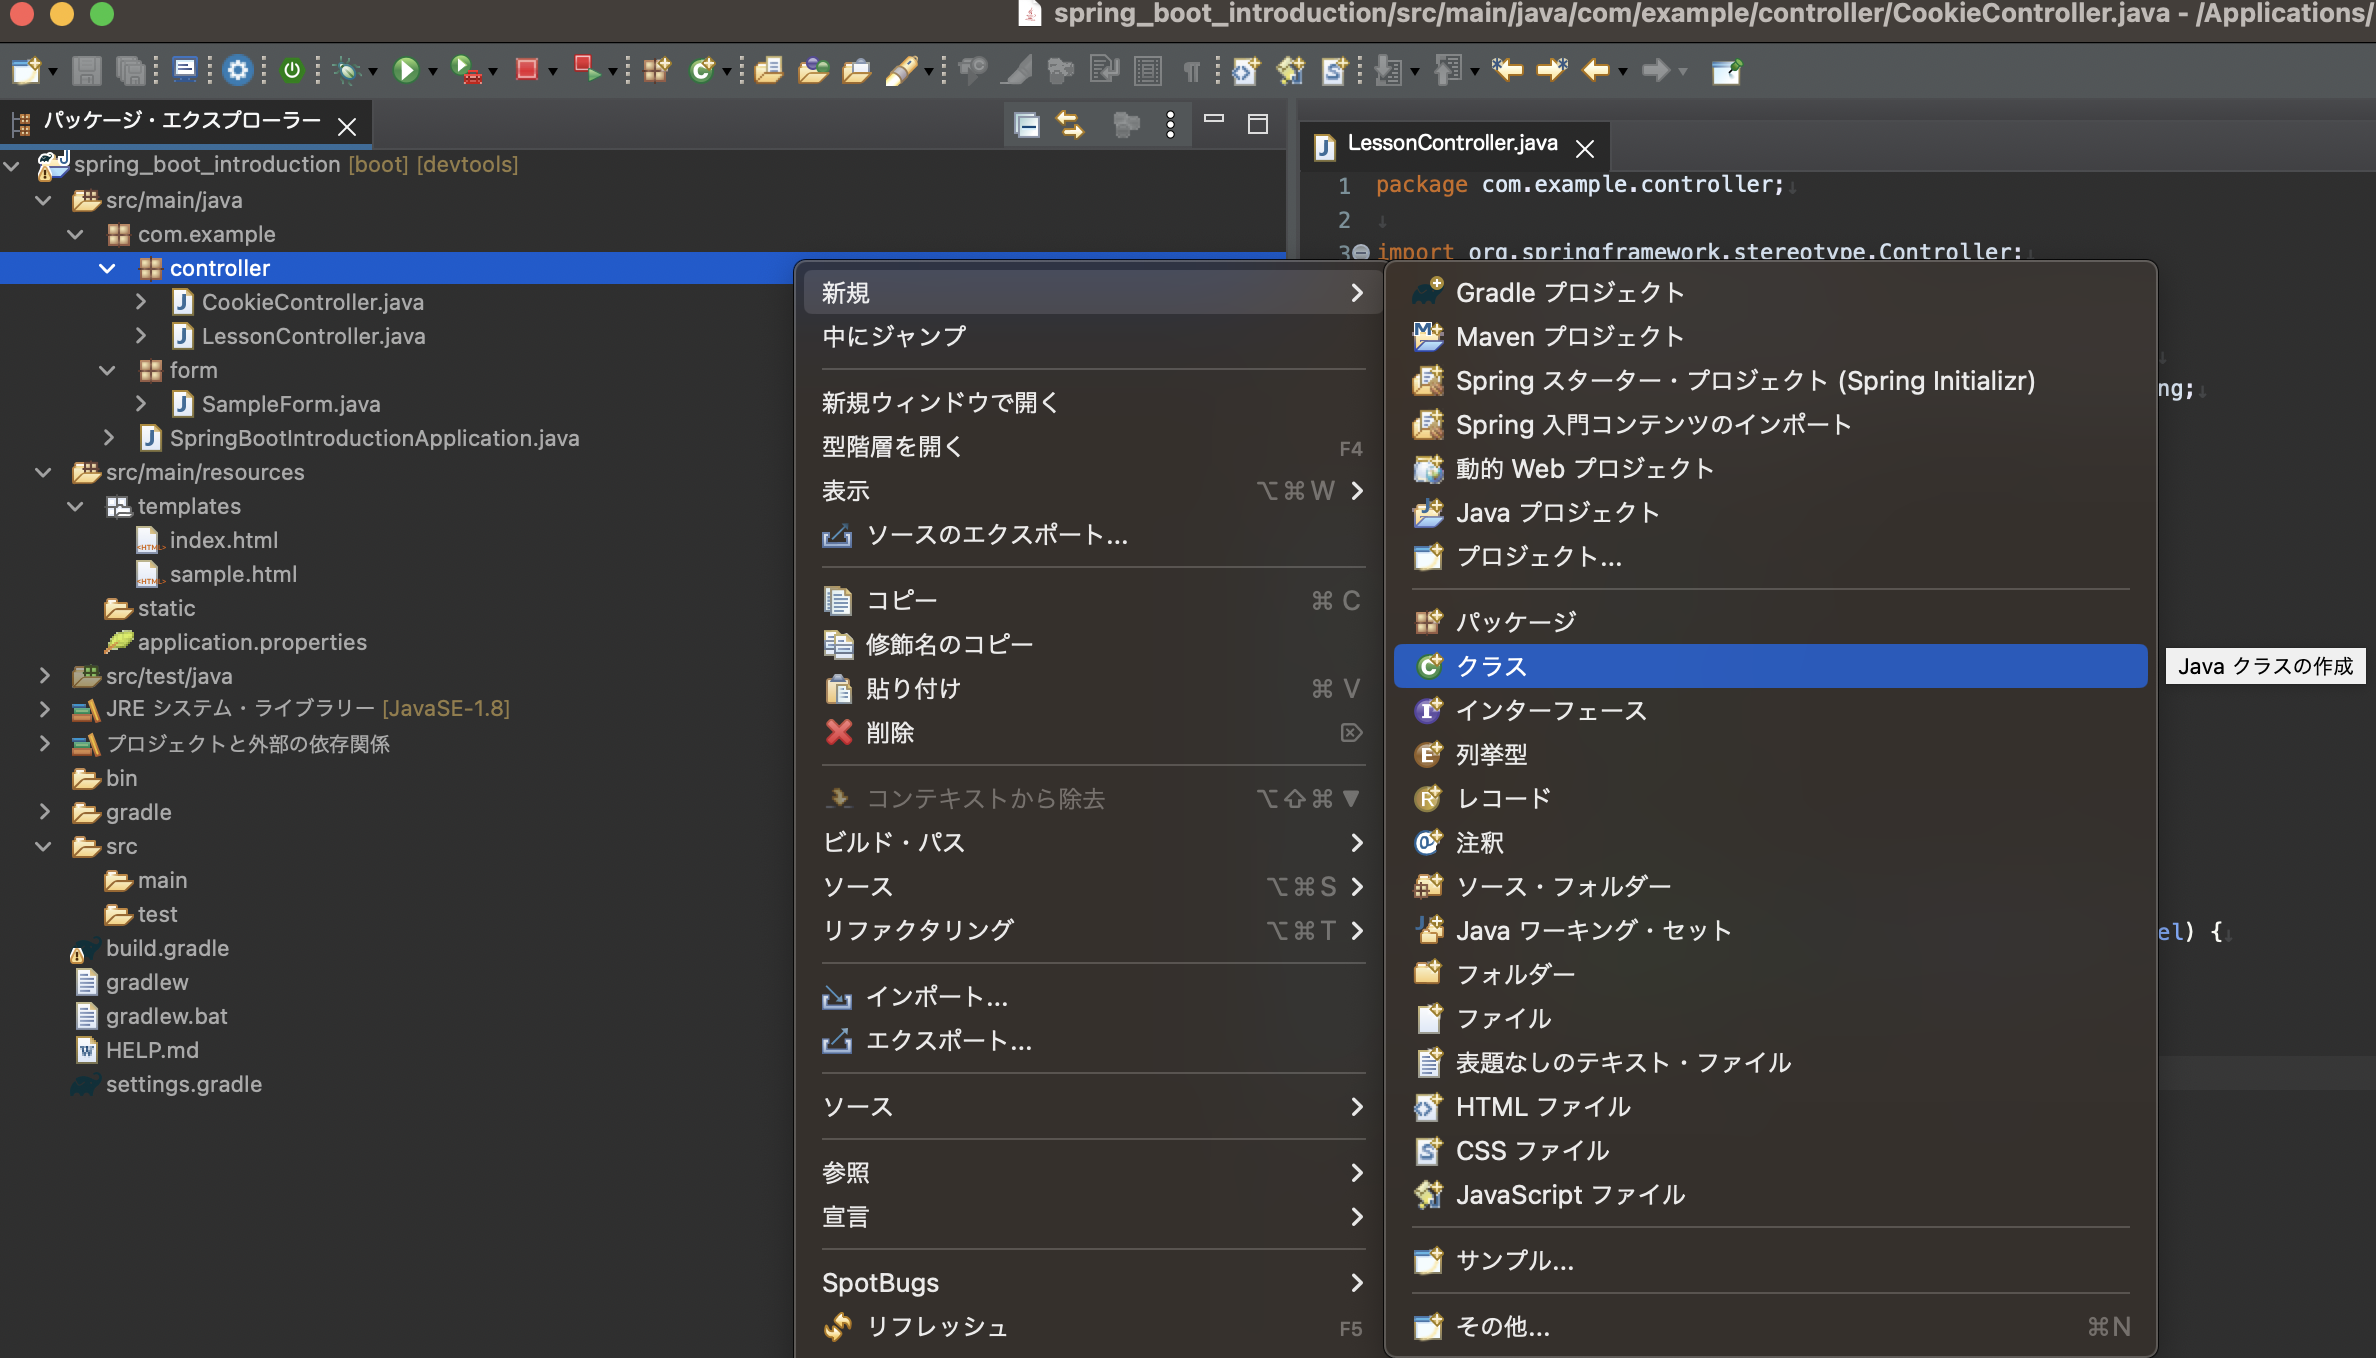
Session用のcontrollerを用意する
一般的にセッションのコードを記述するコントローラーは、必要なコントローラー内に追記する形となります。具体的にはセッションを使用する必要がある各機能ごと(ログイン、カートの管理など)のコントローラー内で、セッションの作成、取得、編集、削除などを行います。
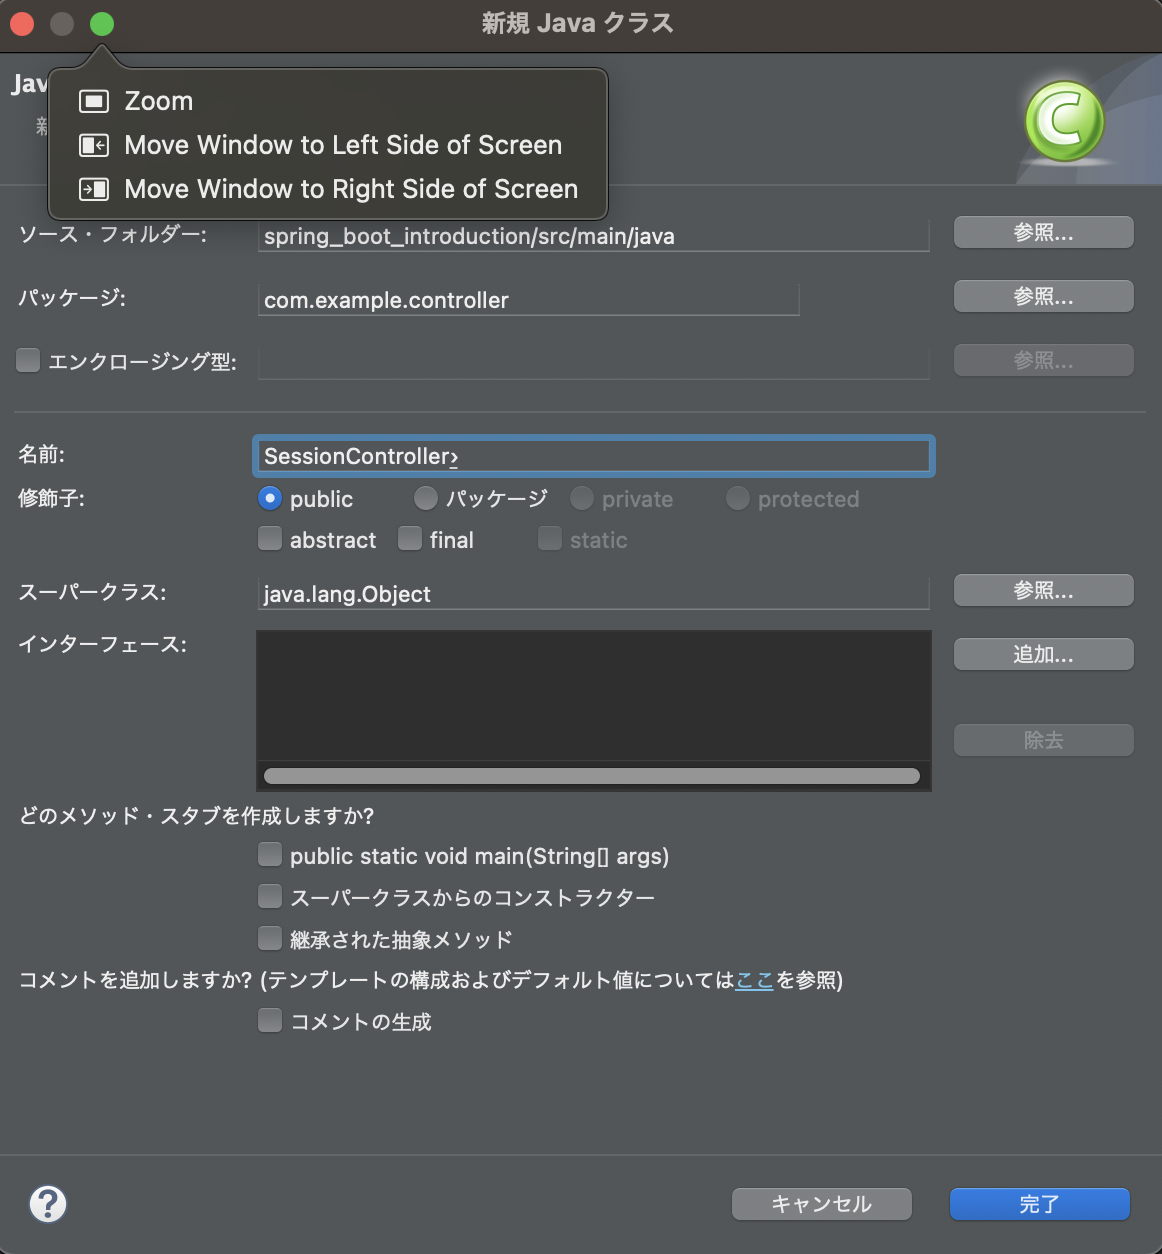
今回は操作説明のためにセッション専用のコントローラーを作成しています。controllerの作成場所は特に推奨された場所がないため、パッケージの仕様に従って作成する必要があります
HttpSessionインタフェースを使う
HttpSessionインタフェースというAPIを使用することでセッションを簡単に操作できます。HttpSessionインタフェース引数を与えることで保存、取得、削除などが実行できる、いわばメソッドの集合体です。
次の例ではHttpSessionの使い方を示しています
SessionController.java
package com.example.controller;

import javax.servlet.http.HttpSession;

import org.springframework.beans.factory.annotation.Autowired;
import org.springframework.stereotype.Controller;
import org.springframework.web.bind.annotation.GetMapping;
import org.springframework.web.bind.annotation.RequestMapping;
import org.springframework.web.bind.annotation.RequestParam;
import org.springframework.web.bind.annotation.ResponseBody;

@Controller
@RequestMapping("/session")
public class SessionController {

    // HttpSession型のフィールドを定義する
    private HttpSession session;

    // コンストラクタを作成し、@Autowiredアノテーションを付与する
    @Autowired
    public SessionController(HttpSession session) {
        // フィールドに代入する
        this.session = session;
    }

    @GetMapping("/set")
    @ResponseBody
    public String set(@RequestParam("name") String name, @RequestParam("bloodType") String bloodType) {
        // Sessionへの保存
        this.session.setAttribute("name", name);
        this.session.setAttribute("bloodType", bloodType);
        return "保存しました";
    }

    @GetMapping("/get")
    @ResponseBody
    public String get() {
        String name = (String) this.session.getAttribute("name");
        String bloodType = (String) this.session.getAttribute("bloodType");
        if (name == null) {
            name = "名無し";
        }
        if (bloodType == null) {
            bloodType = "不明";
        }
        return "名前: " + name + "<br>血液型: " + bloodType;
    }

    @GetMapping("/delete")
    @ResponseBody
    public String delete() {
        // Session名を指定して削除
        session.removeAttribute("name");
        session.removeAttribute("bloodType");
        return "削除しました";
    }
}
Get通信で送られたパラメータをセッションに保存し、出力、削除をすることができます。本来ならばログイン情報などを扱う手前、Post通信が望まれますが、操作説明なので以下のアドレスで保存、取得、削除ができるか確認できます
基本構文
sessionを保存する
HttpSessionのsetAttribute()メソッドによりsessionを保存します。
this.session.setAttribute("session名", 値);
例文
this.session.setAttribute("id", id);
this.session.setAttribute("password", password);
sessionを取得する
SessionControllerに処理を追記していきます。
今回はsessionの値を取得し出力するget()メソッドを定義します。
ログイン情報を管理する場合はpost()メソッドを使用します
// 名前に紐づいたデータが存在しない場合はnullを返します
this.session.getAttribute("session名");
例文
String id = (String) this.session.getAttribute("id");
String password = (String) this.session.getAttribute("password");
        if (name == null) {
            name = "名無し";
        }
        if (bloodType == null) {
            bloodType = "不明";
        }
        return "ID: " + id + "パスワード: " + password;
sessionを削除する
HttpSessionのremoveAttribute()メソッドを利用してsessionを削除します。
this.session.removeAttribute("session名");
例文
session.removeAttribute("id");
session.removeAttribute("password");