あらまし
ネット上ではたびたび触れられていますが、書籍等では情報が少ないのでメモ。
Kivyの設定画面
Kivyはデフォルトで設定画面を持っています。
Kivyのアプリケーションを実行中にF1キーを押すことによって開くことができます。
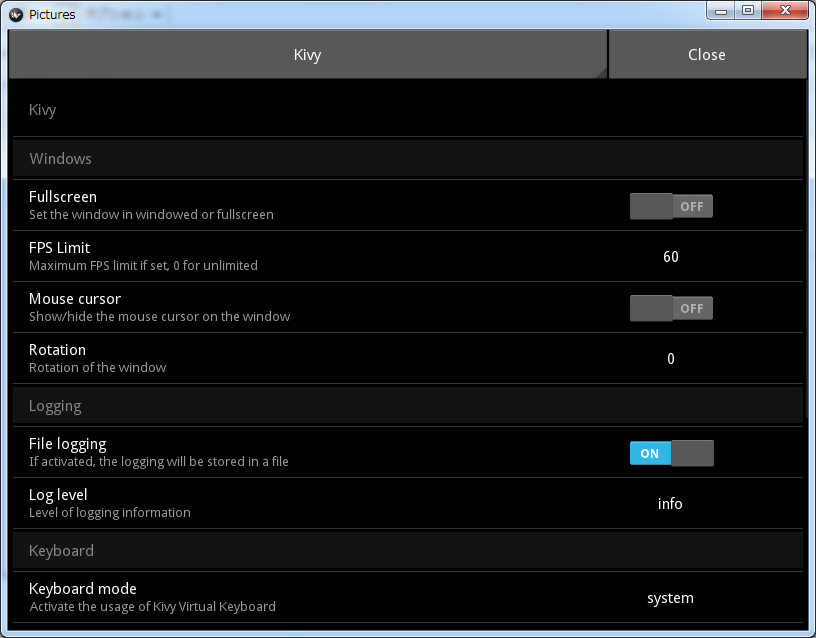
これによりKivyの設定を変更することができるので簡単なデバッグに使用したりできます。
この設定画面はカスタマイズ可能でアプリケーション向けの設定を作ることができます。
カスタマイズした設定画面の作り方
先ず設定用ファイルを用意します。
myconf.ini
[section1]
key1 = value1
key2 = 40
次に設定用のパネルを追加するためにJSONを用意します。
settings_custom.json
[
    {
        "type": "title",
        "title": "Windows"
    },
    {
        "type": "options",
        "title": "Test",
        "desc": "test settings",
        "section": "section1",
        "key": "key1",
        "options": ["value1", "value2", "value3"]
    },
    {
        "type": "numeric",
        "title": "Test",
        "desc": "test settings2",
        "section": "section1",
        "key": "key2"
    }

]
最後に以下のように記述すればOKです。
main.py
# -*- coding: utf-8 -*-
import kivy
kivy.require('1.9.0')

# 設定用
from kivy.config import ConfigParser

from kivy.uix.button import Button
from kivy.app import App

class sampleApp(App):

    def build_config(self, config):
        #設定用のファイルを使用(myconf.ini)
        config.read('myconf.ini')

    def build_settings(self, settings):
        #設定用のパネルを追加(settings_custom.json')
        settings.add_json_panel('Setting Panel', self.config, filename='settings_custom.json')

    def build(self):

        return Button(text='hello world')

if __name__ == '__main__':
    sampleApp().run()
アプリケーションを実行してF1を押してみると
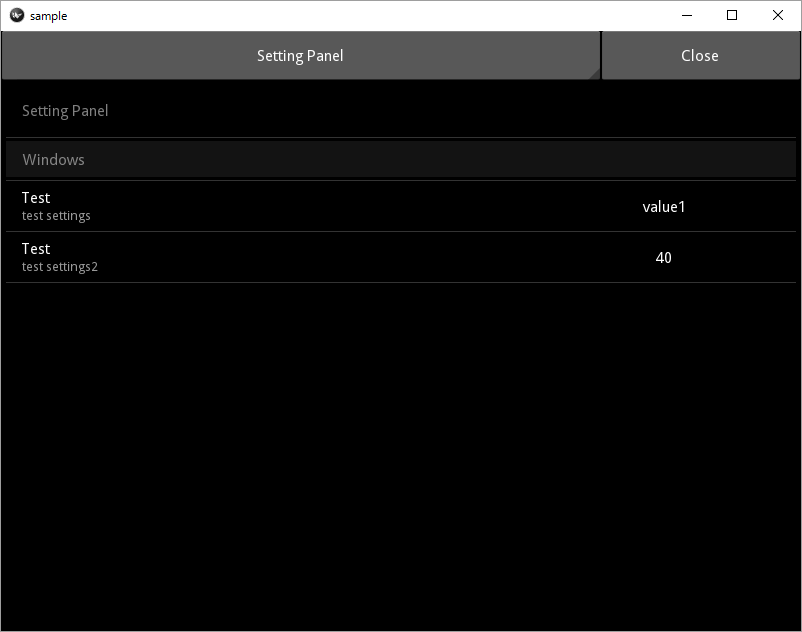
カスタムした設定画面が表示されます。
以上。設定画面の説明でした。
「間違ってるよ」などがありましたらお気軽に教えてください。
最後に
例のごとく、Kivy勉強会もよろしくお願いします。
http://pyky.connpass.com/