はじめに
Azure AI services multi-service accountは、一つのリソースで
上記のサービスにアクセスできる優れもの。
2024.02.01時点でContent Moderatorは廃止予定
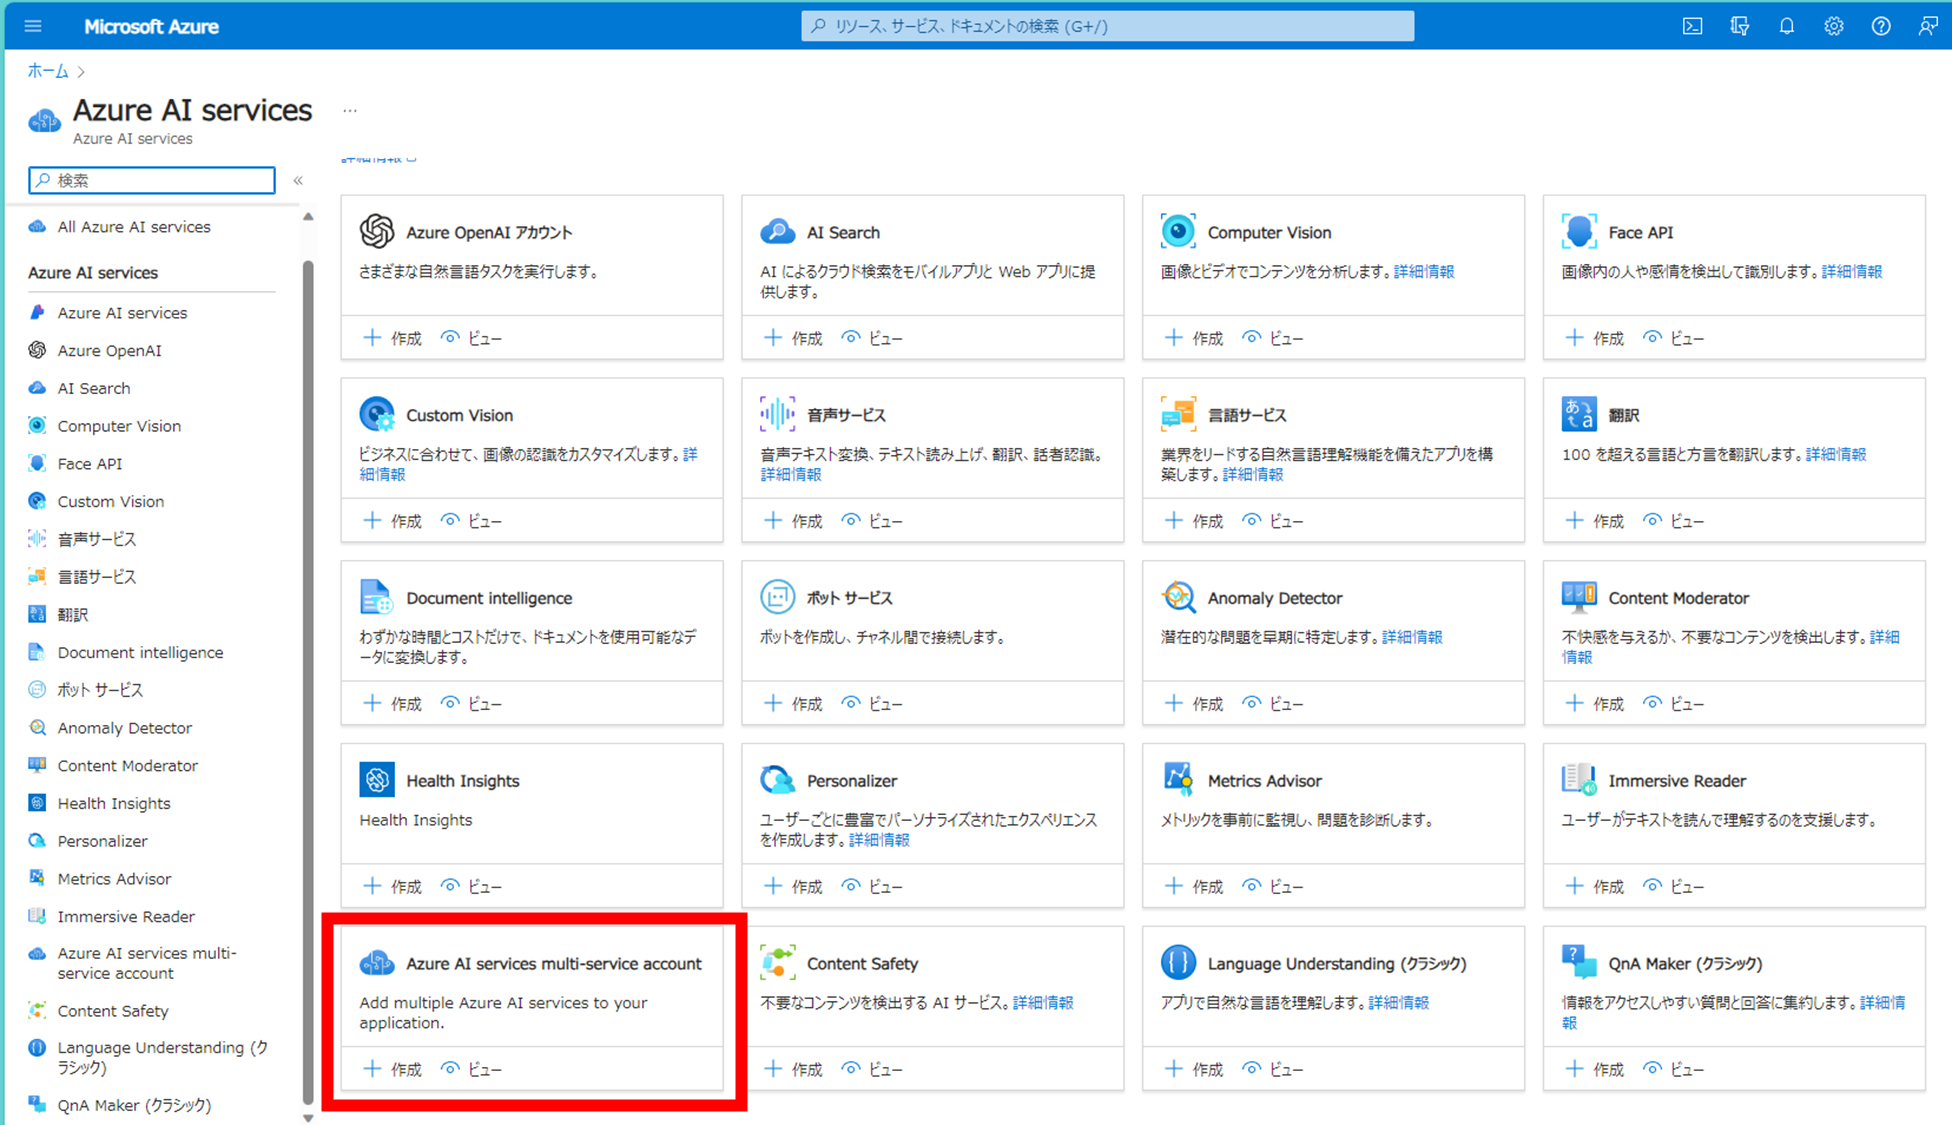
こちらとAzure Functionsを組み合わせて遊んでみます。
概要
- Power Appsで写真を撮影 or Upload
- Vision(Read API)で物理的な文字の読み取り
- OpenAIで文章校正
- Speechで音読
上記をサクっと作ります。
UIは頑張っていません。
動画はコチラ
Azureのリソース
- Azure AI services multi-service account
- Azure OpenAI(gpt3.5 turbo 0613モデル)
- Azure Functions(Python 3.11)
Key Vaultは今回割愛
進め方
- Vision - Read APIの関数を作成
- OpenAIの関数を作成
- Speech Text to Speechの関数を作成
- VS CodeでAzure Functionsのリソース作成、デプロイ
- Power Automateの作成
- Power Appsに実装
カスタムコネクタまでは頑張っていません
1. Vision - Read API OCRの機能を構築する
OCRのコード
def extract_text_from_image(encoded_image_data):
    """
    Extracts text from the given base64-encoded image data using the Azure Computer Vision API.

    Args:
    encoded_image_data (str): The base64-encoded data of the image from which to extract the text.

    Returns:
    str: Extracted text from the image or None if the extraction fails.
    """
    # Decode the base64-encoded data
    image_data = base64.b64decode(encoded_image_data)
    # Authenticate
    subscription_key = os.environ["MULTI_SERVICE_KEY"]
    endpoint = os.environ["MULTI_SERVICE_ENDPOINT"]

    computervision_client = ComputerVisionClient(endpoint, CognitiveServicesCredentials(subscription_key))

    # Call API with image data
    try:
        image_stream = BytesIO(image_data)
        read_response = computervision_client.read_in_stream(image_stream,  raw=True)

        # Get the operation location (URL with an ID at the end) from the response
        read_operation_location = read_response.headers["Operation-Location"]
        operation_id = read_operation_location.split("/")[-1]

        # Call the "GET" API and wait for it to retrieve the results
        while True:
            read_result = computervision_client.get_read_result(operation_id)
            if read_result.status not in ['notStarted', 'running']:
                break
            time.sleep(1)

        # Extract and return text if operation succeeded
        if read_result.status == OperationStatusCodes.succeeded:
            return "".join(
                line.text for text_result in read_result.analyze_result.read_results
                for line in text_result.lines
            )
    except Exception as e:
        logging.info(f"An error occurred: {e}")
        return None
公式のサンプルコードを関数にしただけに留まります。
base64を用いている理由は、Power Automateとの値渡しを考えての設定です。
base64でとにかく躓きました・・・
Read APIの特徴は、呼び出してから待機が発生することです。
その理由からtime.sleepが用いられています。
呼び出し結果は、内包表記を用いて結合しました。
エンドポイントや秘密鍵は環境変数に設定しています。
Text to Speechと共有できるため、管理が楽です。
gpt3.5
2. OpenAI - gpt3.5 turbo
def get_chat_completion(message_text):
    # Configure the OpenAI API settings
    openai.api_type = "azure"
    openai.api_base = os.getenv("OPENAI_API_BASE")
    openai.api_version = "2023-07-01-preview"
    openai.api_key = os.getenv("OPENAI_API_KEY")
    _messages =  [
        {
            "role": "system",
            "content": ("Below is the text read by OCR. The following is an "
                        "introduction to the Japanese text. Please check the "
                        "content and make sure the text is appropriate. If it is "
                        "not correct, please complete it so that it can be read out. "
                        "・Don't change the numerical values in the sentences.")
        },
        {
            "role": "user",
            "content": message_text
        }
    ]
    # Process the message using the Chat API
    completion = openai.ChatCompletion.create(
        engine=os.getenv("OPENAI_API_ENGINE"),
        messages=_messages,
        temperature=0.7,
        max_tokens=500,
        top_p=0.95,
        frequency_penalty=0,
        presence_penalty=0,
        stop=None
    )

    return completion['choices'][0]['message']['content']
こちらも公式のサンプルコードを関数にしただけです。
requirement.txtに特徴があります。
openai = 0.28
ChatCompletion APIに対応しているバージョンが、openaiのマイナーバージョンです。バージョン指定をしないと沼にはまります。
新バージョンは下記から!
3. Speech - Text to Speech
Text to Speech
def synthesize_speech_to_audio_data(text):
    """
    Converts the given text to speech and returns the base64 encoded audio data.

    Args:
    text (str): Text to be converted to speech.

    Returns:
    str: The base64 encoded audio data as a string.
    """

    # Configure Azure Speech Service
    speech_config = speechsdk.SpeechConfig(subscription=os.environ.get('MULTI_SERVICE_KEY'),
                                           region=os.environ.get('MULTI_SERVICE_REGION'))
    audio_config = speechsdk.audio.AudioOutputConfig(use_default_speaker=True)

    # Set the voice for speech synthesis
    speech_config.speech_synthesis_voice_name='ja-JP-KeitaNeural'

    # Create an instance of SpeechSynthesizer
    speech_synthesizer = speechsdk.SpeechSynthesizer(speech_config=speech_config,
                                                     audio_config=audio_config)

    # Convert text to speech
    speech_synthesis_result = speech_synthesizer.speak_text_async(text).get()

    # If synthesis is successful, encode and return the audio data
    if speech_synthesis_result.reason == speechsdk.ResultReason.SynthesizingAudioCompleted:
        audio_data = speech_synthesis_result.audio_data
        return base64.b64encode(audio_data).decode('utf-8')

    # If synthesis fails, raise an exception
    elif speech_synthesis_result.reason == speechsdk.ResultReason.Canceled:
        cancellation_details = speech_synthesis_result.cancellation_details
        raise Exception(f"Speech synthesis canceled: {cancellation_details.reason}, "
                        f"Error details: {cancellation_details.error_details}")
こちらも公式のサンプルコード以下略
base64.b64encode(audio_data).decode('utf-8')
こちらでutf-8を明記しないと文字化けするので気を付けましょう。
requestsで実装する場合、ssml.encode('utf-8')が必要
音声は圭太さんを採用。
音声ギャラリーで試してみてください。
import azure.functions as func
import azure.cognitiveservices.speech as speechsdk
from azure.cognitiveservices.vision.computervision import ComputerVisionClient
from azure.cognitiveservices.vision.computervision.models import OperationStatusCodes
from msrest.authentication import CognitiveServicesCredentials
import os
import openai
import time
import base64
import logging
from io import BytesIO

app = func.FunctionApp(http_auth_level=func.AuthLevel.FUNCTION)

@app.route(route="voicelens", methods=['POST'])
def voicelens(req: func.HttpRequest) -> func.HttpResponse:
    encoded_image_data = req.params.get('image')
    if not encoded_image_data:
        try:
            req_body = req.get_json()
        except ValueError:
            pass
        else:
            encoded_image_data = req_body.get('image')
            # 1. Read API - OCR
            image_text = extract_text_from_image(encoded_image_data)
            # 2. OpenAI
            message = get_chat_completion(image_text)
            # 3. Text to Speech
            audio_data = synthesize_speech_to_audio_data(message)

    if image_text:
        return func.HttpResponse(audio_data)
    else:
        return func.HttpResponse(
             "This HTTP triggered function executed successfully.",
             status_code=200
        )

def extract_text_from_image(encoded_image_data):
    """
    Extracts text from the given base64-encoded image data using the Azure Computer Vision API.

    Args:
    encoded_image_data (str): The base64-encoded data of the image from which to extract the text.

    Returns:
    str: Extracted text from the image or None if the extraction fails.
    """
    # Decode the base64-encoded data
    image_data = base64.b64decode(encoded_image_data)
    # Authenticate
    subscription_key = os.environ["MULTI_SERVICE_KEY"]
    endpoint = os.environ["MULTI_SERVICE_ENDPOINT"]

    computervision_client = ComputerVisionClient(endpoint, CognitiveServicesCredentials(subscription_key))

    # Call API with image data
    try:
        image_stream = BytesIO(image_data)
        read_response = computervision_client.read_in_stream(image_stream,  raw=True)

        # Get the operation location (URL with an ID at the end) from the response
        read_operation_location = read_response.headers["Operation-Location"]
        operation_id = read_operation_location.split("/")[-1]

        # Call the "GET" API and wait for it to retrieve the results
        while True:
            read_result = computervision_client.get_read_result(operation_id)
            if read_result.status not in ['notStarted', 'running']:
                break
            time.sleep(1)

        # Extract and return text if operation succeeded
        if read_result.status == OperationStatusCodes.succeeded:
            return "".join(
                line.text for text_result in read_result.analyze_result.read_results
                for line in text_result.lines
            )
    except Exception as e:
        logging.info(f"An error occurred: {e}")
        return None

def get_chat_completion(message_text):
    # Configure the OpenAI API settings
    openai.api_type = "azure"
    openai.api_base = os.getenv("OPENAI_API_BASE")
    openai.api_version = "2023-07-01-preview"
    openai.api_key = os.getenv("OPENAI_API_KEY")
    _messages =  [
        {
            "role": "system",
            "content": ("Below is the text read by OCR. The following is an "
                        "introduction to the Japanese text. Please check the "
                        "content and make sure the text is appropriate. If it is "
                        "not correct, please complete it so that it can be read out. "
                        "・Don't change the numerical values in the sentences.")
        },
        {
            "role": "user",
            "content": message_text
        }
    ]
    # Process the message using the Chat API
    completion = openai.ChatCompletion.create(
        engine=os.getenv("OPENAI_API_ENGINE"),
        messages=_messages,
        temperature=0.7,
        max_tokens=500,
        top_p=0.95,
        frequency_penalty=0,
        presence_penalty=0,
        stop=None
    )

    return completion['choices'][0]['message']['content']

def synthesize_speech_to_audio_data(text):
    """
    Converts the given text to speech and returns the base64 encoded audio data.

    Args:
    text (str): Text to be converted to speech.

    Returns:
    str: The base64 encoded audio data as a string.
    """

    # Configure Azure Speech Service
    speech_config = speechsdk.SpeechConfig(subscription=os.environ.get('MULTI_SERVICE_KEY'),
                                           region=os.environ.get('MULTI_SERVICE_REGION'))
    audio_config = speechsdk.audio.AudioOutputConfig(use_default_speaker=True)

    # Set the voice for speech synthesis
    speech_config.speech_synthesis_voice_name='ja-JP-KeitaNeural'

    # Create an instance of SpeechSynthesizer
    speech_synthesizer = speechsdk.SpeechSynthesizer(speech_config=speech_config,
                                                     audio_config=audio_config)

    # Convert text to speech
    speech_synthesis_result = speech_synthesizer.speak_text_async(text).get()

    # If synthesis is successful, encode and return the audio data
    if speech_synthesis_result.reason == speechsdk.ResultReason.SynthesizingAudioCompleted:
        audio_data = speech_synthesis_result.audio_data
        return base64.b64encode(audio_data).decode('utf-8')

    # If synthesis fails, raise an exception
    elif speech_synthesis_result.reason == speechsdk.ResultReason.Canceled:
        cancellation_details = speech_synthesis_result.cancellation_details
        raise Exception(f"Speech synthesis canceled: {cancellation_details.reason}, "
                        f"Error details: {cancellation_details.error_details}")
関数の認証はFunctionにしています。
HTTP要求で実装しましたが、クエリ文字列にキーが必要になります。
あとは順番に
- OCR
- OpenAI
- Text to Speech
を実装します。
今回、Pythonの外部ライブラリを使いましたが、正直requestsで実装するほうが、楽でした・・。
ただ食わず嫌いもよくないですね。逃げずにGPT先生と向き合ってみました。
Azure Functionsの場合、Power AutomateでHTTP 要求を連発して出すよりも速さの分があります。
Azure上でセキュアに作りこめることも魅力ですね。
Power Platform
1. Power Automate
Power AppsからcontentBytesを受け取って処理する仕組みにします。
秘密鍵は一旦作成アクションに格納していますが、Key Vault が望ましいでしょう。
過去に記事を書いているので、詳細は下記をご覧ください。

単純にHTTP 要求を送信しているだけです。
カスタム コネクタにして楽したほうが永続的だと思います。
今回は趣味なので割愛
2. Power Apps
テンプレートのUIを使って、モバイルを見越したパーツを設定していきます。
戻り値はbase64にして受け取っています。
使い慣れている観点からです
Text to Speechの戻り値はwavです。
"data:audio/wav;base64," & Power Automateの戻り値
こちらでAudioコントロールが再生できます。
Power AutomateのマイクのアイコンのOnSelectに
// 1. varAudioに音声読み上げを格納
Set(varAudio,PowerAutomate.Run({file:{name:"",contentBytes:UploadedImage1.Image}}));
// 2. Audioコントロールをリセット
Set(varReset,false);
Set(varReset,true);
これで👆のつぶやきの動作が再現できます!
物理の文章を読み上げる楽しさがあります✨
おわりに
Azure Functionsさえ進めば、Power Automate、Power Appsは1時間もかからずに作れる内容です。
物理の文章が簡単に読み起こせるなんて夢のようですね。
Azureサイコー