基本トピック
COCO-Annotatorの概要
COCO-AnnotatorはCOCO formatというアノテーションの形式に基づいてアノテーションを行うツールです。
{
	"images": [
		{...},{...},{...},{...}
	],
	"categories": [
		{...},{...},{...}
	],
	"annotations": [
		{...},{...},{...},{...},{...},{...},{...},{...},{...}
	]
}
COCO formatは基本的には上記のように構成されます。imagesにはデータセットに含まれる画像の情報、categoriesにはデータセットに含まれるカテゴリの情報、annotationsにはデータセットに含まれるアノテーションの情報をそれぞれ保存します。
COCO-Annotatorのインストールと起動
$ git clone https://github.com/jsbroks/coco-annotator
まず上記によってCOCO-Annotatorのリポジトリを取得します。
$ cd coco-annotator
$ docker-compose up
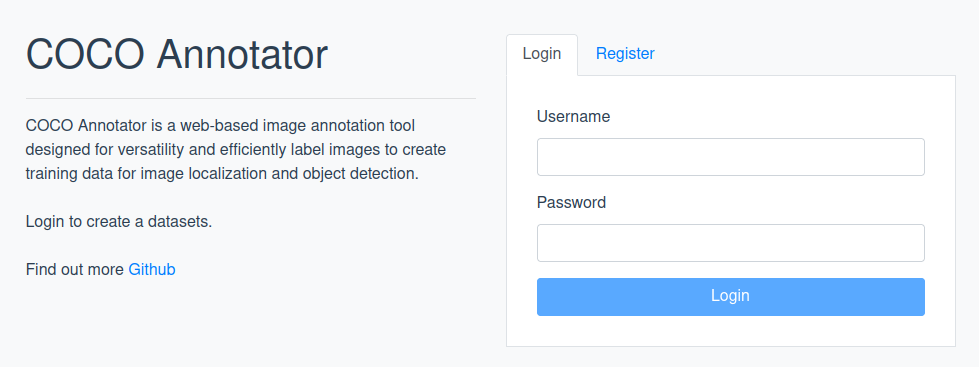
上記によってCOCO-Annotatorを起動した後にブラウザからhttp://localhost:5000/にアクセスすると下記のような画面が確認できます。
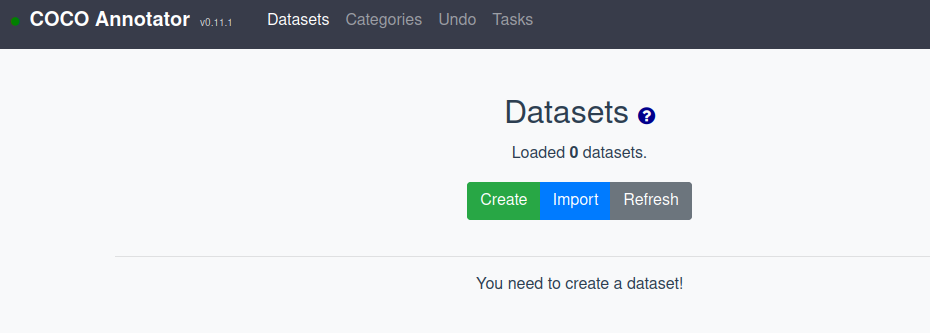
上記にログインすると下記のような画面が確認できます。
COCO-Annotatorを停止する際は下記のコマンドを実行すれば良いです。
$ docker-compose down
アノテーションの作成
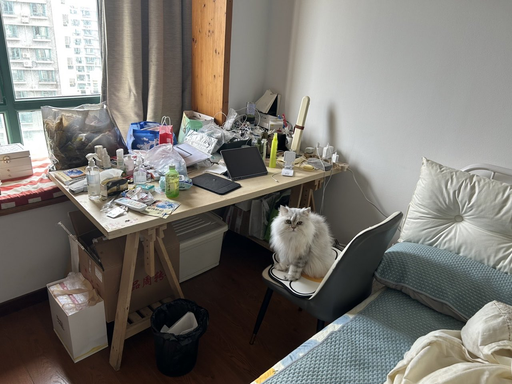
以下では上図をcoco-annotator/datasets/test1/以下に配置し、アノテーションを作成します。
bounding box
当項ではObject Detectionに用いるアノテーション(bounding box)の作成の流れについて確認します。
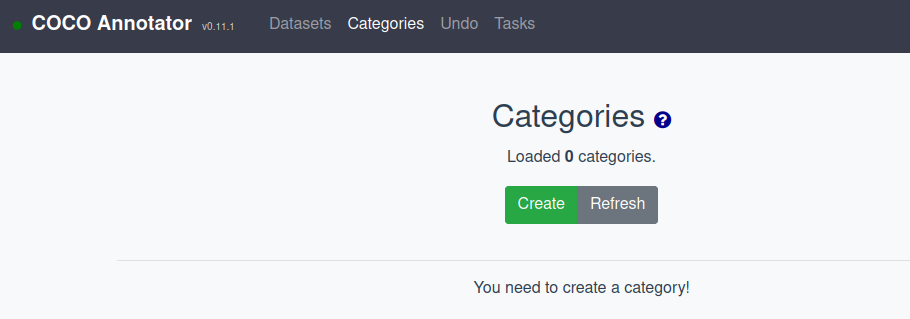
http://localhost:5000/#/categories
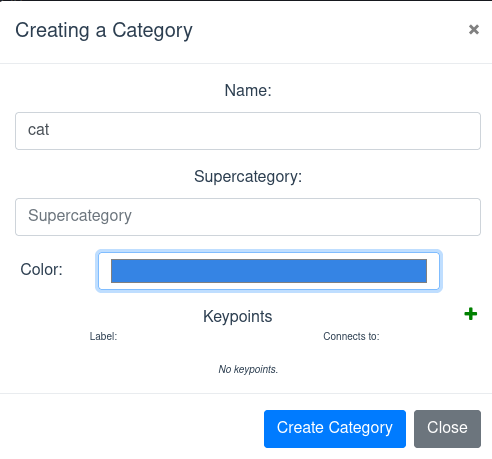
まず上記のcreateボタンをクリックし、下記のようにカテゴリを入力しCreate Categoryボタンを選択します。
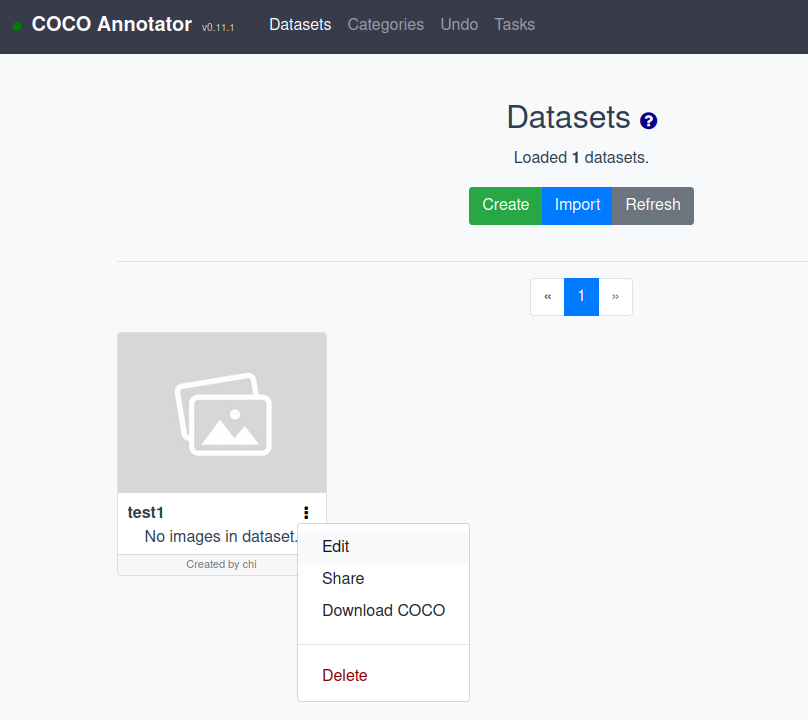
次にデータセットの作成を行います。
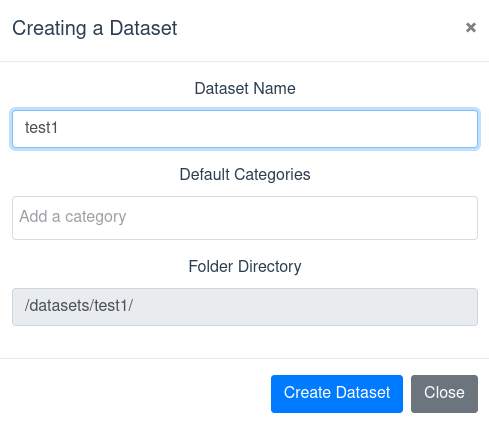
まず上図のCreateボタンを選択し、下記のようにカテゴリを入力しCreate Datasetボタンを選択します。
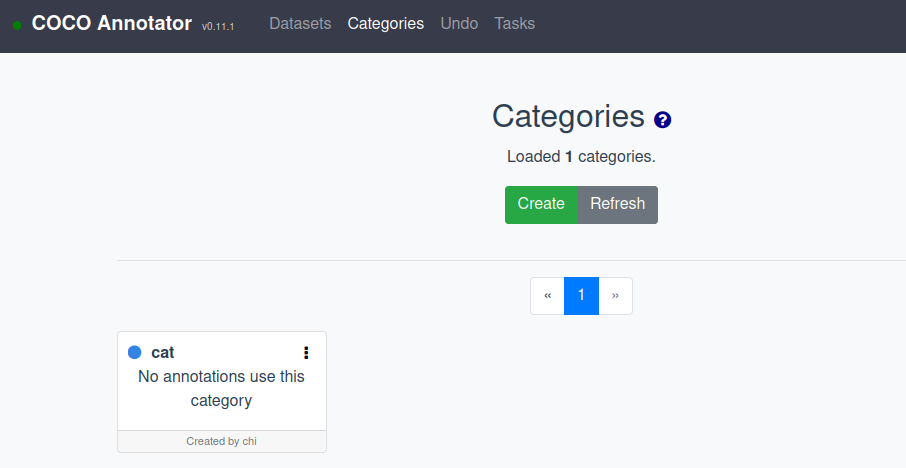
次に上記のEditを選択し、作成したカテゴリよりcatを選択しSaveボタンを押します。

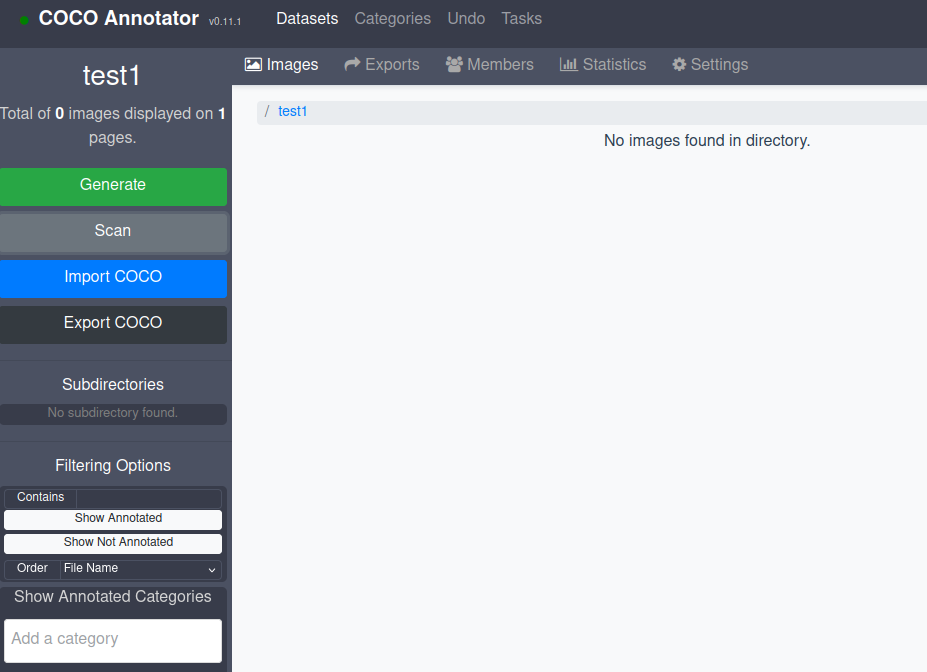
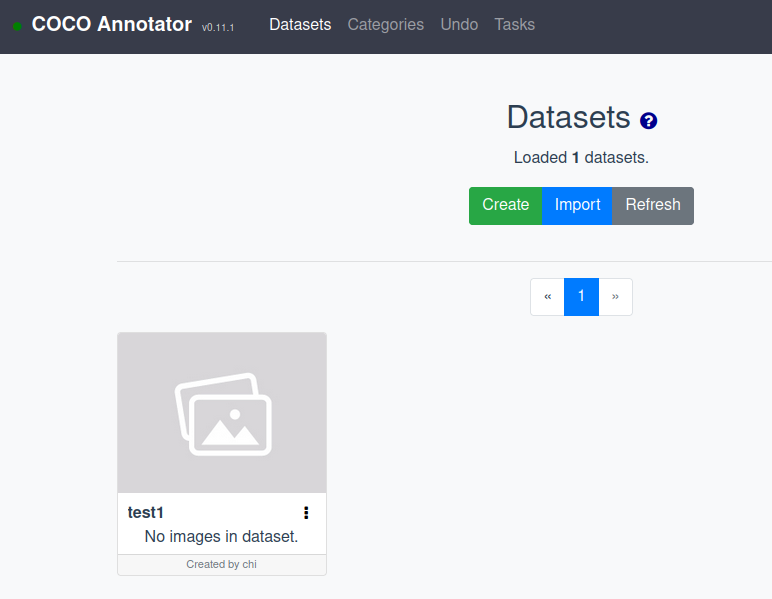
データセットのtest1を選択すると上図のような画面が現れるのでScanボタンを押しリロードすると下図のように画像をロードすることができます。
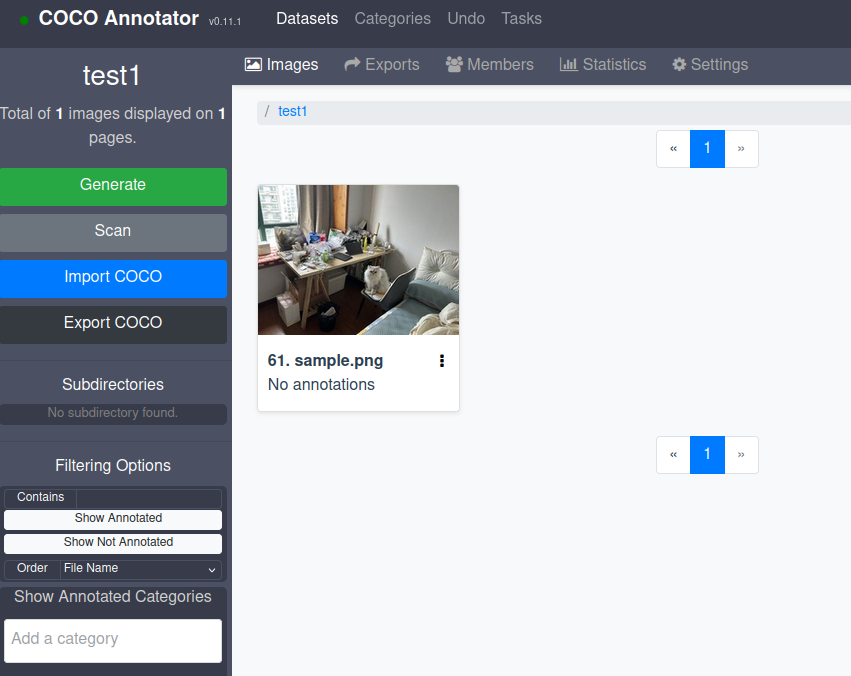
画像をクリックすると下図のような画面が出てきます。
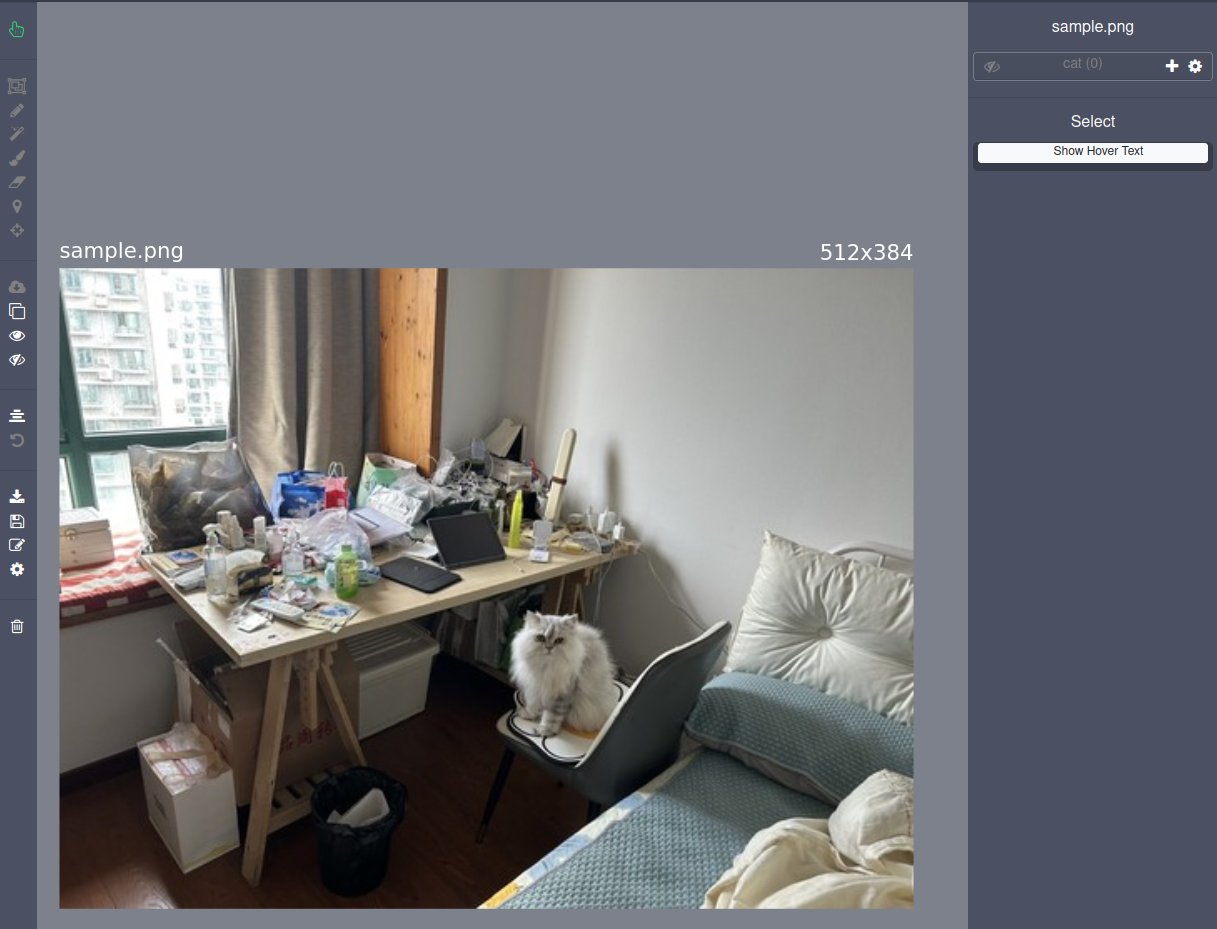
上図に対し、右上のcatの横の+ボタン、左上のBBoxの順に押し、下図のようにバウンディングボックスを描画します。
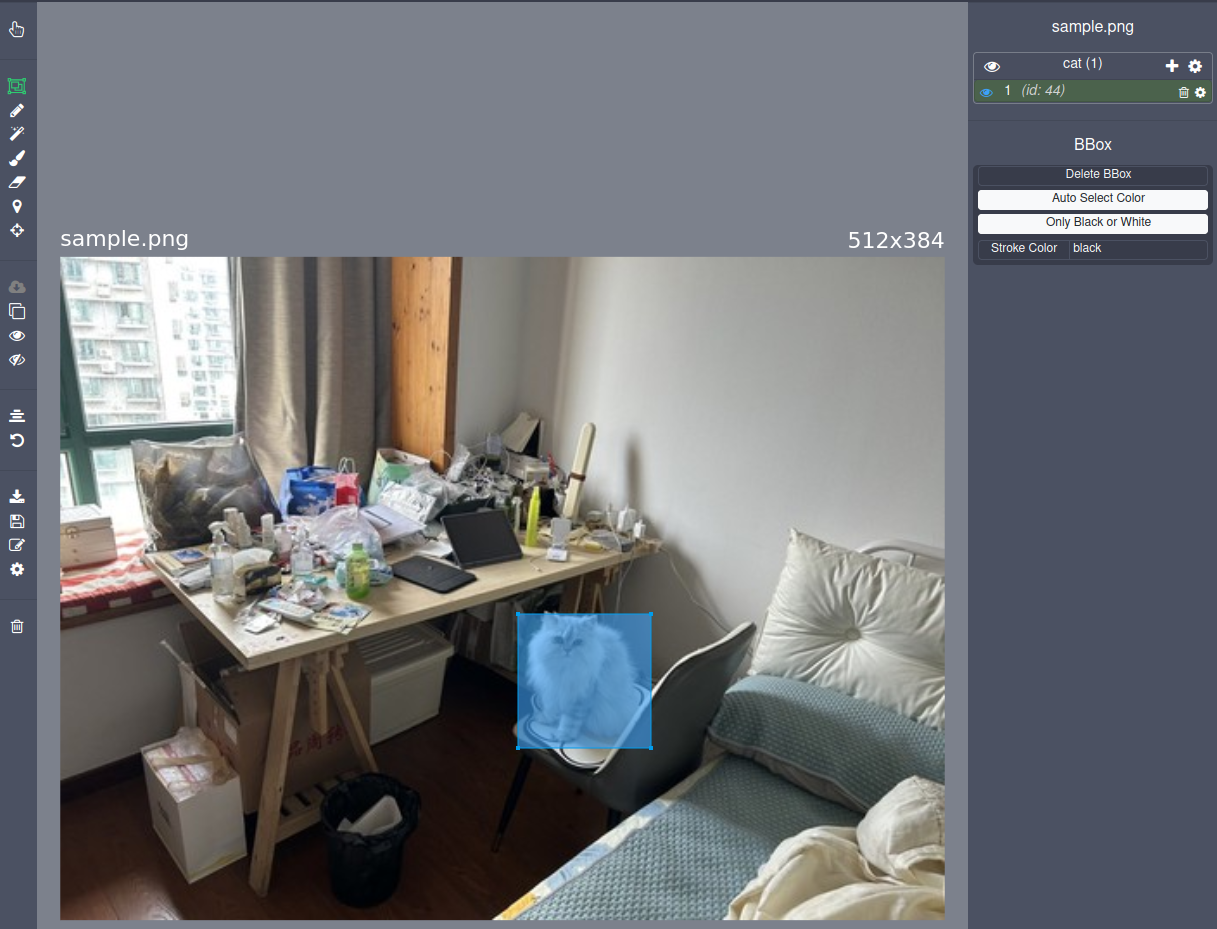
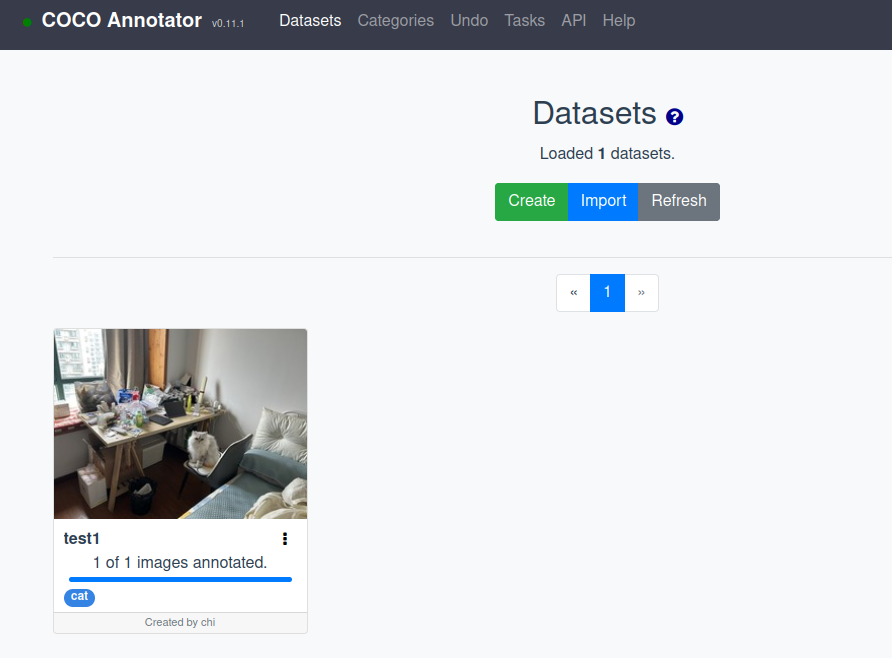
左下のSaveボタンを押しhttp://localhost:5000/#/datasetsにアクセスすると下図のような画面になります。
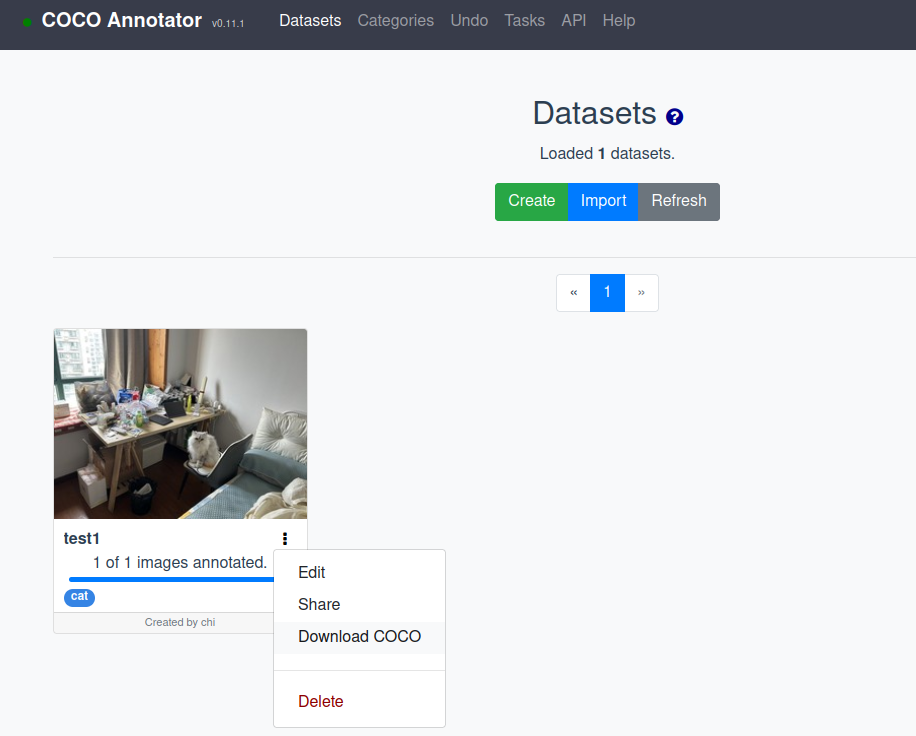
このときDownload COCOを選択すると下記のようなファイルが得られます。
{
    "images":[{"id":61,"dataset_id":19,"category_ids":[9],"path":"/datasets/test1/sample.png","width":512,"height":384,"file_name":"sample.png","annotated":true,"annotating":[],"num_annotations":1,"metadata":{},"milliseconds":---,"events":[{"_cls":"SessionEvent","user":"---","milliseconds":---,"tools_used":[]},{"_cls":"SessionEvent","user":"---","milliseconds":---,"tools_used":[]},{"_cls":"SessionEvent","user":"---","milliseconds":---,"tools_used":[]}],"regenerate_thumbnail":false,"is_modified":false}],
    "categories":[{"id":9,"name":"cat","supercategory":"","color":"#3584e4","metadata":{},"creator":"---","keypoint_colors":[]}],
    "annotations":[{"id":44,"image_id":61,"category_id":9,"dataset_id":19,"segmentation":[[342,206.8,342,284.3,265,284.3,265,206.8]],"area":5929,"bbox":[265,207,77,77],"iscrowd":false,"isbbox":true,"creator":"---","width":512,"height":384,"color":"#3da1f9","metadata":{},"milliseconds":---,"events":[{"_cls":"SessionEvent","created_at":{"$date":---},"user":"---","milliseconds":---,"tools_used":["BBox"]}]}]}