M1チップ搭載Macに全くの更地の状態からFlutterの環境構築をしたので覚え書き。
環境
- OS: macOS Big Sur(11.2.2)
- モデル: MacBook Air(M1, 2020)
ダウンロード or インストール
本手順でダウンロード or インストールするものは以下の通り(登場順)
- Homebrew
- Git
- XCode
- CocoaPods
- JDK
- Android Emulator Apple Silicon
- Android Studio(プラグイン:Flutter, Dart)
- Flutter SDK
手順
(1) ターミナルを起動し、パッケージ管理システムであるHomebrewをインストール
% /bin/bash -c "$(curl -fsSL https://raw.githubusercontent.com/Homebrew/install/HEAD/install.sh)"
(2) Gitをインストール(Xcode付属のGitで大丈夫っぽいが、いずれ使うので入れておく)
% brew install git
(3) Mac App Storeより、Xcodeをダウンロード
→ 自分の場合は、1時間ほどかかりました。
(4) ターミナルより、以下の2つのコマンドを実行。
% sudo xcode-select --switch /Applications/Xcode.app/Contents/Developer
% sudo xcodebuild -runFirstLaunch
(5) iOSライブラリ管理ツールであるCocoaPodsをインストール。
% sudo gem install cocoapods
(6) Java SE Downloads | Oracleより、Java SE 8のJDKをダウンロード、インストール。
Java SE 8欄の「JDK Download」をクリックした遷移先の「macOS x64」の行の「jdk-8u281-macosx-x64.dmg」をクリックすればOK。
※Oracleのアカウント登録が必要になります。
ダウンロードが完了したら、インストーラを起動して、ウィザードの指示に従ってインストール。
(7) Android Emulator Apple Silicon Preview | Android Developersに記載の741g/android-emulator-m1-preview | GitHubより、M1チップ搭載Mac用のエミュレータをダウンロードしておきます。
M1チップ搭載Macの場合、これがないと、「Your CPU does not support VT-x」エラーが発生して、Android Studioのインストールに失敗してしまうので、要注意!
もう少し詳細な手順を知りたい方は、
M1のMacbookでAndroidエミュレータを起動する方法 | Tamappe Life Log
を参考に。
(8) Android Studioをダウンロード、インストール。
(9) macOS install | Flutterより、Flutter SDKをダウンロード。

(10) ローカル環境の任意の場所に解凍(下記は、ホームディレクトリ配下のdevelopディレクトリに配置する場合)
cd ~/development
unzip ~/Downloads/flutter_macos_2.0.3-stable.zip
(11) .bash_profileにPATHを設定。
vi ~/.bash_profile
# 以下を記入し保存
export PATH="$PATH:/development/flutter/bin"
# シェル設定を反映
source ~/.bash_profile
(12) 以下のコマンドを実行し、Androidライセンスを受諾。
% flutter doctor --android-licenses
(13) 以下のコマンドを実行し、依存性が解決しているか確認。
% flutter doctor
objc[998]: Class AMSupportURLConnectionDelegate is implemented in both ?? (0x202a80188) and ?? (0x117d402b8). One of the two will be used. Which one is undefined.
objc[998]: Class AMSupportURLSession is implemented in both ?? (0x202a801d8) and ?? (0x117d40308). One of the two will be used. Which one is undefined.
Doctor summary (to see all details, run flutter doctor -v):
[✓] Flutter (Channel stable, 2.0.3, on macOS 11.2.2 20D80 darwin-arm, locale
    ja-JP)
[✓] Android toolchain - develop for Android devices (Android SDK version 30.0.3)
[✓] Xcode - develop for iOS and macOS
[✓] Chrome - develop for the web
[✓] Android Studio (version 4.1)
[✓] Connected device (1 available)

• No issues found!
上記のように、全ての項目が「✓」となればOK!
「✗」や「!」が出たら、メッセージに従って修正します。
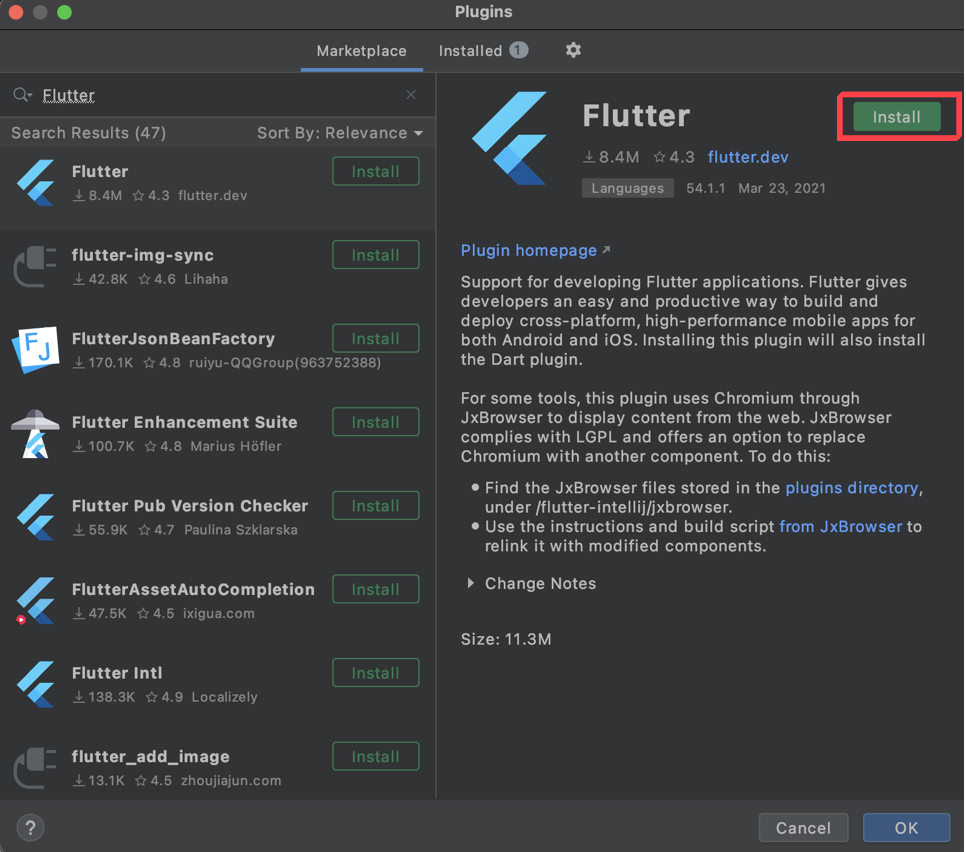
(14) Android Studioを起動し、「Configure」> 「Plugins」とクリックして、Flutterプラグインを検索し、インストールします。
途中でDartのプラグインもインストールするか聞かれるので、合わせてインストール。

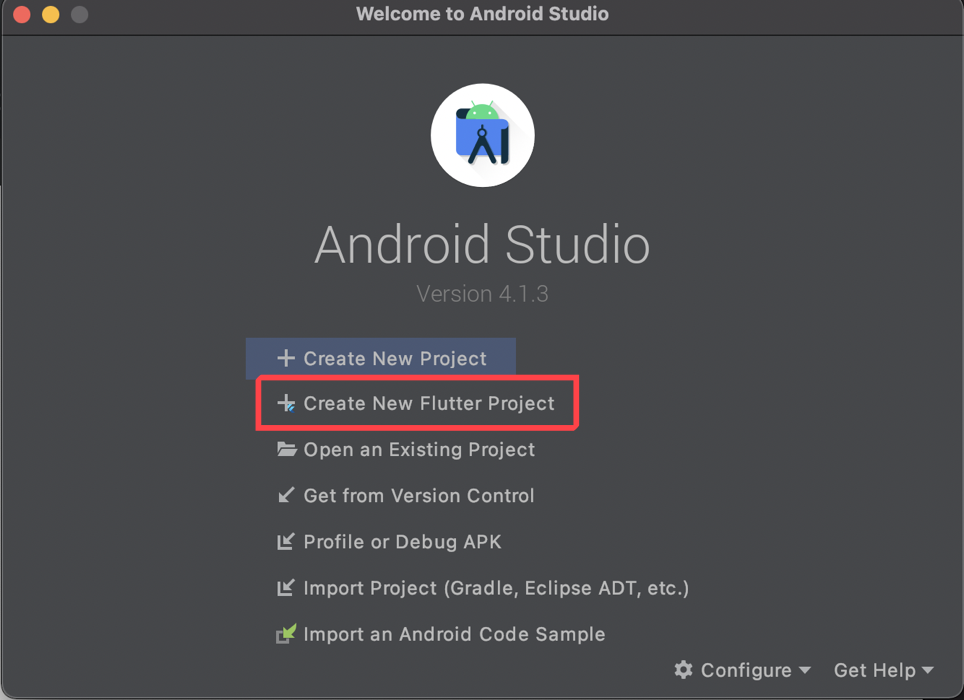
(15) Android Studioを再起動して、「Create New Flutter Project」が追加されていることを確認
以上で、環境構築は完了!
終わりに
手順(7)以外は、Intelプロセッサ搭載Macでも同じはず。
JDKのところで地味にはまって、時間をとってしまったけどなんとか完了。
これで晴れて開発に着手できそうです!
