Google Apps Script (GAS) を使って動的なHTMLページを作成します。誰でもURLを開けばGoogle Apps Script (GAS) をつかったWebアプリケーションページが表示され、今回はURLを入れるとURLに指定したパラメータを付与する事ができます。
ただお馴染みですが、4流以下のスキルですから大したコードをかけてないのが正直なところです。笑
なので紹介しているのはこれからGASを覚えようとか、覚えたてです!とか、GASってなーに?って人向けの記事ばかりです!
サイト紹介
以下様々なGASやその他記事を紹介してます!
https://bzbot.work/
紹介記事
今回紹介している記事は以下です!
https://bzbot.work/2019/04/17/gas-html/
作成完了イメージ
以下のように作成をしていきます。

以下作成した簡単なWebアプリケーション
https://script.google.com/macros/s/AKfycbz1V5z1WRE5d-Py1IFpXkgmzx8S-VCg2eLahWsXIMIxE79oBms/exec
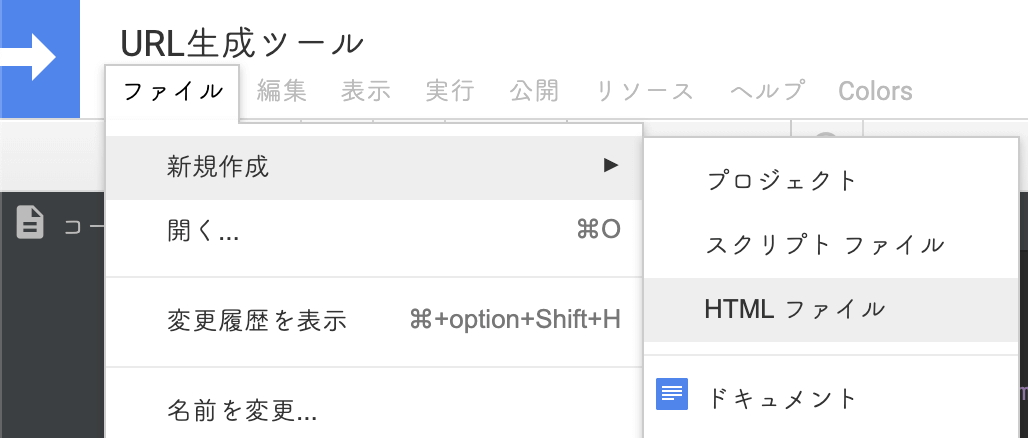
.htmlの作成
CSS関連のデザインはいじろうとしていたので、余計なclassとかありますが気にしないでください。笑
<!-- bootstrapを使う -->
<link rel="stylesheet" href="https://stackpath.bootstrapcdn.com/bootstrap/4.1.0/css/bootstrap.min.css" integrity="sha384-9gVQ4dYFwwWSjIDZnLEWnxCjeSWFphJiwGPXr1jddIhOegiu1FwO5qRGvFXOdJZ4" crossorigin="anonymous">
<!DOCTYPE html>
<html lang="ja">
<head>
  <base target="_top">
</head>
<body>
  <div class="container">
    <h1 class="display-4">ビジボットURL作成画面</h1>
    <!-- formはgetメソッド -->
    <form method="get" action="https://script.google.com/macros/s/***************************************/exec">
      <!-- ラジオボタンフィールド -->
      <div class="radio-inline">
        <label><input type="radio" name="radio" id="radio1" value="line" checked="checked">LINE</label>
        <label><input type="radio" name="radio" id="radio2" value="facebook">Facebook</label>
        <label><input type="radio" name="radio" id="radio3" value="instagram">Instagram</label>
        <label><input type="radio" name="radio" id="radio3" value="twitter">Twitter</label>
        <label><input type="radio" name="radio" id="radio3" value="google">Google</label>
      </div>
      <!-- URLを入力するフィールド -->
      <div class="form-group">
        <input type="text" name="url" size="100" value="" placeholder="セットしたいURLを入れてください">
        <input class="btn-dark" type="submit" value="生成">
      </div>
      <div class="output_area">
        <div class="form-group"><input type="text" size="100" name="source" value="<?=url?>" placeholder="指定したパラメータURLが生成されます"></div>
      </div>
    </form>
  </div>
</body>
</html>h
GASコード
HTML側からGETで受け取った値を処理して、再度HTML側に返します。
//method=getで送信されたら実行する
function doGet(e){
  //indexファイルのオブジェクト
  var html = HtmlService.createTemplateFromFile('index');

  Logger.log(e);
  //getで送信された値を指定して取得する(index.htmlファイルのname="url"部分)
  var url = e.parameter.url;
  //getで送信された値を指定して取得する(index.htmlファイルのname="radio"部分)
  var params = e.parameter.radio;

  //paramsで取得した値でurlにreturnさせるurlの値を指定する
  if(params === 'line'){
    var url = url + '?utm_source=line';
  }else if(params === 'facebook'){
    var url = url + '?utm_source=facebook';
  }else if(params === 'twitter'){
    var url = url + '?utm_source=twitter';
  }else if(params === 'instagram'){
    var url = url + '?utm_source=instagram';
  }else if(params === 'google'){
    var url = url + '?utm_source=google';
  }else{
    var url = '';
  }

  //index.htmlにurlを返す
  html.url = url;
  return html.evaluate();
}
詳しい手順説明はビジボットのサイトに記載していますのでそちらをご覧ください。
改めてサイト紹介
以下様々なGASやその他記事を紹介してます!
https://bzbot.work/
紹介記事
今回紹介している記事は以下です!
https://bzbot.work/2019/04/17/gas-html/
