<< その4](https://qiita.com/Butterthon/items/535f961aed0b3c3c6d98) | [その6 >>
カスタムユーザ作成
新しくプロジェクトを始める場合は、デフォルトの User で十分である場合でも、カスタムユーザーモデルを作成することを強く推奨します。
公式にこうあるのでカスタムユーザを作成します。
usersアプリケーション作成
$ django-admin startapp users
作成したアプリケーションをsettings.pyに追記
settings.py
.
..
...
INSTALLED_APPS = [
    'django.contrib.admin',
    'django.contrib.auth',
    'django.contrib.contenttypes',
    'django.contrib.sessions',
    'django.contrib.messages',
    'django.contrib.staticfiles',
    'rest_framework',
    'corsheaders',
    'users', # 追記
]
...
..
.
Userモデル作成
users/models.py
from django.db import models
from django.contrib.auth.models import AbstractBaseUser, PermissionsMixin, UserManager
from django.utils import timezone

# Create your models here.
class User(AbstractBaseUser, PermissionsMixin):
    username = models.CharField('username', max_length=150, unique=True)
    first_name = models.CharField('first name', max_length=30, blank=True)
    last_name = models.CharField('last name', max_length=150, blank=True)
    email = models.EmailField('email address', blank=True)
    is_staff = models.BooleanField('is_staff', default=False)
    is_active = models.BooleanField('is_active', default=True)
    date_joined = models.DateTimeField('date joined', default=timezone.now)

    objects = UserManager()

    EMAIL_FIELD = 'email'
    USERNAME_FIELD = 'username'
    REQUIRED_FIELDS = ['email']

    class Meta:
        verbose_name = 'user'
        verbose_name_plural = 'users'

    def clean(self):
        super().clean()
        self.email = self.__class__.objects.normalize_email(self.email)

    def get_full_name(self):
        """
        Return the first_name plus the last_name, with a space in between.
        """
        full_name = '%s %s' % (self.first_name, self.last_name)
        return full_name.strip()

    def get_short_name(self):
        """Return the short name for the user."""
        return self.first_name

    def email_user(self, subject, message, from_email=None, **kwargs):
        """Send an email to this user."""
        send_mail(subject, message, from_email, [self.email], **kwargs)
UserManagerクラス作成
users/user_manager.py
from django.contrib.auth.base_user import BaseUserManager

class UserManager(BaseUserManager):
    use_in_migrations = True

    def _create_user(self, username, email, password, **extra_fields):
        """
        Create and save a user with the given username, email, and password.
        """
        if not username:
            raise ValueError('The given username must be set')
        email = self.normalize_email(email)
        username = self.model.normalize_username(username)
        user = self.model(username=username, email=email, **extra_fields)
        user.set_password(password)
        user.save(using=self._db)
        return user

    def create_user(self, username, email=None, password=None, **extra_fields):
        extra_fields.setdefault('is_staff', False)
        extra_fields.setdefault('is_superuser', False)
        return self._create_user(username, email, password, **extra_fields)

    def create_superuser(self, username, email, password, **extra_fields):
        extra_fields.setdefault('is_staff', True)
        extra_fields.setdefault('is_superuser', True)

        if extra_fields.get('is_staff') is not True:
            raise ValueError('Superuser must have is_staff=True.')
        if extra_fields.get('is_superuser') is not True:
            raise ValueError('Superuser must have is_superuser=True.')

        return self._create_user(username, email, password, **extra_fields)
作成したUserモデルを編集する
users/models.py
.
..
...
from django.contrib.auth.models import AbstractBaseUser, PermissionsMixin # UserManagerを削除
from users.user_manager import UserManager # 自分で作成したUserManagerクラスをインポート
...
..
.
カスタムユーザモデルが認証モデルとして使用されるようsettings.pyに追記
settings.py
.
..
...
AUTH_USER_MODEL = 'users.User'
...
..
.
DBマイグレーション
$ python3 manage.py makemigrations
Migrations for 'users':
  users/migrations/0001_initial.py
    - Create model User
マイグレートでエラーが・・・・。
最初からカスタムユーザ作ってDBマイグレートしとけって話ですな・・・泣
$ python3 manage.py migrate
$ python3 manage.py migrate
Traceback (most recent call last):
  File "manage.py", line 21, in <module>
    main()
  File "manage.py", line 17, in main
    execute_from_command_line(sys.argv)
...
..
.
django.db.migrations.exceptions.InconsistentMigrationHistory: Migration admin.0001_initial is applied before its dependency users.0001_initial on database 'default'.
settings.pyとurls.pyを編集
settings.py
.
..
...
INSTALLED_APPS = [
    # 'django.contrib.admin', コメントアウト
    'django.contrib.auth',
    'django.contrib.contenttypes',
    'django.contrib.sessions',
    'django.contrib.messages',
    'django.contrib.staticfiles',
    'rest_framework',
    'corsheaders',
    'users',
]
...
..
.
config/urls.py
.
..
...
urlpatterns = [
    # path('admin/', admin.site.urls), # コメントアウト
    url('api/', include(ROUTER.urls)),
]
再度マイグレート
$ python3 manage.py migrate
Operations to perform:
  Apply all migrations: auth, contenttypes, sessions, users
Running migrations:
  Applying users.0001_initial... OK
settings.pyとurls.pyのコメントを外してDBマイグレートがエラーにならないことを確認する。
$ python3 manage.py makemigrations
No changes detected

$ python3 manage.py migrate
Operations to perform:
  Apply all migrations: admin, auth, contenttypes, sessions, users
Running migrations:
  No migrations to apply.
解決しました。
(createsuperuserしておいてください。)
Userを使ったAPIを作成してみる。
usersディレクトリの直下にserializers.py作成
users/serializers.py
from rest_framework.serializers import ModelSerializer
from users.models import User

class UserSerializer(ModelSerializer):
    class Meta:
        model = User
        fields = '__all__'
Viewを作成
users/views.py
from rest_framework.viewsets import ModelViewSet
from users.models import User
from users.serializers import UserSerializer

# Create your views here.
class UserViewSet(ModelViewSet):
    queryset = User.objects.all()
    serializer_class = UserSerializer
urls.pyを編集
config/urls.py
"""config URL Configuration

The `urlpatterns` list routes URLs to views. For more information please see:
    https://docs.djangoproject.com/en/2.2/topics/http/urls/
Examples:
Function views
    1. Add an import:  from my_app import views
    2. Add a URL to urlpatterns:  path('', views.home, name='home')
Class-based views
    1. Add an import:  from other_app.views import Home
    2. Add a URL to urlpatterns:  path('', Home.as_view(), name='home')
Including another URLconf
    1. Import the include() function: from django.urls import include, path
    2. Add a URL to urlpatterns:  path('blog/', include('blog.urls'))
"""
from django.contrib import admin
from django.urls import path
from django.conf.urls import include, url
from rest_framework import routers
from users.views import UserViewSet # 追加

ROUTER = routers.DefaultRouter()
ROUTER.register('users', UserViewSet) # 追加


urlpatterns = [
    path('admin/', admin.site.urls),
    url('api/', include(ROUTER.urls)),
]
http://127.0.0.1:8000/api/users/にアクセス。
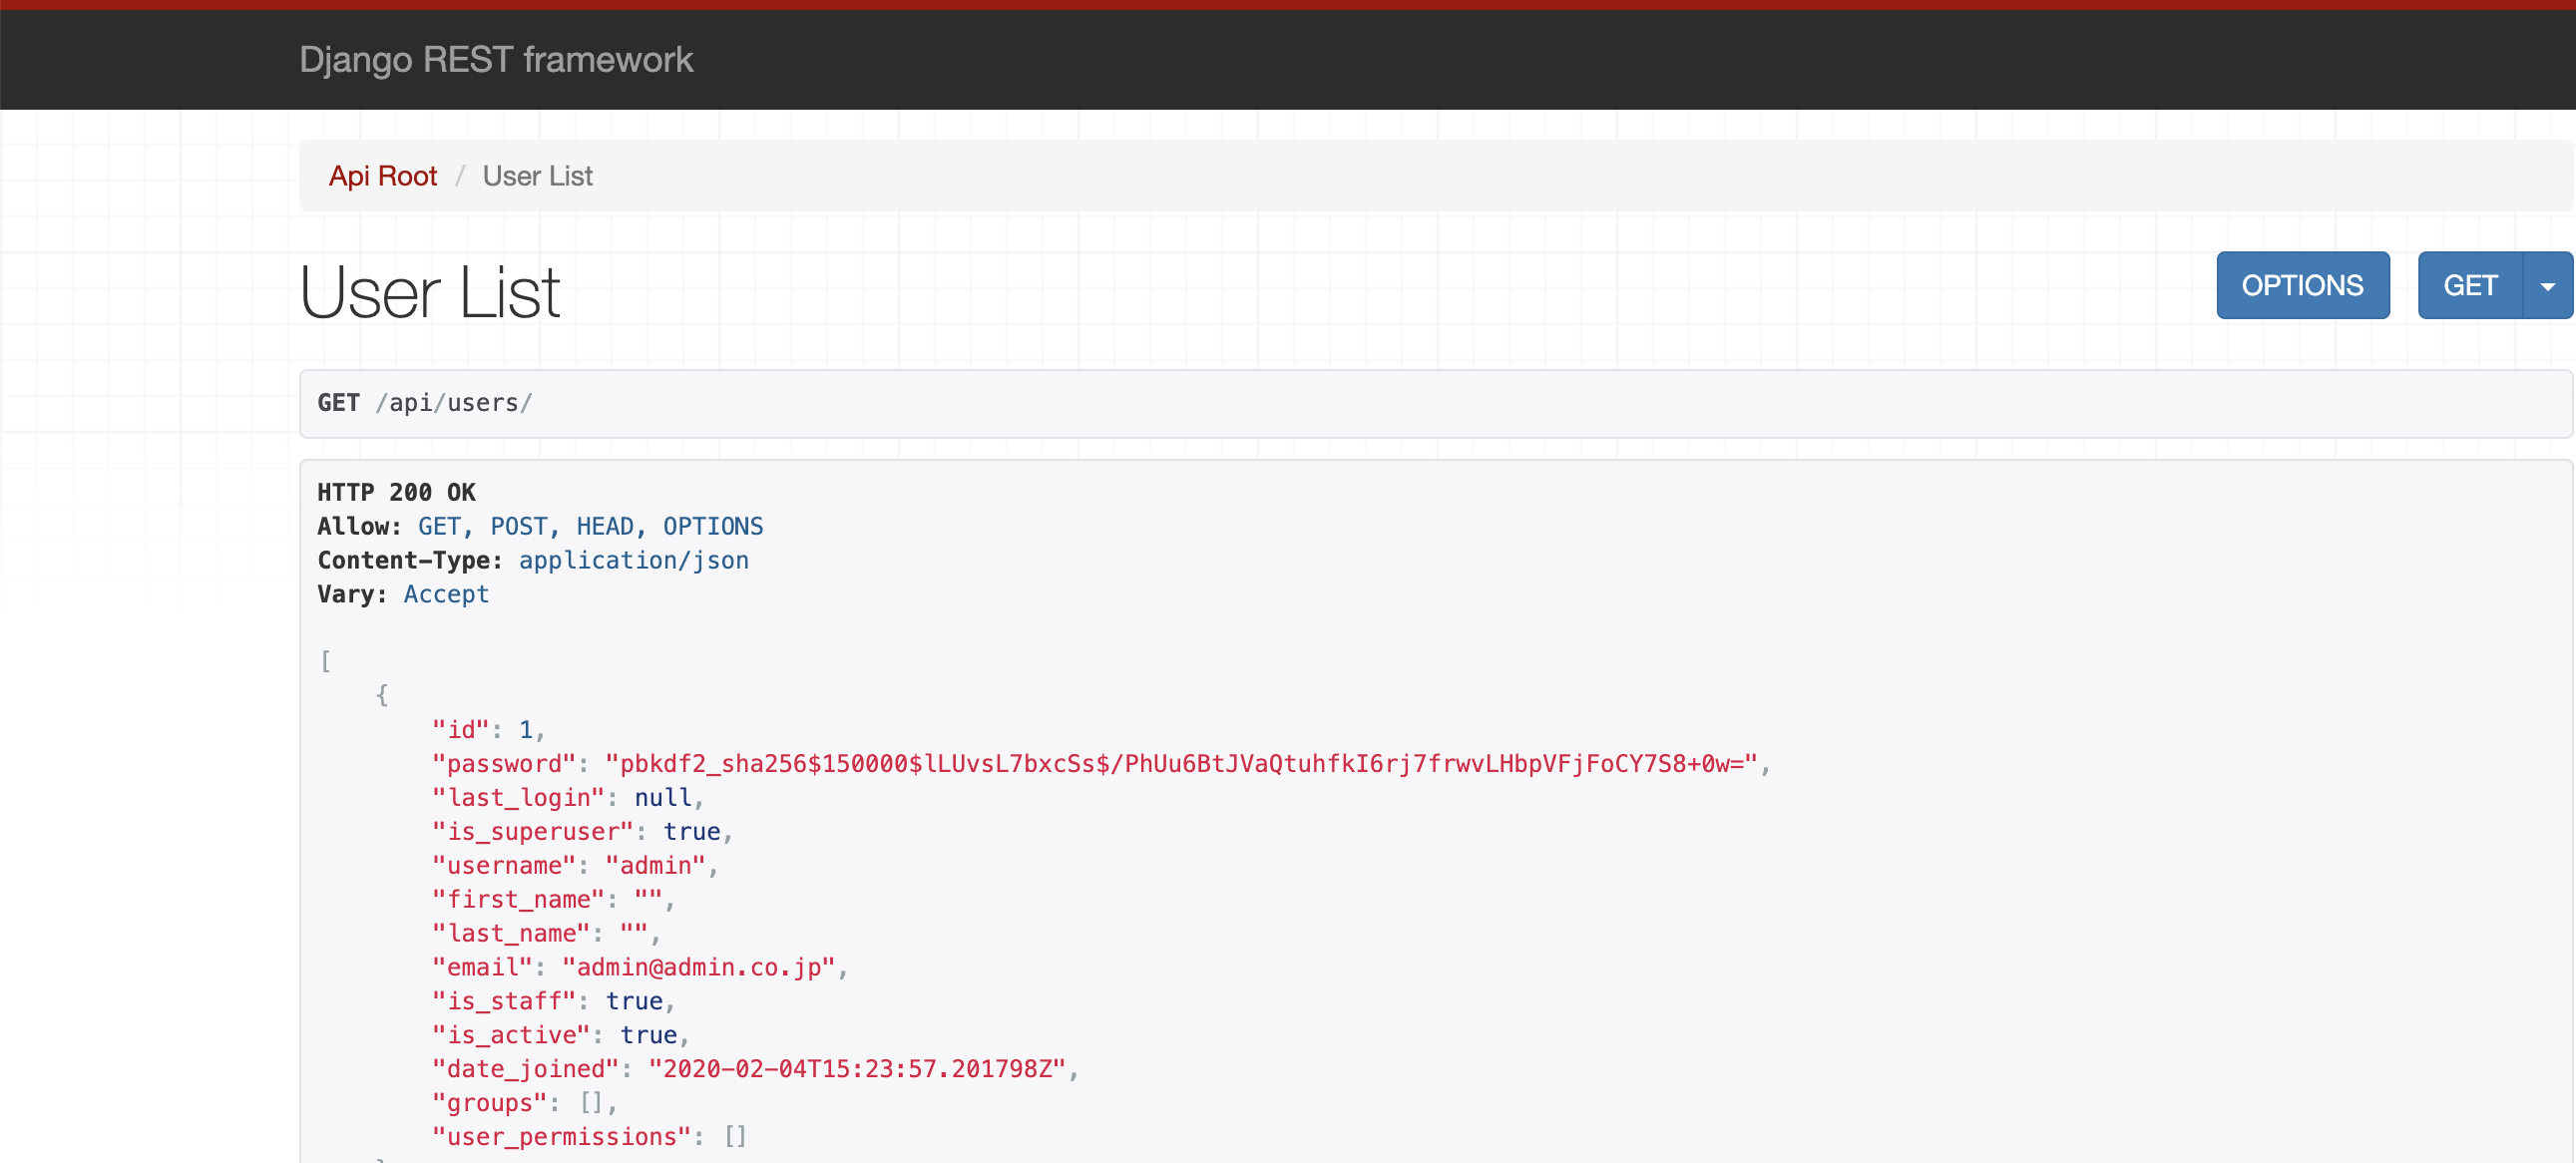
ここからPOSTでユーザを作るとパスワードが平文でユーザ作成されちゃいますね。
これは由々しき事態。
パスワードがハッシュ化されるようserializers.pyを編集する。
users/serializers.py
from rest_framework.serializers import ModelSerializer
from users.models import User
from django.contrib.auth.hashers import make_password # 追加

class UserSerializer(ModelSerializer):
    class Meta:
        model = User
        fields = '__all__'

    # createメソッドをオーバライド
    def create(self, validated_data):
        password = validated_data.get('password', None)
        if password is not None:
            validated_data['password'] = make_password(password)
        return super().create(validated_data);
認証用ライブラリ(JWT)のインストールと設定
今回はJWT方式でいきます。
公式通りに設定していきます。
pip3 install djangorestframework-jwt
settings.py
.
..
...
REST_FRAMEWORK = {
    'DEFAULT_PERMISSION_CLASSES': (
        'rest_framework.permissions.IsAuthenticated',
    ),
    'DEFAULT_AUTHENTICATION_CLASSES': (
        'rest_framework_jwt.authentication.JSONWebTokenAuthentication',
        'rest_framework.authentication.SessionAuthentication',
        'rest_framework.authentication.BasicAuthentication',
    ),
}
config/urls.py
"""config URL Configuration

The `urlpatterns` list routes URLs to views. For more information please see:
    https://docs.djangoproject.com/en/2.2/topics/http/urls/
Examples:
Function views
    1. Add an import:  from my_app import views
    2. Add a URL to urlpatterns:  path('', views.home, name='home')
Class-based views
    1. Add an import:  from other_app.views import Home
    2. Add a URL to urlpatterns:  path('', Home.as_view(), name='home')
Including another URLconf
    1. Import the include() function: from django.urls import include, path
    2. Add a URL to urlpatterns:  path('blog/', include('blog.urls'))
"""
from django.contrib import admin
from django.urls import path
from django.conf.urls import include, url
from rest_framework import routers
from users.views import UserViewSet
from rest_framework_jwt.views import obtain_jwt_token # 追加

ROUTER = routers.DefaultRouter()
ROUTER.register('users', UserViewSet)


urlpatterns = [
    path('admin/', admin.site.urls),
    url('api/', include(ROUTER.urls)),
    url('api-token-auth/', obtain_jwt_token), # 追加
]
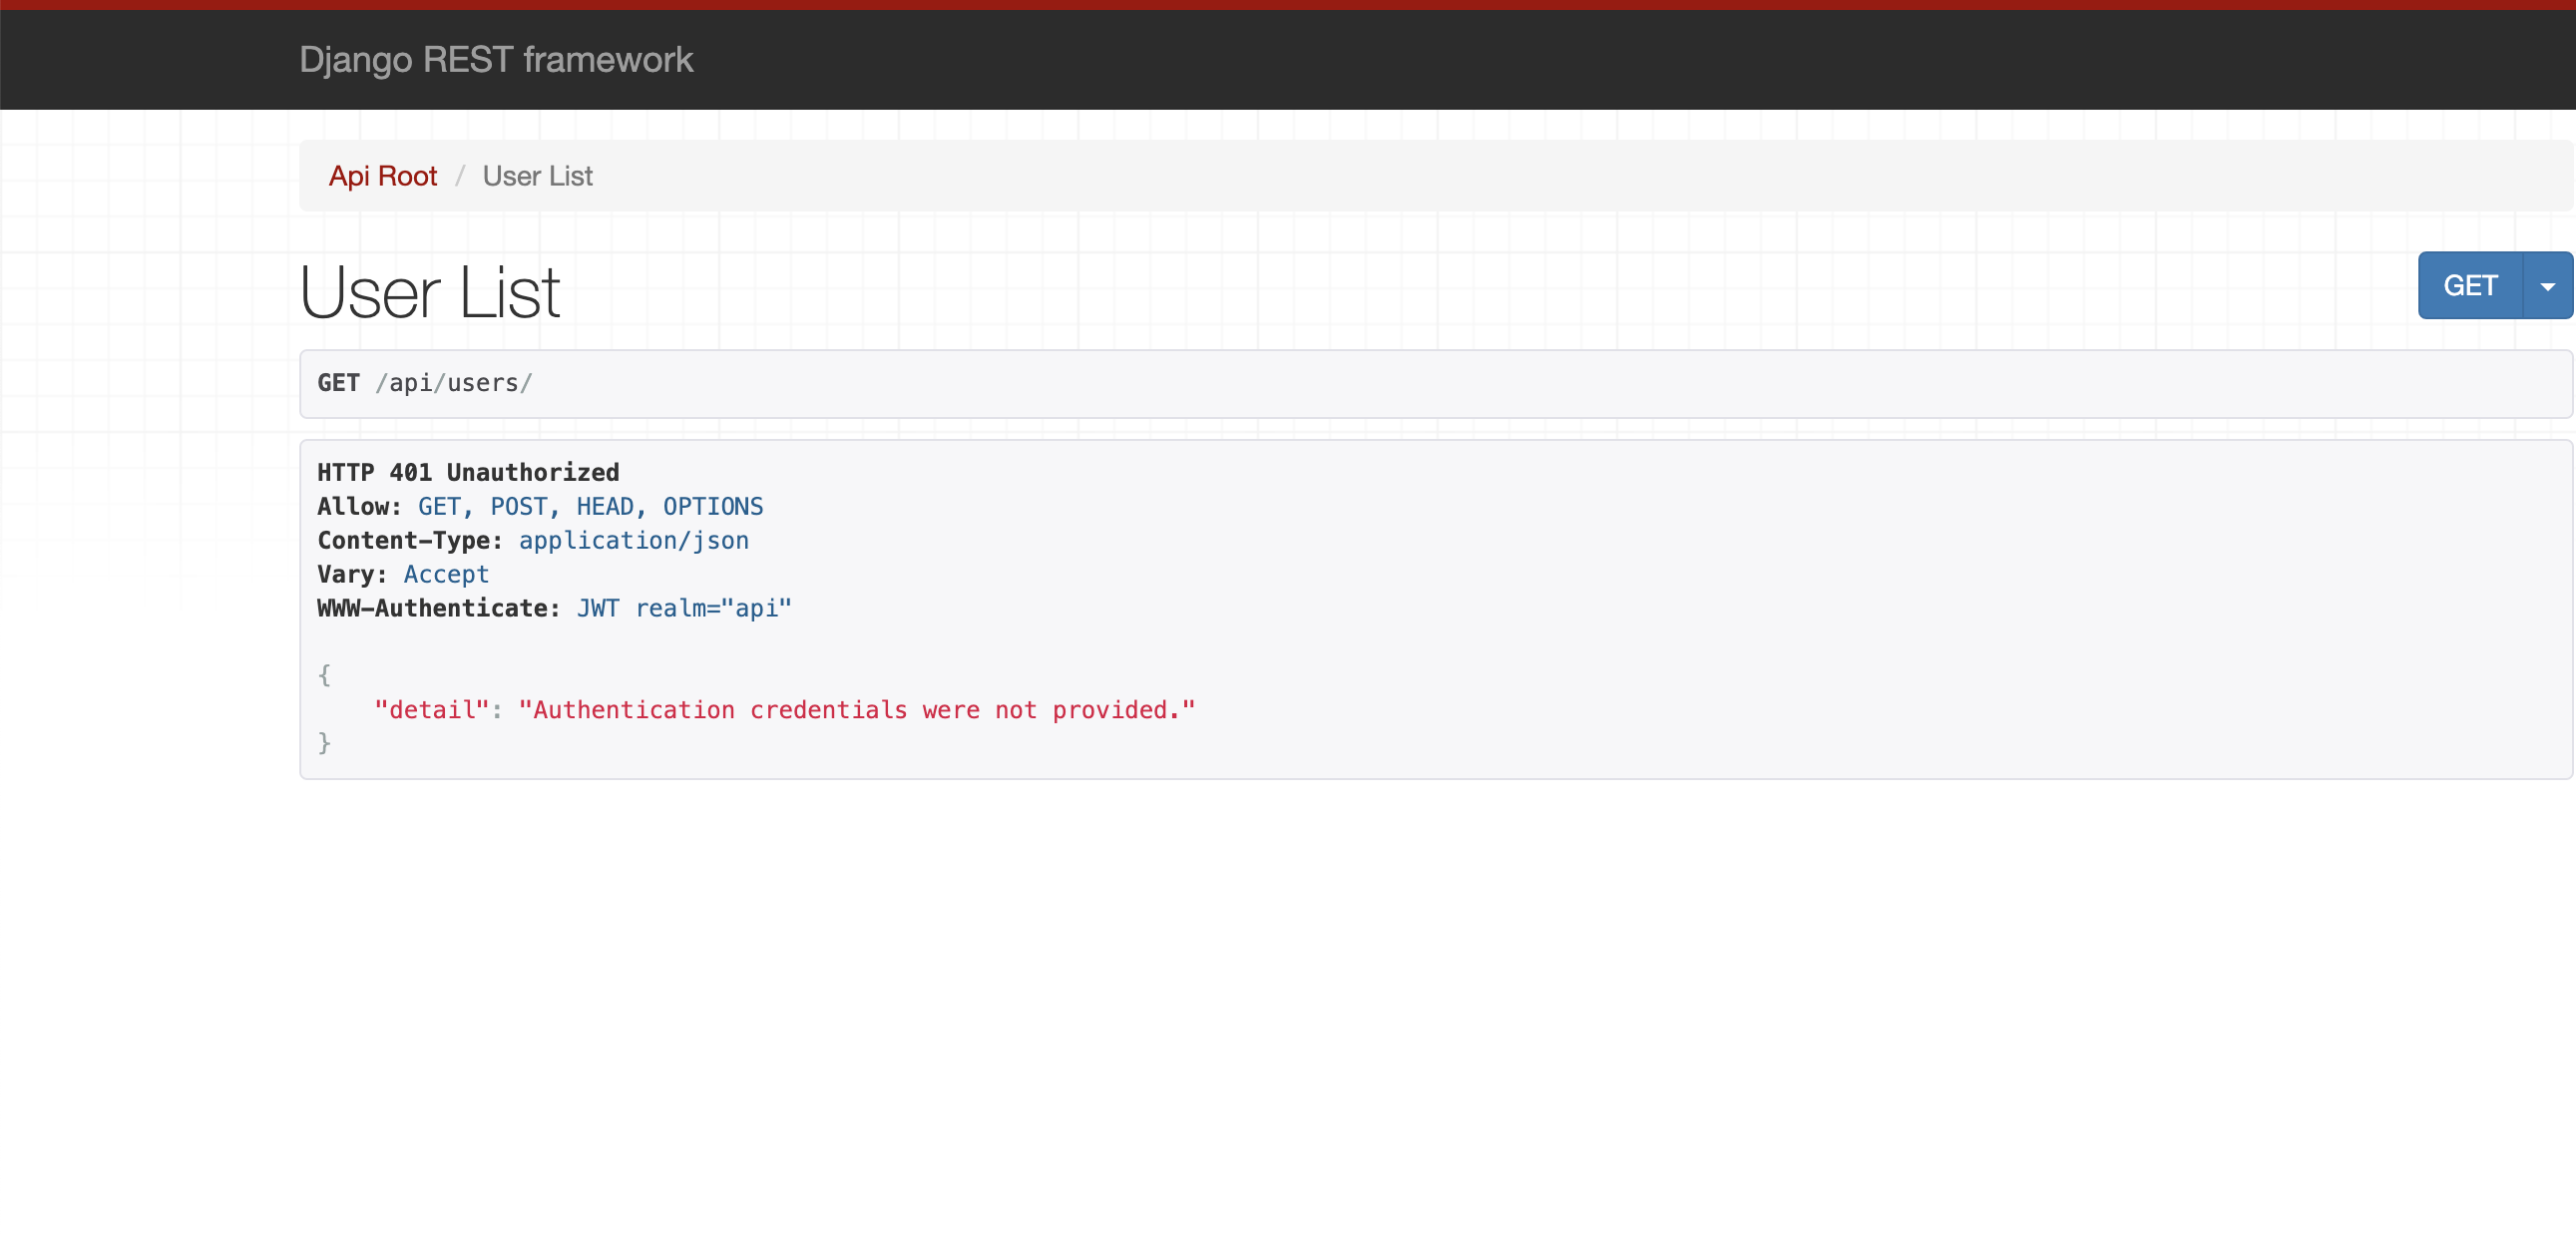
http://127.0.0.1:8000/api/users/にアクセスしても結果が表示されなくなりました。
curlでtoken取得
curl -X POST -H "Content-Type: application/json" -d '{"username":"admin","password":"admin"}' http://127.0.0.1:8000/api-token-auth/
取得結果
{"token":"eyJ0eXAiOiJKV1QiLCJhbGciOiJIUzI1NiJ9.eyJ1c2VyX2lkIjoxLCJ1c2VybmFtZSI6ImFkbWluIiwiZXhwIjoxNTgwOTIwNDcwLCJlbWFpbCI6ImFkbWluQGFkbWluLmNvLmpwIn0.O8h4Js07Nr3aILHZyoAYlPklSGX-TJZs6k6tpB4xd0Y"}(concentration) tabatadikinoMBP:concentratio tabatadaiki$ curl -X "Authorization: JWT eyJ0eXAiOiJKV1QiLCJhbGciOiJIUzI1NiJ9.eyJ1c2VyX2lkIjoxLCJ1c2VybmFtZSI6ImFkbWluIiwiZXhwIjoxNTgwOTIwMzA5LCJlbWFpbCI6ImFkbWluQGFkbWluLmNvLmpwIn0.vvKtzWk6d0qhDpwy3PgyiZ6ovkw-2JHJyn7mf25XrsU"
取得したトークンを指定してusersを取得
curl -H "Authorization: JWT eyJ0eXAiOiJKV1QiLCJhbGciOiJIUzI1NiJ9.eyJ1c2VyX2lkIjoxLCJ1c2VybmFtZSI6ImFkbWluIiwiZXhwIjoxNTgwOTIwMzA5LCJlbWFpbCI6ImFkbWluQGFkbWluLmNvLmpwIn0.vvKtzWk6d0qhDpwy3PgyiZ6ovkw-2JHJyn7mf25XrsU" http://127.0.0.1:8000/api/users/
取得結果
[{"id":1,"password":"pbkdf2_sha256$150000$lLUvsL7bxcSs$/PhUu6BtJVaQtuhfkI6rj7frwvLHbpVFjFoCY7S8+0w=","last_login":null,"is_superuser":true,"username":"admin","first_name":"","last_name":"","email":"admin@admin.co.jp","is_staff":true,"is_active":true,"date_joined":"2020-02-04T15:23:57.201798Z","groups":[],"user_permissions":[]},{"id":2,"password":"yktgy780","last_login":null,"is_superuser":true,"username":"tabatadaiki","first_name":"tabata","last_name":"daiki","email":"tabata@tabata.co.jp","is_staff":true,"is_active":true,"date_joined":"2020-02-05T15:21:26.470920Z","groups":[],"user_permissions":[]},{"id":3,"password":"akasatana","last_login":null,"is_superuser":true,"username":"a","first_name":"a","last_name":"a","email":"","is_staff":true,"is_active":true,"date_joined":"2020-02-05T15:27:12.682966Z","groups":[],"user_permissions":[]},{"id":5,"password":"pbkdf2_sha256$150000$v9YkaBjzyGXP$VyQEp/yk6gWf8FEvI7C9TxCBANgXi9JxivQ/wjkjjpg=","last_login":null,"is_superuser":true,"username":"tabata","first_name":"tabata","last_name":"tabata","email":"","is_staff":true,"is_active":true,"date_joined":"2020-02-05T15:41:50.518882Z","groups":[],"user_permissions":[]}]
認証できたっぽい。