はじめに
組織でClient VPNを利用するにあたり24時間365日利用可能な環境では、コスト管理が課題です。
AWS Client VPN(以下、Client VPN)のコストは、AWS VPN の料金の通りに以下の要因によって、コストが発生しています。
- AWS Client VPN エンドポイントアソシエーション
- AWS Client VPN 接続

基本的にはアクティブなクライアント接続の数に対して、 1時間単位の料金が発生するため、複数の利用者が長時間Client VPNを継続していると、Client VPNに関するコストは雪だるま式に増加していきます。
本記事では、AWS Client VPNのコストを削減する方法及びコスト分析の方法について紹介します。
コストを削減する方法
問題解決の考え方として、世の中にはコントロールできるものとコントロールできないものが存在することについて認識することが重要です。
基本的にClient VPNを使用していないときは、切断することが望ましいですが、ユーザーはClient VPNに接続したことを忘れて、そのまま作業をしているなどは日常茶飯事ではないでしょうか。
Client VPNの利用が終わったら速やかに切断しましょうと利用者に対して周知するのも一つのアプローチだと思いますが、ユーザーの行動をコントロールすることはできないため、本質的な課題解決ではありません。
踏み込んだコスト削減のアプローチとしては、Client VPNを利用しない時間を決めて、コストを抑制する方法です。
Client VPNの仕様を踏まえて、使用できない時間帯(夜間や土日)は、サブネットの関連付けを解除してClient VPNを利用できない状態にします。使用可能な時間帯については、サブネットの関連付けを作成して利用できる状態にします。なお、サブネットの関連付けに関する操作は、Amazon EventBridge(以下、EventBridge)によって起動されたAWS Lambda(以下、Lambda)で自動化します。

上記よりサブネットの関連付けの作成及び解除する仕組みを構築するためには、以下のリソースを作成及び設定します。
- Lambda関数の作成
- Lambda関数に必要なアクセス権の設定
- EventBridgeのスケジュール設定
Lambda関数の作成
以下ではPythonを用いて、サブネットの作成及び関連付けを解除するための関数をそれぞれ作成しています。
サブネットの作成:associateClientVpnWithSubnets
サブネットの関連付けを解除:disassociateClientVpnFromSubnets
後述しますが、Client VPNのエンドポイントのIDなどの値は、EventBridgeのスケジュール設定からペイロードとして渡しています。
- associateClientVpnWithSubnets
import boto3

client = boto3.client('ec2')

def lambda_handler(event, context):
    client_vpn_endpoint_id = event['cvpn_endpoint_id']
    subnet_ids = event['subnet_list']
    destination_cidr_blocks = event['destination_cidr_block_list']

    for subnet_id in subnet_ids:
        try:
            resopnse = client.associate_client_vpn_target_network(
                ClientVpnEndpointId=client_vpn_endpoint_id,
                SubnetId=subnet_id
            )
            print(f"Associated subnet {subnet_id}: {resopnse['AssociationId']}")

            target_subnet_id = subnet_id
            for cidr in destination_cidr_blocks:
                resopnse = client.create_client_vpn_route(
                    ClientVpnEndpointId=client_vpn_endpoint_id,
                    DestinationCidrBlock=cidr,
                    TargetVpcSubnetId=subnet_id
                )
        except Exception as e:
            print(f"Error associating subnet {subnet_id}: {e}")
Client VPNのエンドポイントに関するルートテーブルについて、デフォルトルート以外は自動で設定されないため、必要に応じて設定する必要があります。
- disassociateClientVpnFromSubnets
import boto3

client = boto3.client('ec2')

def lambda_handler(event, context):
    client_vpn_endpoint_id = event['cvpn_endpoint_id']

    resopnse = client.describe_client_vpn_target_networks(
            ClientVpnEndpointId=client_vpn_endpoint_id
        )
    associations = resopnse.get('ClientVpnTargetNetworks', [])

    if not associations:
        print("No associated subnets found.")
        return

    for assoc in associations:
        association_id = assoc['AssociationId']
        subnet_id = assoc['TargetNetworkId']

        try:
            print(f"Disassociating subnet {subnet_id} (association ID: {association_id})")
            disassociate_responce = client.disassociate_client_vpn_target_network(
                ClientVpnEndpointId=client_vpn_endpoint_id,
                AssociationId=association_id
            )
            print(f"Disassociated: {association_id}")
        except Exception as e:
            print(f"Error disassociating subnet {subnet_id} (association ID: {association_id}): {e}")
Lambda関数に必要なアクセス権の設定
作成したLambda関数には、Client VPNを操作するために以下のようなアクセス権が必要です。
- ClientVpnLambdaPolicy
{
    "Version": "2012-10-17",
    "Statement": [
        {
            "Sid": "Statement1",
            "Effect": "Allow",
            "Action": [
                "ec2:AssociateClientVpnTargetNetwork",
                "ec2:DisassociateClientVpnTargetNetwork",
                "ec2:DescribeClientVpnTargetNetworks",
                "ec2:CreateClientVpnRoute",
                "ec2:DescribeClientVpnRoutes"
            ],
            "Resource": "*"
        }
    ]
}
上記のようなポリシーをLambda関数の実行ロールに設定します。また、本記事では割愛していますが、CloudWatchのログを出力するポリシーも必要です。
EventBridgeのスケジュール設定
EventBridgeの設定を行なうにあたり以下のスケジュールを登録します。
サブネットの関連付けを作成:ClientVpnAssociateSchedule
サブネットの関連付けを解除:ClientVpnDisassociateSchedule
本記事の例では、Lambda関数にペイロードとして一部の値を渡しています。ペイロードを利用することで、コードの可読性が向上します。
- ClientVpnAssociateSchedule

サブネットの関連付けを解除するスケジュールについても、同様に設定しています。
- lientVpnDisassociateSchedule

サブネットの関連付けの作成については、関連付けが完了するまでには数分間のpendingが発生するため、利用者が業務開始と同時に利用できるようにすることを考慮して、余裕を持って時間を設定するのが望ましいです。
留意事項
Client VPNの運用に関する留意事項を以下に記載します。
セッションタイムアウト
Client VPNのセッションタイムアウトはデフォルトで24時間です。
必要に応じて調整することで、不要なセッションを抑制できます。

クォータ
サブネットの関連付けを行う操作については、公式ドキュメントの「AWS Client VPN クォータ」の通りに制限が行われています。
筆者が検証を行った際は、クォータに関して「クライアント VPN エンドポイントあたりの同時実行オペレーション 」の許容範囲だったと思いますが、以下のようなエラーが出力されました。
Error associating subnet subnet-0123456789abcdefg: An error occurred (ConcurrentMutationLimitExceeded) when calling the AssociateClientVpnTargetNetwork operation: Cannot initiate another change for this endpoint at this time. Please try again later.
サポートに問い合わせたところ、一定期間内での実行回数に追加の制限が設けられているとの回答をいただきましが、詳細については内部情報になるとのことでした。
この制限に関連するキューは 24時間後にリセットされるため、24時間経過後にLambda関数を再度実行すれば正常に処理が完了します。対応としては、短時間のオペレーションは望ましくありません。
チューニング
ループしないようにLambda関数を作成していても、Lambdaのタイムアウトによる再実行によって、意図せずオペレーションが発生してしまう場合があります。
チューニングするポイントとしては、以下の2点です。
「一般設定」の「設定」よりタイムアウトを調整します。

「非同期呼び出し」の「設定」より再試行の回数を調整を調整します。

コスト分析の方法
Client VPNが出力するログを元にコスト分析を行うことで、長時間VPNを利用しているユーザーを特定することができます。
本記事では、コスト分析を行うためにCloudWatchのログをS3にエクスポートして、Athenaを用いてデータ分析を行う方法について記載しています。
事前に以下の準備を行います。
- CloudWatchのログをS3にエクスポート
- データベースの作成
- テーブルの作成
CloudWatchのログをS3にエクスポート
CloudWatchのログをS3にエクスポートするためには、S3バケットに対するバケットポリシーの設定が必要です。
バケットポリシーの設定
CloudWatchのログを出力するS3バケットを作成後、以下のようなバケットポリシーを設定します。
{
    "Version": "2012-10-17",
    "Statement": [
        {
            "Sid": "AllowCloudWatchLogsToPutObject",
            "Effect": "Allow",
            "Principal": {
                "Service": "logs.ap-northeast-1.amazonaws.com"
            },
            "Action": [
                "s3:GetBucketAcl",
                "s3:PutObject"
            ],
            "Resource": [
                "arn:aws:s3:::[REDACTED]",
                "arn:aws:s3:::[REDACTED]/*"
            ],
            "Condition": {
                "StringEquals": {
                    "aws:SourceAccount": "[REDACTED]"
                },
                "ArnLike": {
                    "aws:SourceArn": "arn:aws:logs:ap-northeast-1:[REDACTED]:log-group:ClientVPN/DefaultLogGroup:*"
                }
            }
        }
    ]
}
エクスポートの実行
対象のログストリームより「データを Amazon S3 にエクスポート」を選択します。

時間範囲を設定してS3バケット名を選択後「エクスポート」を押します。

S3バケットに対する権限がない場合は、以下のようなエラーが出力されます。

正常にエクスポートが完了すると、指定したS3バケットのフォルダにCloudWatchのログファイルが生成されています。

データベースの作成
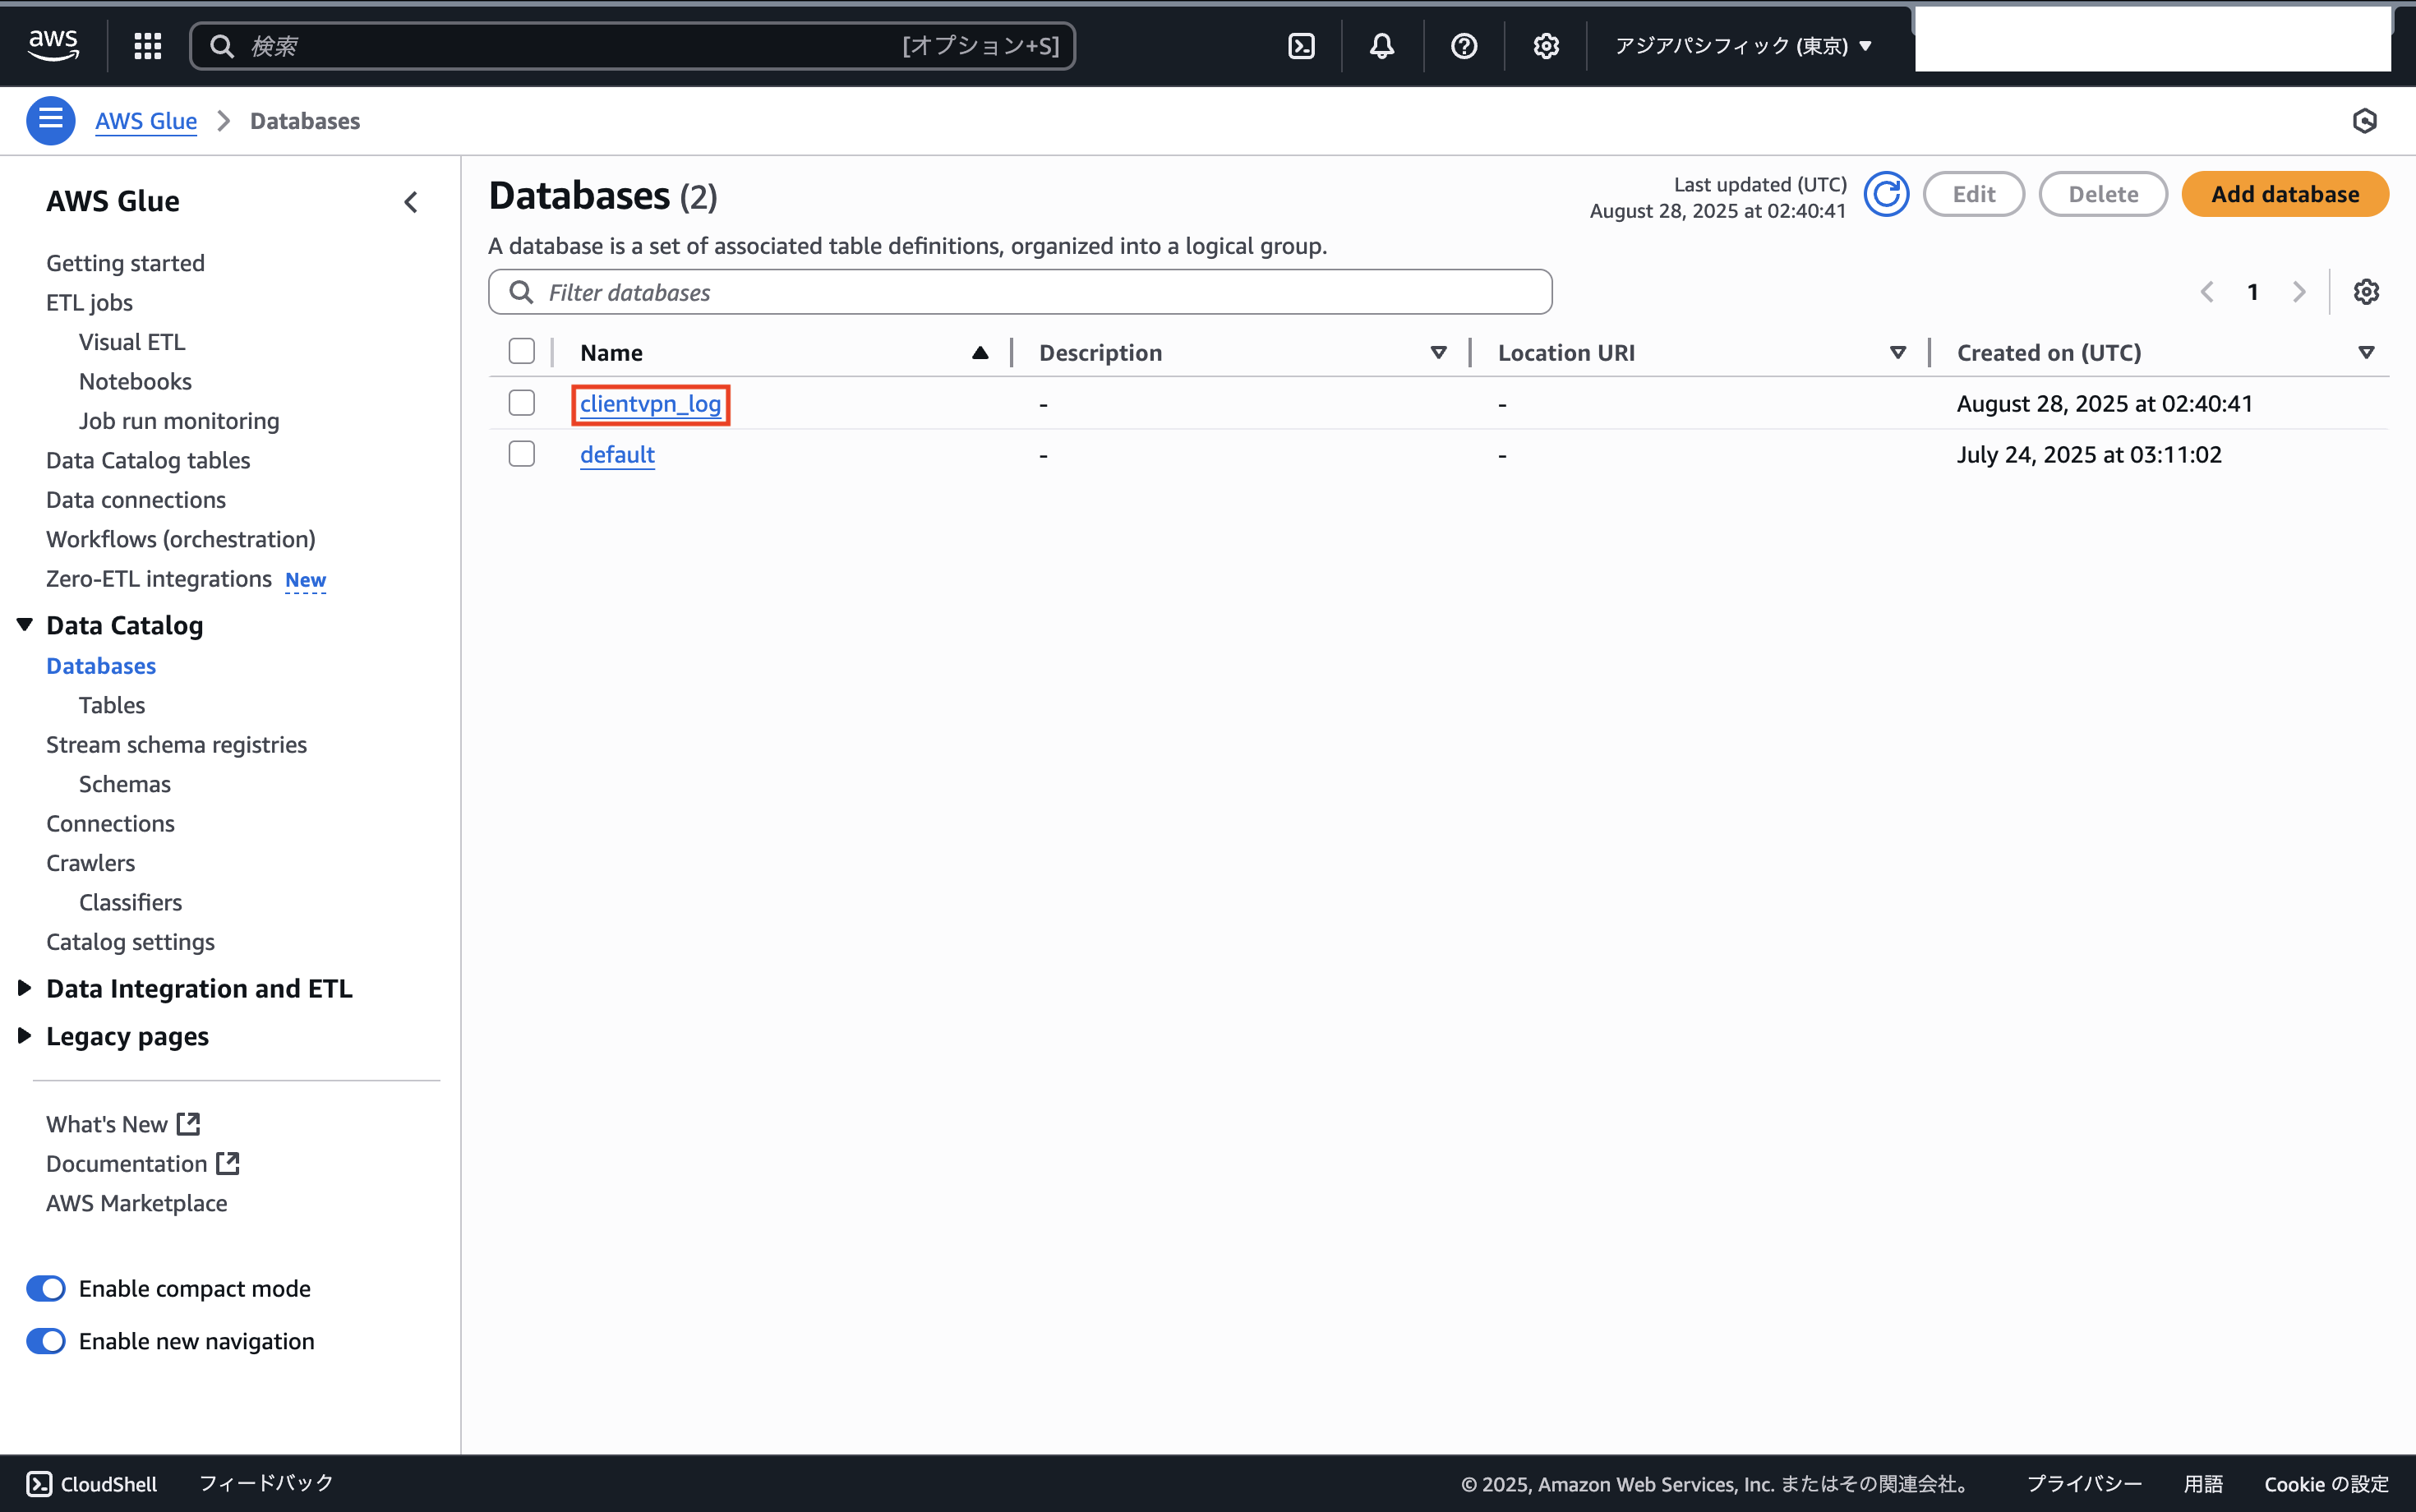
Glueを開いて、Data Catalogの「Databases」より「Add databases」を押します。

「Name」にデータベースの名前を入力して「Create database」を押します。

データベースが作成されたことを確認します。
テーブルの作成
エクスポートしたCloudWatchのログファイルはgz形式で圧縮されていて、中身はタイムスタンプをキーとしたJSON形式のファイルになっています。
このままの状態では、GlueクローラーがJSONファイルとして認識できないため、ログファイルに対する前処理が必要になります。そのため、Athenaで外部テーブルを作成して、クエリ実行時にJSON部分を切り出してパースすることで解決します。
Athenaで以下のようなSQLを実行して、外部テーブルを作成します。
CREATE EXTERNAL TABLE IF NOT EXISTS clientvpn_log.raw_logs (
  line string
)
ROW FORMAT SERDE 'org.apache.hadoop.hive.serde2.lazy.LazySimpleSerDe'
WITH SERDEPROPERTIES (
  'serialization.format' = '\n'
)
LOCATION 's3://[REDACTED]/exportedlogs/[REDACTED]/[REDACTED]/'
TBLPROPERTIES (
  'classification' = 'text',
  'skip.header.line.count'='0',
  'compressionType'='gzip'
);
エラーが出力されないことを確認します。

Guleに戻って「Databases」の「Tables」に作成したテーブルが生成されていることを確認します。

Athenaでクエリの実行
上記全ての準備が完了後、以下のようなSQLを実行して、クエリ結果を確認します。
SELECT
  regexp_extract(line, '^([^ ]+)', 1) AS log_time,
  json_extract_scalar(json_part, '$["connection-log-type"]') AS log_type,
  json_extract_scalar(json_part, '$["connection-attempt-status"]') AS attempt_status,
  json_extract_scalar(json_part, '$["connection-reset-status"]') AS reset_status,
  json_extract_scalar(json_part, '$["connection-attempt-failure-reason"]') AS failure_reason,
  json_extract_scalar(json_part, '$["connection-id"]') AS cid,
  json_extract_scalar(json_part, '$["client-vpn-endpoint-id"]') AS cveid,
  json_extract_scalar(json_part, '$["transport-protocol"]') AS protocol,
  json_extract_scalar(json_part, '$["connection-start-time"]') AS start_time,
  json_extract_scalar(json_part, '$["connection-last-update-time"]') AS last_update_time,
  json_extract_scalar(json_part, '$["client-ip"]') AS client_ip,
  json_extract_scalar(json_part, '$["client-ip-v6"]') AS client_ipv6,
  json_extract_scalar(json_part, '$["username"]') AS username,
  json_extract_scalar(json_part, '$["device-type"]') AS device_type,
  json_extract_scalar(json_part, '$["device-ip"]') AS device_ip,
  json_extract_scalar(json_part, '$["ingress-bytes"]') AS ingress_bytes,
  json_extract_scalar(json_part, '$["egress-bytes"]') AS egress_bytes,
  json_extract_scalar(json_part, '$["ingress-packets"]') AS ingress_packets,
  json_extract_scalar(json_part, '$["egress-packets"]') AS egress_packets,
  json_extract_scalar(json_part, '$["connection-end-time"]') AS end_time,
  json_extract_scalar(json_part, '$["connection-duration-seconds"]') AS duration_seconds
FROM (
  SELECT
    line,
    substring(line, strpos(line, '{')) AS json_part
  FROM "AwsDataCatalog"."clientvpn_log"."raw_logs"
  WHERE line LIKE '%{%'
);
クエリの実行後結果については、CSVファイルとしてダウンロードできます。

Client VPNのログの見方は、公式ドキュメントの「AWS Client VPN エンドポイントの接続ログ記録」より確認できます。
おわりに
組織でコスト削減の施策を実行する際には、関係部門への影響や調整によるハレーションを避けられないこともあります。
そのような場面でこそ、リーダーがトップダウンで意思決定を支え、施策を推進できることに大きな意義があります。