はじめに
前回に続いて、生成AI関連ネタです。
連休で試したこと(含むその過程)を、複数回に分けて紹介してゆきます。
本稿は、2本目です。
1本目:生成AI、はじめました ~環境の準備とお試し~
2本目:生成AI、はじめました ~Difyのデプロイとプロバイダー登録~ ★本稿
3本目:生成AI、はじめました ~Difyのチャットボット作成~
箸休め:生成AI、はじめました ~Difyのチャットボット作成Ⅱ ハイプリッド検索~
4本目:生成AI、はじめました ~PCのリソース使用量確認~ (!Coming Soon!)
本稿で紹介すること
- Difyデプロイ&ログイン
- APIサービング w/LM Studio
- Difyプラグインインストール
- Difyモデルプロバイダー登録
1.Difyデプロイ&ログイン
公式のDoc123を参照すると、Difyには無償/コミュニティ版と有償/エンタープライズ版(と有償/クラウド版!?)がある模様で、本稿は無償/コミュニティ版を対象とします。
筆者、、、VirtualBoxのゲストOSとしてUbuntu(Bridgeネットワーク接続)を建てて、Difyをデプロイしています。
(別件で建てていたUbuntuを再利用しただけ)
動作要件スペックは小さいです。
Before installing Dify, make sure your machine meets the following minimum system requirements:
・CPU >= 2 Core
・RAM >= 4 GiB
Docker Composeでさくっと起動できる仕組みになっているようなので、手間いらずです。
必要に応じて、docker composeコマンドを使えるようにしておきましょう456。
The easiest way to start the Dify server is through Docker Compose. Before running Dify with the following commands, make sure that Docker and Docker Compose are installed on your machine:
あとは、以下のコマンドを順に実行するだけです。
コンテナイメージのダウンロードを含むため、気長に待ちましょう。
git clone --branch "$(curl -s https://api.github.com/repos/langgenius/dify/releases/latest | jq -r .tag_name)" https://github.com/langgenius/dify.git
cd dify
cd docker
cp .env.example .env
docker compose up -d
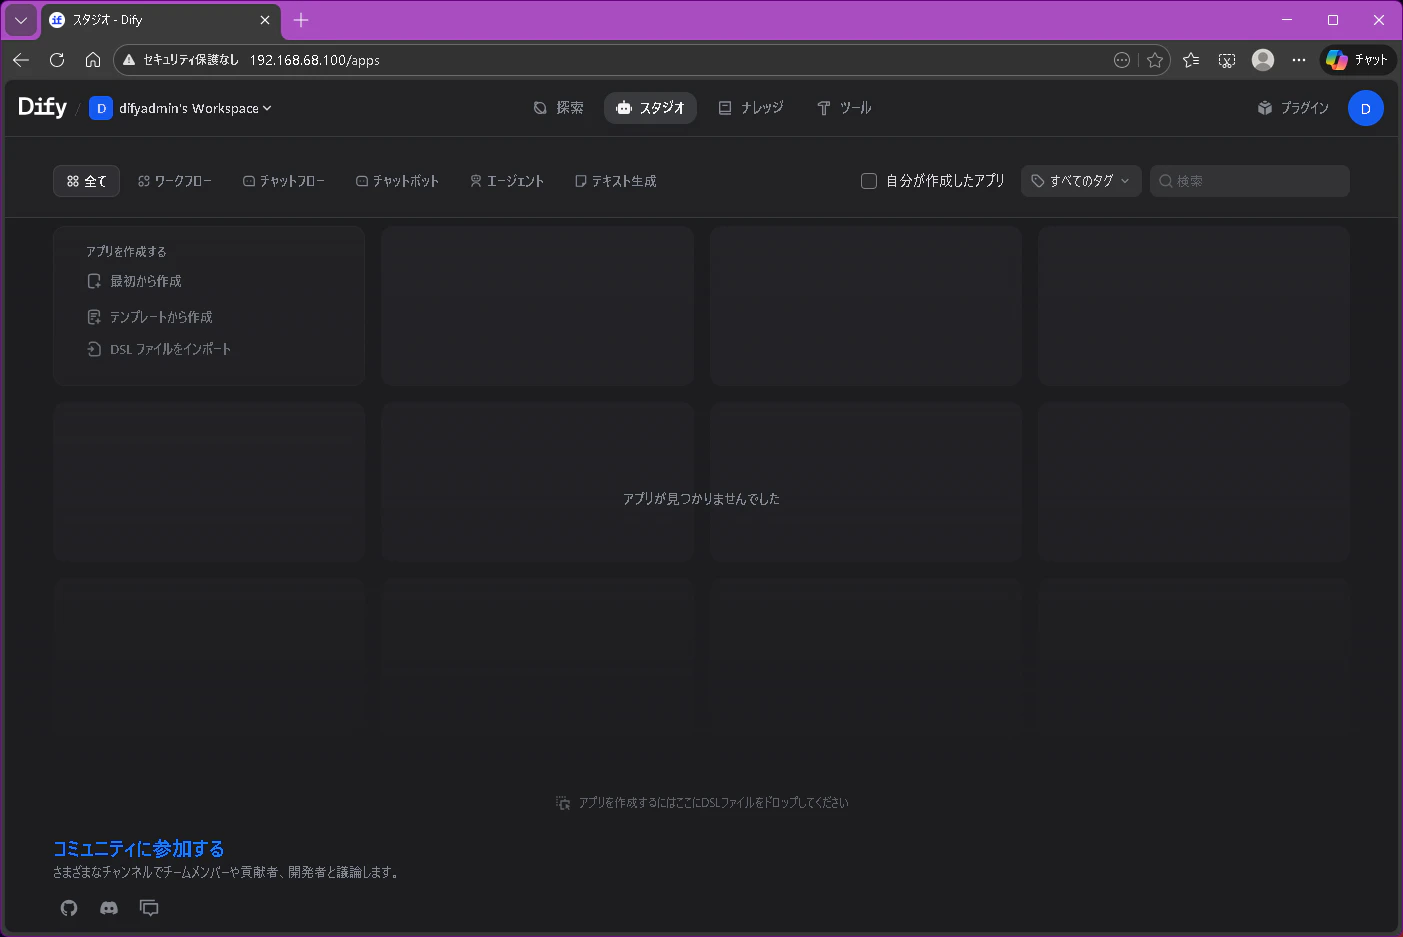
無事にコンテナ群が起動できたら、、、以下のURLにWebブラウザでアクセスして管理者アカウントを定義します。
http://{$your_server_ip}/install

で、定時した管理者アカウントでサインインします。

2.APIサービング w/LM Studio
連載第1回と同じように、LM Studioでopenai/gpt-oss-20bをAPIサービングします。
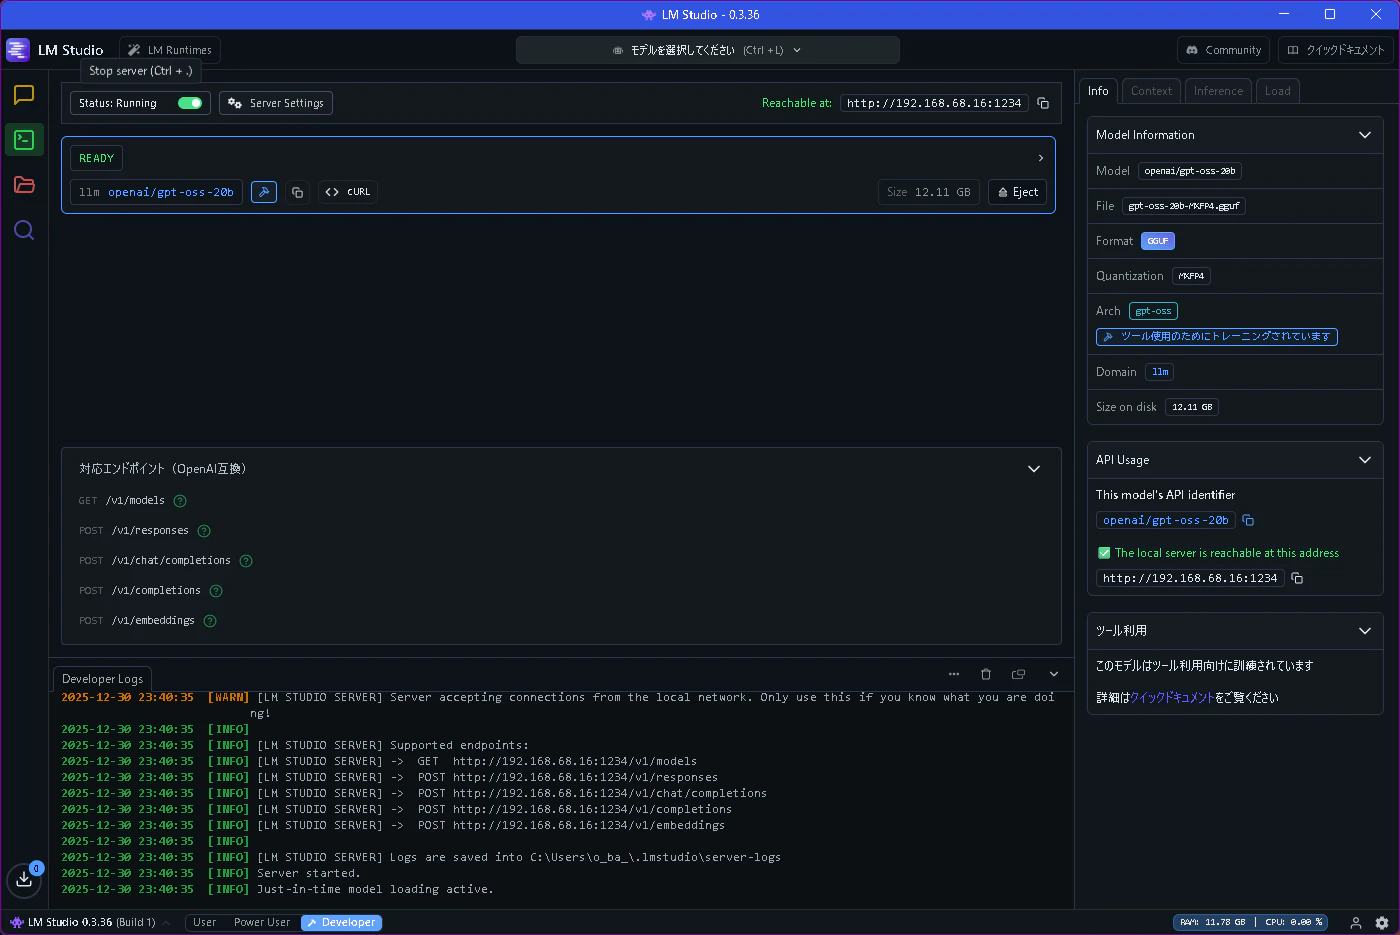
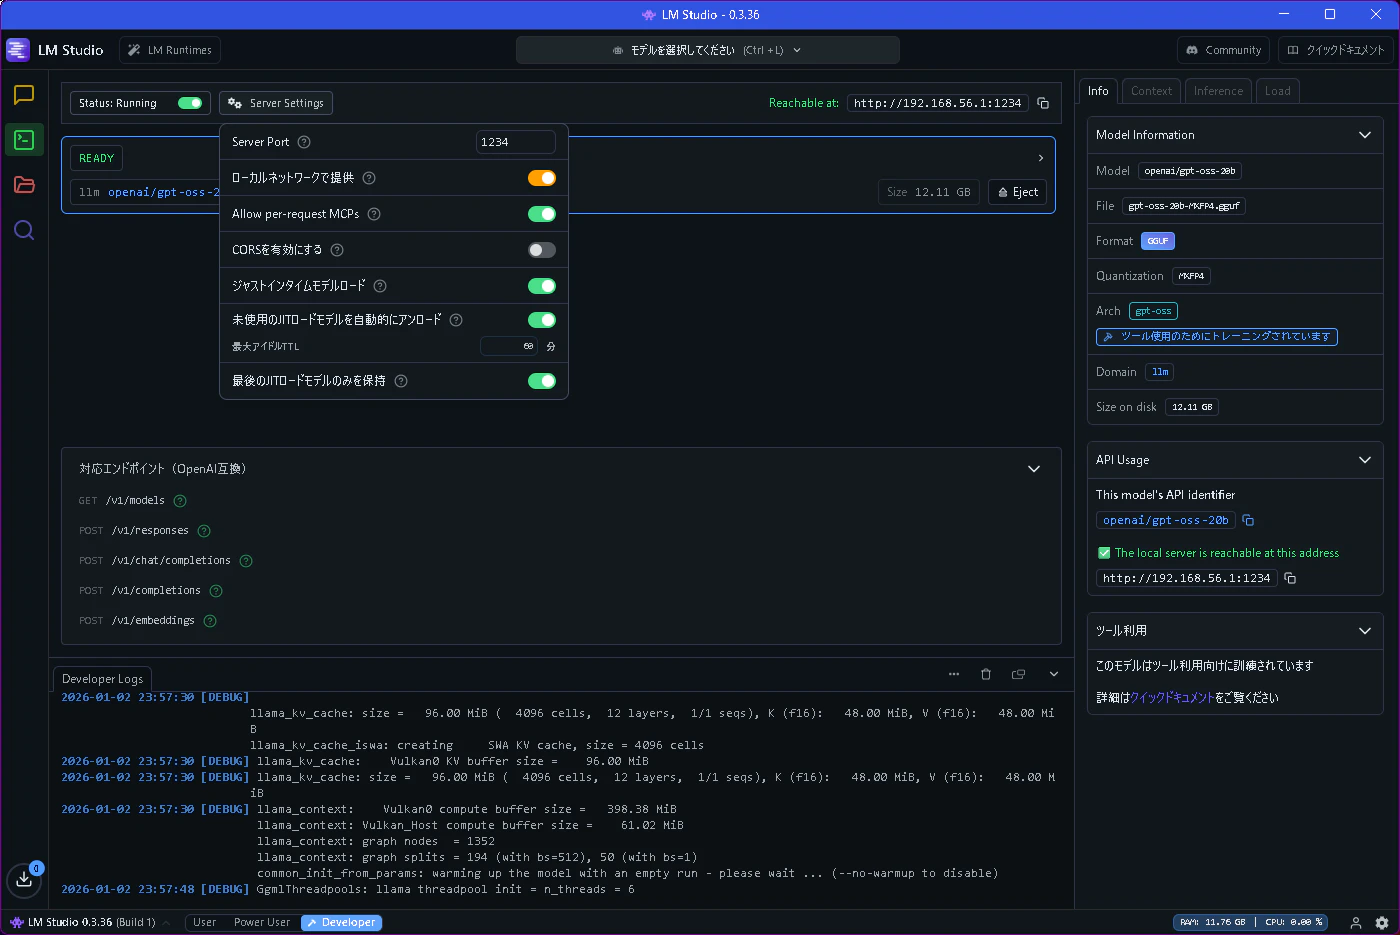
このとき、「Server Settings」で「ローカルネットワークで提供」をチェックしOnにしておきます。
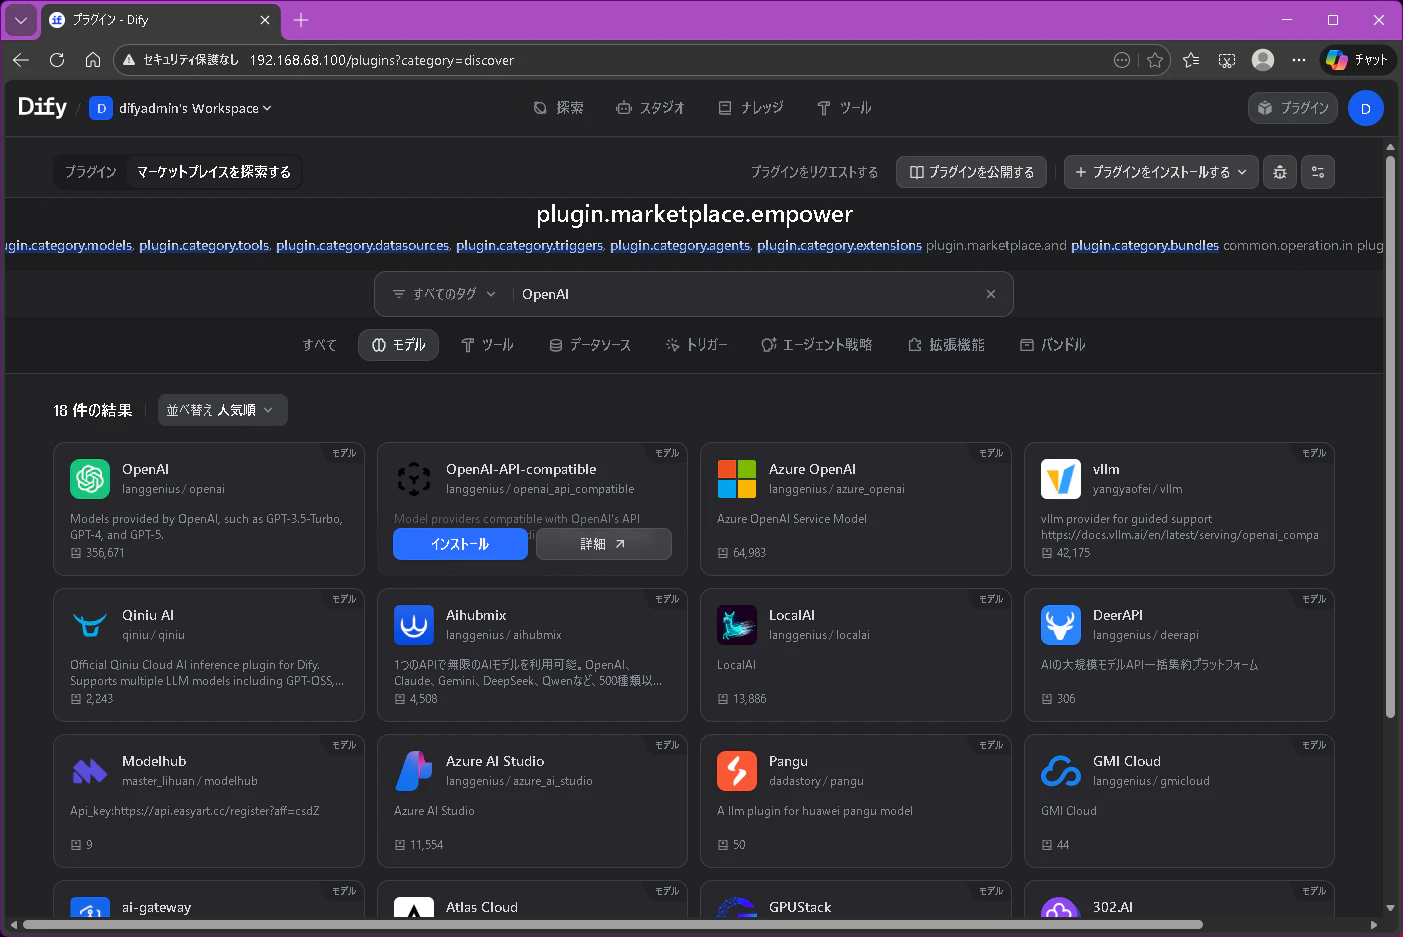
3.Difyプラグインインストール
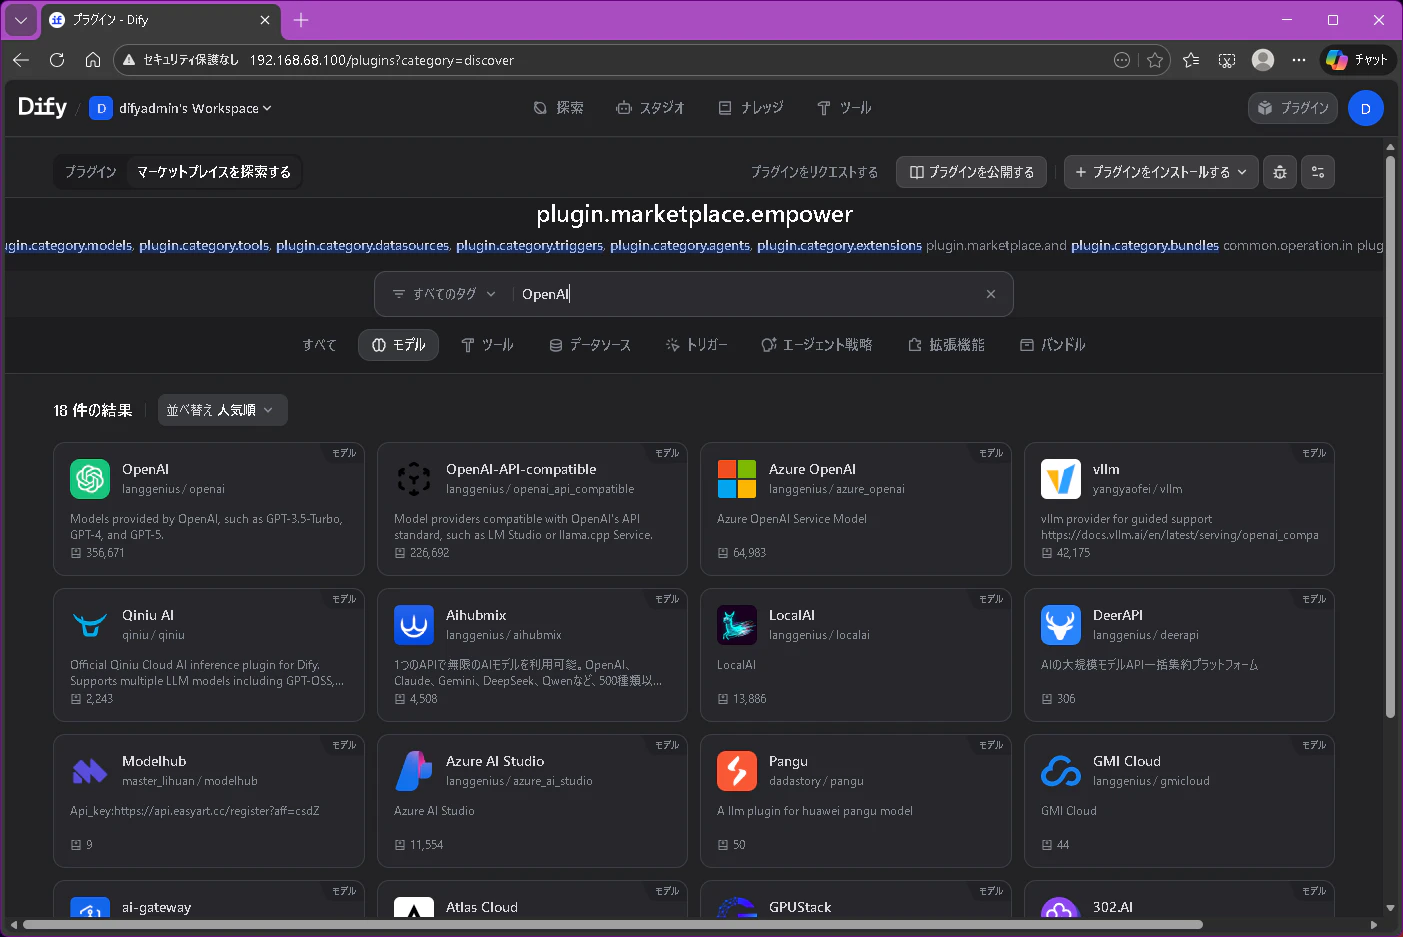
改めてWebブラウザでDifyのWebUIを操作して、以下の順に押下(クリック)します。
「(右上の)プラグイン」
→「(左上の)マーケットプレイスを探索する」
→「(中央Inputエリアすぐ下の)モデル」


そして、
Inputエリアで「OpenAI」と入力
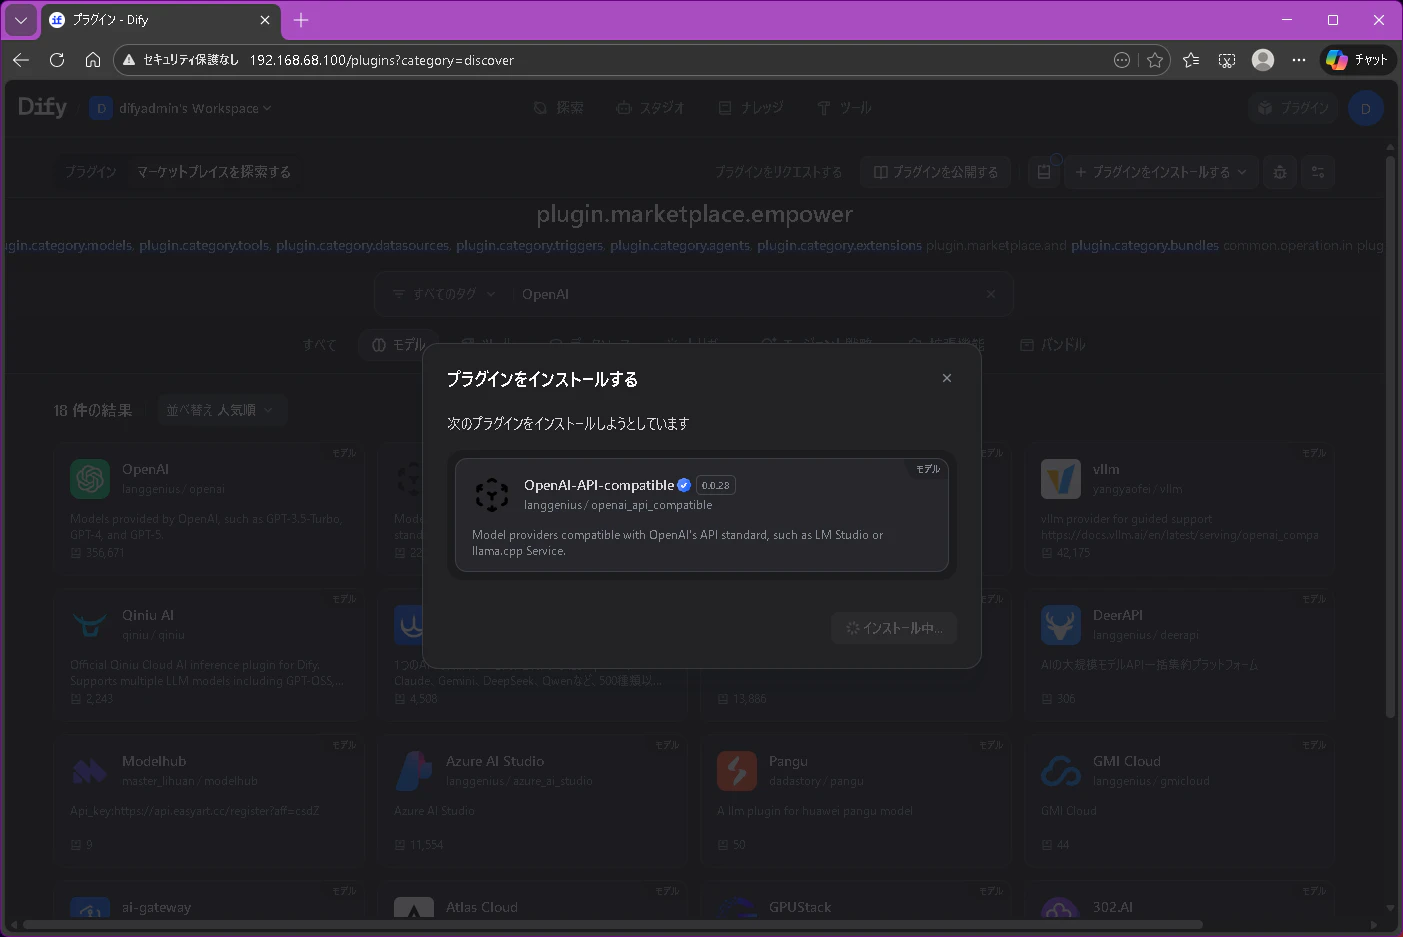
→「OpenAI-API-conpatible」を選択し、「インストール」を押下
→更に表示されるポップアップでも「インストール」を押下


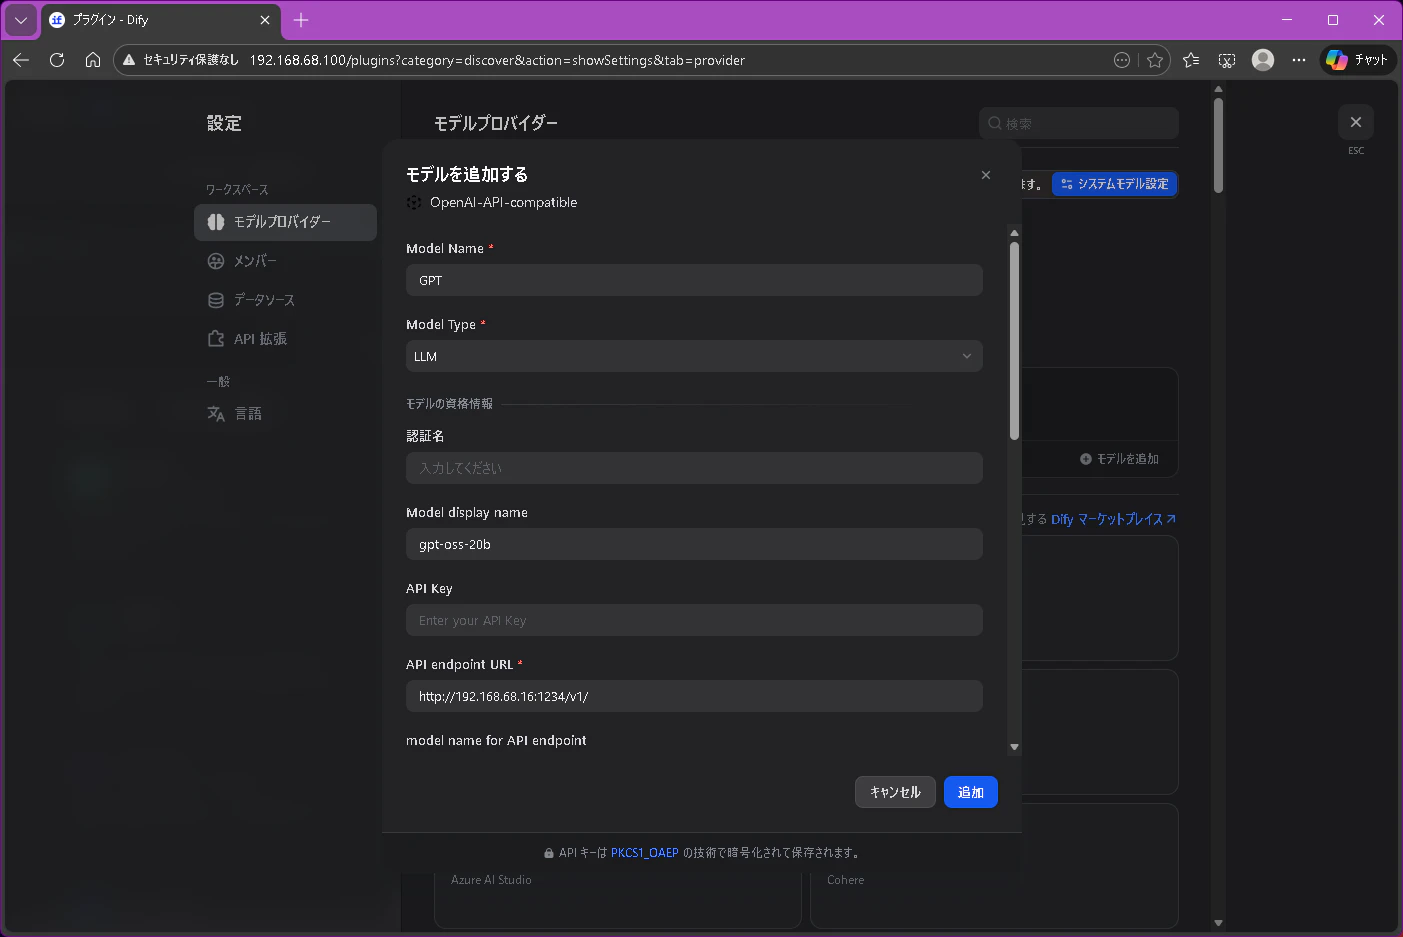
4.Difyモデルプロバイダー登録
LM StudioでAPIサービングさせているGPT-OSS-20bを登録いてゆきます。
以下の順に押下(クリック)します。
「(右上の)プロフィール」→「設定」を押下
→「モデルプロバイダー」を押下
→「OpenAI-API-conpatible」の項で「モデルを追加」を押下
→更に表示されるポップアップで以下のように設定
※API endpoint URLはLM Studioで表示される情報です!
設定例
Model Name:GPTModel Type:LLM
認証名:(blank)
Model display name:gpt-oss-20b
API Key:(blank)
API endpoint URL:http://192.168.68.16:1234/v1/
model name for API endpoint:(blank)


まとめ
一旦、ここまで。
次回は、いよいよDifyでチャットボットを作ってゆきます!