はじめに
前回の記事(Windows10のPCに分析環境(Python3+Jupyter Notebook)を作ってみた)では、Jupyter Notebookを使うところまでを掲載した。
が、どうやらより便利な「Jupyter Lab」なるツールが存在するらしい。
ということで、「Jupyter Lab」を使ってみようと思う。
GitHub - jupyterlab/jupyterlab: JupyterLab computational environment.
Project Jupyter | Installing the Jupyter Software
本稿で紹介すること
- Jupyter Labのインストール
- Webブラウザで起動・表示するまでの環境設定
ただし、Anacondaは本稿では使わない。便利だけれども。
本稿で紹介しないこと
- Windows10のセットアップ(含むWebブラウザ) ※Windows10 Pro Ver.1909
- Python3のインストール ※Python 3.6.8を使用
- Jupyter Notebookのインストール ※Jupyter Notebook 6.1.0を使用
では早速、本題
Jupyter Labのインストール
以下のコマンドを実行するだけ。とても簡単。
$ python -m pip install pip -U
$ python -m pip install jupyterlab
以下、職場とか社内ネットワーク(プロキシ環境)向け。
$ python -m pip install pip -U --proxy=http://${ProxyサーバのIPアドレス}:${ProxyサーバのPort番号}/
$ python -m pip install jupyterlab --proxy=http://${ProxyサーバのIPアドレス}:${ProxyサーバのPort番号}/
Webブラウザで起動・表示するまでの環境設定
-
Jupyter Notebookの実行ファイルを探すと、以下。
C:\Users\${Windowsのログオンユーザ名}\AppData\Roaming\Python\Python36\Scripts -
実行ファイル(jupyter.exe)を右クリックして、デスクトップにショートカットを作成
-
ショートカットのプロパティを開く
-
リンク先の値を編集
変更前:C:\Users\${Windowsのログオンユーザ名}\AppData\Roaming\Python\Python36\Scripts\jupyter.exe notebook %HOME%
変更後:C:\Users\${Windowsのログオンユーザ名}\AppData\Roaming\Python\Python36\Scripts\jupyter.exe lab %HOME% -
変更を反映
(「適用」ボタンを押下後、)「OK」ボタンを押下 -
Jupyter Notebookを起動
ショートカットをダブルクリック
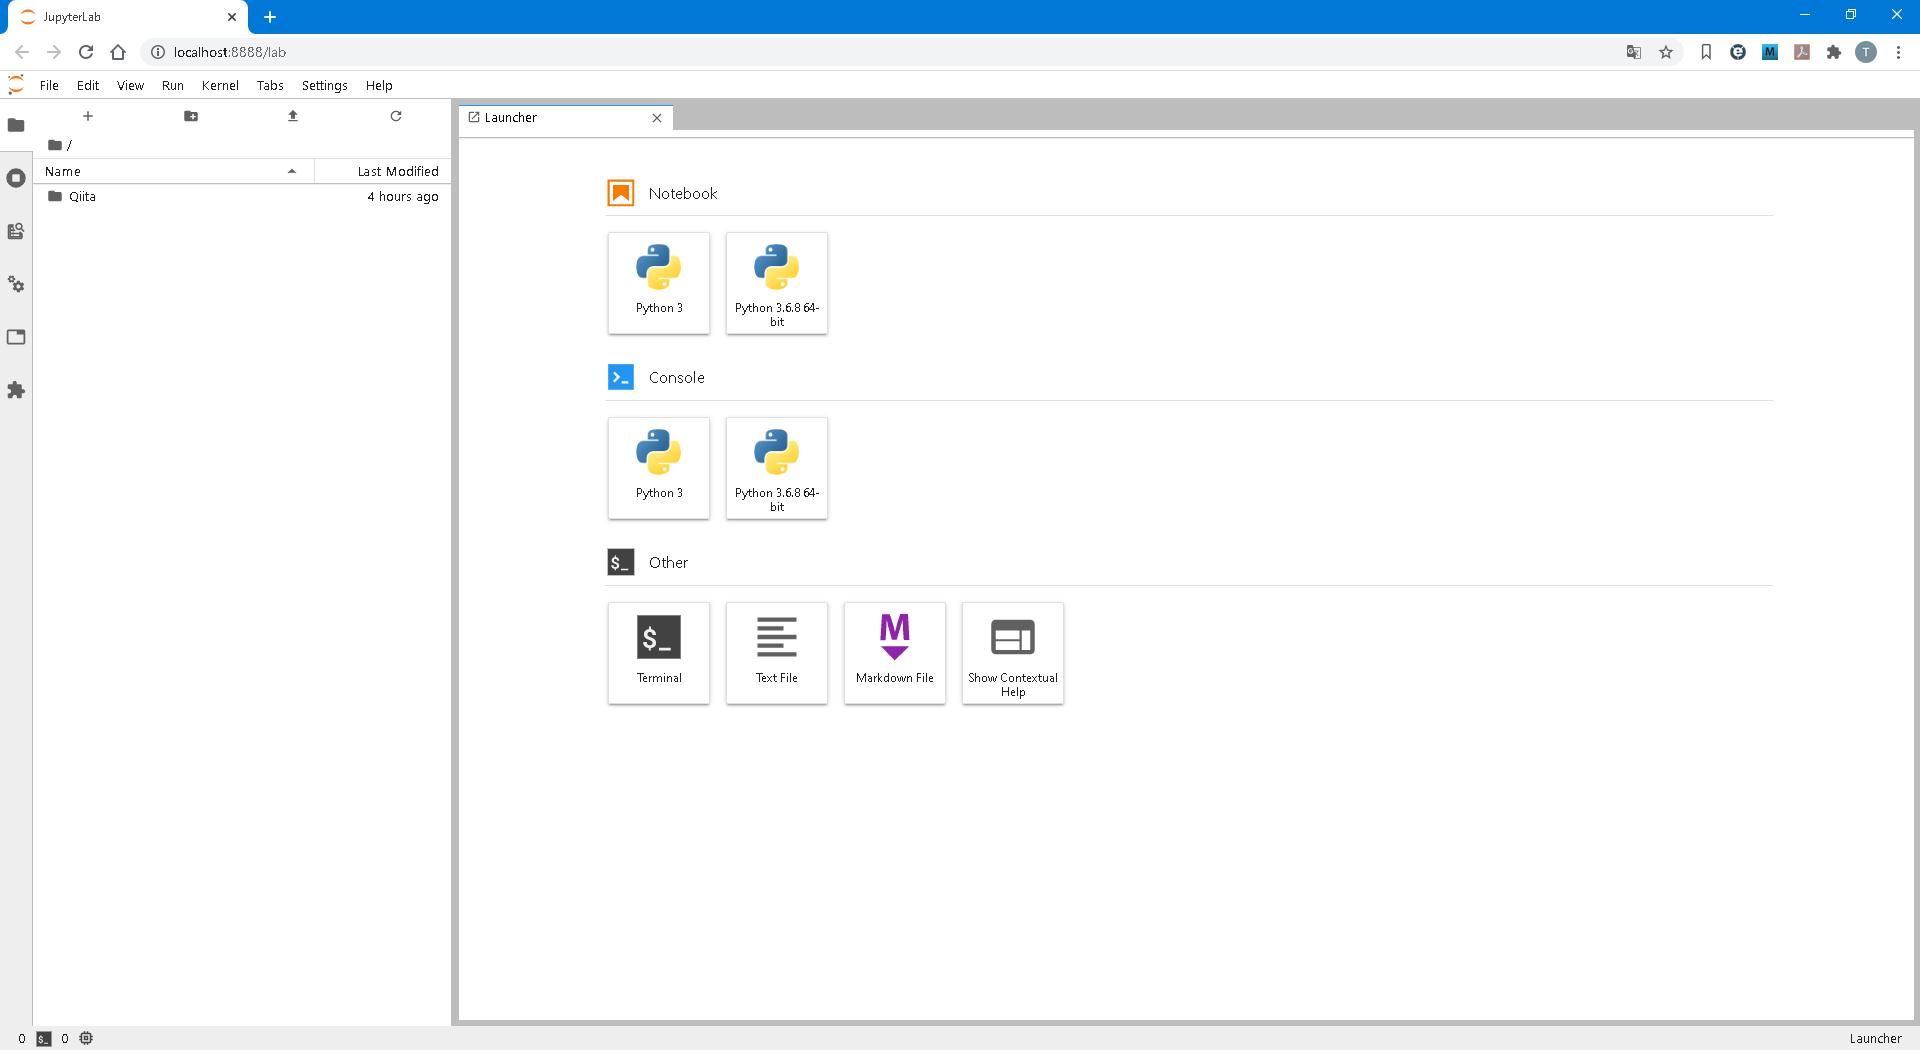
画面の左ペインにエクスプローラが表示されていますね、、、
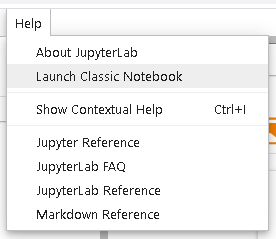
元のJupyter Notebookを使いたい場合は、「Help」メニューから変更できるようです。
まとめ
Windows10のPCでPython3の使えるJupyert Labを整備。