RAM が足りない!軽量ウィンドウマネージャにしよう
諸般の事情で RAM が全然足りないマシンを使っている。Ubuntu の Unity だとなんと sbt でビルドしてるだけでメモリが足りなくて死んだりする。困ったのでウィンドウマネージャをメモリ的に軽量なものにすることにしたよ。
結論から言うと、Ubuntu 16.04 Unity から I3 に変えて起動直後のメモリ消費量 700 MB ぐらい減りました。目標達成。
軽量ウィンドウマネージャいろいろ
軽量と言われるウィンドウマネージャだと
- Xfce
- LXDE
- MATE
あたりが有名かと思うんですが、おもしろい調査を見つけました。これによると、これら軽量とされるものでもそこそこメモリを食うようです。
スーパー軽量タイル型ウィンドウマネージャ I3
この調査の中でも群を抜いてメモリ消費量が少ないグループがあります。KDE とか Unity と比べるとメモリ消費量が 1/60 とかです。なんじゃそりゃ。
その中でもタイル型ウィンドウマネージャの I3 というのがあり「タイル型ウィンドウマネージャってなんぞ?」となって調べたら面白そうだったのでそのまま採用しました。
タイル型ウィンドウマネージャは、名前の通りタイル上にウィンドウを並べるタイプのウィンドウマネージャです。なので、Unity や KDE、Windows や Mac のデスクトップのようにウィンドウが重なることがなく、画面を分割しながらウィンドウが増えます。
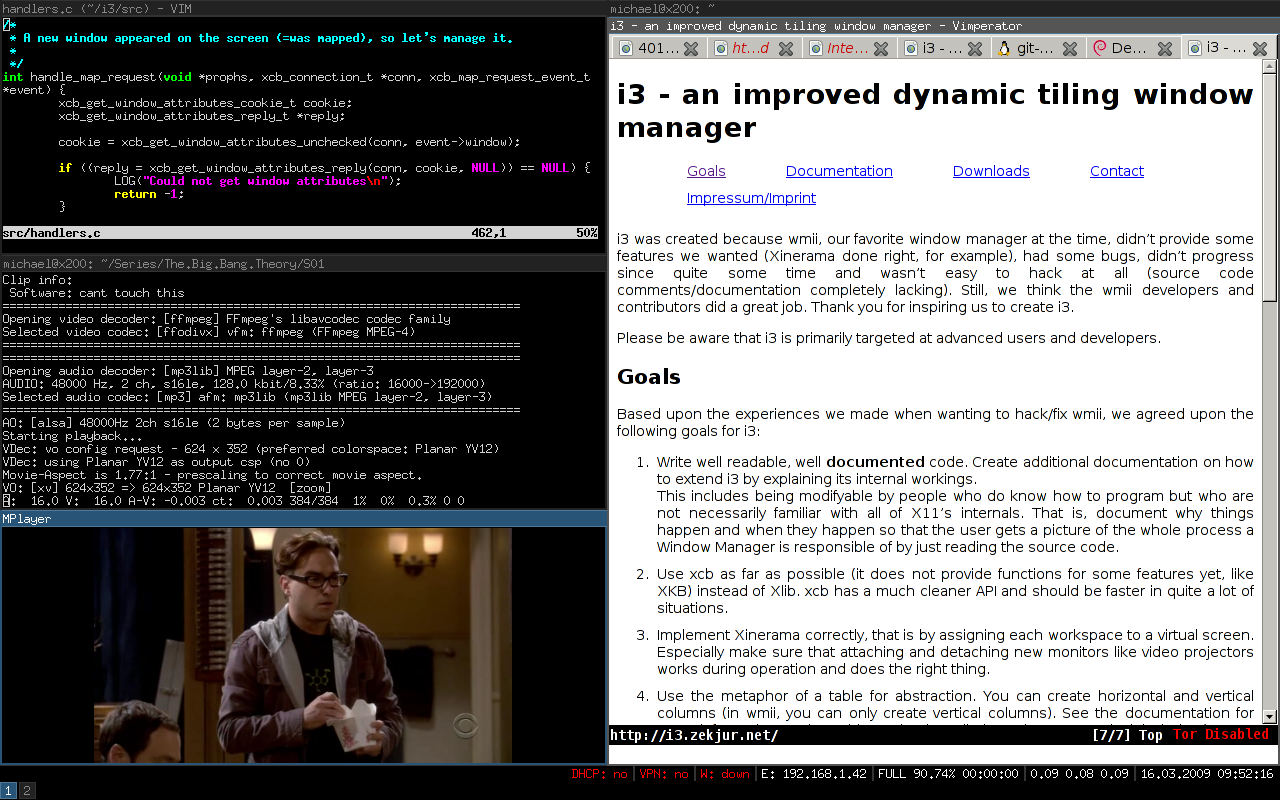
こんな感じ(公式より)
Vim みたいな感じでなんかいいかも…!
I3 のインストール (Ubuntu)
Ubuntu でのインストールは簡単で apt-get で導入できます。
sudo apt-get install i3
ただ、これだとランチャーがインストールされないので dmenu とよばれるランチャーも入れておきましょう。某通信業者は関係ないです。
sudo apt-get install dmenu
I3 の起動と初期設定
I3 をインストールしたら、一旦ログアウトしてログイン画面に戻り、パスワード入力欄の右上にあるわかりづらいボタンからウィンドウマネージャを選択します。I3 を選択してもう一度ログインすると、初期設定について聞かれます。
設定ファイルを作るか尋ねられるのでそれはもちろんOKし、次にいきなり「Mod キーはどうする?」とか聞かれる。Mod キーってなんだよ。
I3 では Mod キーと呼ばれる特別なキーを用いてウィンドウ操作ができるようになっていて、極力マウスを使わず・キーボードから手を離さずに済むようになっています。で、その Mod キーをデフォルトで Super / Windows キー もしくは Alt キー どちらにするか聞いてきます。
Linux ネイティブ環境で Windows キーのあるキーボードを使っているなら Super / Windows キーにふるのが便利かと思います。ただし、Windows をホストに VM 上に Linux を動かしている人は Windows キーにすると、ウィンドウ操作でいきなり Windows がロックされたりするので Alt にした方がいいです(経験談)。
これで一応 I3 が使えるようになりました。
I3 の使い方と設定
I3 を起動した直後は、画面下にそっけない情報表示があるだけでなにもありません。どうしたらいいんだ。
I3 では Mod + Enter でターミナルを開くことができます。連打すればガンガン画面を分割して大量にターミナルを開くことができます。たのしい。
たのしい
さらに、dmenu がインストールされていれば、デフォルトで Mod + d で dmenu を開くことができます。
開くと言っても、これまた画面上部にそっけないバーが出るだけで、文字を入力していくとインクリメンタルにアプリケーションが絞りこまれていきます。先頭一致じゃなくても見つけてくれます。やさしい。
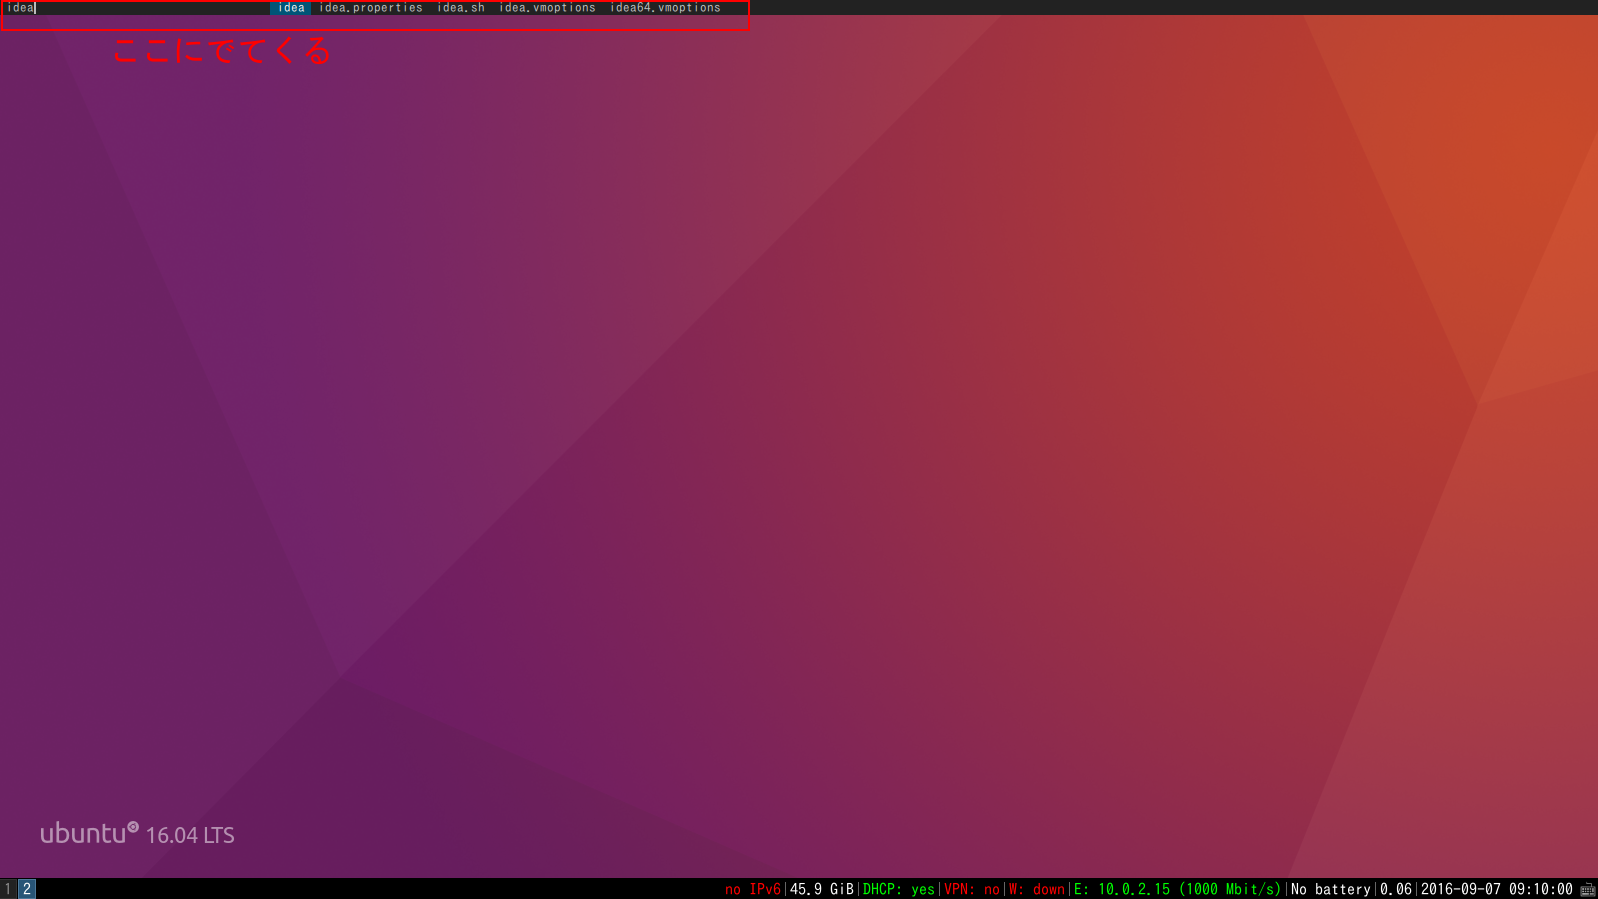
やさしい
基本操作は、I3 公式 を見て欲しいんですが、I3 のデフォルトの操作でどうしても受け付けないのが、ウィンドウの左下上右移動操作が jkl; なんですよね… なんで Vim っぽいのに一個だけずらしたんだよ!!!!!!!!!!
というわけで設定ファイルを修正しておきます。jkl; のところを hjkl に変更し、もともと h に振られていた horizontal 分割については n とか適等なところに振りましょう(適等)。
# This file has been auto-generated by i3-config-wizard(1).
# It will not be overwritten, so edit it as you like.
#
# Should you change your keyboard layout some time, delete
# this file and re-run i3-config-wizard(1).
#

# i3 config file (v4)
#
# Please see http://i3wm.org/docs/userguide.html for a complete reference!

# Mod1 = Alt, Mod4 = Super / Windows key
set $mod Mod1

# Font for window titles. Will also be used by the bar unless a different font
# is used in the bar {} block below.
font pango:monospace 12

# This font is widely installed, provides lots of unicode glyphs, right-to-left
# text rendering and scalability on retina/hidpi displays (thanks to pango).
# font pango:DejaVu Sans Mono 8

# Before i3 v4.8, we used to recommend this one as the default:
# font -misc-fixed-medium-r-normal--13-120-75-75-C-70-iso10646-1
# The font above is very space-efficient, that is, it looks good, sharp and
# clear in small sizes. However, its unicode glyph coverage is limited, the old
# X core fonts rendering does not support right-to-left and this being a bitmap
# font, it doesn’t scale on retina/hidpi displays.

# Use Mouse+$mod to drag floating windows to their wanted position
floating_modifier $mod

# start a terminal
bindsym $mod+Return exec i3-sensible-terminal

# kill focused window
bindsym $mod+Shift+q kill

# start dmenu (a program launcher)
bindsym $mod+d exec dmenu_run
# There also is the (new) i3-dmenu-desktop which only displays applications
# shipping a .desktop file. It is a wrapper around dmenu, so you need that
# installed.
# bindsym $mod+d exec --no-startup-id i3-dmenu-desktop

# change focus
bindsym $mod+h focus left
bindsym $mod+j focus down
bindsym $mod+k focus up
bindsym $mod+l focus right

# alternatively, you can use the cursor keys:
bindsym $mod+Left focus left
bindsym $mod+Down focus down
bindsym $mod+Up focus up
bindsym $mod+Right focus right

# move focused window
bindsym $mod+Shift+h move left
bindsym $mod+Shift+j move down
bindsym $mod+Shift+k move up
bindsym $mod+Shift+l move right

# alternatively, you can use the cursor keys:
bindsym $mod+Shift+Left move left
bindsym $mod+Shift+Down move down
bindsym $mod+Shift+Up move up
bindsym $mod+Shift+Right move right

# split in horizontal orientation
bindsym $mod+n split h

# split in vertical orientation
bindsym $mod+v split v

# enter fullscreen mode for the focused container
bindsym $mod+f fullscreen toggle

# change container layout (stacked, tabbed, toggle split)
bindsym $mod+s layout stacking
bindsym $mod+w layout tabbed
bindsym $mod+e layout toggle split

# toggle tiling / floating
bindsym $mod+Shift+space floating toggle

# change focus between tiling / floating windows
bindsym $mod+space focus mode_toggle

# focus the parent container
bindsym $mod+a focus parent

# focus the child container
# bindsym $mod+d focus child

# switch to workspace
bindsym $mod+1 workspace 1
bindsym $mod+2 workspace 2
bindsym $mod+3 workspace 3
bindsym $mod+4 workspace 4
bindsym $mod+5 workspace 5
bindsym $mod+6 workspace 6
bindsym $mod+7 workspace 7
bindsym $mod+8 workspace 8
bindsym $mod+9 workspace 9
bindsym $mod+0 workspace 10

# move focused container to workspace
bindsym $mod+Shift+1 move container to workspace 1
bindsym $mod+Shift+2 move container to workspace 2
bindsym $mod+Shift+3 move container to workspace 3
bindsym $mod+Shift+4 move container to workspace 4
bindsym $mod+Shift+5 move container to workspace 5
bindsym $mod+Shift+6 move container to workspace 6
bindsym $mod+Shift+7 move container to workspace 7
bindsym $mod+Shift+8 move container to workspace 8
bindsym $mod+Shift+9 move container to workspace 9
bindsym $mod+Shift+0 move container to workspace 10

# reload the configuration file
bindsym $mod+Shift+c reload
# restart i3 inplace (preserves your layout/session, can be used to upgrade i3)
bindsym $mod+Shift+r restart
# exit i3 (logs you out of your X session)
bindsym $mod+Shift+e exec "i3-nagbar -t warning -m 'You pressed the exit shortcut. Do you really want to exit i3? This will end your X session.' -b 'Yes, exit i3' 'i3-msg exit'"

# resize window (you can also use the mouse for that)
mode "resize" {
        # These bindings trigger as soon as you enter the resize mode

        # Pressing left will shrink the window’s width.
        # Pressing right will grow the window’s width.
        # Pressing up will shrink the window’s height.
        # Pressing down will grow the window’s height.
        bindsym h resize shrink width 10 px or 10 ppt
        bindsym j resize grow height 10 px or 10 ppt
        bindsym k resize shrink height 10 px or 10 ppt
        bindsym l resize grow width 10 px or 10 ppt

        # same bindings, but for the arrow keys
        bindsym Left resize shrink width 10 px or 10 ppt
        bindsym Down resize grow height 10 px or 10 ppt
        bindsym Up resize shrink height 10 px or 10 ppt
        bindsym Right resize grow width 10 px or 10 ppt

        # back to normal: Enter or Escape
        bindsym Return mode "default"
        bindsym Escape mode "default"
}

bindsym $mod+r mode "resize"

# Start i3bar to display a workspace bar (plus the system information i3status
# finds out, if available)
bar {
        status_command i3status
        tray_output primary
}
これで Vim ライクにウィンドウをバシバシ分割しながらバシバシキーボードで操作できるようになりました!
完全に Vim っぽくシーケンシャルなキー入力ができるのかは不明。
肝心のメモリ消費量は…?
I3 導入の理由はもともと使用メモリの削減でした。完全に本来のテーマを忘れていた…
Ubuntu 16.04 で Unity での起動直後のメモリ使用量が 1GB 弱ぐらい。I3 での起動直後のメモリ使用量は なんと 300 MB 程度! 正気かよ。
というわけで快適にビルドできるようになりました。
めでたしめでたし。