概要
ARアプリを作成した際に、共有用にスクリーンショットを撮りたい場面があるかと思います。
画面そのままならスマホ側のスクショ機能を用いれば良いですが、UIを取り除いたARシーンだけ撮影したい場合、Unity側で実装をする必要があります。
本記事ではカメラロールに保存するためのパッケージであるNativeGalleryパッケージを用いた実装を解説します。
サンプルプロジェクトのソースコードはこちら
https://github.com/Arihide/unity-mobile-ar-screenshot
解説
サンプルの作成の流れを説明します。
ビルドが大変なため、Androidに絞って解説しますが、iOSでも同様にビルドすれば動作します。
AR・UIシーン作成
まずスクショ確認用のプロジェクトを作成します。
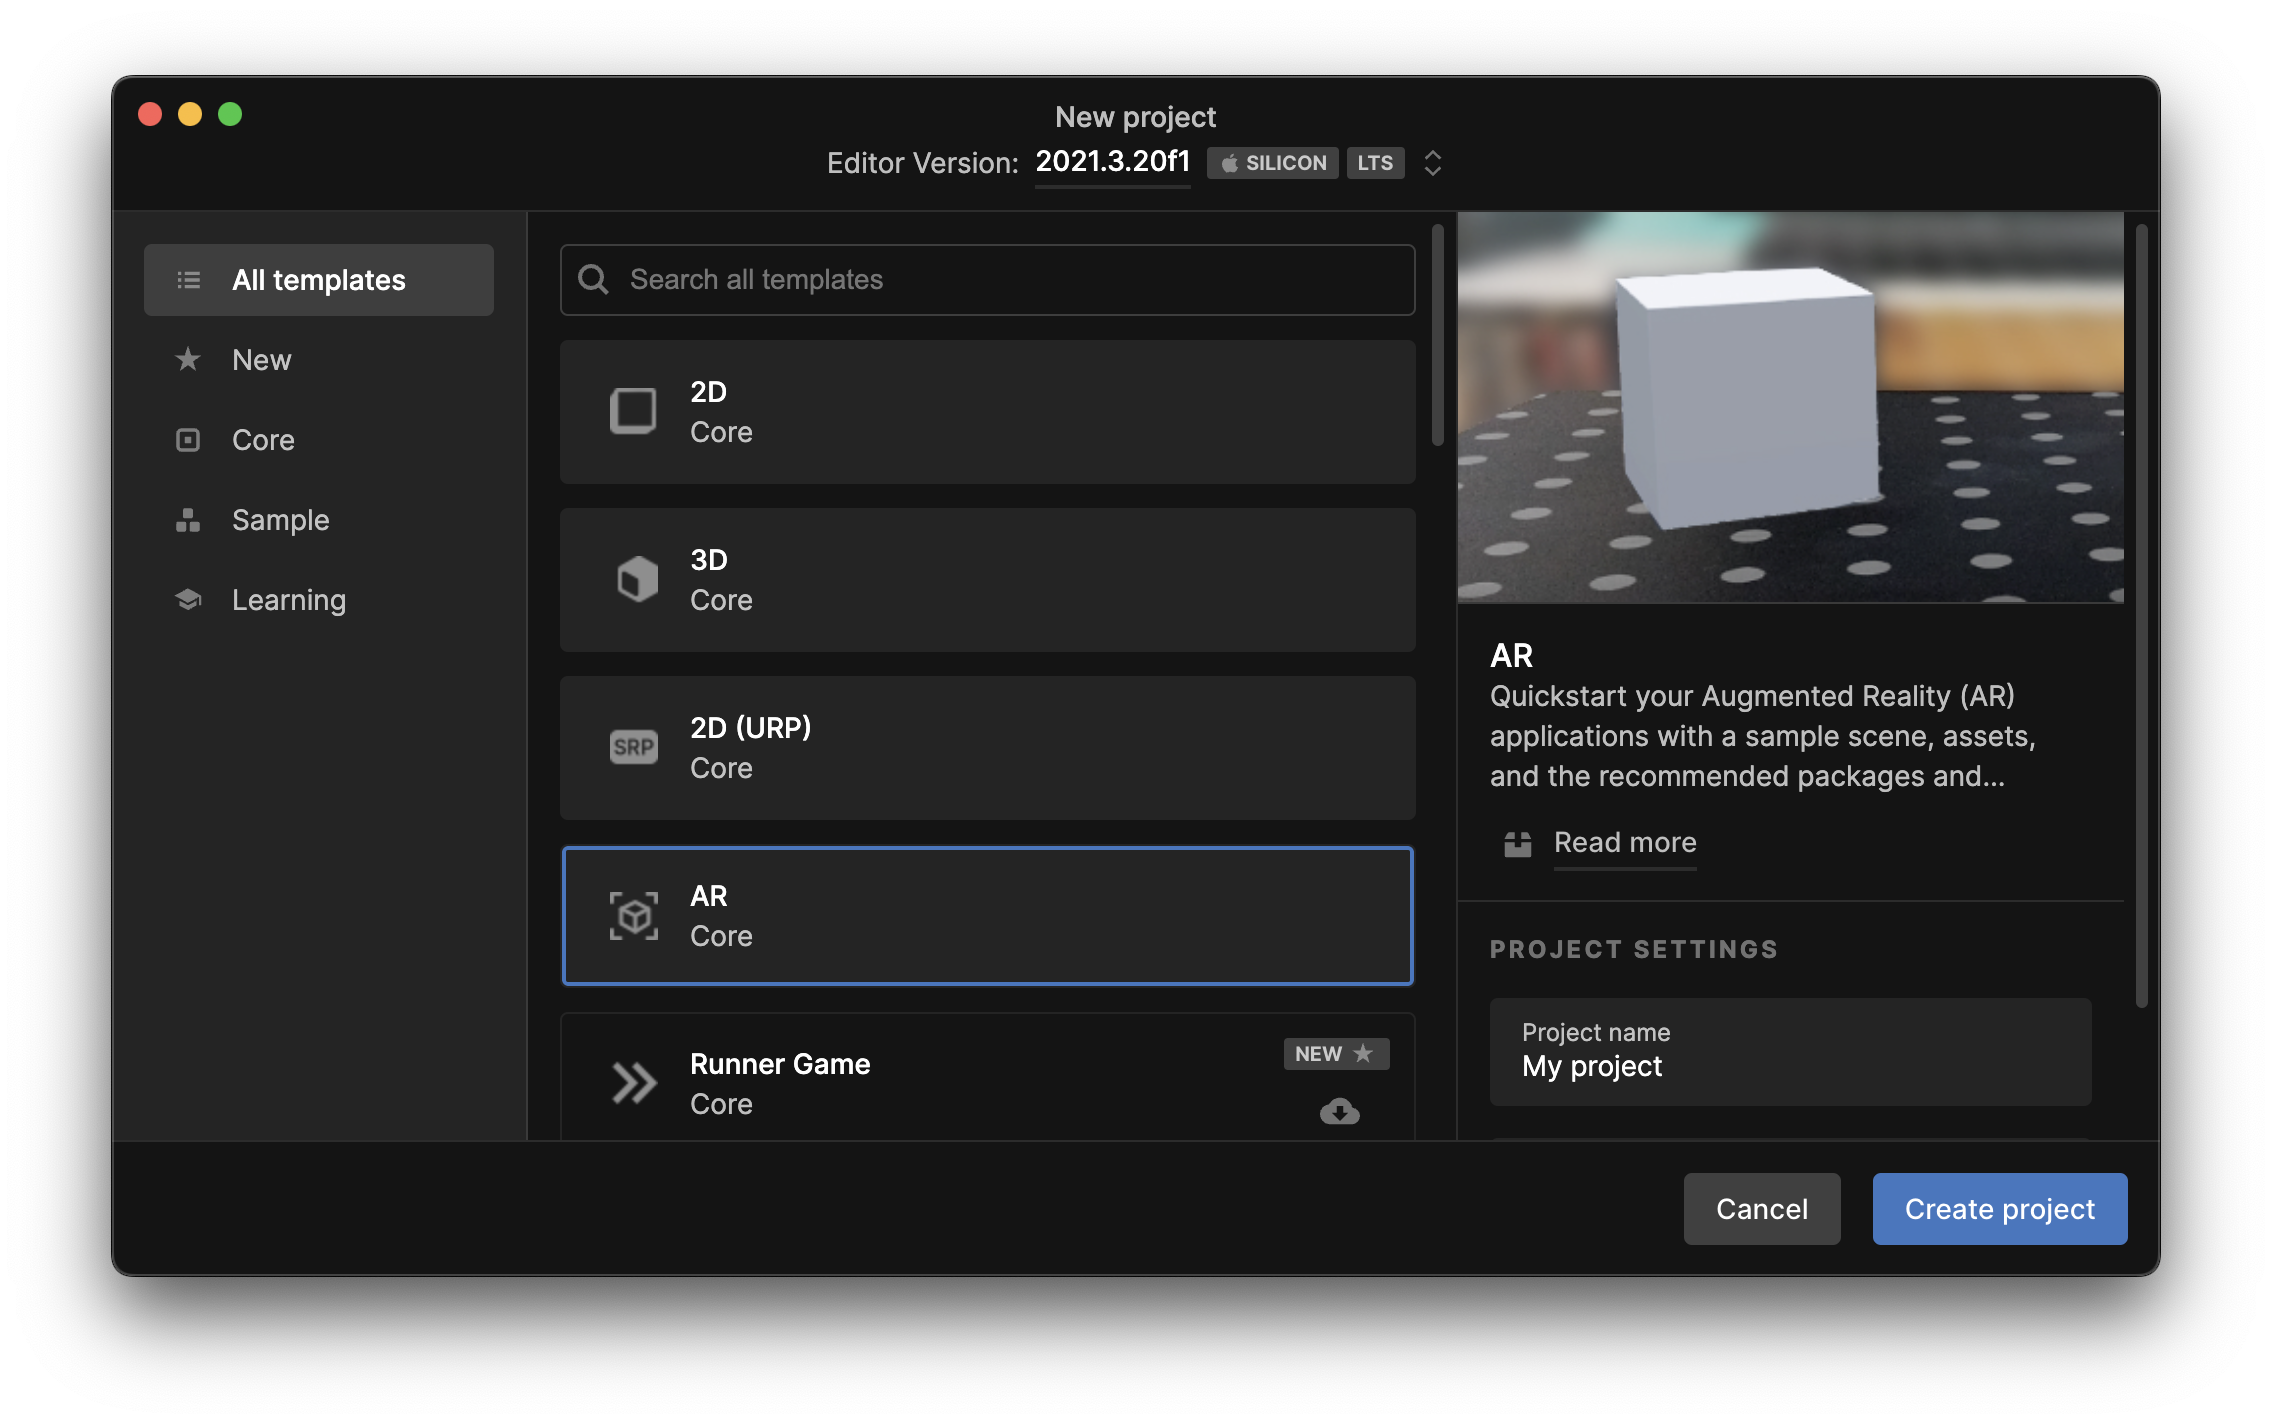
今回はUnity側に準備されているARテンプレートを使用します。
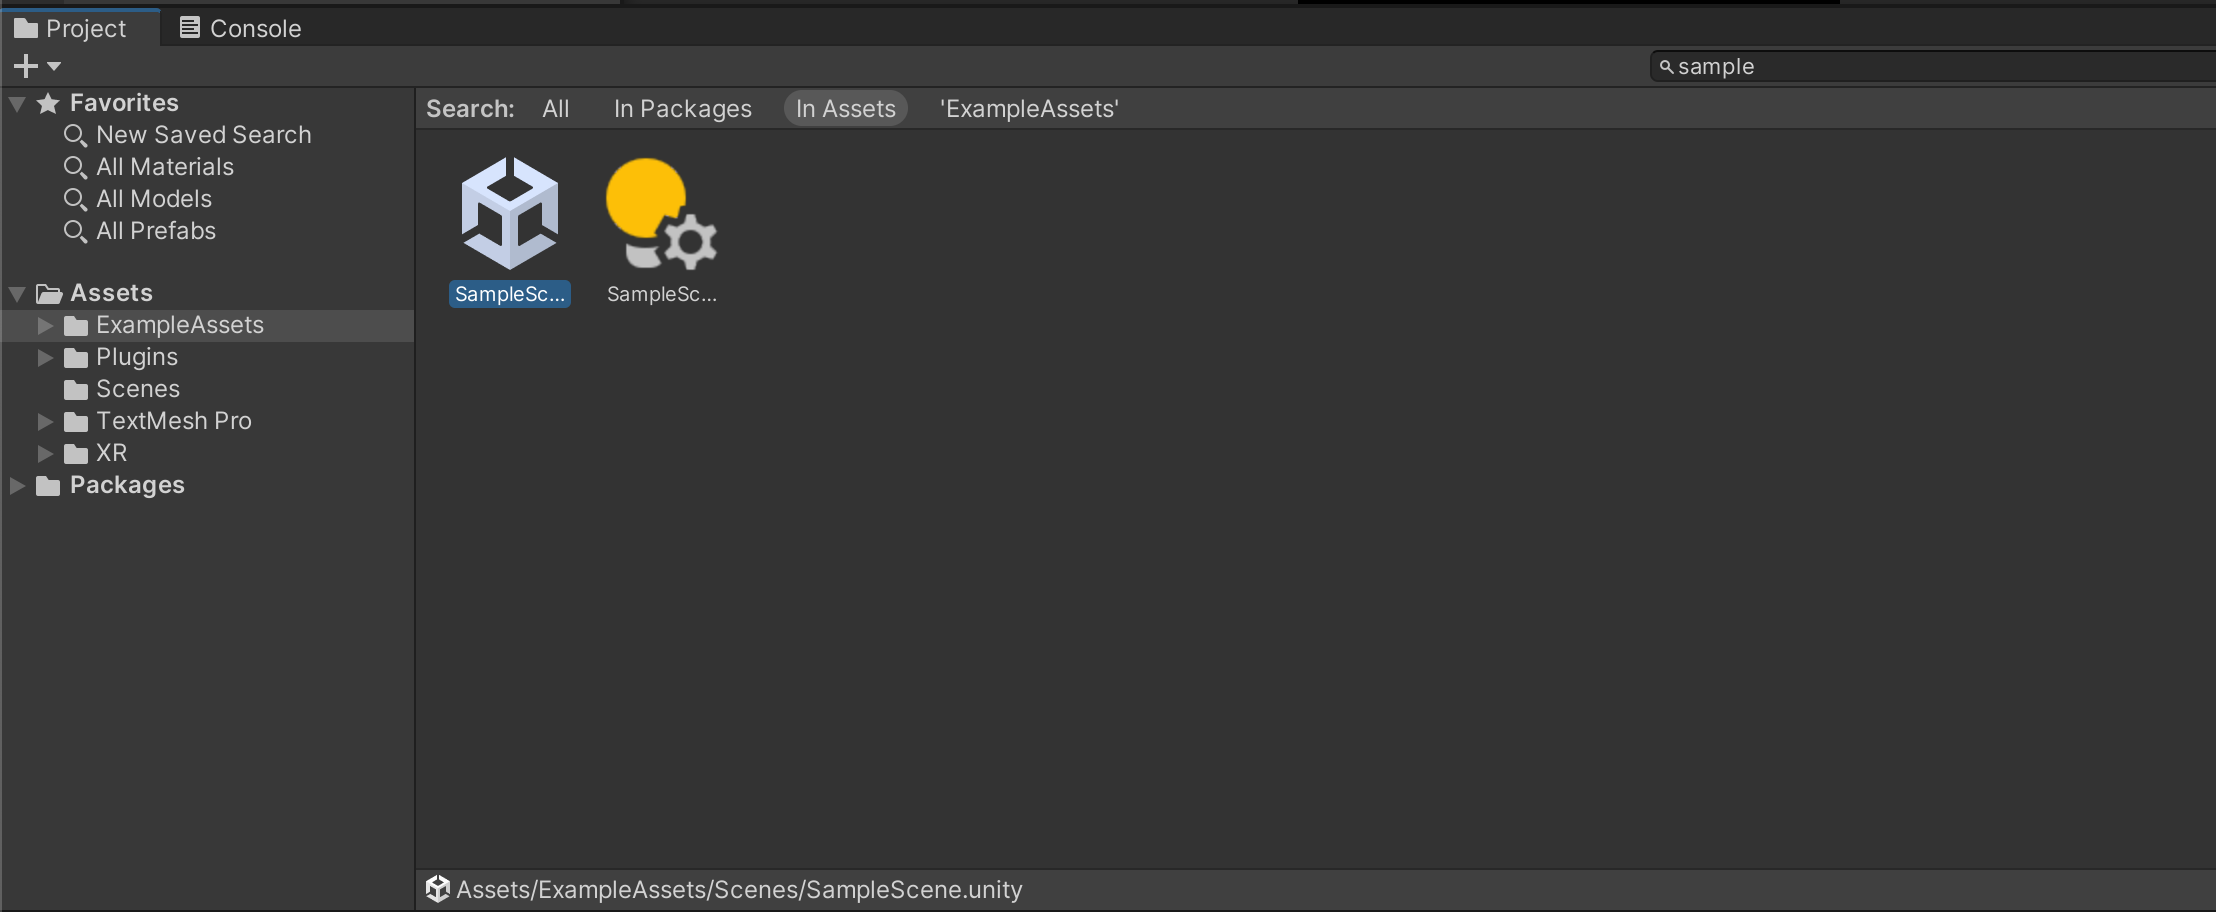
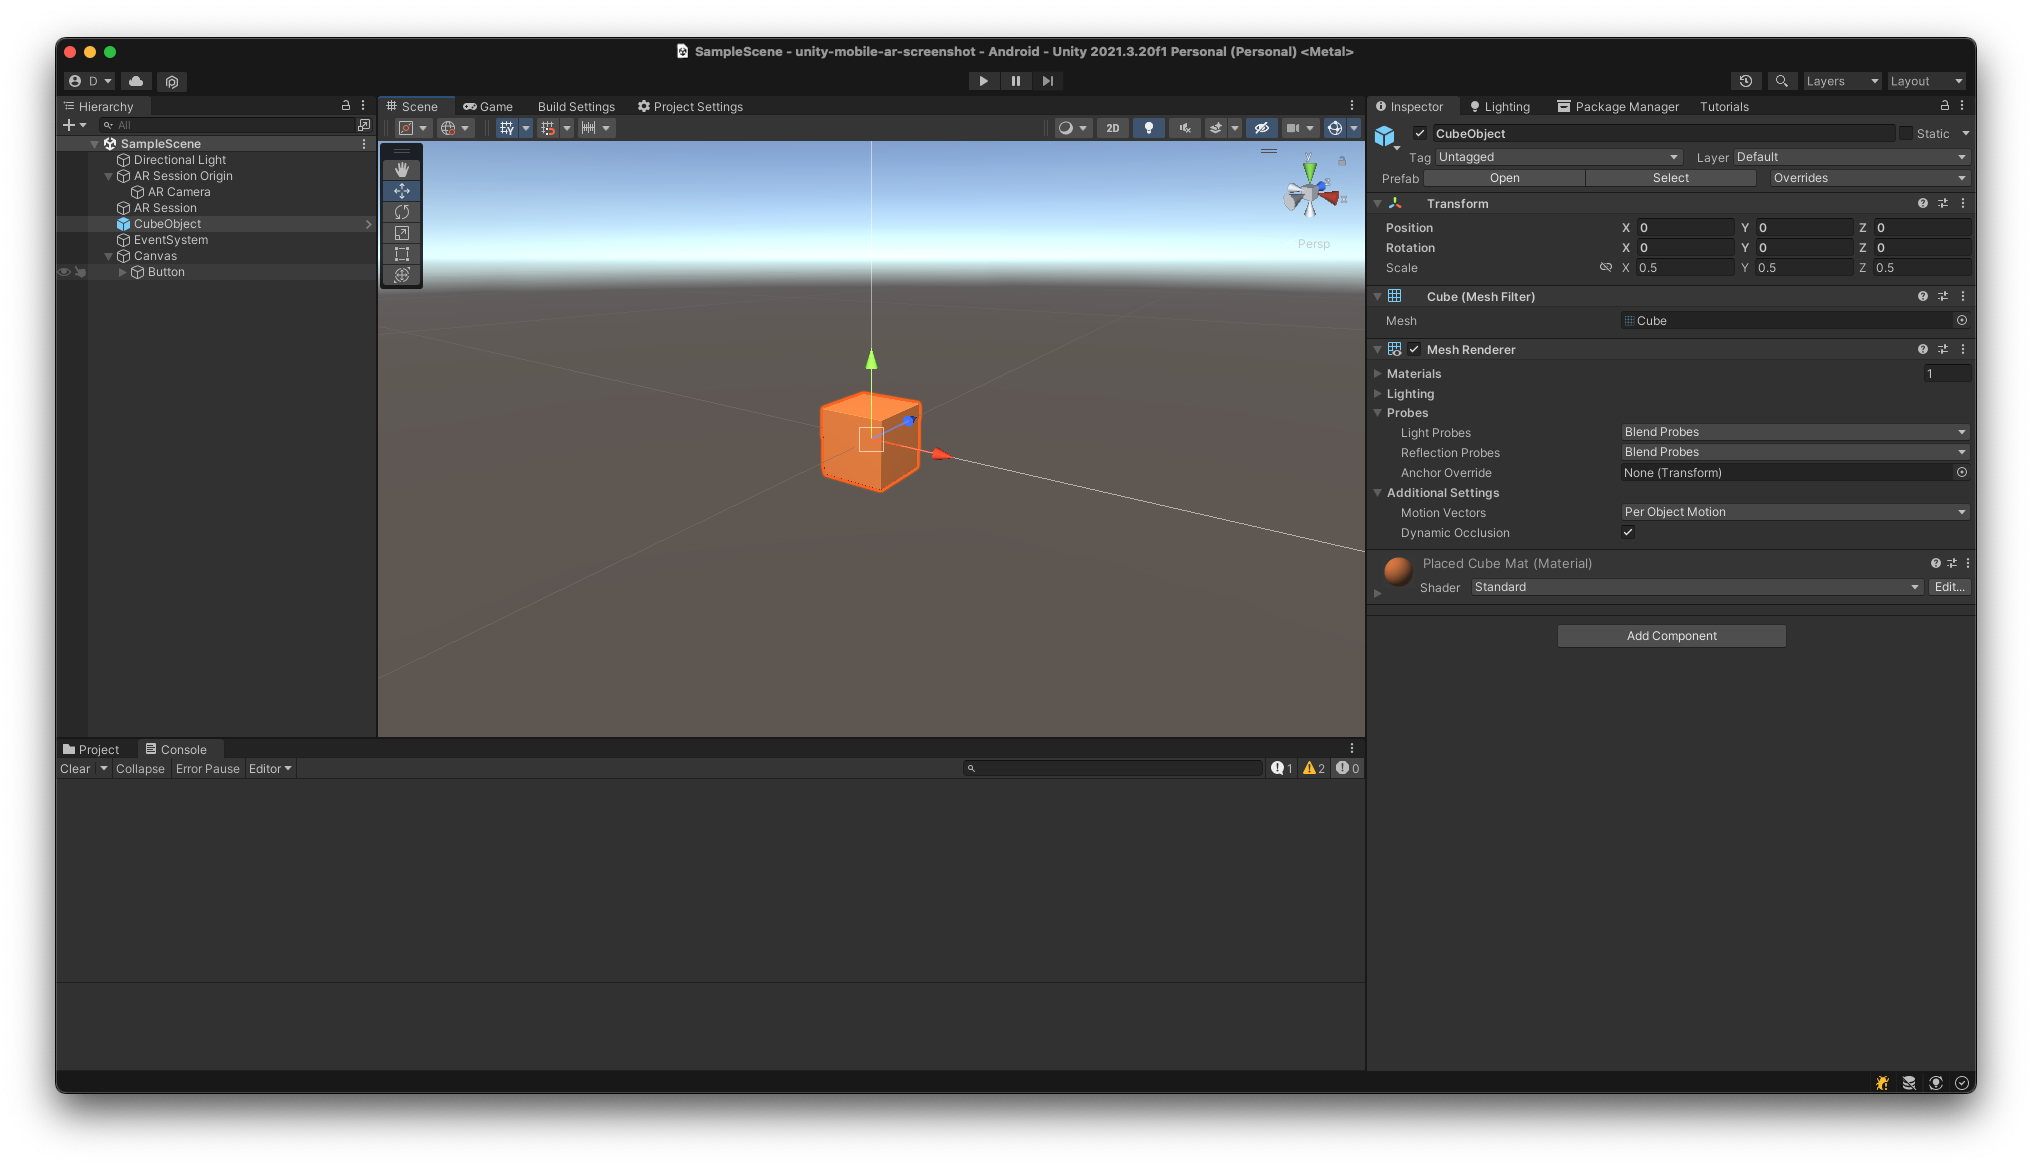
SampleSceneにCubeObjectプレハブを配置します。
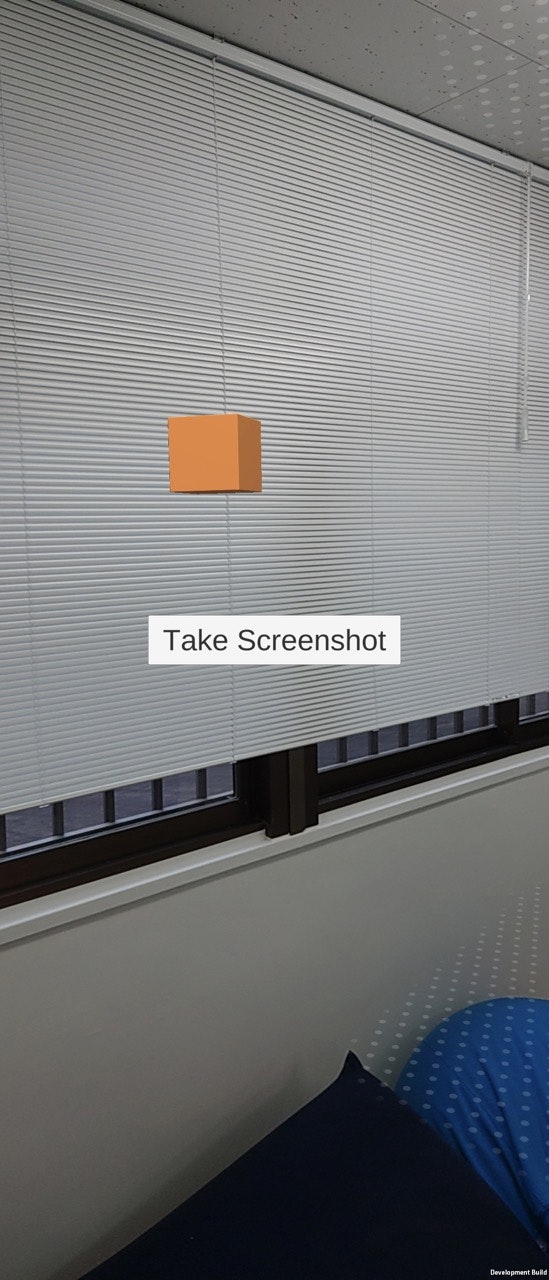
続いて、UI描画用のカメラとキャンバス・スクショ用ボタンを用意します。
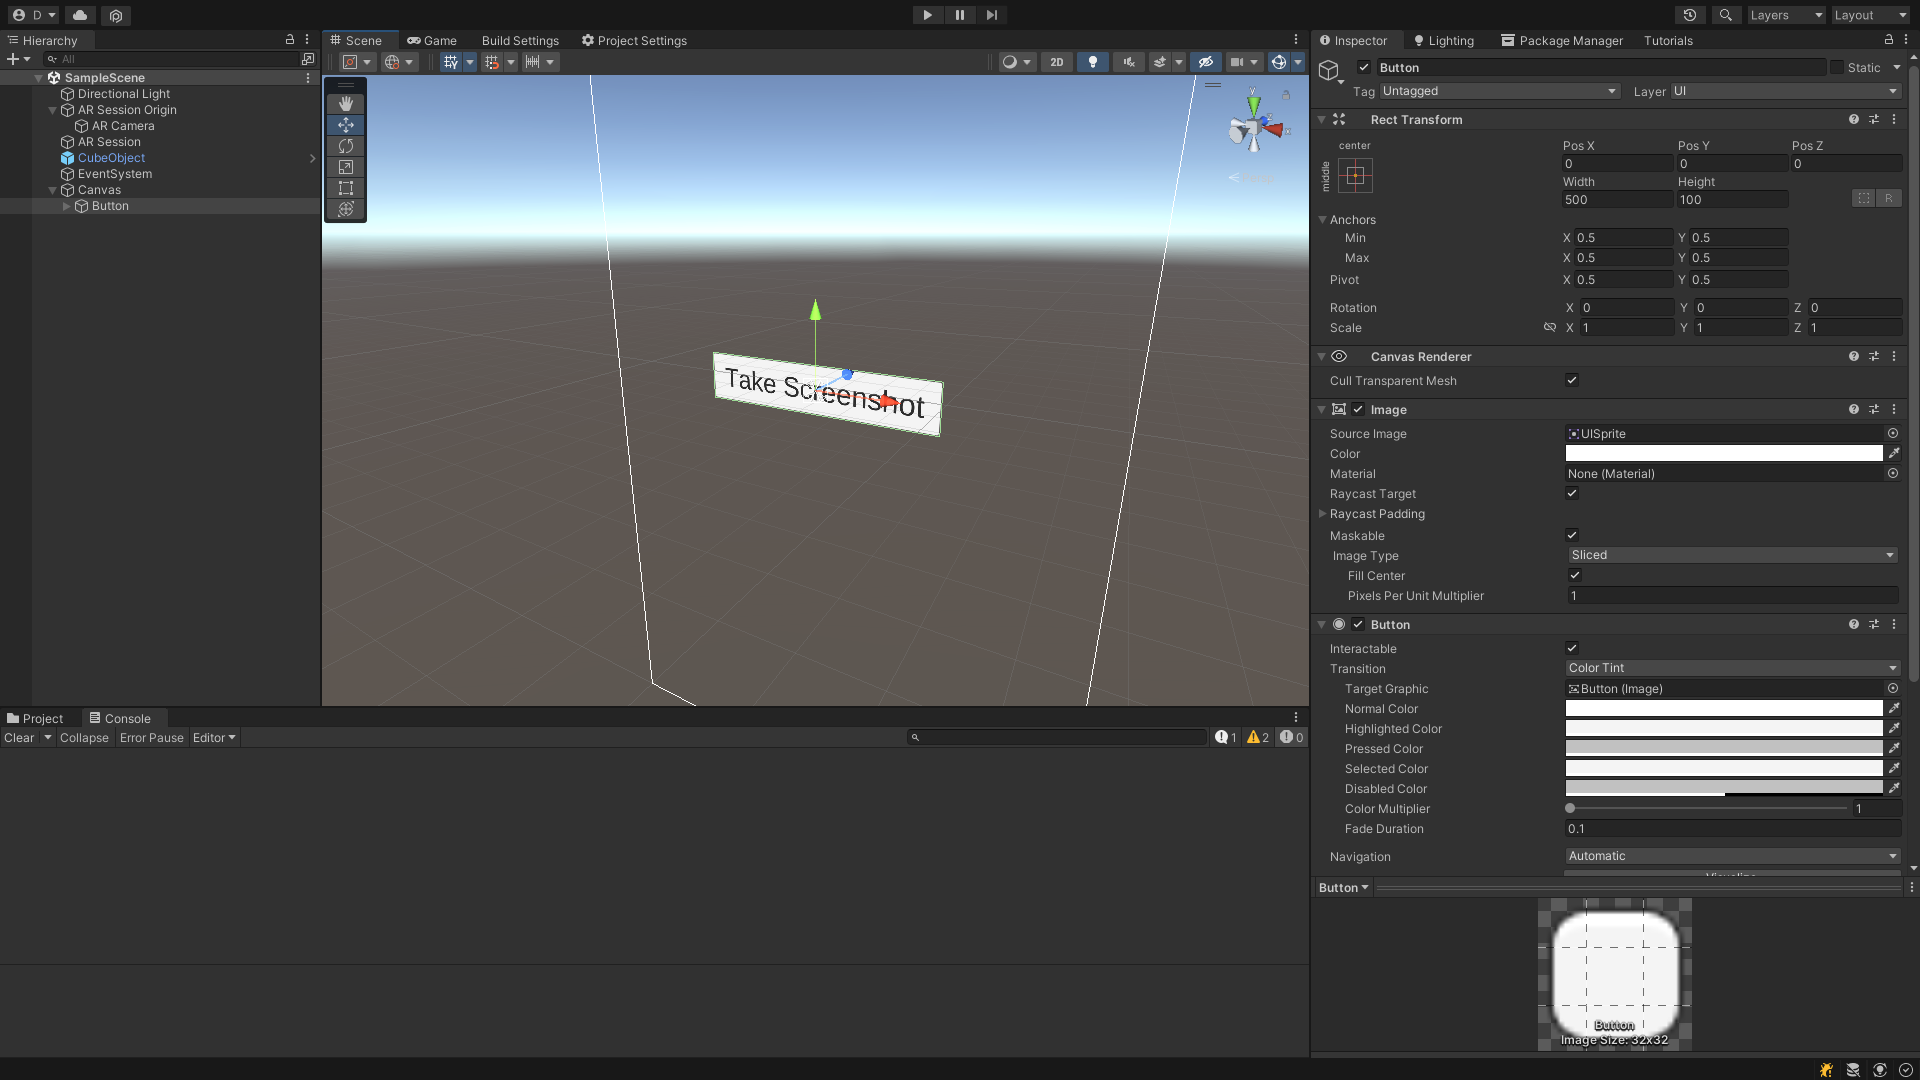
今回はUIのRender ModeをScreen Space - Overlayで描画していますが、この場合後述するRenderTextureを用いたスクショ撮影にはUIが乗らない性質があるため今回はそれを利用します。
Screen Space - Cameraの場合は、別でUI用カメラを用意した上で、Culling Modeを分けることで適切に描画範囲を設定してください。
以上でシーンの設定は完了です
スクショ撮影機能実装
続いてシーン撮影用のスクリプトを記述します。
NativeGallery導入
まず撮影したスクショをカメラロールに保存するためのパッケージである、NativeGalleryをプロジェクトに追加します。
追加方法はmanifest.jsonに以下の1行を足すだけで良いです。
"com.yasirkula.nativegallery": "https://github.com/yasirkula/UnityNativeGallery.git",
パッケージの詳細はGithubページを参照ください。
https://github.com/yasirkula/UnityNativeGallery
スクリプト記述
本命であるスクショ撮影スクリプトを以下のように記述します。
処理の内容についてはコメントを参照ください。
using System;
using System.IO;
using System.Collections;
using System.Collections.Generic;
using UnityEngine;

public class ScreenCapture : MonoBehaviour
{
    [SerializeField] private Camera _captureCamera;

    public void TakeScreenshot()
    {
        // スクショ用の、ARカメラ描画結果を格納するRenderTextureを用意する
        RenderTexture rt = RenderTexture.GetTemporary(Screen.width, Screen.height, 24, RenderTextureFormat.ARGB32);

        // 用意したRenderTextureに書き込む
        RenderTexture prevTarget = _captureCamera.targetTexture;
        _captureCamera.targetTexture = rt;
        _captureCamera.Render();
        _captureCamera.targetTexture = prevTarget;

        // RenderTextureのままでは保存できないので、Textureに変換する
        RenderTexture prevActive = RenderTexture.active;
        RenderTexture.active = rt;
        Texture2D screenShot = new Texture2D(_captureCamera.pixelWidth, _captureCamera.pixelHeight, TextureFormat.ARGB32, false);
        screenShot.ReadPixels(new Rect(0, 0, screenShot.width, screenShot.height), 0, 0, false);

        try
        {
            string timestamp = DateTime.Now.ToString("yyyy_MM_dd_HH_mm_ss");

            NativeGallery.Permission permission = NativeGallery.SaveImageToGallery(screenShot, "ShreenshotSample", $"screenshot_{timestamp}.jpg", (success, path) =>
            {
                // 保存終了時のコールバック
            });
        }
        catch (IOException e)
        {
            // 保存時エラーが出た時の処理を記述
        }
        finally
        {
            // 最後にARカメラの描画先をスクリーンに戻す
            RenderTexture.ReleaseTemporary(rt);
            RenderTexture.active = prevActive;
        }
    }
}
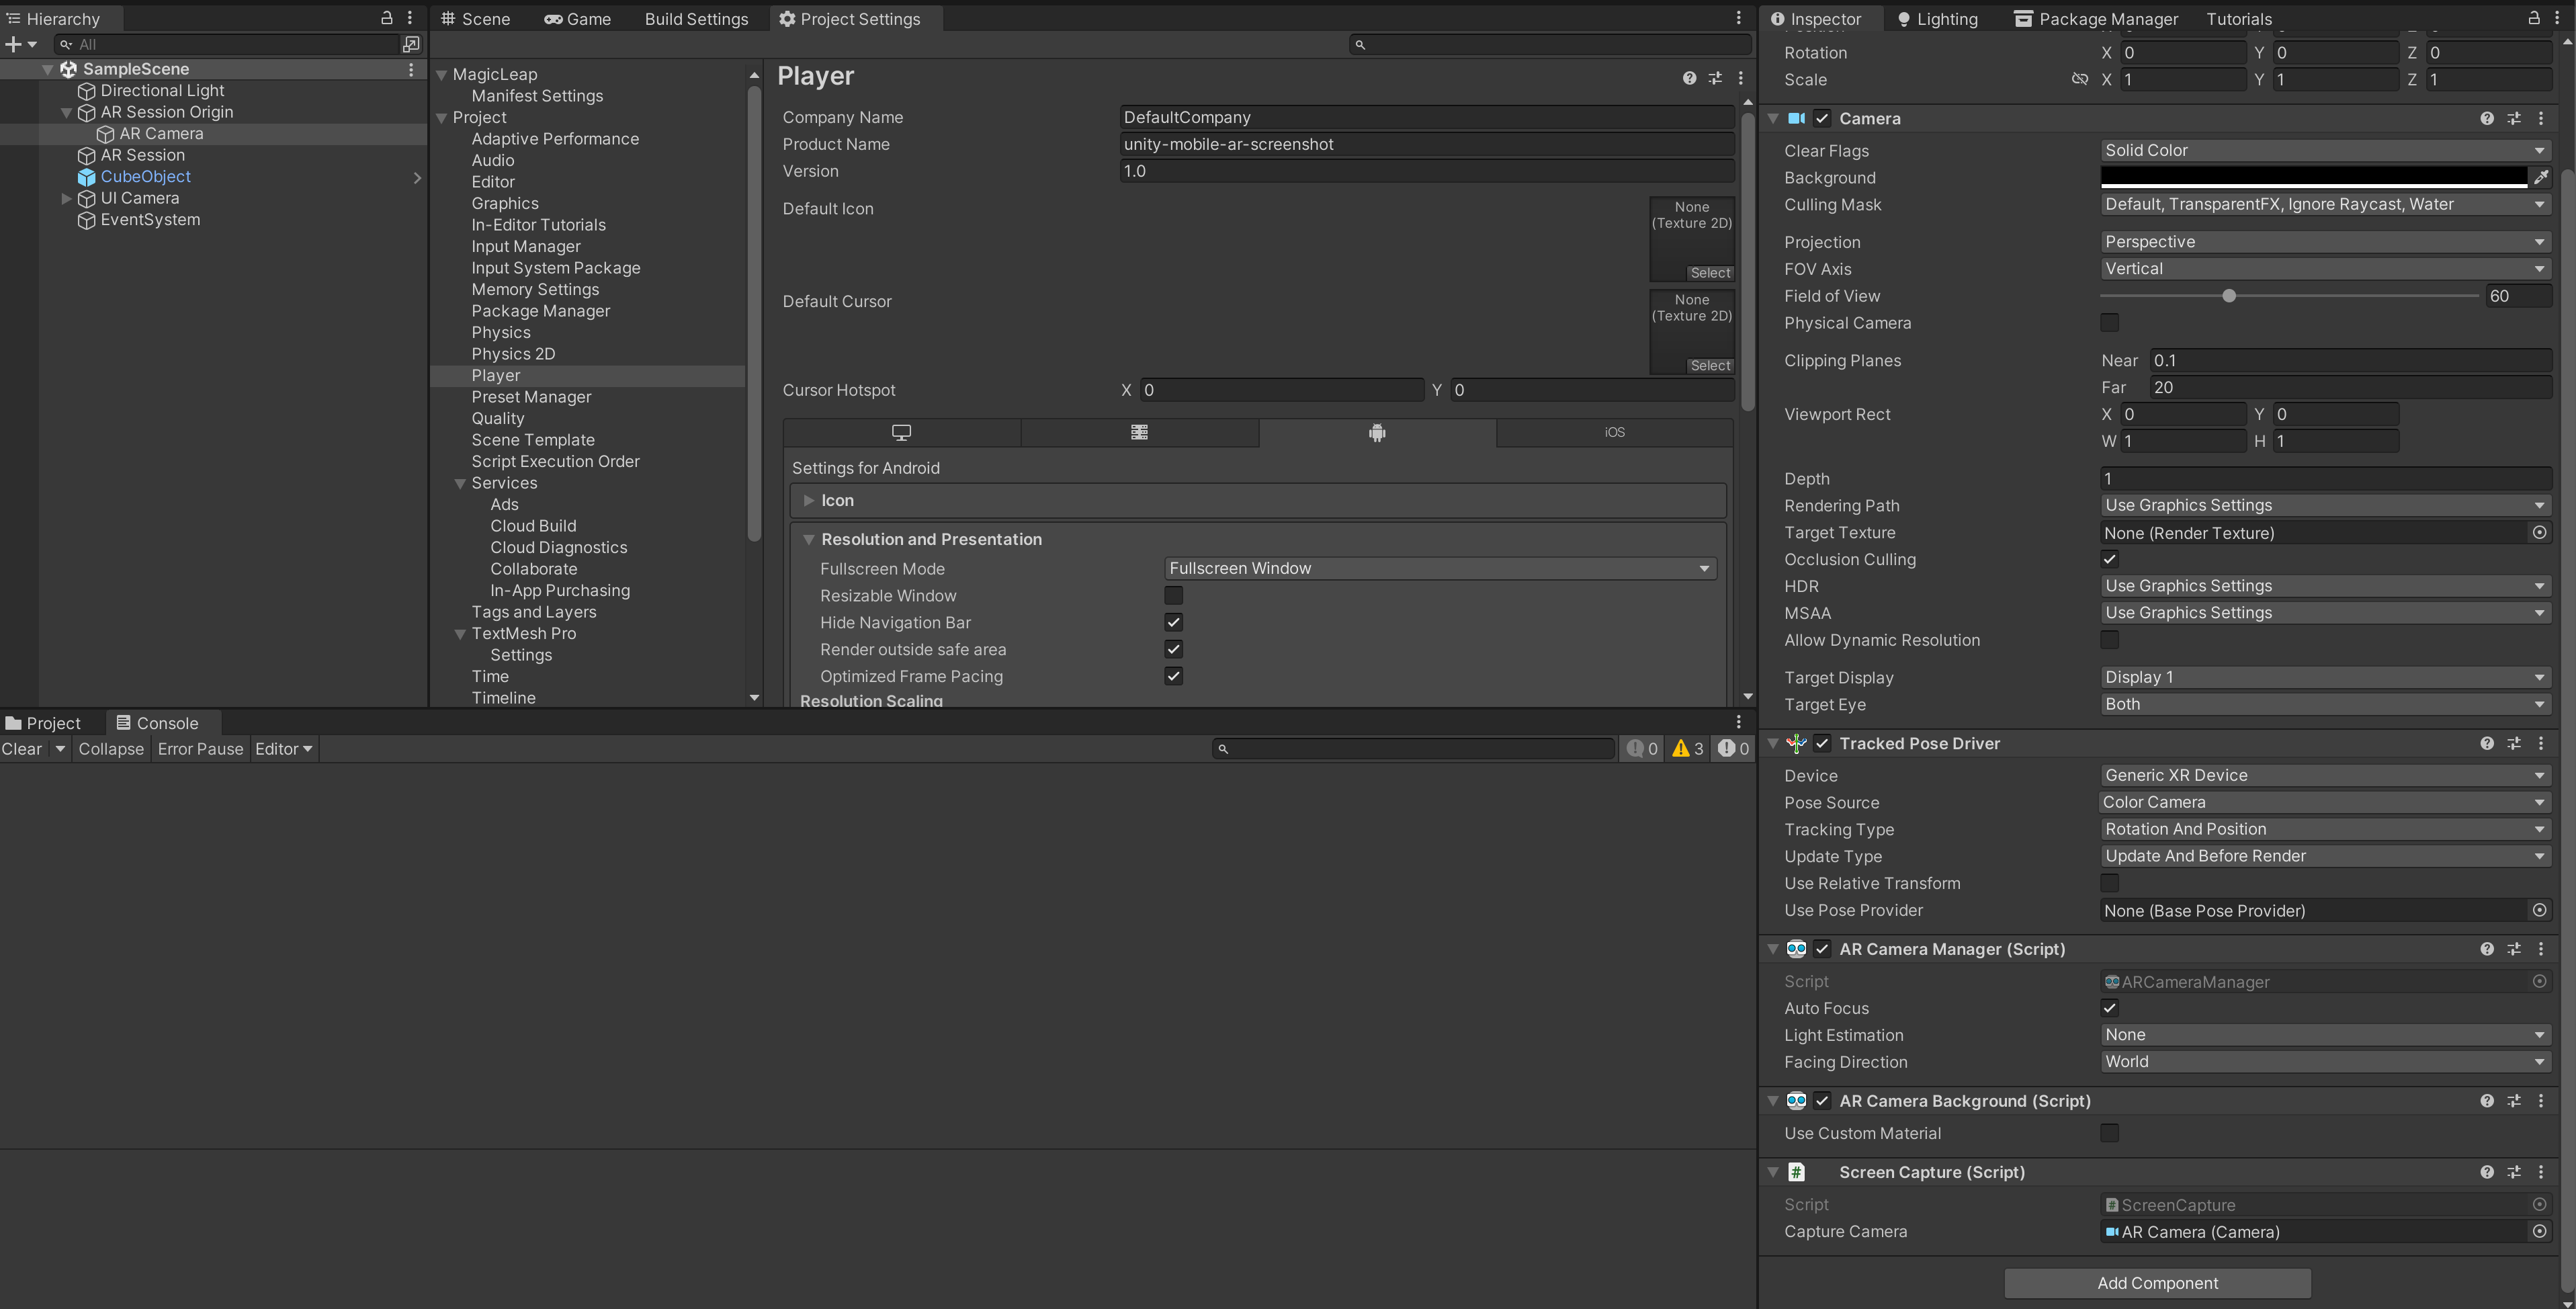
Canvasに追加したButtonコンポーネントのイベントにスクショを追加します
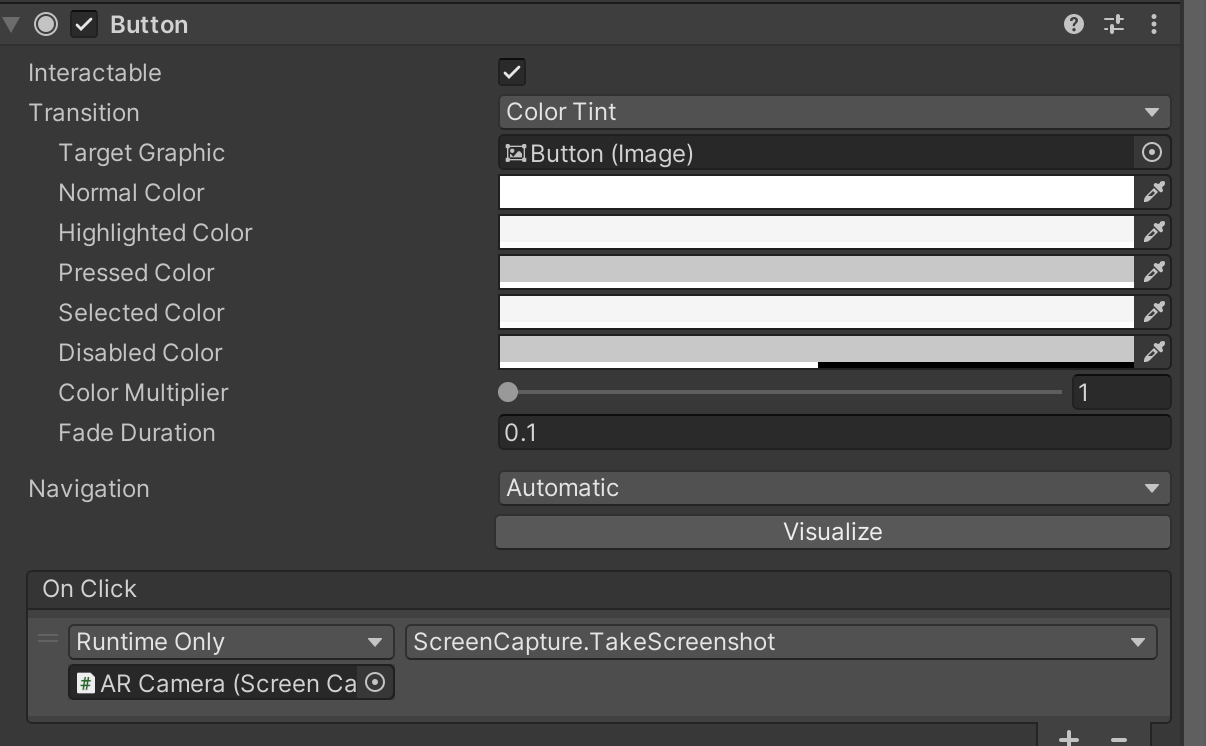
これでスクリプトの準備もできました。
ビルド
最後にサンプルプロジェクトをビルドして実機確認しましょう!
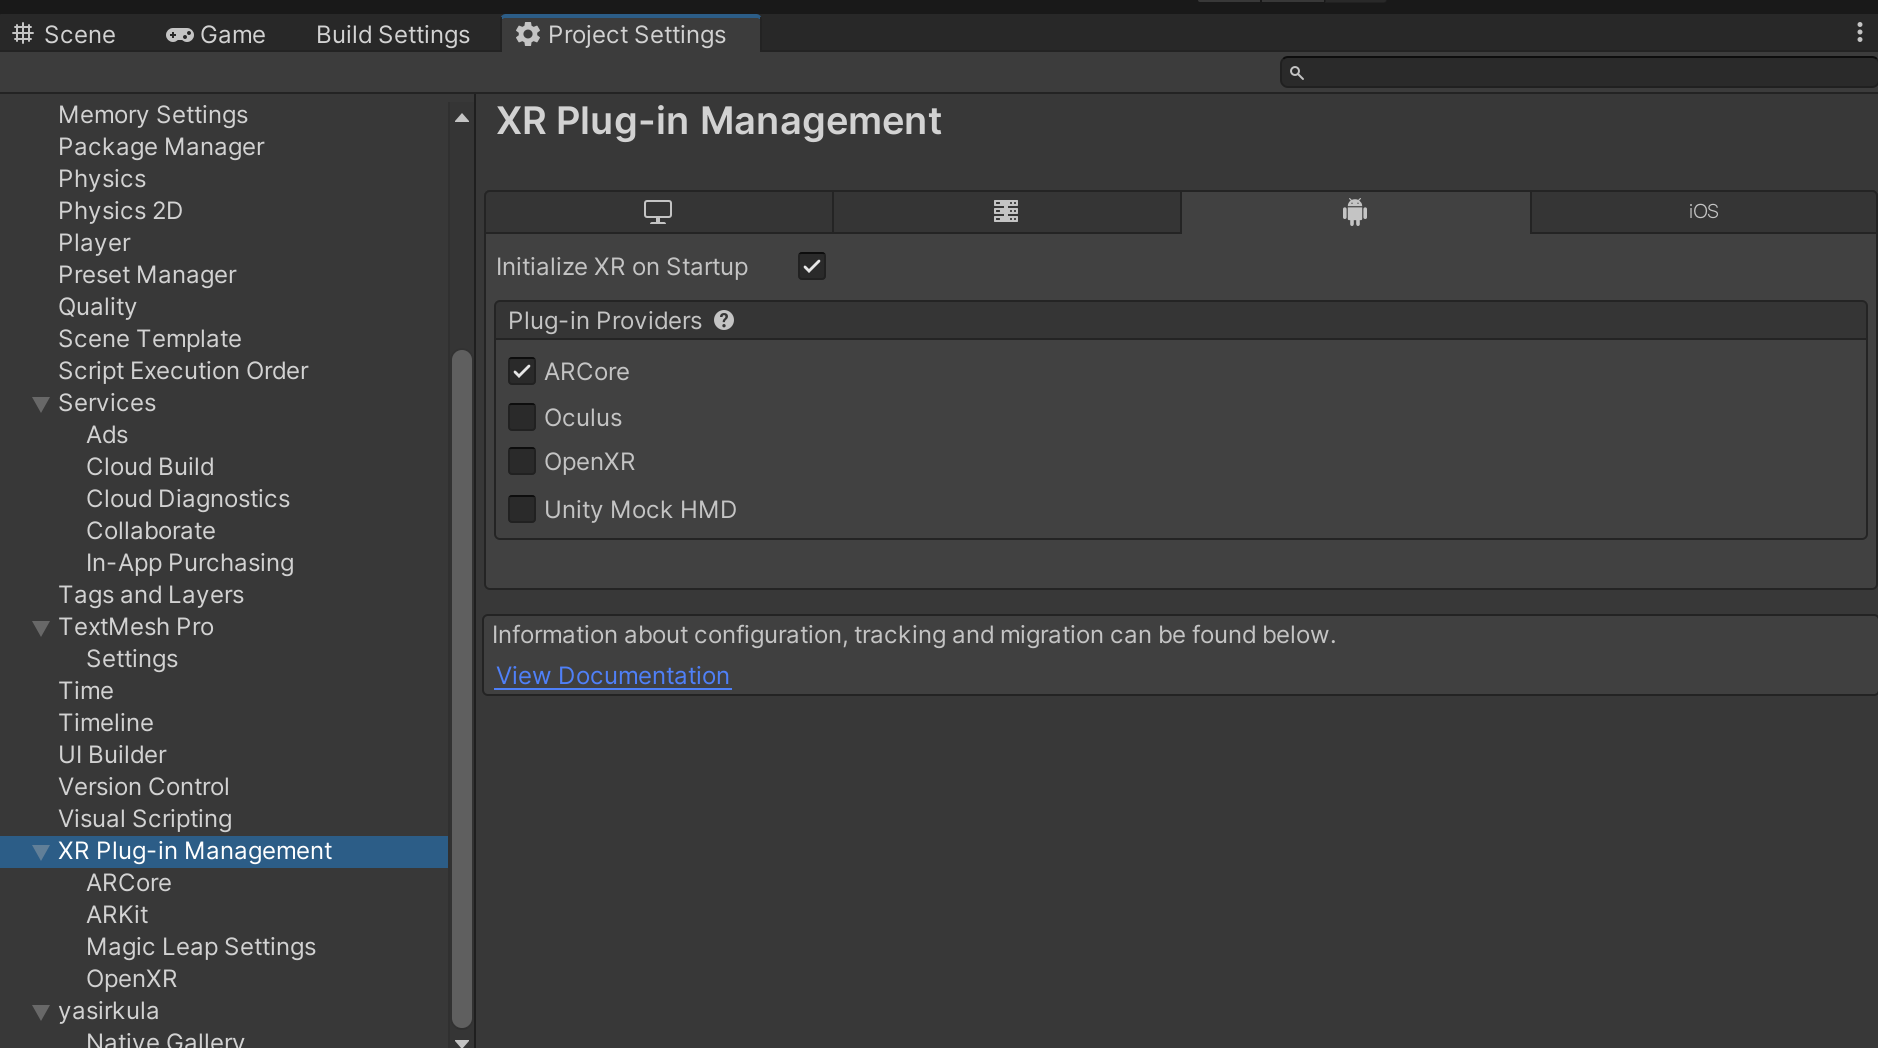
まずProjectSettingsのARCoreが有効になっていることを確認します
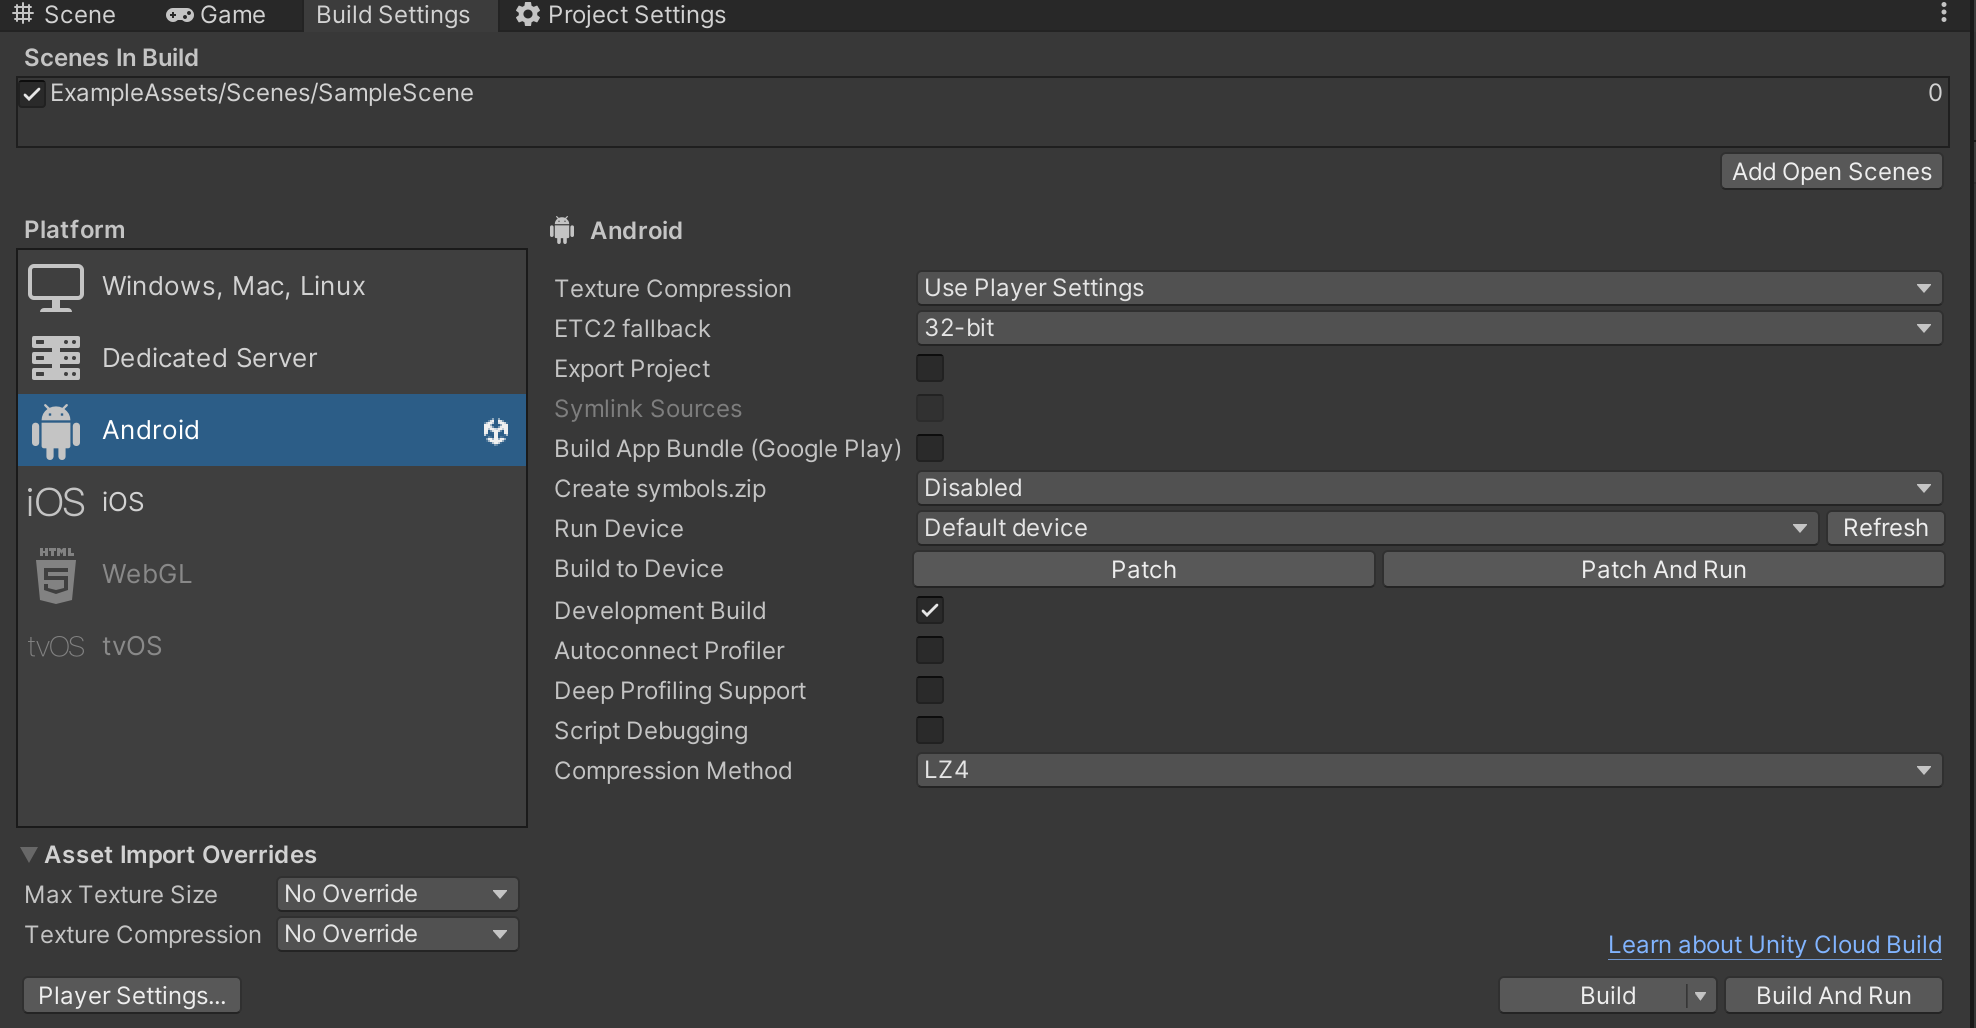
続いてBuild Settingsに移動し、SampleSceneを追加した上でAndroid端末をPCに接続します。
そしてBuild And Runを実行
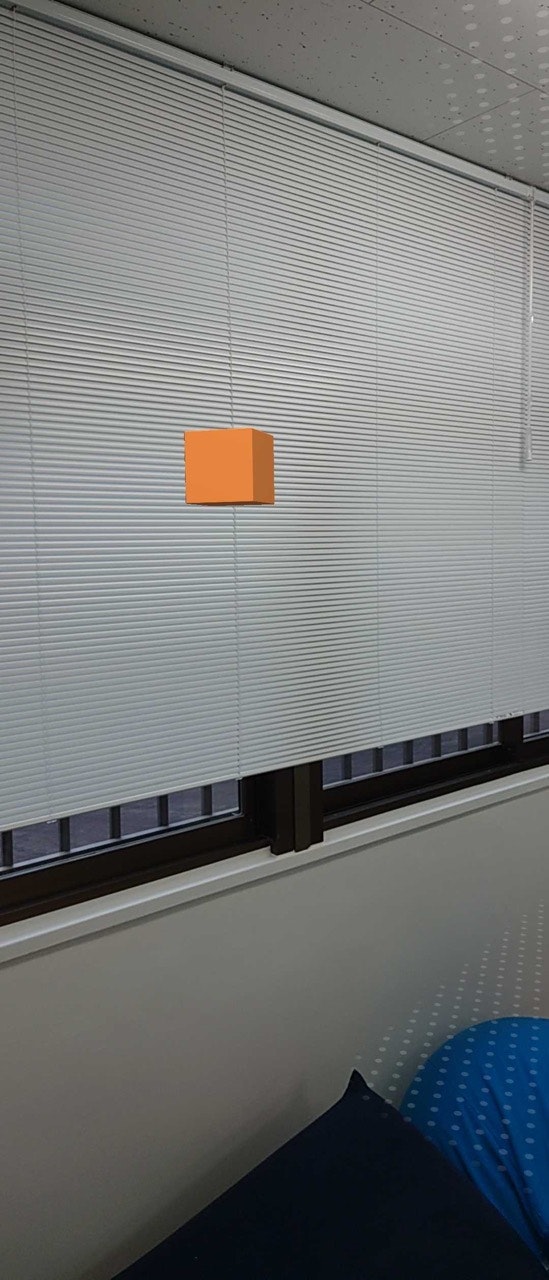
ボタンを押下してUIなし画像が撮れていれば成功です!
