はじめに
iOSアプリの作成時、デモをユーザに使ってもらって意見もらいたい。みたいなニーズあると思います。
ただ、iOSアプリを配布するにはいろいろと面倒な手順を踏む必要があります。
https://qiita.com/mokkos/items/85540e95404df4a9c5a4
今回は、そんな面倒な手順を避けて、「とりあえず特定少数のユーザにiOSアプリを配布する方法」を紹介します。
(「iOSアプリを配布」と言っていますが、正確には別アプリを介したエミュレータ上で実行させる方法になります。)
利用するサービス
iOSアプリを配布するために、Expoを利用します。
Expoは、ユニバーサルなReactアプリケーションのためのフレームワークであり、プラットフォームでもあります。React Nativeとネイティブプラットフォームを中心に構築された一連のツールとサービスであり、同じJavaScript/TypeScriptコードベースからiOS、Android、Webアプリを開発、構築、デプロイし、迅速に反復することができます。
https://docs.expo.dev/
Reactアプリの開発・デプロイをサポートするプラットフォームです。
今回は、Expo上にReact Nativeアプリをデプロイし、それをiPhoneのExpoアプリを介して動作させます。
手順
- Expoのプロジェクト作成
- Expoへデプロイ
- iPhoneのExpoアプリから、デプロイしたアプリを動作させる
Expoのプロジェクト作成
expo-cliをグローバルインストールし、expoプロジェクトを作成します。※
※git bashだとうまく動作しないので、コマンドプロンプト使ってください!
npm install --global expo-cli

expo init my-project
下記が出力されるため、今回は「blank(TypeScript)」を選択
┌─────────────────────────────────────────────────────────────────────────┐
│                                                                         │
│   There is a new version of expo-cli available (4.11.0).                │
│   You are currently using expo-cli 4.10.0                               │
│   Install expo-cli globally using the package manager of your choice;   │
│   for example: `npm install -g expo-cli` to get the latest version      │
│                                                                         │
└─────────────────────────────────────────────────────────────────────────┘
? Choose a template: » - Use arrow-keys. Return to submit.
    ----- Managed workflow -----
    blank               a minimal app as clean as an empty canvas
>   blank (TypeScript)  same as blank but with TypeScript configuration
    tabs (TypeScript)   several example screens and tabs using react-navigation and TypeScript
    ----- Bare workflow -----
    minimal             bare and minimal, just the essentials to get you started
作成が完了したら、プロジェクトフォルダへ移動し、起動してみる。
cd my-project

expo start
すると、下記画面がブラウザで確認できる。
左ペインの「Run in web browser」を押下すると、アプリ画面が表示される。
(表示される内容は、プロジェクトフォルダ下のApp.tsxです。)
ここまでで、配布したいiOSアプリの用意ができました。
次に、今用意したiOSアプリをExpoにデプロイします。
Expoへデプロイ
先に下記からExpoアカウントを作成します。
https://expo.dev/
次に下記を実行し、Expoへログインします。
expo login
その後下記を実行し、ログインしているExpoアカウントに対して、プロジェクトをデプロイします。
expo publish
以上で、Expoへのデプロイが完了です。
デプロイしたプロジェクトは、出力されるURLから参照できます。

iPhoneのExpoアプリから、デプロイしたアプリを動作させる
Expo上にデプロイが完了したので、本題であるiPhoneでデプロイしたアプリを動作させます。
まずiPhoneに下記アプリをインストールします。
https://apps.apple.com/jp/app/expo-go/id982107779

アプリを起動し、「Profile」>「Sign up for Expo」を押下してExpoアカウントを作成します。※
※このExpoアカウントは、開発者用ではなく配布したい対象ユーザのアカウントになります。

次に下記にアクセスし、今作成したExpoアカウントをプロジェクトに招待します。
https://expo.dev/settings/members
Member roleは適したものを選択しましょう。
今回だと「Viewer」

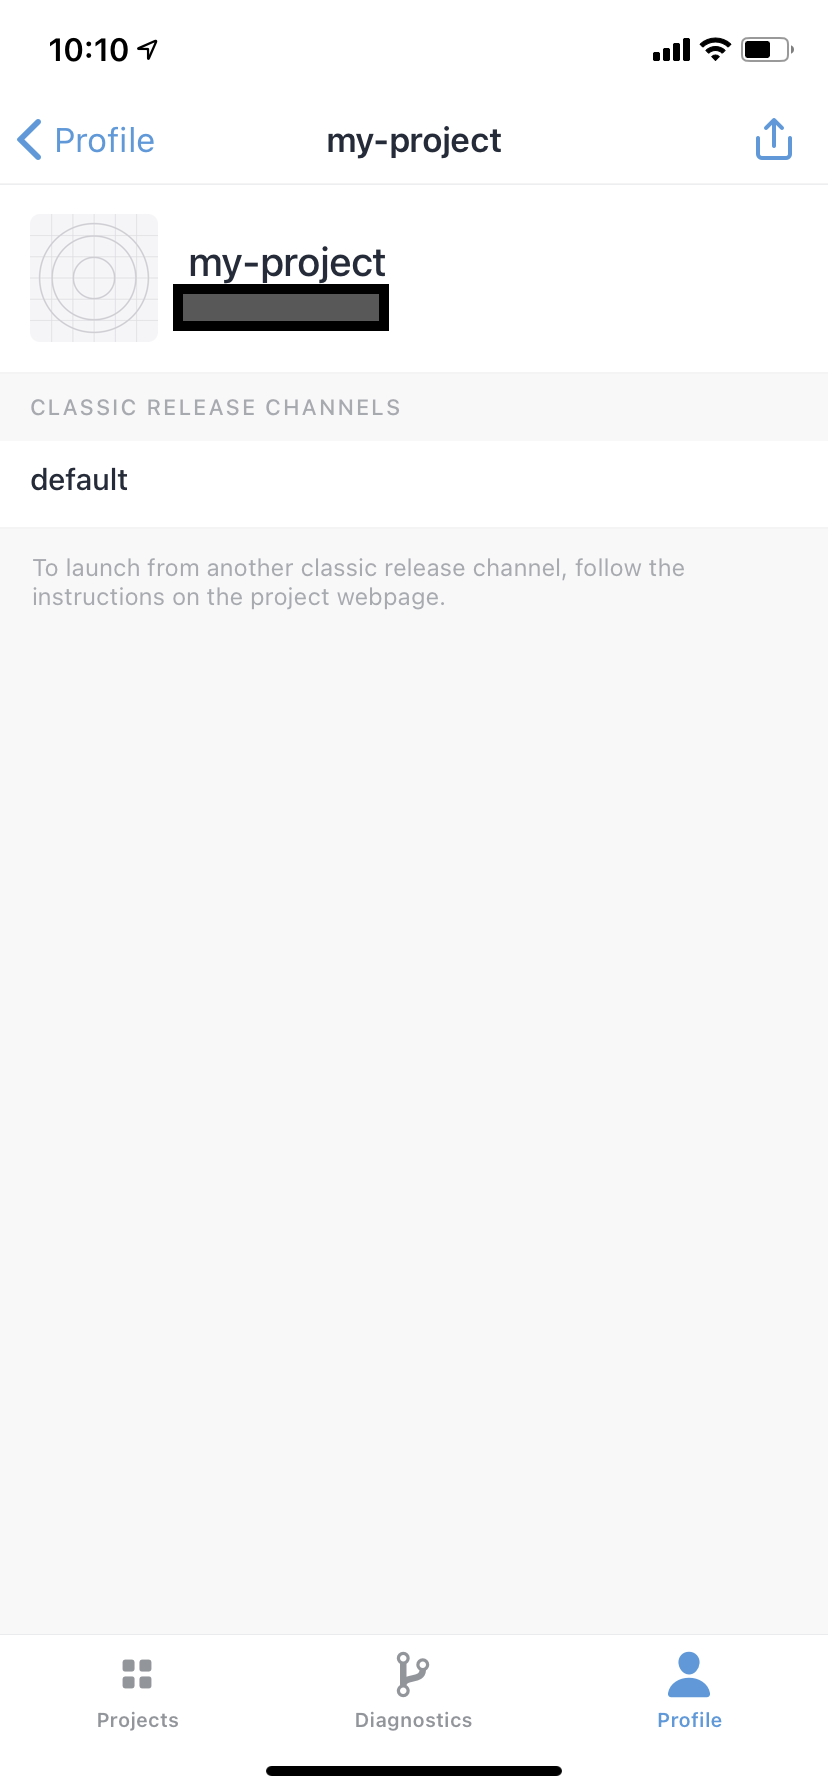
プロジェクトに参加すると、Expoアプリから参加しているプロジェクトを確認できます。

プロジェクトを選択し、「CLASSIC RELEASE CHANNELS」を選択すると、アプリを動作させることができます。

おわりに
面倒な手順を避けて、「とりあえず特定少数のユーザにiOSアプリを配布する方法」を紹介しました。
ちなみに、Expoプロジェクトに招待できるユーザ数は最大100人なので、100人までならAppStore介さずアプリを配布できます。
https://docs.expo.dev/accounts/working-together/#adding-members
また、Expoは正式にApp Storeに登録したい場合もサポートしてるので、デモ版を本記事のように配布して、本番をAppStoreで配布する運用も可能かと思います。
https://docs.expo.dev/distribution/app-stores/


