はじめに
Reactでカードを並べたポートレートサイトを作ってみたかったので、tailwindcssを用いて実装してみます。
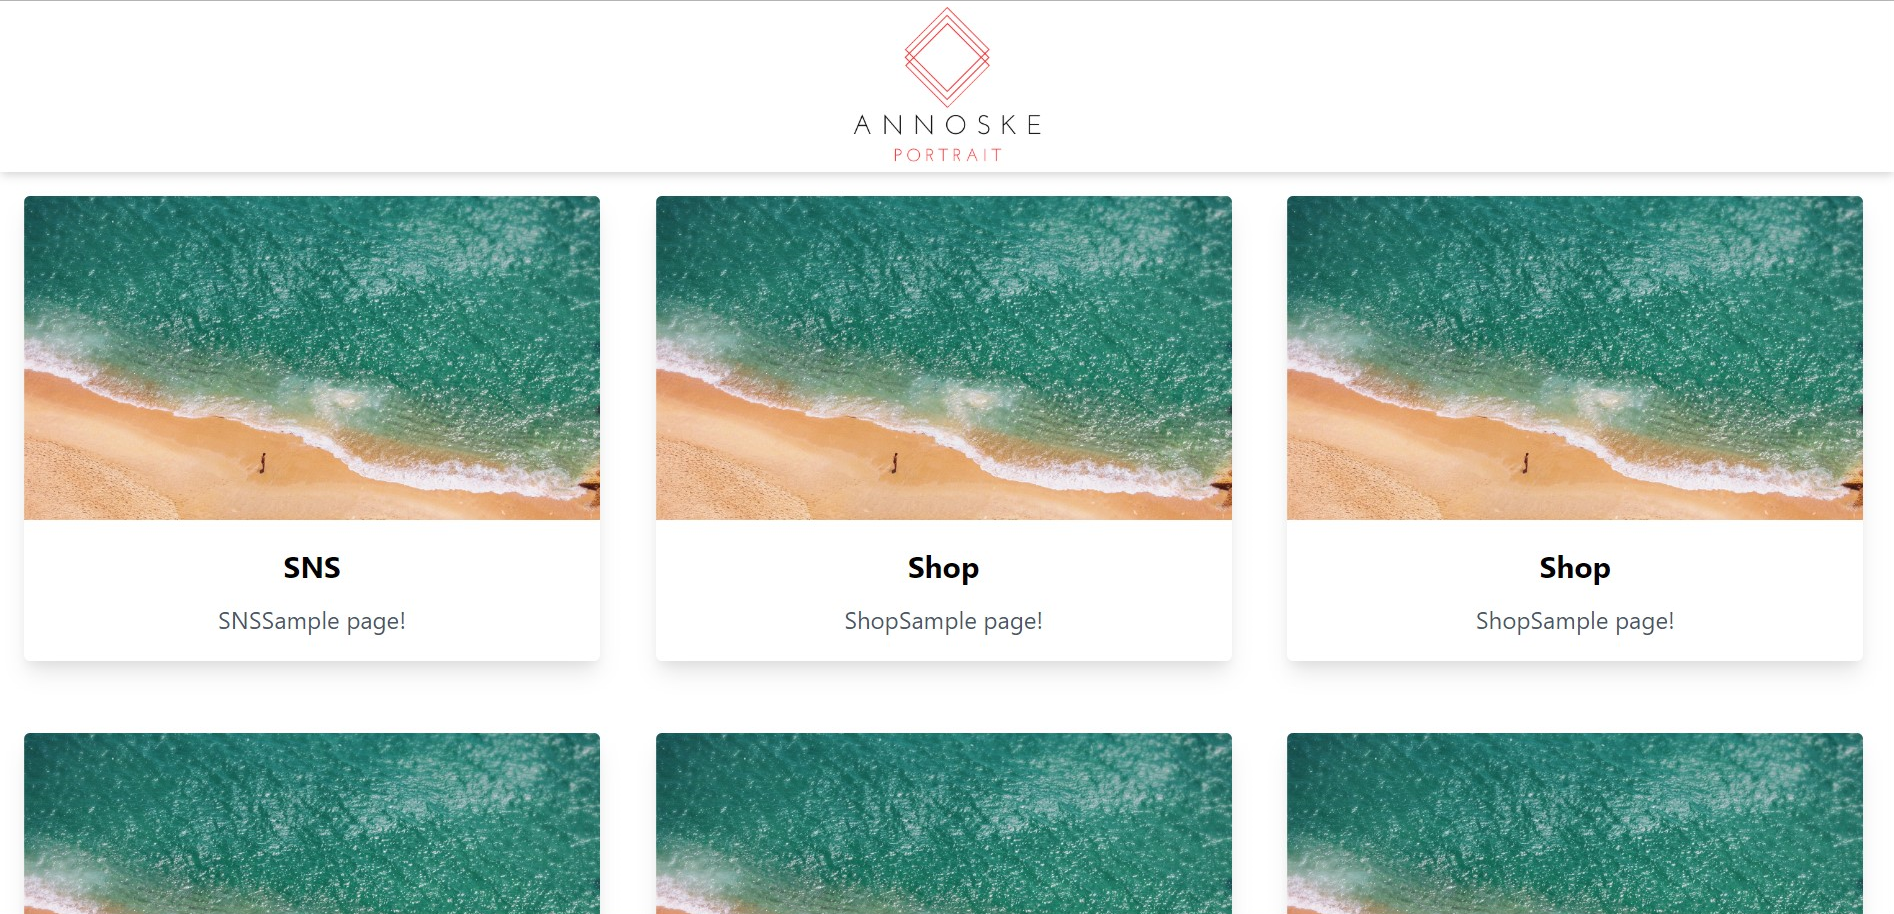
イメージこんな感じ。

https://scrapbox.io/help-jp/
開発環境
VsCode
npm 6.12.1
tailwindcss
react-router-dom
セットアップ
必要なライブラリがインストールされている前提で進めていきます。
コンポーネント設計
index.js
--App.js
----HomePage.js
------ContentCard.js   //カードコンポーネント
--------SNSSample.js  //カードから遷移する先のコンポーネント
--------ShopSample.js  //カードから遷移する先のコンポーネント
カードから遷移する先のコンポーネントを作成
先に遷移先のコンポーネントを作っておきましょう。
import React from "react";

export function ShopPage() {
  return (
    <div className="ShopPage">
        ShopPage is working!
    </div>
  );
}
import React from "react";

export function SNSPage() {
  return (
    <div className="SNSPage">
        SNSPage is working!
    </div>
  );
}
App.jsでのルーティング
次にApp.jsで、作成したコンポーネントに対して、ルーティングを行ってやります。
import React from "react";
import { BrowserRouter as Router, Route } from "react-router-dom";
import { HomePage } from "./HomePage";
import { SNSPage } from './SNSPage';
import { ShopPage } from './ShopPage';
import { Header } from './Header';


function App() {
  return (
    <Router>
      <div className="App">
        <Header/>
        <Route exact path="/" component={HomePage} />
        <Route path="/sns" component={SNSPage} />
        <Route path="/shop" component={ShopPage} />
      </div>
    </Router>
  );
}

export default App;
BrowserRouterタグでRouteタグを囲うことで、タグ内でのルーティングを指定できます。
カードコンポーネントを作成する。
次に、並べる用のカードコンポーネントを作成していきます。
import React from "react";

export function ContentCard(props) {
  return (
    <div className="ContentCard p-4">
      <div class="max-w-sm rounded overflow-hidden shadow-lg text-center">
        <img
          class="w-full"
          src="https://source.unsplash.com/random/1600x900/"
          alt="Sunset in the mountains"
        ></img>
        <div class="px-6 py-4">
        <div class="font-bold text-xl mb-2">{props.pageName}</div>
          <p class="text-gray-700 text-base">
            {props.description}
          </p>
        </div>
      </div>
    </div>
  );
}
こいつは汎用的に使いたかったので、親コンポーネントからpropsを受け取り、そいつを表示するだけという作りになってます。
HomePage.jsからカードコンポーネントを呼び出す。
次にHomePage.jsから、作成したCardContents.jsにpropsを渡しつつ呼び出しましょう。
import React from "react";
import { ContentCard } from "./ContentCard";
import { Link } from "react-router-dom";

export function HomePage() {
  return (
    <div className="HomePage flex mb-4">
      <Link to="/sns" className="w-1/3">
        <ContentCard
          pageName="SNS"
          pageUrl=""
          cmpName=""
          imgSrc=""
          description="SNSSample page!"
        />
      </Link>
      <Link to="/shop" className="w-1/3">
        <ContentCard
          pageName="Shop"
          pageUrl=""
          cmpName=""
          imgSrc=""
          description="ShopSample page!"
        />
      </Link>
    </div>
  );
}
呼び出す際にLink toを用いて、クリック時遷移するようにしてます。
動作確認
ここまでできれば完了です。
サーバを起動して確認してみましょう。
npm start
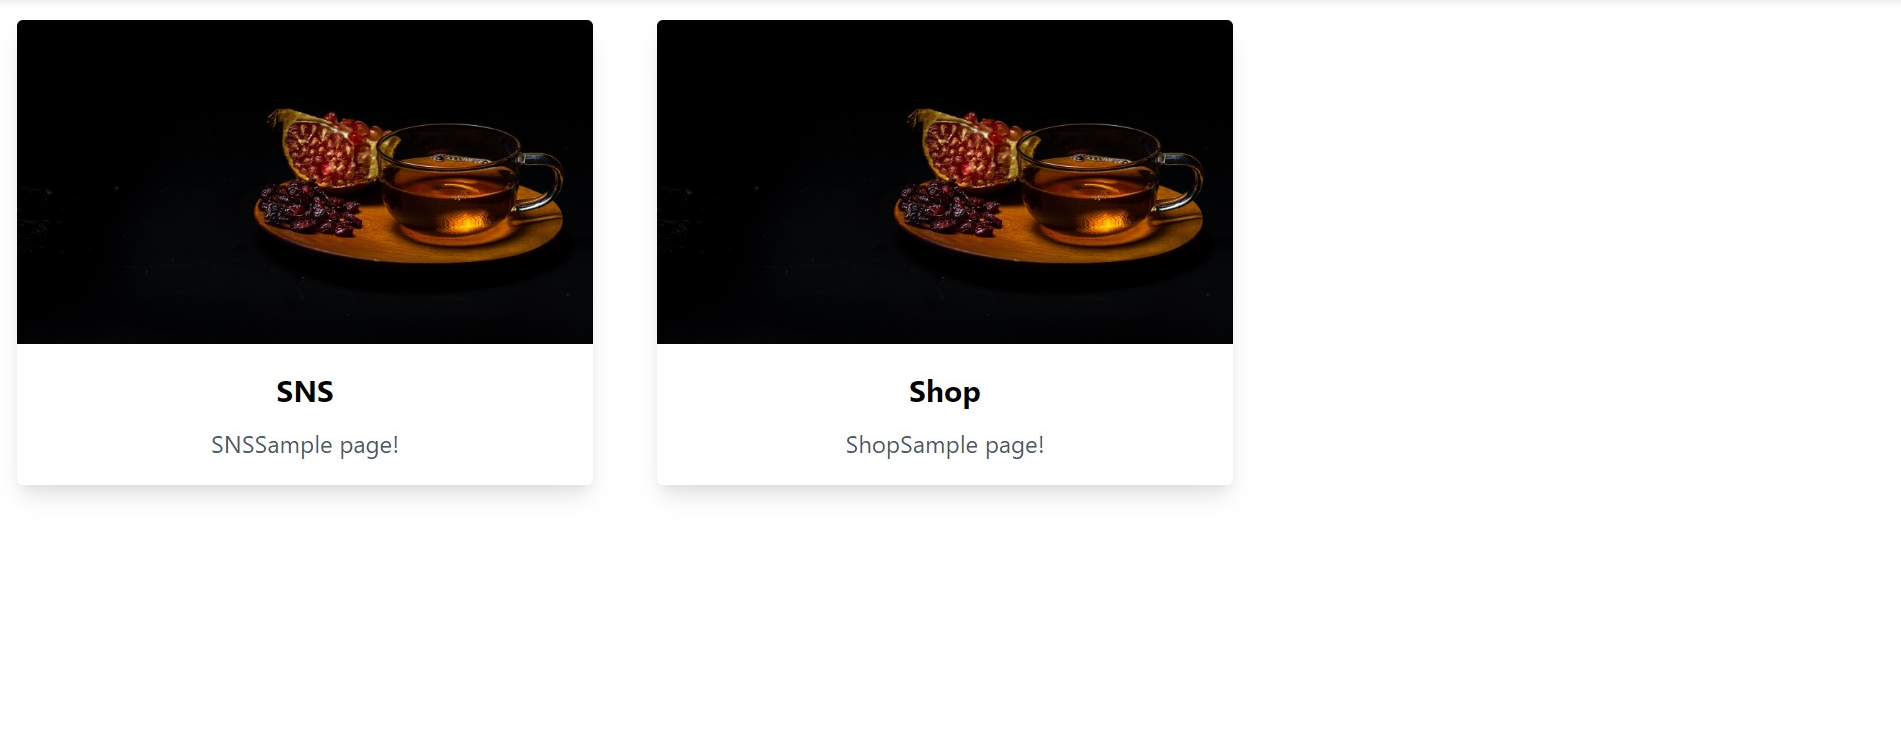
こんな感じになってると思います。
2つだけだと寂しいので、カード増やしてヘッダーつけるといい感じになります。

(画像が全部一緒なのは大目に見て。。)
終わりに
githubにコード挙げてあるので、こうしたほうがいいよ!ってあったら教えてください!
https://github.com/Anno328/Dev/tree/master/portrait/src
