はじめに
Autonomous AI Databaseに、Autonomous AI Database API for DynamoDBという新しい機能が追加されました。
Autonomous AI Database API for DynamoDBを使用すると、Autonomous AI Databaseに既存のツールやSDKからシームレスにアクセスでき、Autonomous AI Databaseをキー・バリュー・ストアとして利用することができるようになります。
今回は、Autonomous AI Database API for DynamoDBの機能を有効化する方法と、APIにアクセスする際に必要なアクセスキーおよびシークレットアクセスキーの取得方法を確認してみました。
0. 前提条件
Autonomous AI Database API for DynamoDBが利用できるのは、エラスティック・プールのリーダー、メンバーになっていないAutonomous AI Transaction Procesing(ATP)のみです。
1. Autonomous AI Database API for DynamoDBの有効化
Autonomous AI Database API for DynamoDBを有効化するには、対象となるATPにタグを追加します。
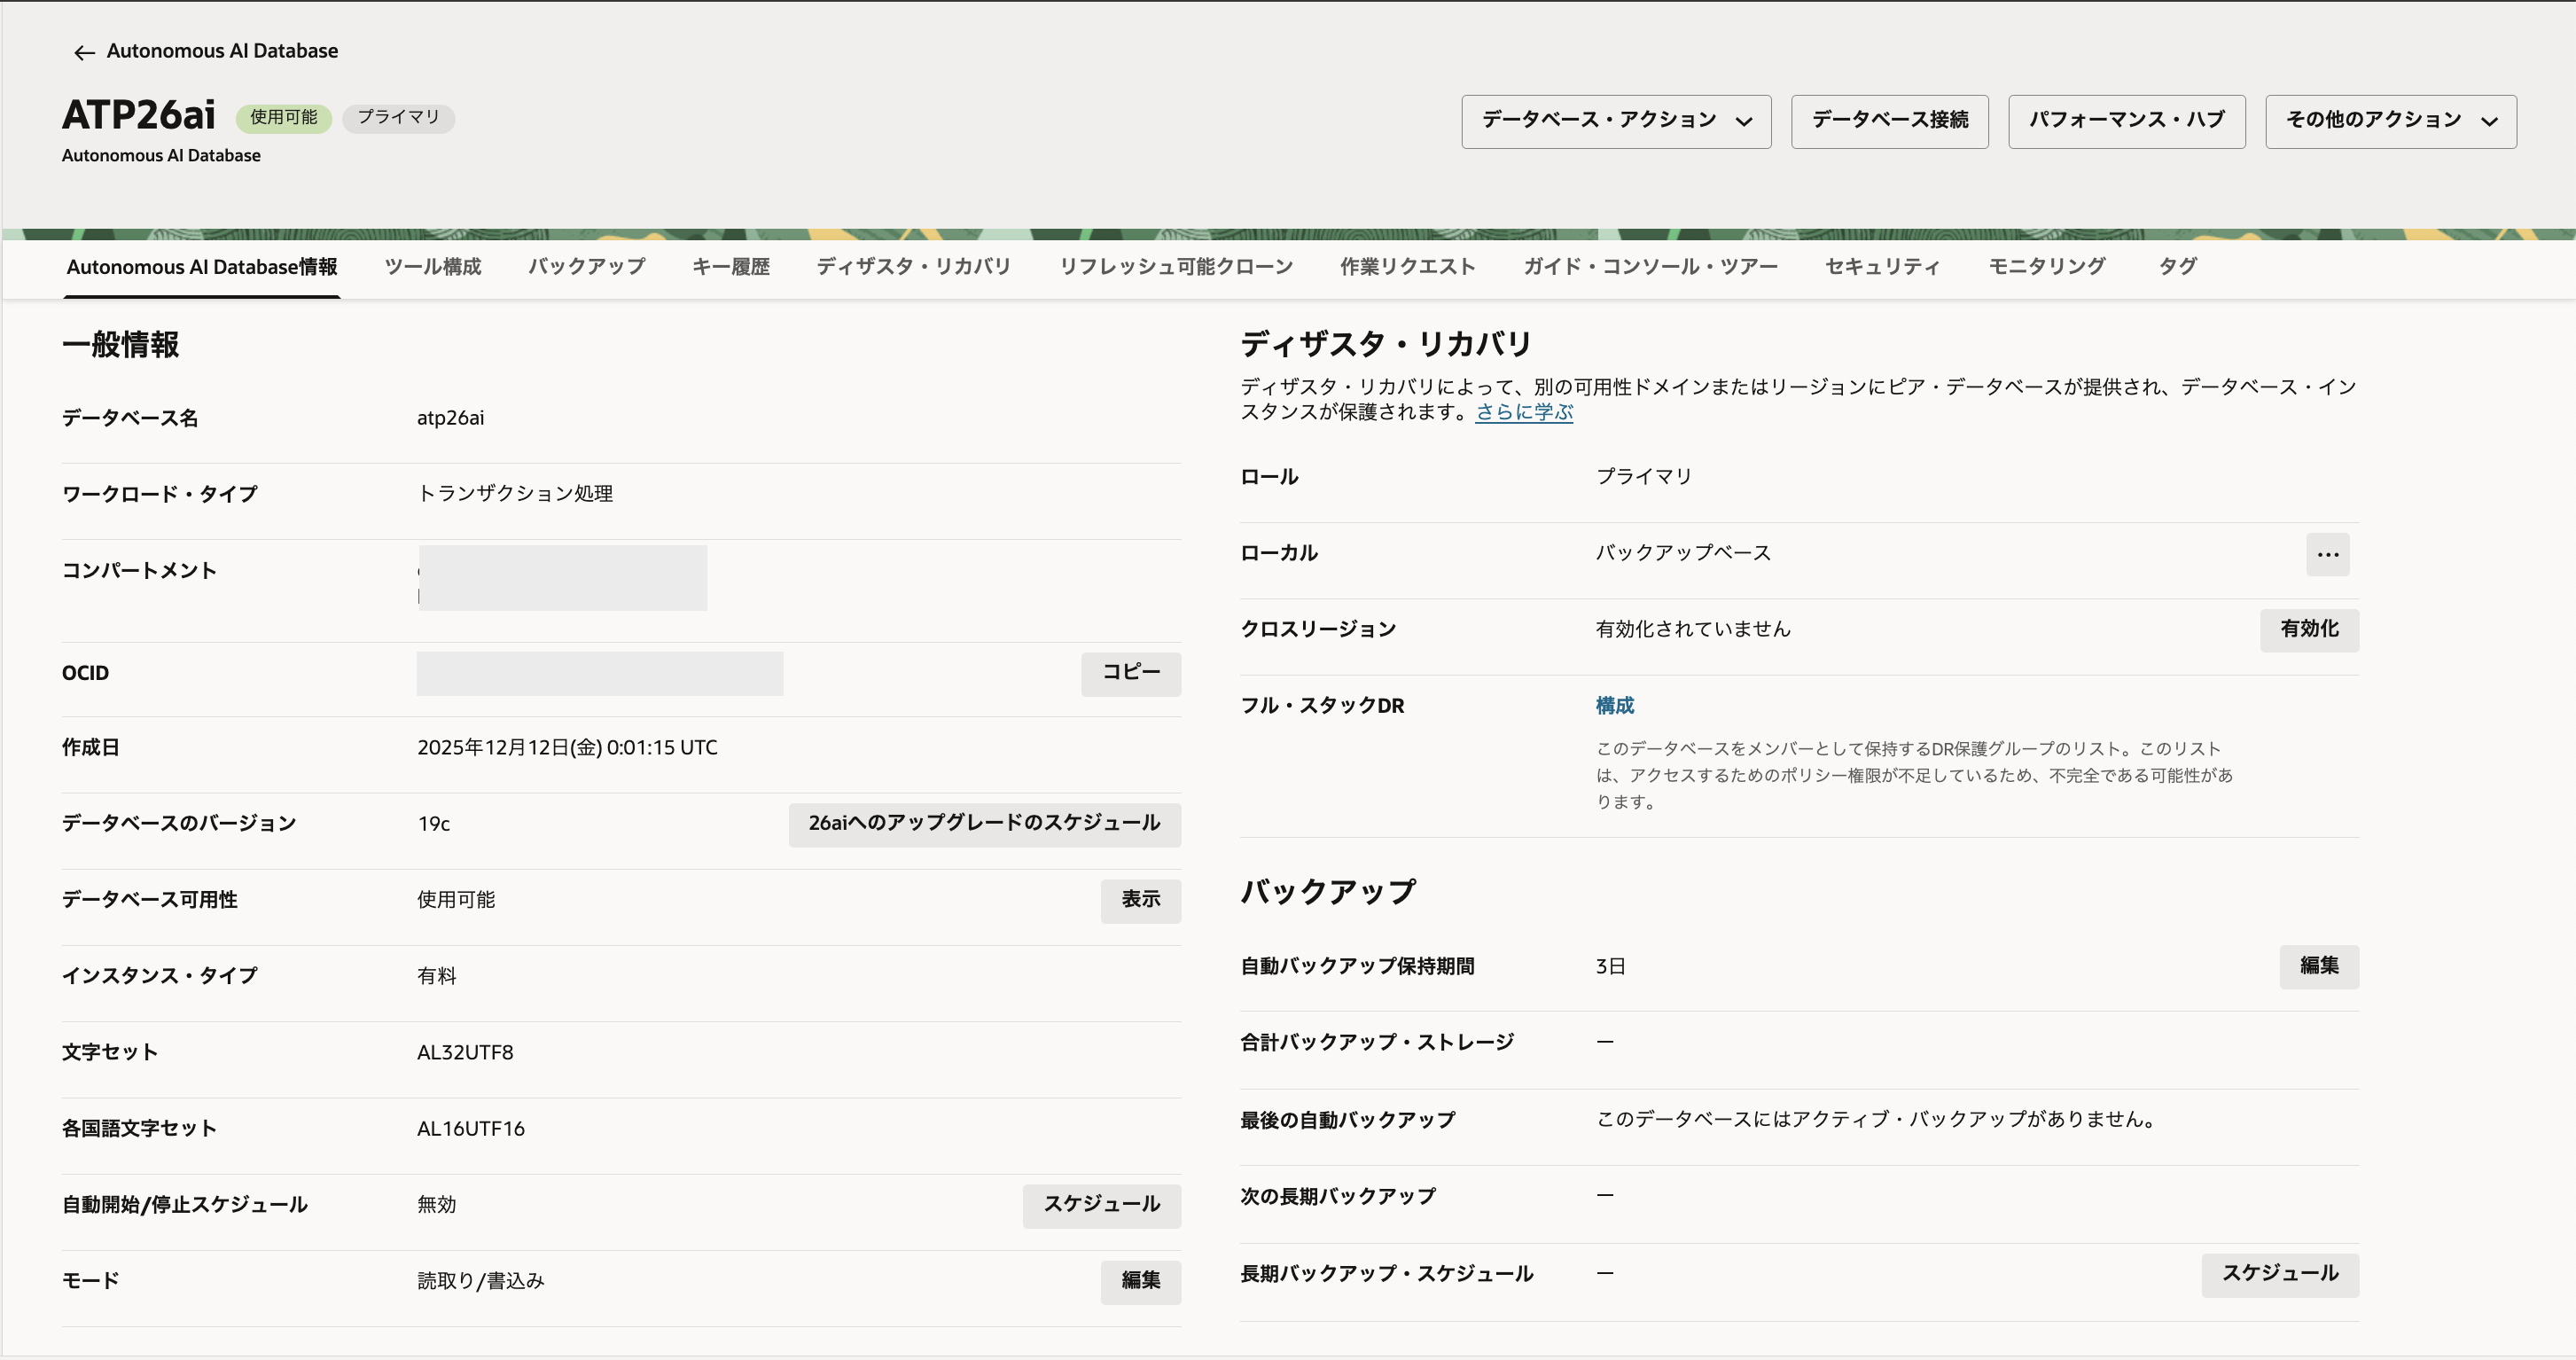
Autonomous AI Databaseの詳細画面にアクセスします。
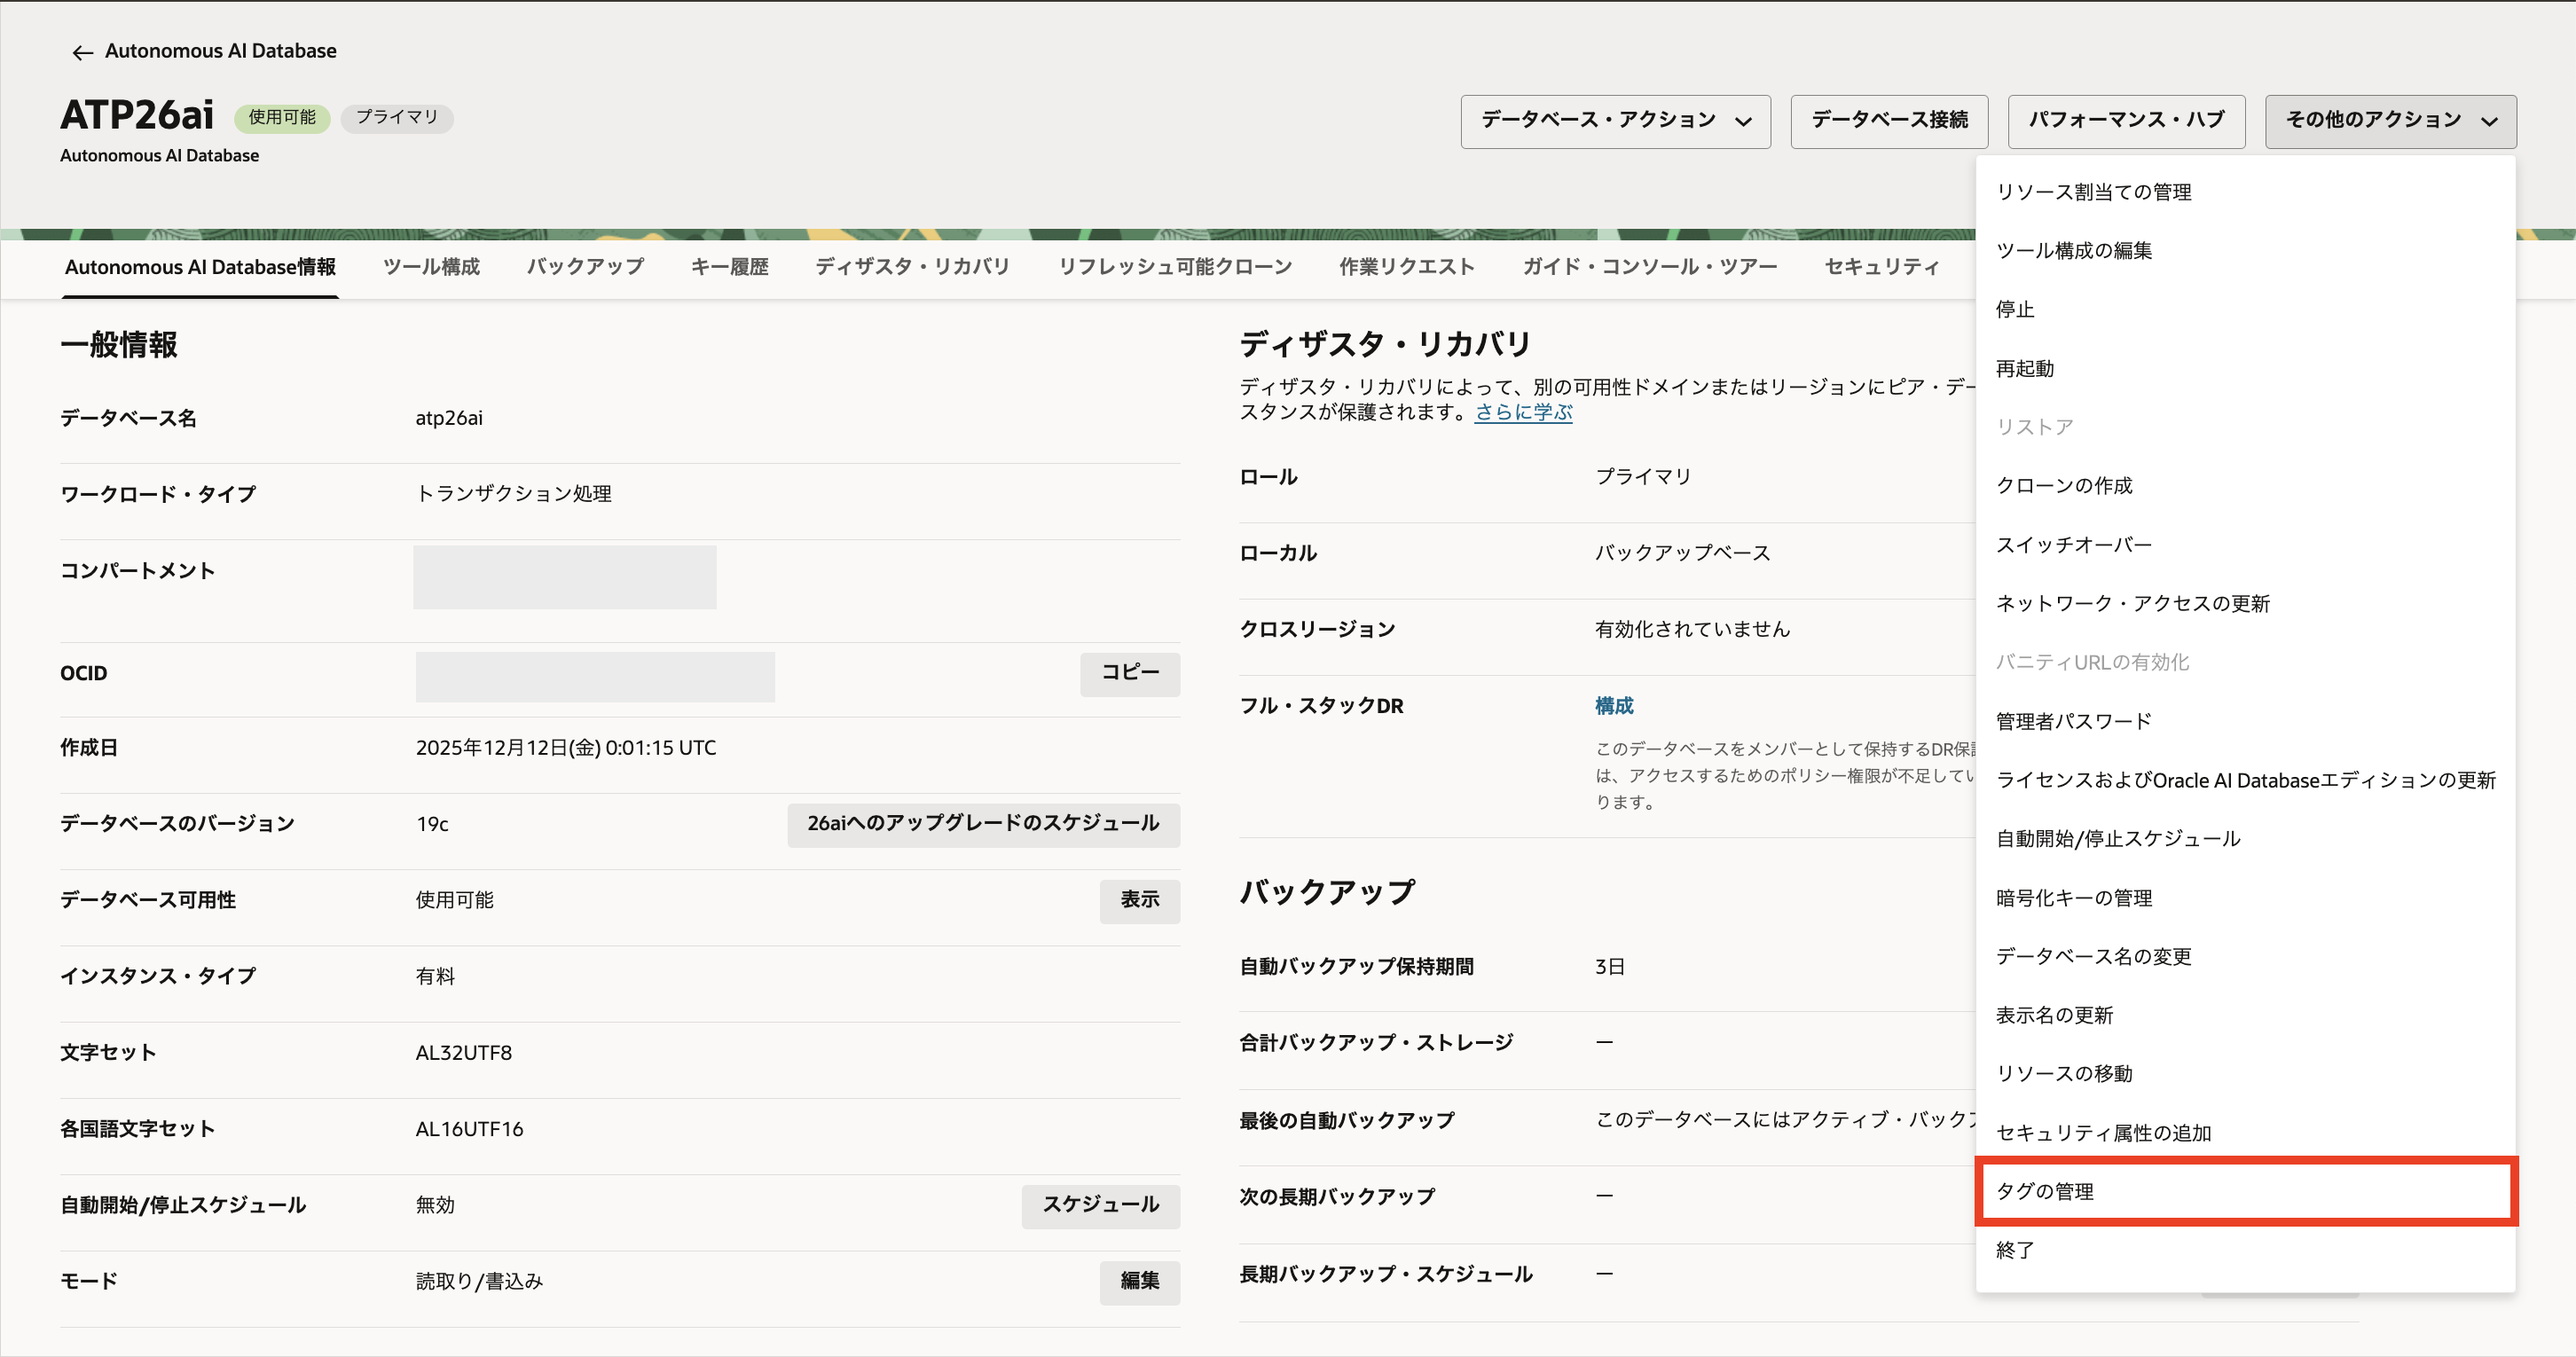
「その他のアクション」→「タグの管理」を選択します
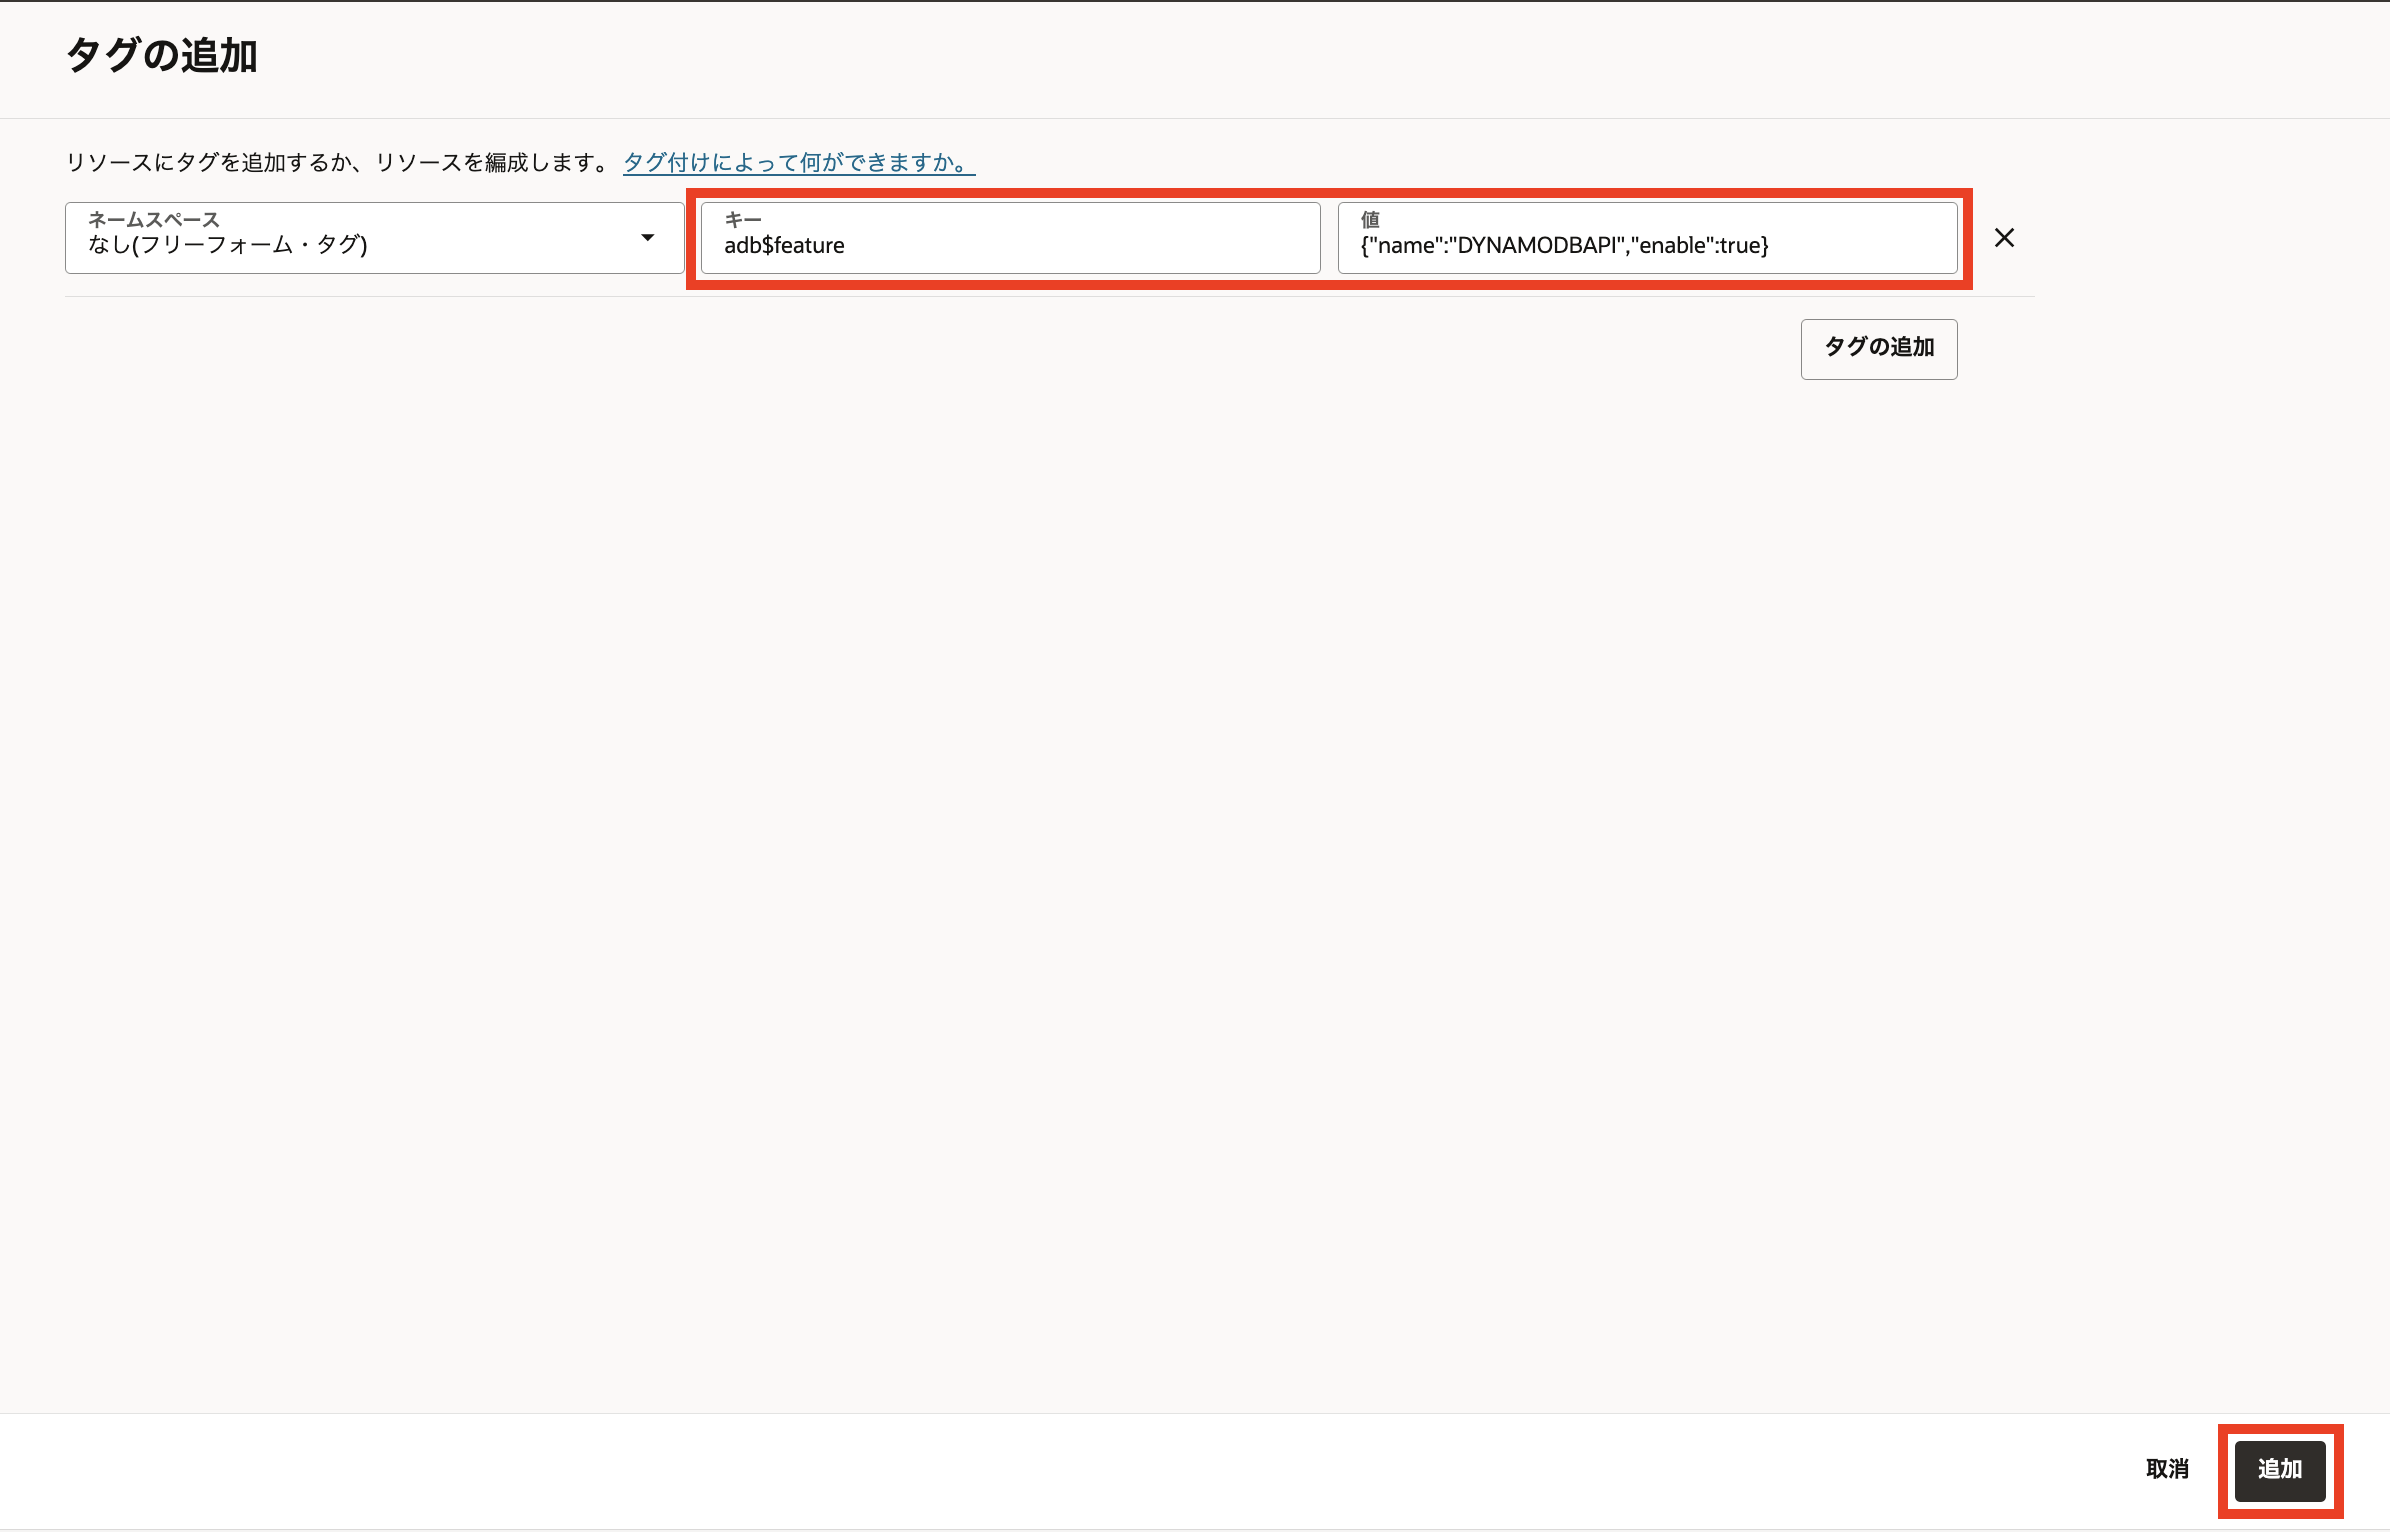
以下のように入力して、「追加」をクリックします。
ネームスペース:何も入力しない
キー:adb$feature
値:{"name":"DYNAMODBAPI","enable":true}
タグを追加して10分ほど待つと、Autonomous AI Database API for DynamoDBが有効化されます。
2. アクセスキーとシークレットアクセスキーの取得
アクセスキーとシークレットアクセスキーを作成するためのRESTエンドポイントは以下のような形式です。
POST 'https://dataaccess.adb.{oci-region-name}.oraclecloudapps.com/adb/auth/v1/databases/{database-ocid}/accesskeys'
{oci-region-name}:OCIリージョンの識別子(東京リージョンの場合はap-tokyo-1)
{database-ocid}:Autonomous AI DatabaseのOCID
例えば、東京リージョンにあるAutonomous AI DatabaseのRESTエンドポイントは、次のような形になります。
POST 'https://dataaccess.adb.ap-tokyo-1.oraclecloudapps.com/adb/keyvaluestore/v1/ocid1.autonomousdatabase.oc1.ap-tokyo-1.axxxxxxxxxxxxxxxxxxxxxxxxxxxq'
主なリクエスト・パラメータは以下のとおりです。
・--user:アクセスキーの取得に使用するDBユーザ名(adminまたはPDB_DBAロールを持つDBユーザ)とパスワード
・--header:'Content-Type: application/json'
・--data-raw:
・name:作成するアクセスキーの名前
・permission:新しいキーに割り当てる権限を指定する配列
・actions:アクセス・キーに対して許可されるアクションの配列
・expiration_minutes:アクセス・キーが期限切れになるまでの期間を分単位で指定
主な権限は以下のとおりです。
・ADMIN_ANY
・ADMIN on Table(s)
・READ_WRITE_ANY
・READ_WRITE on Table(s)
・READ_ANY
・READ
ここでは、以下の内容でRESTエンドポイントにアクセスして、アクセスキーを発行してみます。
・adminユーザとして実行
・アクセスキーの名前はadminkey
・アクセスキーに割り当てる権限はADMIN_ANY
・アクセスキーの期限切れまでの時間は2時間(120分)
上記のためのcurlコマンドは以下のようになります。
curl -X POST 'https://dataaccess.adb.ap-tokyo-1.oraclecloudapps.com/adb/auth/v1/databases/ocid1.autonomousdatabase.oc1.ap-tokyo-1.axxxxxxxxxxxxxxxxxxxxxxxxxxxq/accesskeys' \
--user "admin:Demo#1Demo#1" \
--header 'Content-Type: application/json' \
--data-raw '{
    "name": "adminkey",
    "permissions": [
        {
            "actions": [
                "ADMIN_ANY"
            ]
        }
    ],
    "expiration_minutes": 120
}'
上記のcurlコマンドを実行してみます。
user1@mymac ~ % curl -X POST 'https://dataaccess.adb.ap-tokyo-1.oraclecloudapps.com/adb/auth/v1/databases/ocid1.autonomousdatabase.oc1.ap-tokyo-1.axxxxxxxxxxxxxxxxxxxxxxxxxxxq/accesskeys' \
--user "admin:Demo#1Demo#1" \
--header 'Content-Type: application/json' \
--data-raw '{
    "name": "key1",
    "permissions": [
        {
            "actions": [
                "ADMIN_ANY"
            ]
        }
    ],
    "expiration_minutes": 120
}'
{"access_key_id":"ak_hSW8J733Xwsdf708wHbKAfZn20urpXI3","secret_access_key":"MWZkYWZiYjUzMTBkYzU5ODgxNTYxNWU4MTgwMTdlZTY4MDQwYzI2ODhkMmVhMTMxOWU5NWE0Y2I1NjkzNWUyMQ>>","expiration_time":"2025-12-16T01:31:57Z","permissions":[{"actions":["ADMIN_ANY"]}]}
user1@mymac ~ %
コマンドが正常に実行され、アクセスキーが作成されました。
レスポンス内の各値は以下のとおりです。
access_key_id:アクセスキー
secret_access_key:シークレットキー
expiration_time":アクセスキーの有効期間
permissions:割り当てられた権限
3. 作成したアクセスキーの確認
作成したアクセスキーの情報を確認するためのRESTエンドポイントは以下のような形式です。
GET https://dataaccess.adb.{oci-region-name}.oraclecloudapps.com/adb/auth/v1/databases/{database-ocid}/accesskeys/{access_key_id}
2.で作成したアクセスキーの情報を確認するcurlコマンドは以下のようになります。
curl -X GET 'https://dataaccess.adb.ap-tokyo-1.oraclecloudapps.com/adb/auth/v1/databases/databases/ocid1.autonomousdatabase.oc1.ap-tokyo-1.axxxxxxxxxxxxxxxxxxxxxxxxxxxq/accesskeys/ak_hSW8J733Xwsdf708wHbKAfZn20urpXI3' \
--user "admin:Demo#1Demo#1" \
--header 'Content-Type: application/json' \
--header 'Accept: application/json'
上記のコマンドを実行してみます。
user1@mymac ~ % curl -X GET 'https://dataaccess.adb.ap-tokyo-1.oraclecloudapps.com/adb/auth/v1/databases/ocid1.autonomousdatabase.oc1.ap-tokyo-1.anxhiljrssl65iqasxchafxggtw2i3qrhvuopyw2gyyrt2egrawcgwt2jtdq/accesskeys/ak_hSW8J733Xwsdf708wHbKAfZn20urpXI3' \
--user "admin:Demo#1Demo#1" \
--header 'Content-Type: application/json' \
--header 'Accept: application/json'
{"access_key_id":"ak_hSW8J733Xwsdf708wHbKAfZn20urpXI3","expiration_timestamp":"2025-12-16T01:31:57.299Z","permissions":[{"actions":["ADMIN_ANY"]}],"creation_timestamp":"2025-12-15T23:31:57.299Z"}
user1@mymac ~ %
コマンドが正常に実行され、作成したアクセスキーの情報が取得できました。
レスポンス内の各値は以下のとおりです。
access_key_id:アクセスキー
expiration_timestamp:アクセスキーの有効期限
expiration_time":アクセスキーの作成日時
permissions:割り当てられている権限
4. アクセスキーの更新
作成したアクセスキーを更新するためのRESTエンドポイントは以下のような形式です。
PUT https://dataaccess.adb.{oci-region-name}.oraclecloudapps.com/adb/auth/v1/databases/{database-ocid}/accesskeys/{access_key_id}
たとえば、2.で作成したアクセスキーの有効期限を120分延長するcurlコマンドは以下のようになります。
curl -X PUT 'https://dataaccess.adb.ap-tokyo1.oraclecloudapps.com/adb/auth/v1/databases/ocid1.autonomousdatabase.oc1.ap-tokyo-1.axxxxxxxxxxxxxxxxxxxxxxxxxxxq/accesskeys/ak_hSW8J733Xwsdf708wHbKAfZn20urpXI3' \
--user "admin:Demo#1Demo#1" \
--header 'Content-Type: application/json' \
--header 'Accept: application/json' \
--data-raw '{
    "extend_expiration_minutes_by" : 120
}'
上記のコマンドを実行してみます。
user1@mymac ~ % curl -X PUT 'https://dataaccess.adb.ap-tokyo-1.oraclecloudapps.com/adb/auth/v1/databases/ocid1.autonomousdatabase.oc1.ap-tokyo-1.axxxxxxxxxxxxxxxxxxxxxxxxxxxq/accesskeys/ak_hSW8J733Xwsdf708wHbKAfZn20urpXI3' \
--user "admin:Demo#1Demo#1" \
--header 'Content-Type: application/json' \
--header 'Accept: application/json' \
--data-raw '{
    "extend_expiration_minutes_by" : 120
}'
{"access_key_id":"ak_hSW8J733Xwsdf708wHbKAfZn20urpXI3"}
user1@mymac ~ %
3.で使用したコマンドで、アクセスキーの情報を確認してみます。
user1@mymac ~ % curl -X GET 'https://dataaccess.adb.ap-tokyo-1.oraclecloudapps.com/adb/auth/v1/databases/ocid1.autonomousdatabase.oc1.ap-tokyo-1.axxxxxxxxxxxxxxxxxxxxxxxxxxxq/accesskeys/ak_hSW8J733Xwsdf708wHbKAfZn20urpXI3' \
--user "admin:Demo#1Demo#1" \
--header 'Content-Type: application/json' \
--header 'Accept: application/json'
{"access_key_id":"ak_hSW8J733Xwsdf708wHbKAfZn20urpXI3","expiration_timestamp":"2025-12-16T03:31:57.299Z","permissions":[{"actions":["ADMIN_ANY"]}],"creation_timestamp":"2025-12-15T23:31:57.299Z"}
user1@mymac ~ %
expiration_timestamp(有効期限)が、2025-12-16T01:31:57.299Zから2025-12-16T03:31:57.299Zに2時間(120分)延長されていることが確認できました。
5. アクセスキーの削除
作成したアクセスキーを更新するためのRESTエンドポイントは以下のような形式です。
DELETE https://dataaccess.adb.{oci-region-name}.oraclecloudapps.com/adb/auth/v1/databases/{database-ocid}/accesskeys/{access_key_id}
2.で作成したアクセスキーを削除するcurlコマンドは以下のようになります。
curl -X DELETE 'https://dataaccess.adb.ap-tokyo-1.oraclecloudapps.com/adb/auth/v1/databases/ocid1.autonomousdatabase.oc1.ap-tokyo-1.axxxxxxxxxxxxxxxxxxxxxxxxxxxq/accesskeys/ak_hSW8J733Xwsdf708wHbKAfZn20urpXI3' \
--user "admin:Demo#1Demo#1" \
--header 'Content-Type: application/json' \
--header 'Accept: application/json'
上記のコマンドを実行してみます。
user1@mymac ~ % curl -X DELETE 'https://dataaccess.adb.ap-tokyo-1.oraclecloudapps.com/adb/auth/v1/databases/ocid1.autonomousdatabase.oc1.ap-tokyo-1.axxxxxxxxxxxxxxxxxxxxxxxxxxxq/accesskeys/ak_hSW8J733Xwsdf708wHbKAfZn20urpXI3' \
--user "admin:Demo#1Demo#1" \
--header 'Content-Type: application/json' \
--header 'Accept: application/json'
{}
user1@mymac ~ %
3.で使用したコマンドで、アクセスキーの情報を確認してみます。
user1@mymac ~ % curl -X GET 'https://dataaccess.adb.ap-tokyo-1.oraclecloudapps.com/adb/auth/v1/databases/ocid1.autonomousdatabase.oc1.ap-tokyo-1.axxxxxxxxxxxxxxxxxxxxxxxxxxxq/accesskeys/ak_hSW8J733Xwsdf708wHbKAfZn20urpXI3' \
--user "admin:Demo#1Demo#1" \
--header 'Content-Type: application/json' \
--header 'Accept: application/json'
{"code":"404","message":"ACCESS_KEY_ID not found"}
user1@mymac ~ %
アクセスキーが削除されたことを確認できました。
次回は、Autonomous AI Database API for DynamoDBを使用して、DynamoDBクライアントからAutonomous AI Databaseに接続してみたいと思います。
参考情報
・Autonomous AI Database API for DynamoDBの使用