今回する内容
-
ngrokを使ってローカル開発環境を構築します
herokuを使って永続化させたい場合はこちらを参照ください【LINE bot】初めてのおみくじbot -
簡単なおうむ返しbotをおみくじbotに変更します。
ローカルの環境設定
ngrokを使います。
初めはLINEの設定をするので、インストールされていない方はあらかじめインストールをお願いします。
# macの場合
brew cask install ngrok
# linuxの場合
npm i -g ngrok
ngrokを利用します。
※サーバーとは別のターミナルで開く
$ ngrok http 3000

Session Status                online
Session Expired               Restart ngrok or upgrade: ngrok.com/upgrade
Version                       2.2.8
Region                        United States (us)
Web Interface                 http://127.0.0.1:4040
Forwarding                    http://xxxxxx.ngrok.io -> localhost:3000
Forwarding                    https://xxxxxx.ngrok.io -> localhost:3000

Connections                   ttl     opn     rt1     rt5     p50     p90
                              105     0       0.00    0.00    0.87    4.76
必要なパッケージのインストール
Gemfileの作成
$ gem install bundler
$ bundle init
Gemfileの記述
gem 'sinatra'
gem 'sinatra-contrib'
gem 'rake'
gem 'line-bot-api'
gem 'dotenv'
gemのインストールを行います。
$ bundle install
app.rbを作成しserverの部分をrubyで記述していきます。
$ touch app.rb
とりあえず、サーバーが起動するかを確認します。
ここで動かない場合はruby/sinatraの環境構築で詰まっていると思われます。
require 'bundler/setup'
Bundler.require

get '/' do
    'true'
end
サーバーを起動
起動した先にtrueが表示されれば大丈夫。
$ bundle exec ruby app.rb
line botのプログラムを追加していきます。
app.rbにプログラムの記述していきます。
require 'line/bot'
require 'bundler/setup'
Bundler.require
Dotenv.load

get '/' do
  'true'
end

def client
  @client ||= Line::Bot::Client.new { |config|
    config.channel_secret = ENV["LINE_CHANNEL_SECRET"]
    config.channel_token = ENV["LINE_CHANNEL_TOKEN"]
  }
end

post '/callback' do
  body = request.body.read
  signature = request.env['HTTP_X_LINE_SIGNATURE']
  unless client.validate_signature(body, signature)
    error 400 do 'Bad Request' end
  end
  events = client.parse_events_from(body)
  events.each { |event|
    case event
    when Line::Bot::Event::Message
      case event.type
      when Line::Bot::Event::MessageType::Text
        message = {
          type: 'text',
          text: event.message['text']
        }
        client.reply_message(event['replyToken'], message)
      when Line::Bot::Event::MessageType::Image, Line::Bot::Event::MessageType::Video
        response = client.get_message_content(event.message['id'])
        tf = Tempfile.open("content")
        tf.write(response.body)
      end
    end
  }

  "OK"
end
Messaging APIの利用
LINE Developersから新しいbotを作成します。
「今すぐ始めよう」 > 「プロバイダの選択」 > 「新規チャネル作成」 をします。
※チャンネル作成時に業種選択がありますが、特段の理由がない場合は「その他」を選択します。

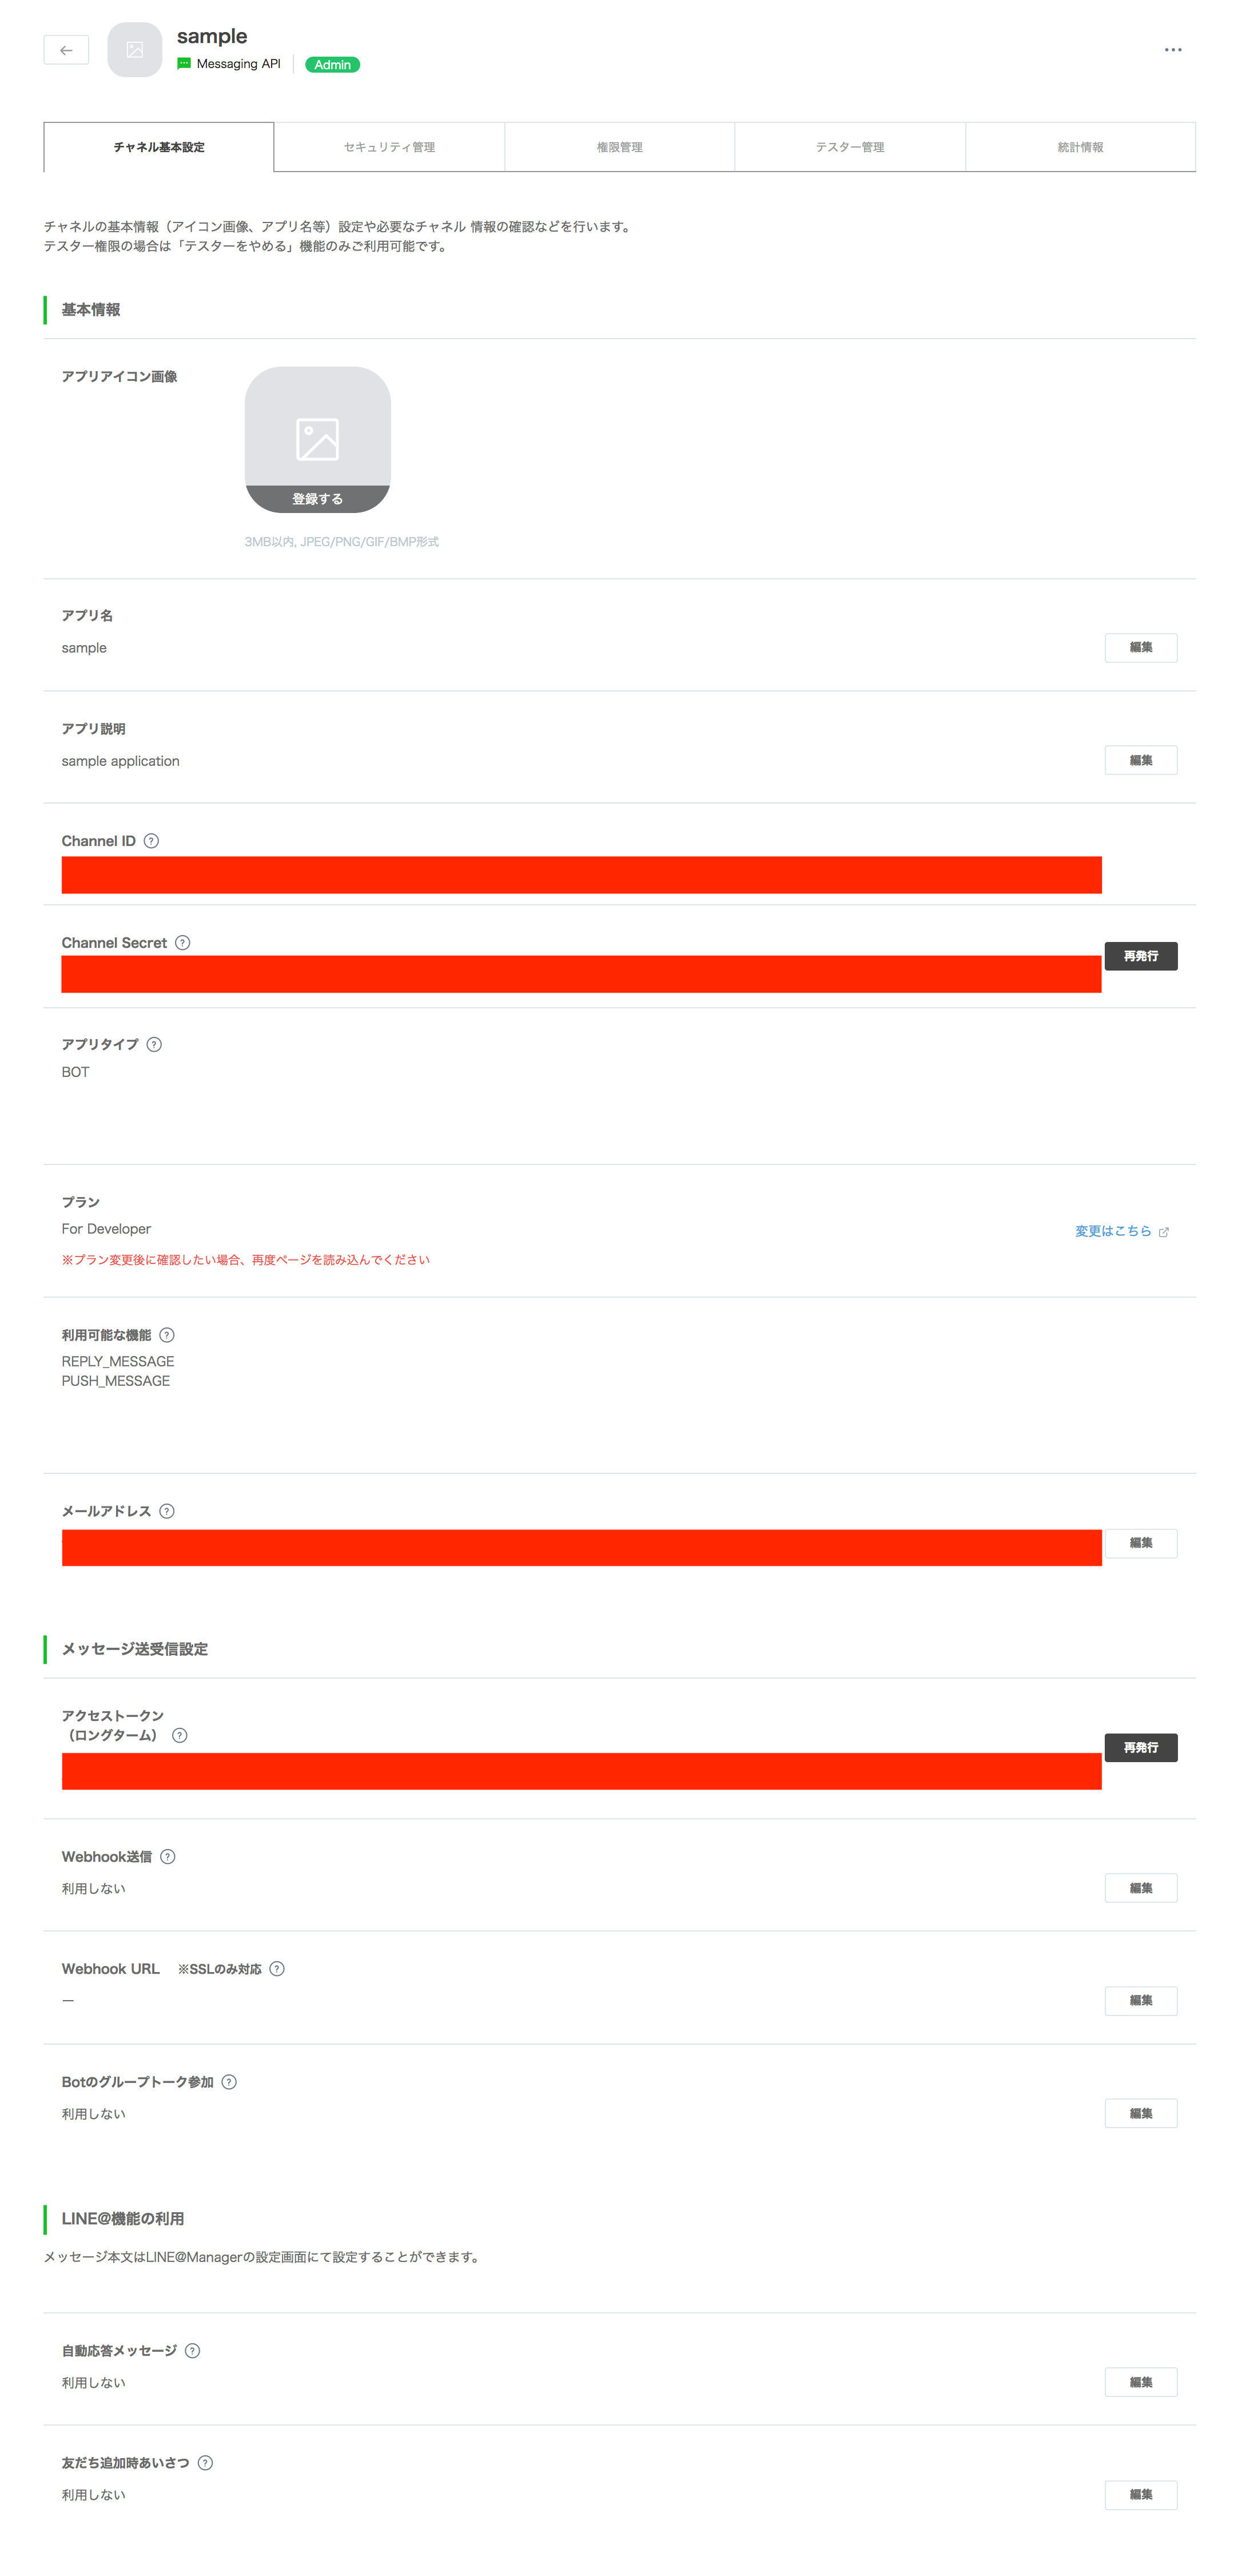
初期設定画面
初期設定から変更すること
- メールアドレスの編集
- Webhook送信 > 編集 > 利用する
- アクセストークンの発行
時間は0時間で大丈夫 - 自動応答メッセージ/友だち追加時あいさつ を利用しないに変更
- Channel Secret/アクセストークンをメモ
webhookの設定
設定画面からwebhookのURLをhttps://xxxxxxxx.ngrok.io + /callback に変更。
※プロバイダーリスト > プロバイダー > bot名からアクセスできます
環境変数の設定
touch .env
LINE_CHANNEL_SECRET="Channel Secretのメモ"
LINE_CHANNEL_TOKEN="アクセストークンのメモ"
おみくじbotを作る
おみくじの機能
次のようにおみくじのプログラムを実装します。
if event.message['text'] =~ /おみくじ/
message[:text] = ["大吉", "中吉", "小吉", "凶", "大凶"].sample
end
おみくじプログラム解説1
if文で正規表現でパターンマッチングをしています。
if event.message['text'] =~ /おみくじ/
おみくじプログラム解説2
配列の中の順番をランダムに並び替え一番最初の要素を返します。
["大吉", "中吉", "小吉", "凶", "大凶"].sample
以上でおみくじbotが完成しました!
