はじめに
conpassでの連絡が漏れていて申し訳ないのですが、nodeの最新バージョン(8以上)をインストールしてください
当日作業するノートPCにNode.jsのLTS(最新安定版)をインストールしておいてください。
ダウンロード|Node.js
今日の勉強会の流れ
- おうむ返しbotを作る
- Flex Messageを返す
- LINE Pay APIを使ってみる
はじめに
ngrokを使います。
初めはLINEの設定をするので、インストールされていない方はあらかじめインストールをお願いします。
# macの場合
brew cask install ngrok
# linuxの場合
npm i -g ngrok
Messaging APIの利用
LINE Developersから新しいbotを作成します。
「今すぐ始めよう」 > 「プロバイダの選択」 > 「新規チャネル作成」 をします。
※チャンネル作成時に業種選択がありますが、特段の理由がない場合は「その他」を選択します。
初期設定画面
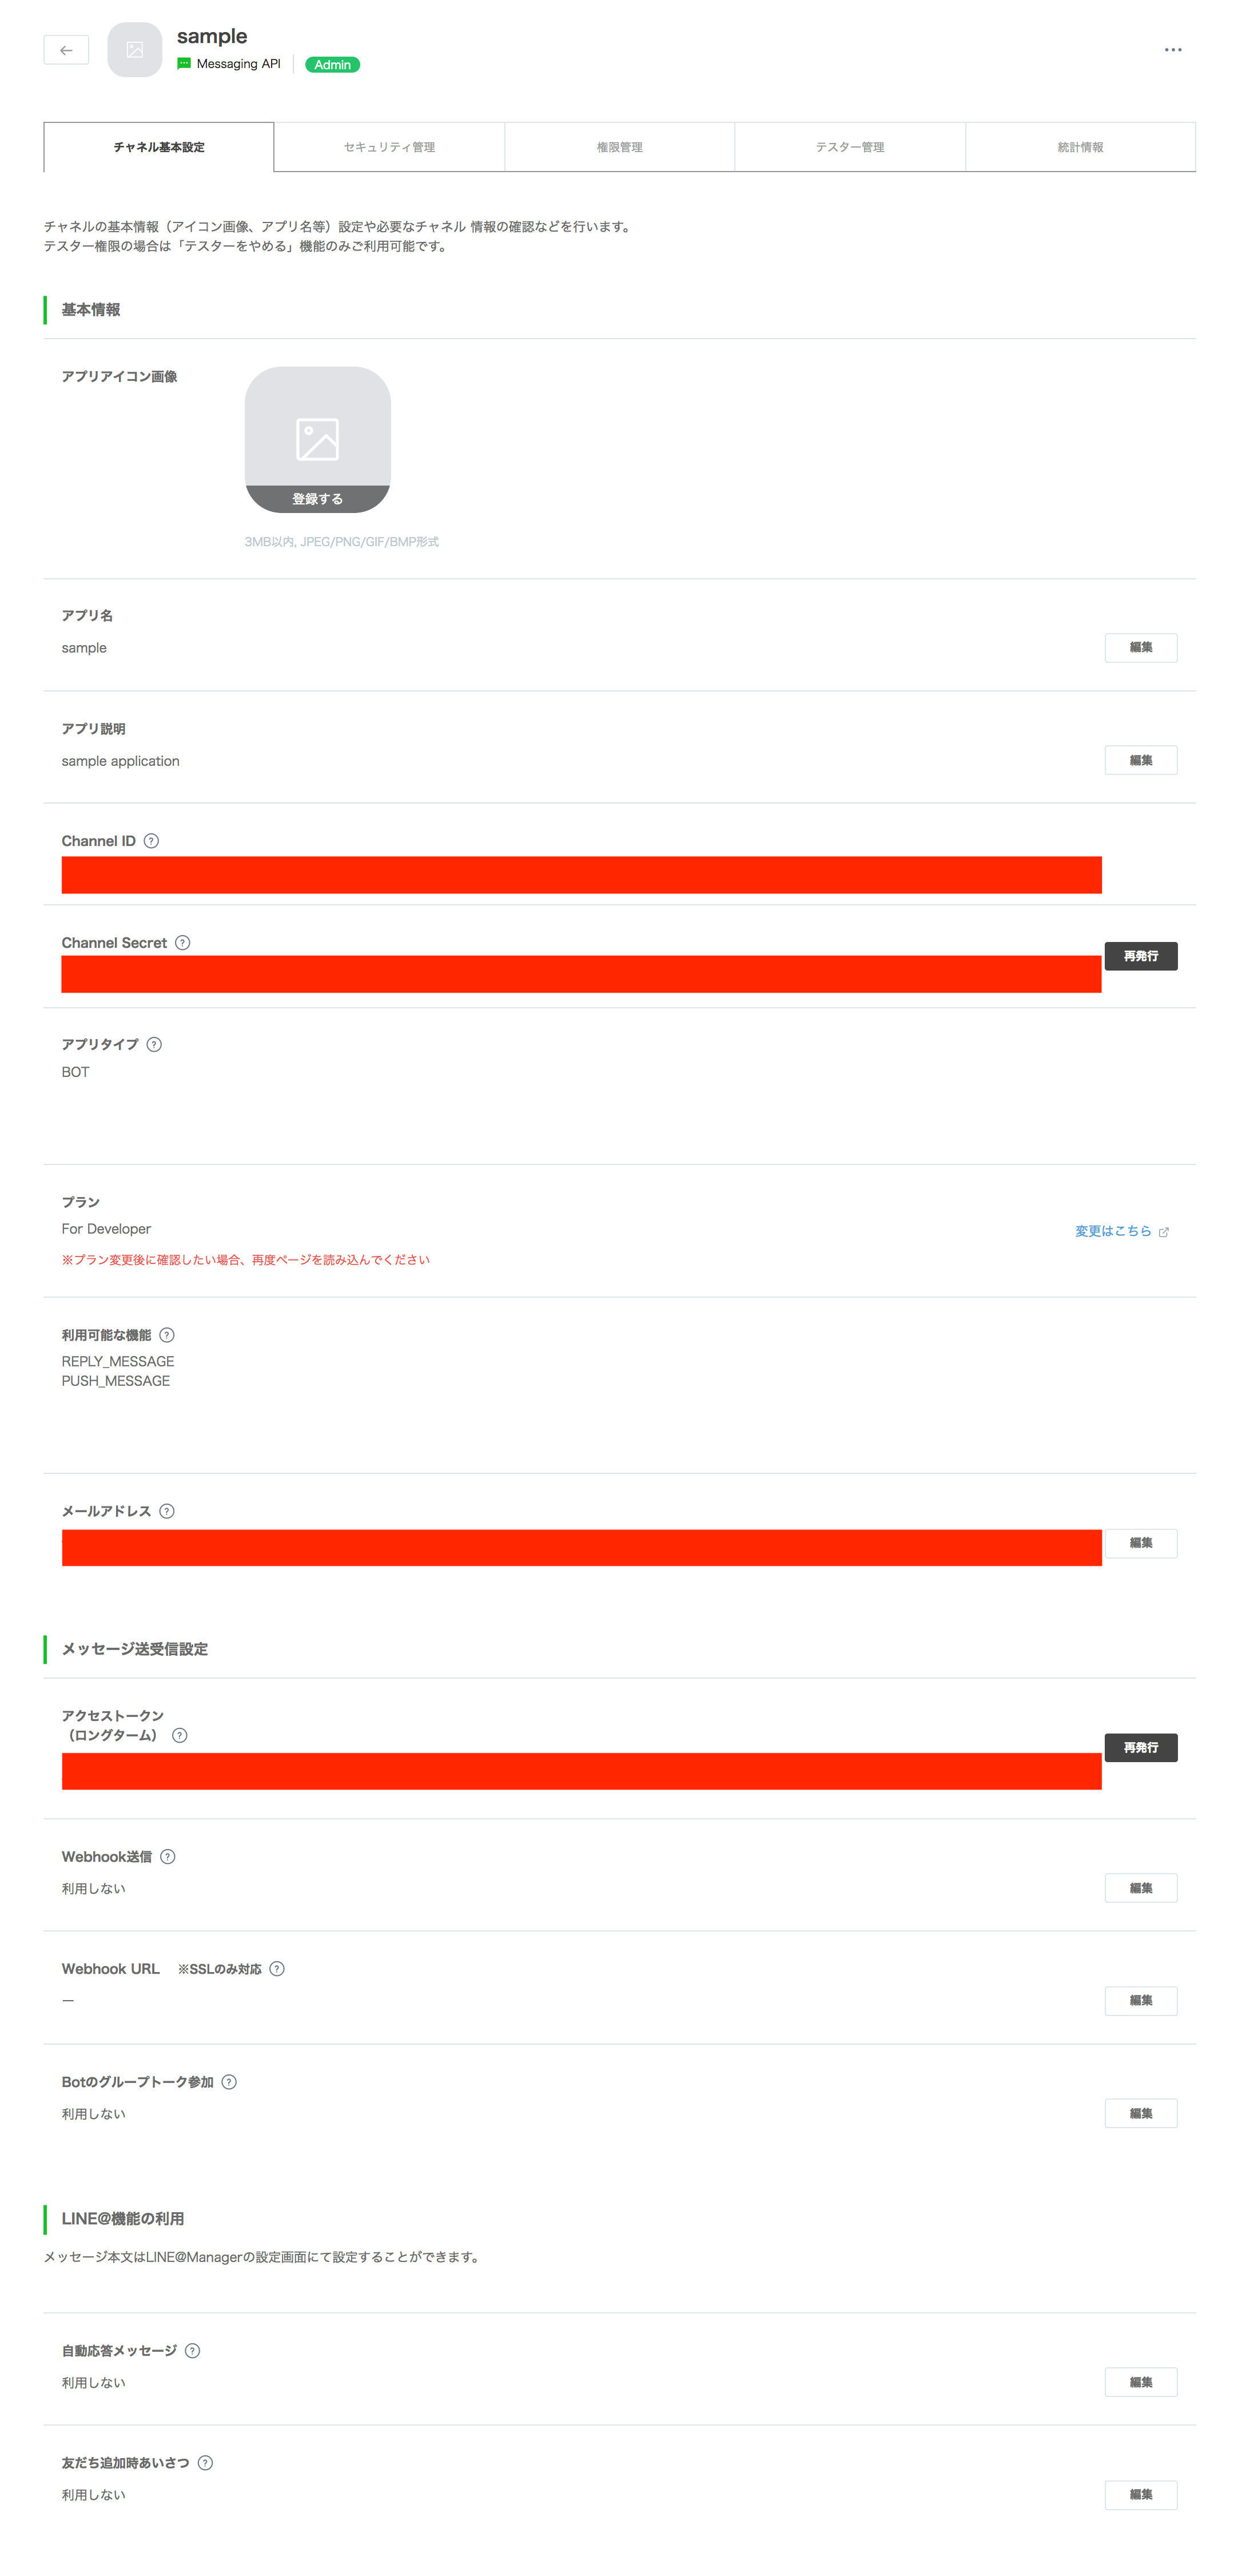
初期設定から変更すること
- メールアドレスの編集
- Webhook送信 > 編集 > 利用する
- アクセストークンの発行
時間は0時間で大丈夫 - 自動応答メッセージ/友だち追加時あいさつ を利用しないに変更
- Channel Secret/アクセストークンをメモ
npmの設定
今回はnode v10.1.0を利用します。
作業用ディレクトリの作成/必要パッケージのインストールを行います。
また、botで使用するファイルも同時に作成します
 → node -v
v10.1.0
mkdir ~/workspace
cd ~/workspace
npm init -y
npm i -s @line/bot-sdk express dotenv
touch server.js .env
- @line/bot-sdk: LINE botを扱うためのbot
- express: サーバーを扱うためのパッケージ
- dotenv: .envファイルから環境変数をロードするためのパッケージ
serverの中身
'use strict';

const express = require('express');
const line = require('@line/bot-sdk');
require('dotenv').config();

const PORT = process.env.PORT || 3000;

const config = {
    channelSecret: process.env.CHANNEL_SECRET,
    channelAccessToken: process.env.CHANNEL_ACCESS_TOKEN
};

const app = express();

app.post('/webhook', line.middleware(config), (req, res) => {
    console.log(req.body.events);
    Promise
      .all(req.body.events.map(handleEvent))
      .then((result) => res.json(result));
});

const client = new line.Client(config);

function handleEvent(event) {
  if (event.type !== 'message' || event.message.type !== 'text') {
    return Promise.resolve(null);
  }

  return client.replyMessage(event.replyToken, {
    type: 'text',
    text: event.message.text //実際に返信の言葉を入れる箇所
  });
}

app.listen(PORT);
console.log(`Server running at ${PORT}`);
環境変数の設定
先ほど初期設定画面でメモしたCHANNEL_SECRETとアクセストークンを.envファイルに設定ファイルを追記します。
CHANNEL_SECRET=""
CHANNEL_ACCESS_TOKEN=""
ngrokでhttps通信を可能にします。
※サーバーとは別のターミナルで開く
$ ngrok http 3000

Session Status                online
Session Expired               Restart ngrok or upgrade: ngrok.com/upgrade
Version                       2.2.8
Region                        United States (us)
Web Interface                 http://127.0.0.1:4040
Forwarding                    http://xxxxxx.ngrok.io -> localhost:3000
Forwarding                    https://xxxxxx.ngrok.io -> localhost:3000

Connections                   ttl     opn     rt1     rt5     p50     p90
                              105     0       0.00    0.00    0.87    4.76
webhookの設定
設定画面からwebhookのURLをhttps://xxxxxxxx.ngrok.io + /webhook に変更。
※プロバイダーリスト > プロバイダー > bot名からアクセスできます
botを友達追加する
初期設定画面のQRコードから友達追加をします。
おうむ返ししてくれるbotが完成しました。

Flex Message
Flex Messageとは、ユーザーがJSON形式で作成できるテンプレートです。
非常に自由度が高いので様々なテンプレートを作成することができます。
また、それぞれからactionを呼び出すことが可能です。
actionでできることは...
actionからは様々な物を呼び出すことが可能です。
アクションオブジェクトでできることにまとめてあるので、ぜひ読んでみてください。(よかったらいいねお願いします。
Flex Meesageシミュレーター
シュミレーターを利用することにより、プログラムを書かずに簡単にリッチなメニューを作成することができます。
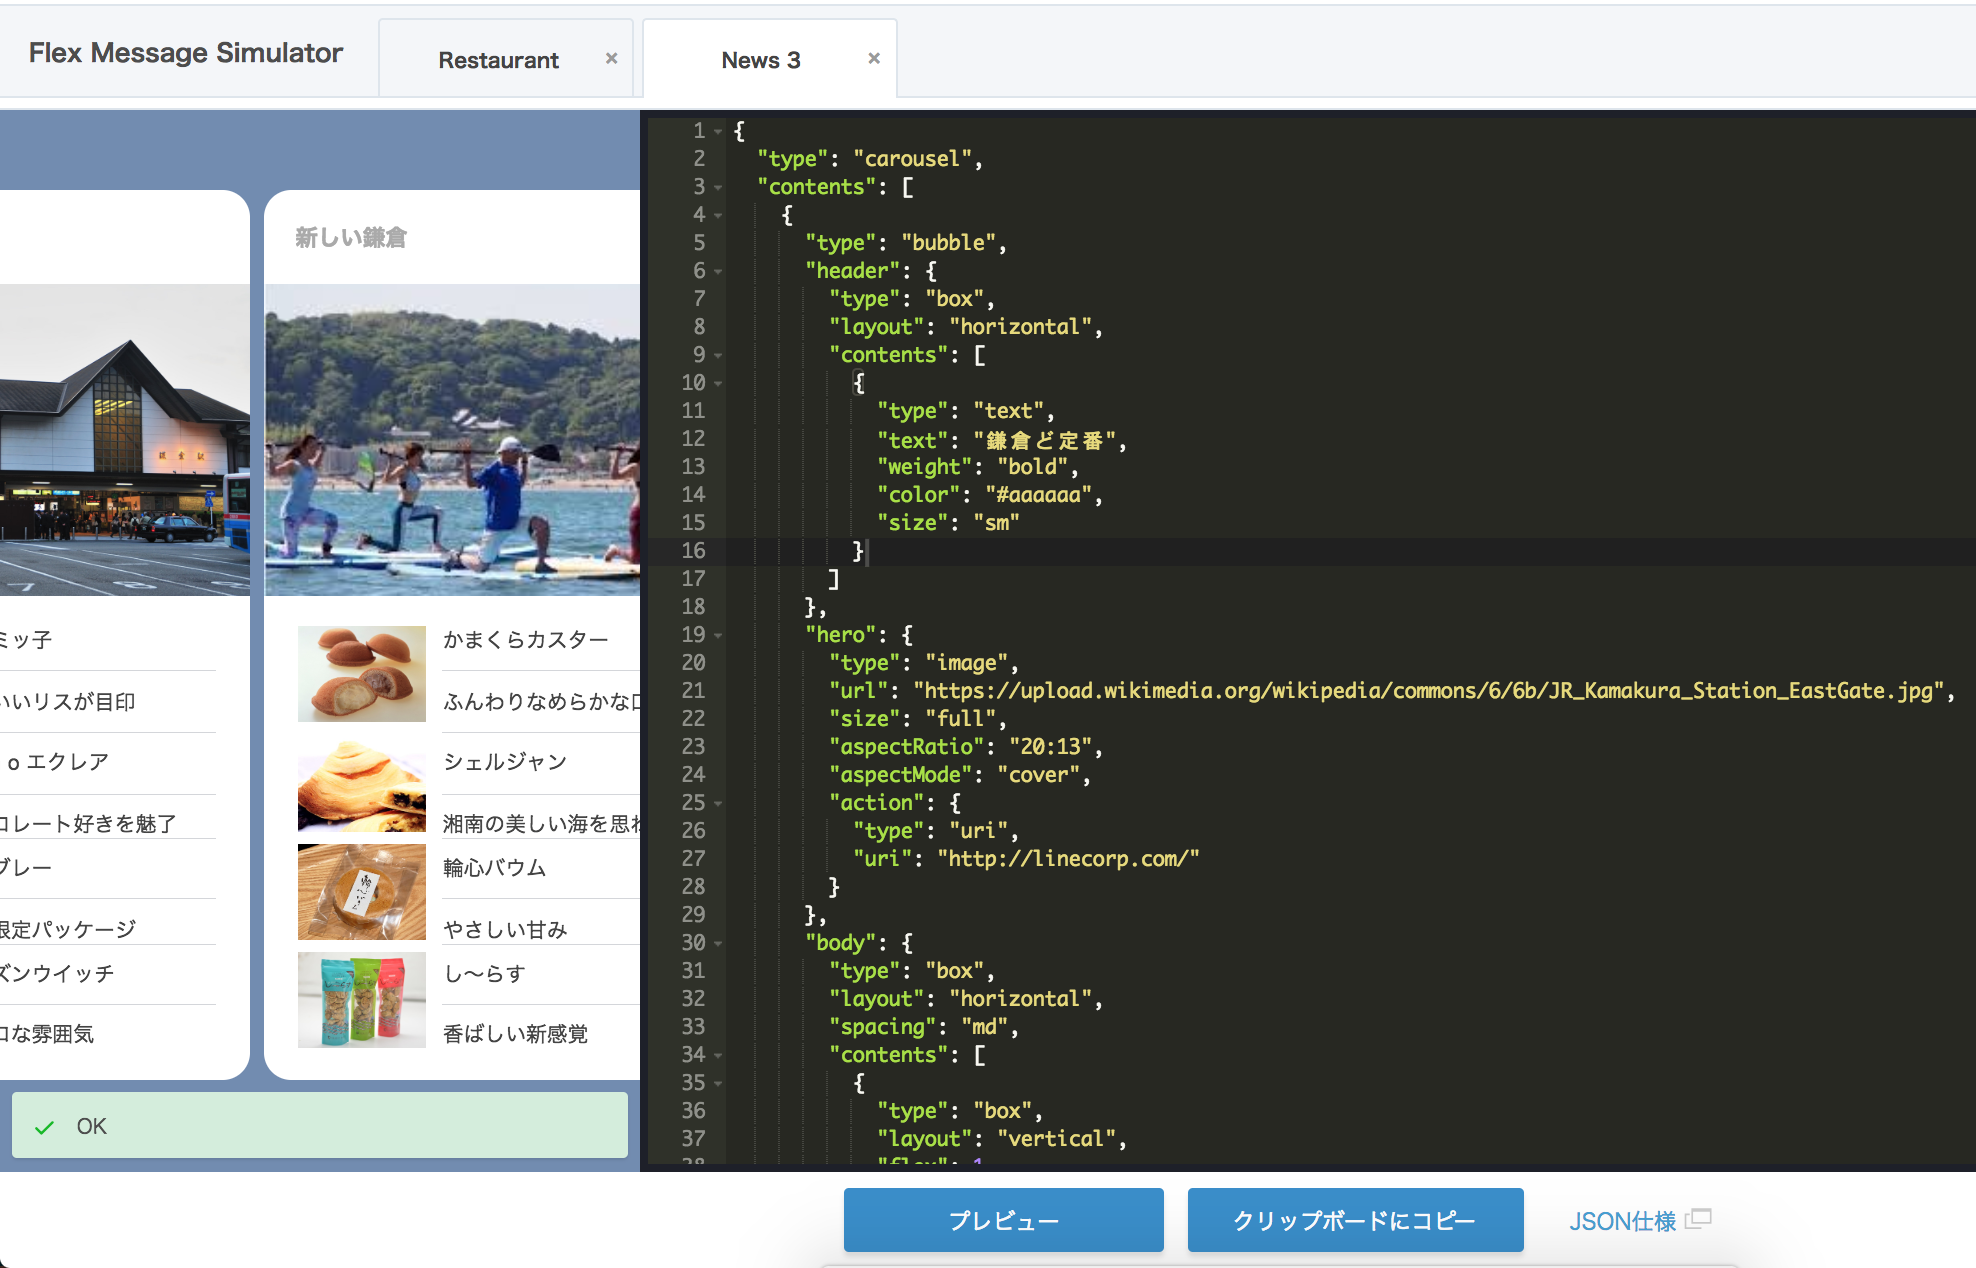
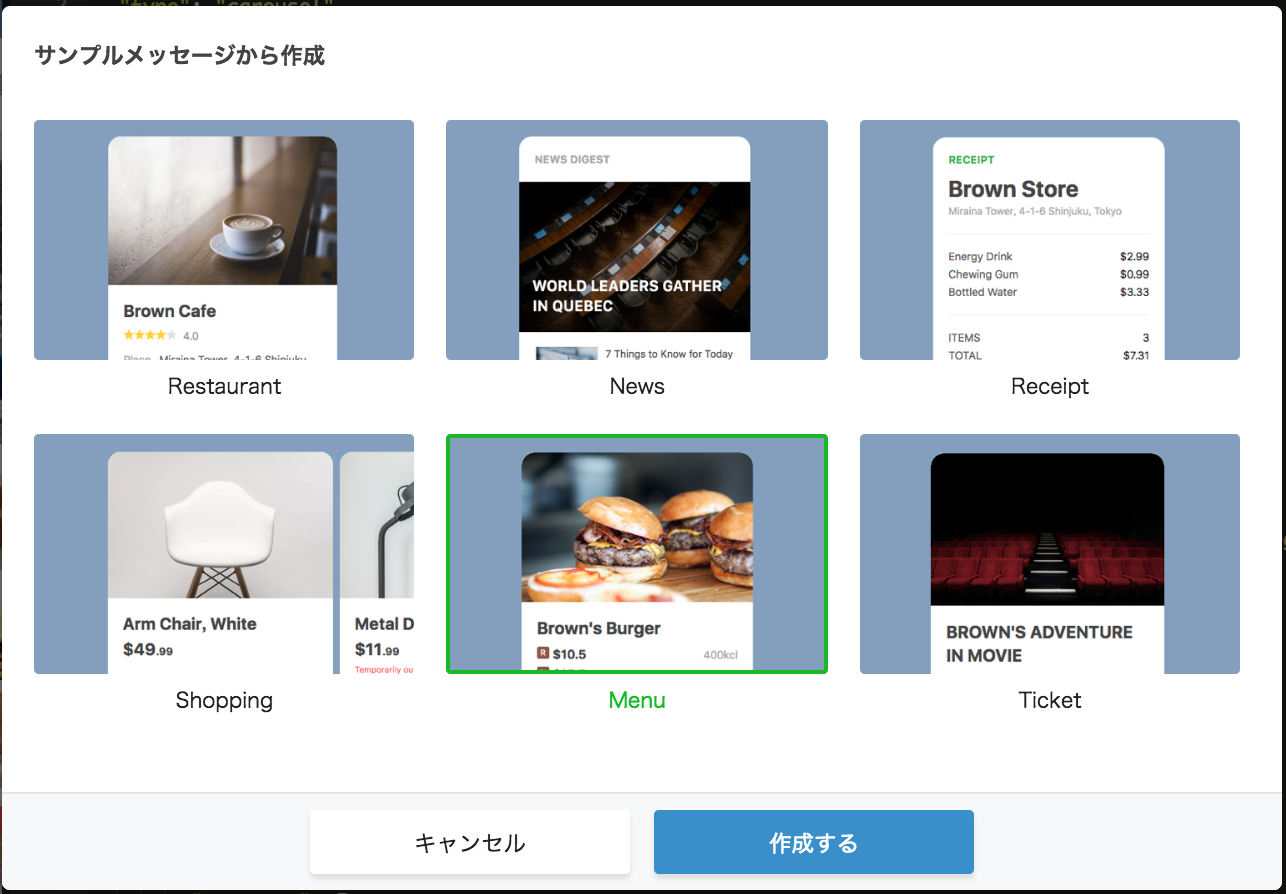
今回はMenuを使います。
Flex Message Simulatorから + => Menu を選択します。
jsonの作成
メッセージを返すjsonファイルを作ります。
module.exports = {
  flex: {
      "type": "flex",
      "altText": "This is a Flex Message",
      "contents":
        // シミュレーターで出力されたJSON中身
    }
}
server.jsからFlex Messageを呼び出します。
const flex = require('./messages/flex');
...
次にバーガーと入力された時にFlex Messageを返すようにします。
...
if (event.type !== 'message' || event.message.type !== 'text') {
  return Promise.resolve(null);
}
if (event.message.text == 'バーガー'){
  return client.replyMessage(event.replyToken, flex.flex);
}
return client.replyMessage(event.replyToken, {
  type: 'text',
  text: event.message.text
});
...
Flex Messageを送信
「バーガー」と入力するとFlex Messageを送信することができました!

LINE Pay
LINE Payではreserveとconfirmという2つのステップがあります。
流れ的には次の通りです
- reserveで商品・値段を確定
- LINEの画面でLINE Payにログイン
- confirm画面でLINE Payの決済を確定
1.から2.へのアクションはURLで2.に飛ばすことができれば良いので、
Webページから2.、line botから2. へも飛ばすことが可能です。
LINE Payの登録
https://pay.line.me/jp/developers/techsupport/sandbox/creation?locale=ja_JP からsandbox、userの作成を行います。
アカウントを作成すると登録したメールアドレスにuser_idとpasswordが届きます。メールにログイン用のURLが指定されているのでそこからログインしてください

環境変数へ追加
 コピーした変数を.envに記述します。
LINE_PAY_CHANNEL_ID=あなたのCHANNEL ID
LINE_PAY_CHANNEL_SECRET=あなたのCHANNEL SECRET
LINE_PAY_CONFIRM_URL=ngrokのURL/pay/confirm
LINE Payの準備
必要なパッケージのインストールとLINE Payの設定を書き込むファイルを作成します。
cd ~/workspace
npm i -s line-pay memory-cache uuid
touch pay.js
- line-pay: LINE Pay APIのNode.js用SDK
- memory-cache: インメモリーのキー・バリューストア
- uuid: UUIDを生成するためのライブラリ。注文IDを生成するために利用
pay.jsに必要なファイルを読み込む
const uuid = require("uuid/v4");
const cache = require("memory-cache");

// for line pay
const line_pay = require("line-pay");
const pay = new line_pay({
    channelId: process.env.LINE_PAY_CHANNEL_ID,
    channelSecret: process.env.LINE_PAY_CHANNEL_SECRET,
    hostname: process.env.LINE_PAY_HOSTNAME,
    isSandbox: true
})

// for line bot
const line = require('@line/bot-sdk');
const config = {
    channelSecret: process.env.CHANNEL_SECRET,
    channelAccessToken: process.env.CHANNEL_ACCESS_TOKEN
};
const client = new line.Client(config);

module.exports = {
  reserve: // これから書く
  confirm: // これから書く
}
reserve
pay.jsにreverveの部分を追加します。
  reserve: (event, item, amount) => {
    let reservation = {
      productName: item,
      amount: amount,
      currency: "JPY",
      orderId: uuid(),
      confirmUrl: process.env.LINE_PAY_CONFIRM_URL,
      confirmUrlType: "SERVER"
    }

    pay.reserve(reservation).then((response) => {
        reservation.transactionId = response.info.transactionId;
        reservation.userId = event.source.userId;

        // Save transaction information to cache
        cache.put(response.info.transactionId, reservation);

        const message = {
            type: "template",
            altText: `${item}を購入するには下記のボタンで決済に進んでください`,
            template: {
                type: "buttons",
                text: `${item}を購入するには下記のボタンで決済に進んでください`,
                actions: [
                    {type: "uri", label: "LINE Payで決済", uri: response.info.paymentUrl.web},
                ]
            }
        }
        return client.replyMessage(event.replyToken, message);
    });
  },
confirm
pay.jsにconfirmの部分を追加します。
  confirm: (transactionId) => {
    console.log('called confirm')
    // Restore data from cache
    const reservation = cache.get(transactionId);
    if (!reservation){
        console.log("Reservation not found.");
        return res.status(400).send("Reservation not found.")
    }

    console.log(`Restore data from cache.`);
    console.log(reservation);

    const confirmation = {
        transactionId: transactionId,
        amount: reservation.amount,
        currency: reservation.currency
    }

    // Finished transaction
    return pay.confirm(confirmation).then((response) => {
        const messages = [{
            type: "sticker",
            packageId: 2,
            stickerId: 516
        },{
            type: "text",
            text: `ありがとうございます、${reservation.productName}の決済が完了しました。`
        }]

        return client.pushMessage(reservation.userId, messages);
    });
  }
flex messageからreserveを呼び出す
flex messageのボタンのactionをuriからpostbackに変更し、dataを追加します。
"action": {
  "type": "postback",
  "label": "Add to Cart",
  "data": "action=buy&id=1&productName=バーガー&amount=500"
}
postbackからLINE Payの決済画面を呼び出す
postbackで返ってきたイベントをreserveに渡し、LINE Payの決済画面へ誘導します。
...
const queryString = require('querystring');
const pay = require('./pay');
...

function handleEvent(event) {
  ...
  if (event.type === 'postback') {
    const data = queryString.parse(event.postback.data);
    console.log({data: data})
    return pay.reserve(event, data.productName, data.amount);
  }

  if (event.type !== 'message' || event.message.type !== 'text') {
  ...
}
confirm画面へ
決済画面から返ってきたcallback urlからconfirm画面へ飛ばします
app.get("/pay/confirm", (req, res, next) => {
      console.log('called confirm path')

  if (!req.query.transactionId){
    console.log("Transaction Id not found.");
    return res.status(400).send("Transaction Id not found.");
  }
  pay.confirm(req.query.transactionId);
})
完成
もう一度「バーガー」と入力しカートを押すとLINE Payの決済画面に遷移し、決済可能できるbotが完成しました。

参考文献
gist
SDKを使わずにLINE Payも利用することが可能です。
Nodejs版を置いて置きます。直接httpリクエストを送っているため、多言語でも実装できると思います。