この記事について
「Hugoをインストール → テーマを反映 → サイトの内容を編集 → GitHub Pagesを利用して,公開するまでの手順」について,自分なりに書いてみました.
できる限り間違いのないように心掛けてはいますが,参考程度でお願いします.
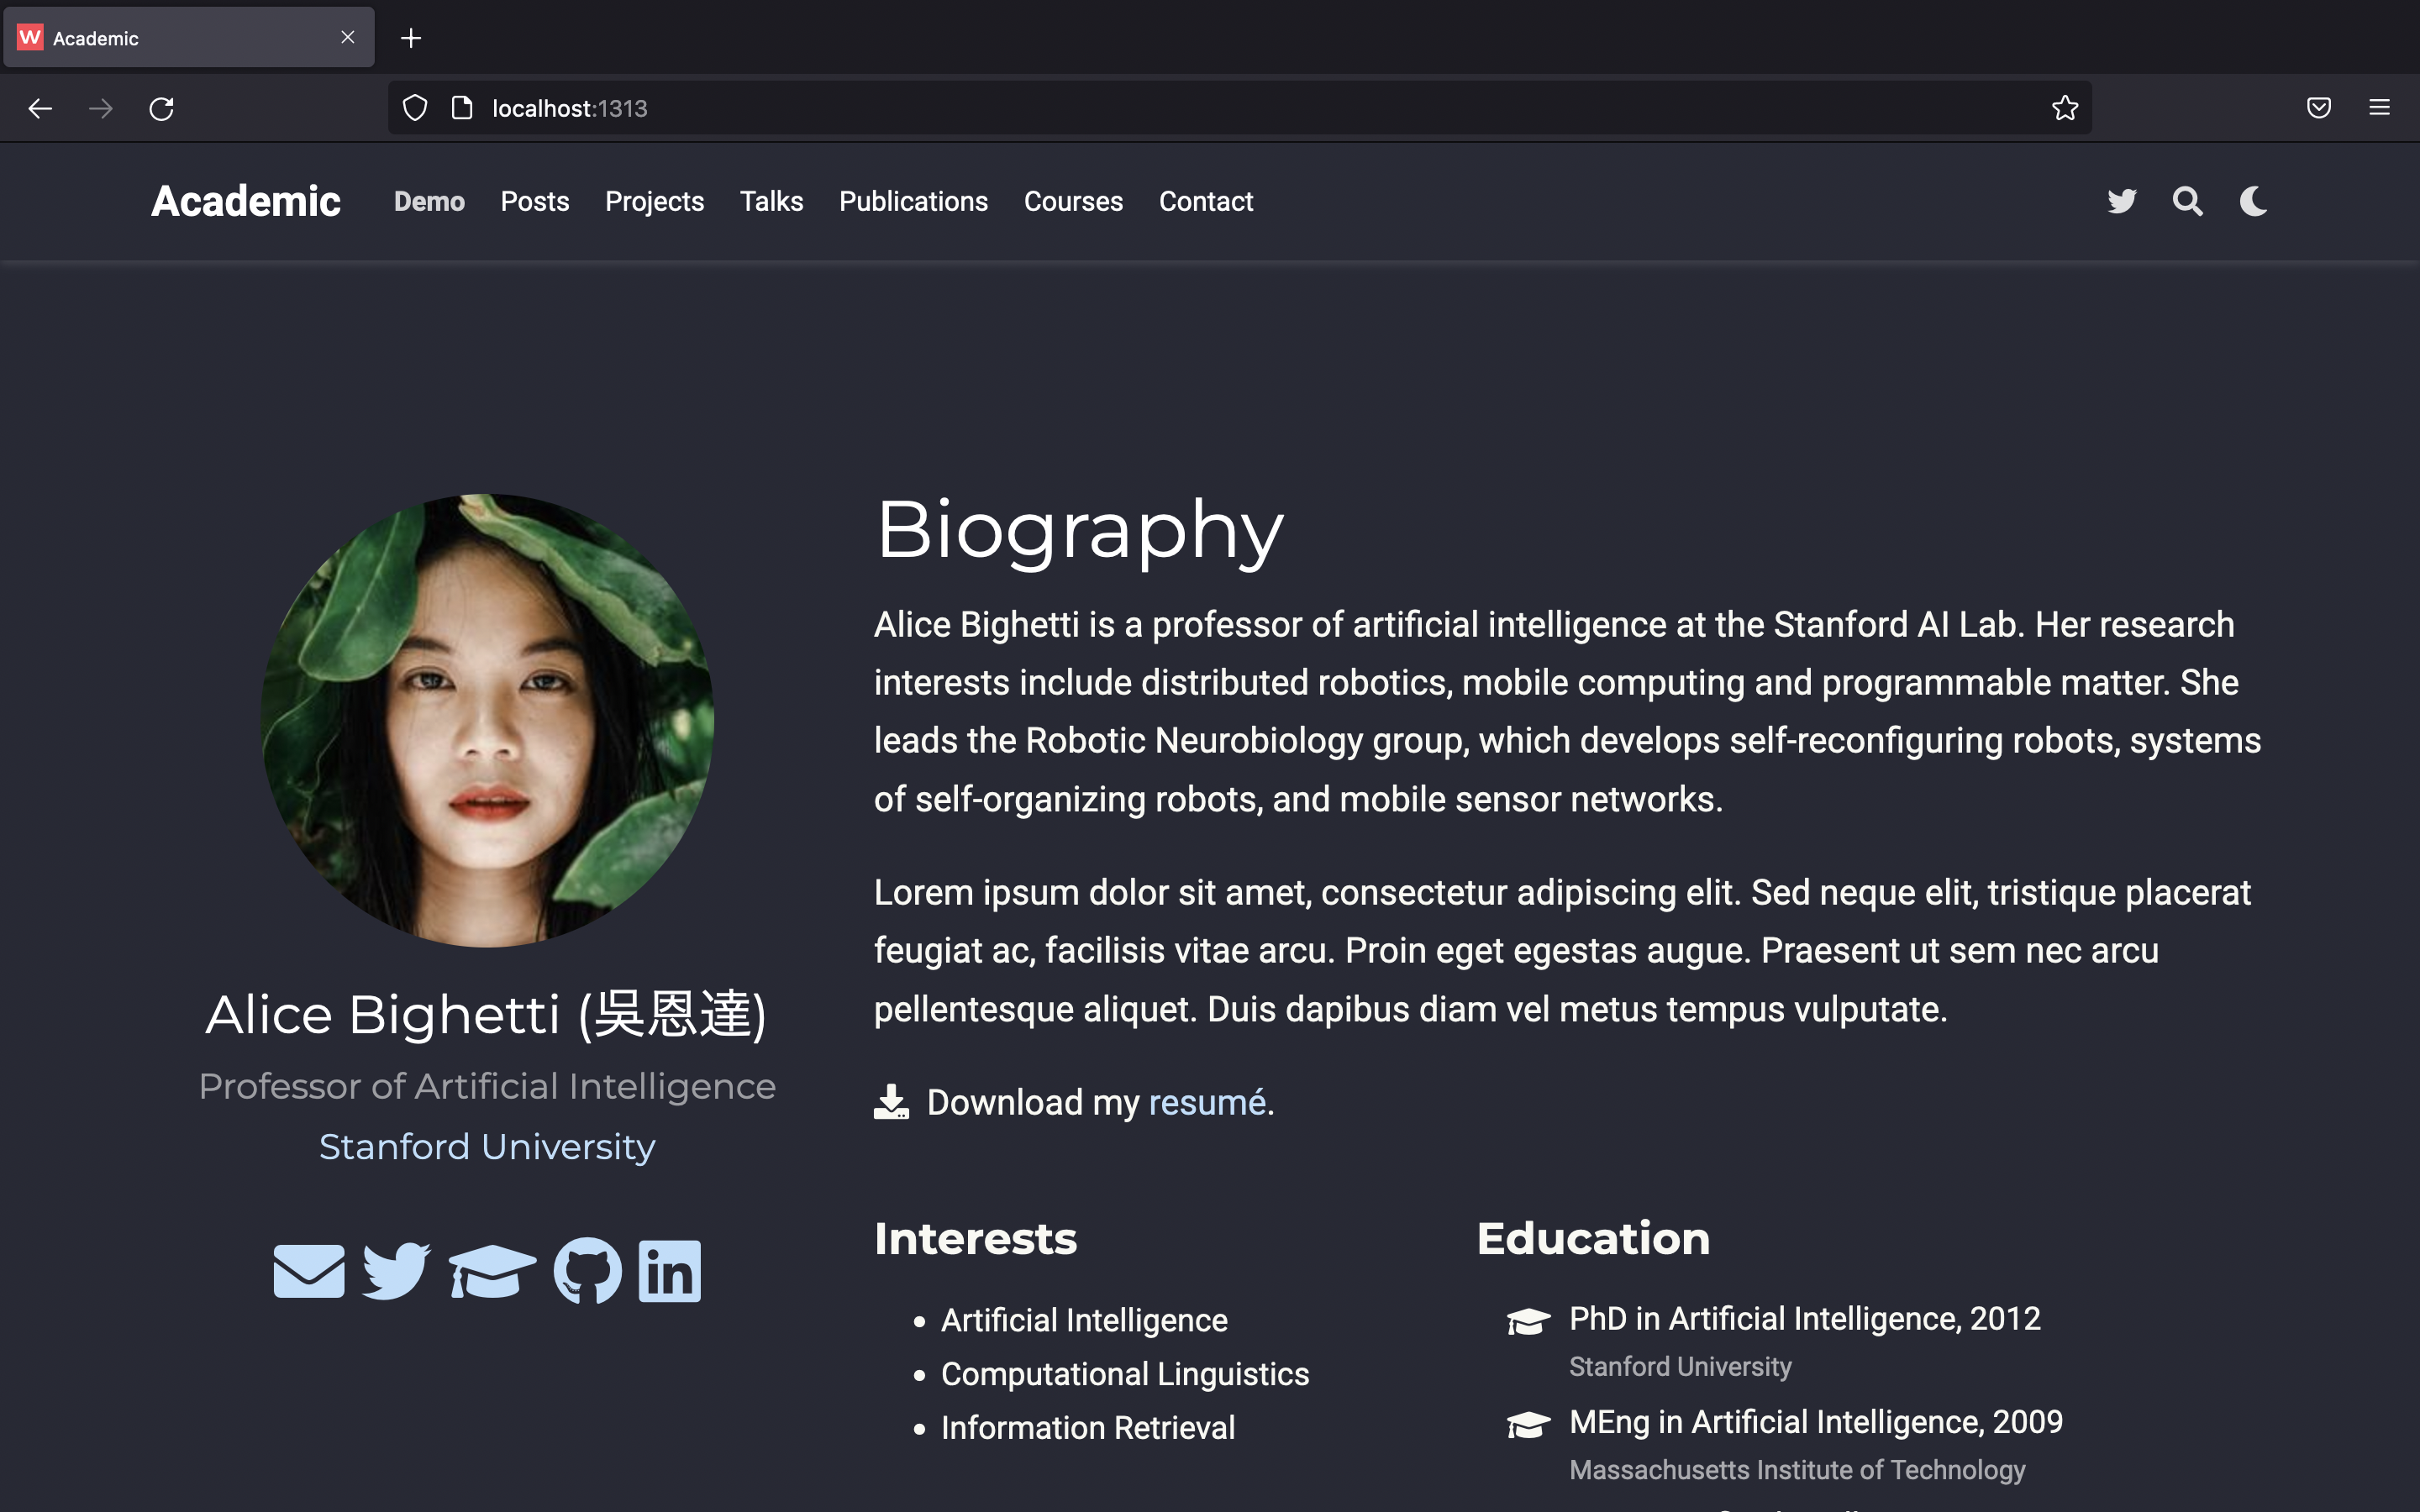
ちなみに,自分の作成したWebページはこんな感じになってるので,良かったら見てやってください.
本環境
- Macbook Air
- Apple M1
- macOS Monterey(ver. 12.3.1)
- Homebrew 3.4.5
- go1.18
Hugoのインストール
- hugoのインストール
$ brew install hugo - hugoがインストールされたか確認
$ hugo -help
HugoによるWebサイトの雛型作成および簡単な動作確認
- 任意の場所で,以下のコマンドを入力する
$ hugo new site <作成する雛型の名前>
今回は,my-siteという名前で作成する.~ $ hugo new site my-site Congratulations! Your new Hugo site is created in /Users/<ユーザ名>/my-site. Just a few more steps and you're ready to go: 1. Download a theme into the same-named folder. Choose a theme from https://themes.gohugo.io/ or create your own with the "hugo new theme <THEMENAME>" command. 2. Perhaps you want to add some content. You can add single files with "hugo new <SECTIONNAME>/<FILENAME>.<FORMAT>". 3. Start the built-in live server via "hugo server". Visit https://gohugo.io/ for quickstart guide and full documentation. - ローカルサーバでWebサイトの表示確認
作成した作業用ディレクトリ(雛型)に移動し,$ hugo serverを入力.
  ~ $ cd my-site
  ~/my-site $ hugo server
                     | EN
  -------------------+-----
    Pages            |  3
    Paginator pages  |  0
    Non-page files   |  0
    Static files     |  0
    Processed images |  0
    Aliases          |  0
    Sitemaps         |  1
    Cleaned          |  0

   Built in 4 ms
   Watching for changes in /Users/<ユーザ名>/my-
   site/{archetypes,content,data,layouts,static}
   Watching for config changes in /Users/<ユーザ名>/my-site/config.toml
   Environment: "development"
   Serving pages from memory
   Running in Fast Render Mode. For full rebuilds on change: hugo server --
   disableFastRender
   Web Server is available at http://localhost:1313/ (bind address 127.0.0.1)
   Press Ctrl+C to stop
http://localhost:1313/をWebブラウザで確認すると,真っ白なWebページが表示されるはず.
真っ白な理由はWebページのレイアウトを何も記述していないため.
Hugoのテーマをインストールして,ローカルの作業環境に反映させる
-
Hugoの公式ページにテーマ一覧があるので,そこから好きなテーマを選ぶ.今回はAcademicを選択
※選択するテーマによっては,$ hugo new site <作成する雛型の名前>の後ろに,オプション-f=yamlをつける必要がある.(Hugo設定ファイルについて) -
テーマのダウンロードとローカルの作業環境に反映
それぞれのテーマのWebページに記載されている通りの手順に従えば,自身のローカル作業環境に反映される.
以下に,一例を紹介しておく.
コマンドラインによる方法
先ほど作成した雛型のディレクトリ内に,themesフォルダが存在していることが確認できる.このthemesフォルダ下に,使いたいテーマのデータを保存する.
~/my-site $ ls
archetypes	config.toml	content		data		layouts		static		themes
~/my-site $ cd themes
~/my-site/themes $ git clone https://github.com/sourcethemes/academic-kickstart.git
保存がうまくいくと,次のようなディレクトリとその中身が確認できる.
/themes $ ls
academic-kickstart
/themes $ ls academic-kickstart
LICENSE.md		    config			go.mod			    static
README.md		    content			images			    theme.toml
academic.Rproj		data			netlify.toml		update_wowchemy.sh
assets			    exampleSite		scripts			    view.sh
このacademic-kickstart下にあるexampleSiteの内容を,作成した雛型直下(今回はmy-site)にコピーする.
ディレクトリや名前が重複するファイルを含むため,オプションコマンド-rと-fを指定する.
/themes $ cp -r -f academic-kickstart/exampleSite/* ../
コピーを完了させて,雛型直下(今回はmy-site)に移り,コマンド$ hugo serverを再度実行して,http://localhost:1313/を確認すると,選択したテーマが反映されていることが確認できるはず.
これで,HugoによるWebサイトの雛型作成およびテーマの反映が完了.
サイトの内容を編集する
サイトの内容を書き換えるのは,基本的にはmy-site/content下にある内容を書き換えていく.今回の場合は,authorsとhome下にある内容を見ながら書き換えていくことになると思う.
/my-site % cd ./content
/my-site/content % tree
.
├── _index.md
├── admin
│   └── index.md
├── authors
│   ├── admin
│   │   ├── _index.md
│   │   └── avatar.jpg
│   └── 吳恩達
│       ├── _index.md
│       └── avatar.jpg
├── courses
│   ├── _index.md
│   └── example
│       ├── _index.md
│       ├── featured.jpg
│       ├── python.md
│       ├── stats.md
│       └── visualization.md
├── event
│   ├── _index.md
│   └── example
│       ├── featured.jpg
│       └── index.md
├── home
│   ├── about.md
│   ├── accomplishments.md
│   ├── contact.md
│   ├── demo.md
│   ├── experience.md
│   ├── featured.md
│   ├── gallery.md
│   ├── hero-academic.png
│   ├── hero.md
│   ├── index.md
│   ├── posts.md
│   ├── projects.md
│   ├── publications.md
│   ├── skills.md
│   ├── tags.md
│   └── talks.md
├── post
│   ├── _index.md
│   ├── getting-started
│   │   ├── featured.jpg
│   │   └── index.md
│   ├── jupyter
│   │   ├── featured.png
│   │   ├── index.ipynb
│   │   ├── index.md
│   │   └── index_1_0.png
│   └── writing-technical-content
│       ├── featured.jpg
│       ├── index.md
│       └── line-chart.json
├── privacy.md
├── project
│   ├── external-project
│   │   ├── featured.jpg
│   │   └── index.md
│   └── internal-project
│       ├── featured.jpg
│       └── index.md
├── publication
│   ├── _index.md
│   ├── conference-paper
│   │   ├── cite.bib
│   │   ├── featured.jpg
│   │   └── index.md
│   ├── journal-article
│   │   ├── cite.bib
│   │   ├── featured.jpg
│   │   └── index.md
│   └── preprint
│       ├── featured.jpg
│       └── index.md
├── slides
│   └── example
│       └── index.md
└── terms.md
書き換えた内容は,ローカルサーバを起動し続けている限り自動的に反映されていく.(反映されない場合は,一度サーバを終了させてから再度起動することで反映されるはず)
静的ページの生成
ローカル環境で作成したサイトを静的ページとして生成するには,雛型直下(今回はmy-site)でコマンド$ hugoを入力することで得られる.すると,my-site下にpulicフォルダが生成されているはずである.
/my-site $ hugo
/my-site % ls
archetypes	config.toml	go.mod		netlify.toml	static
assets		content		go.sum		public		themes
config		data		layouts		resources
この生成された,public下にあるファイルを利用したいサーバにアップロードすることで作成したWebページを公開することができる.
作成したWebページを公開する
作成したWebページを公開する方法は色々あるが,今回はGitHub Pagesを利用した方法で行う.
GitのインストールやGitHubのアカウントの作成方法などは,ここでは割愛する.
- 作成したWebページをアップロードするためのレポジトリを作成
自身のGitHubより,新たなレポジトリを作成する.
このときにレポジトリの名前は,[アカウント名].github.ioにする. - 作成したレポジトリをローカル環境にcloneする
~ $ git clone https://github.com/[アカウント名]/[アカウント名].github.io.git - cloneしたレポジトリに,先ほど生成した
public下にあるファイルを反映させ,pushさせる/my-site $ cp -r public/* ../[アカウント名].github.io /my-site $ cd ../[アカウント名].github.io /[アカウント名].github.io $ git add . /[アカウント名].github.io $ git commit -m "commit" /[アカウント名].github.io $ git push origin main - https://[アカウント名].github.io/ にアクセスすると,作成したWebページが見れるようになっているはずである.(反映されるまでに多少の時間はかかるかもしれない)