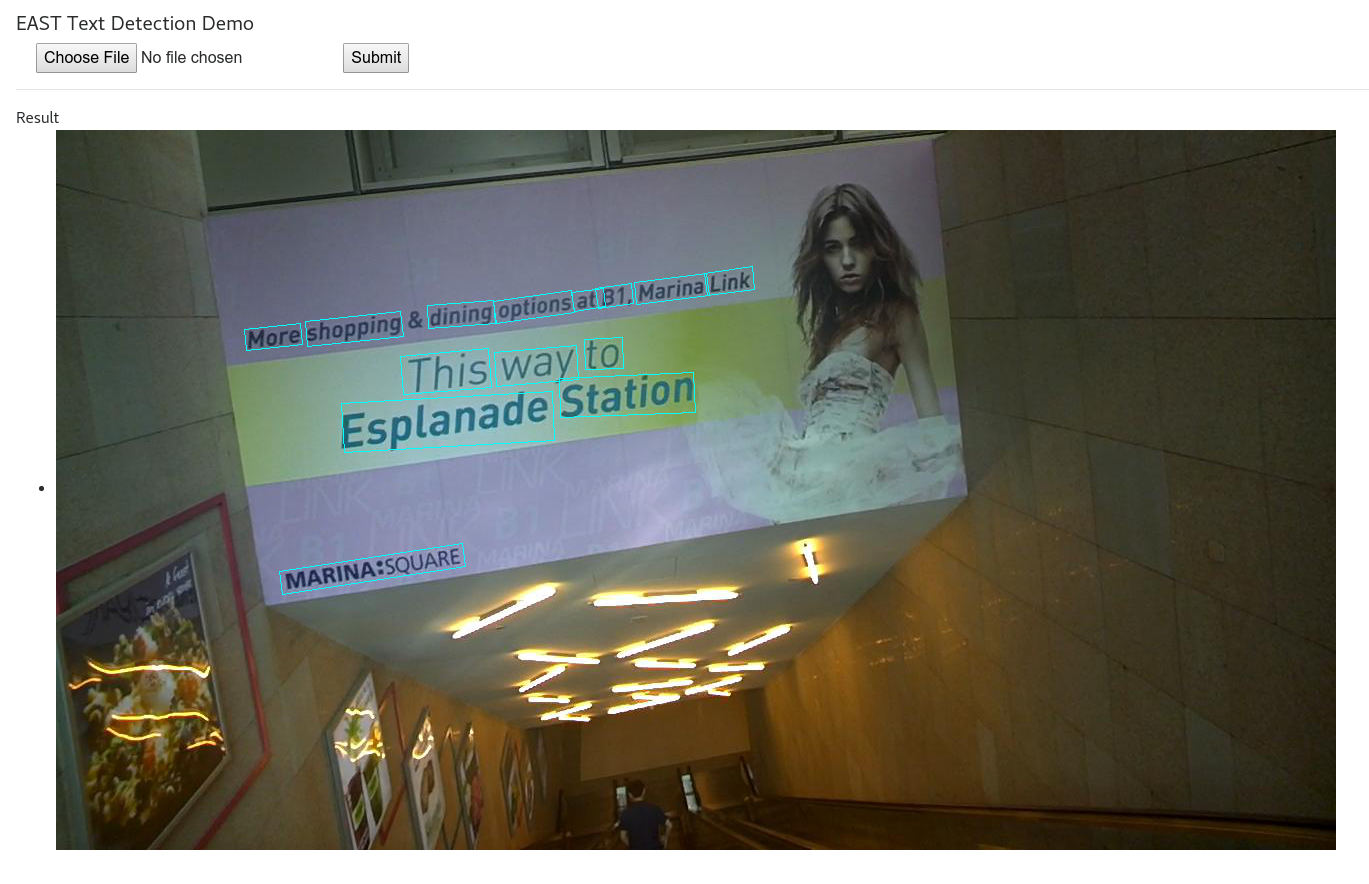
EASTを動かしてみました。
EAST: An Efficient and Accurate Scene Text Detector (https://github.com/argman/EAST)
テキストを検出できるすぐれもので、↓こういうことができるらしいです。

Demoページはこちら。まずは実際に手持ちの画像で試してみてください。
http://east.zxytim.com/
【My環境】
ノートPC: ALIENWARE 15 R13
OS: Ubuntu 16.04 LTS(Windowsマシンでデュアルブート)
MEMORY: 16GB
GPU: GeForce GTX 1070
CUDA: 8.0
Python: 3.5(virtualenv)
OpenCV(3.3)
TensorFlow(1.4)
前提条件
- CUDAのセットアップが完了
- OpenCVインストール済み
- TensorFlowインストール済み(私はCUDA8.0を利用しているためTensorFlow 1.4を使用しています。ご使用の環境に合わせてください。EASTはTensorFlowが1.0のバージョンでも動くらしいです。)
作業用ディレクトリを作成
$ mkdir workspace
ディレクトリ移動
$ cd workspace
EASTをclone
$ git clone https://github.com/argman/EAST.git
ディレクトリ移動
$ cd EAST
必要なものをインストールします
$ pip install -r requirements.txt
もし、下記のエラーが出た場合、libgeos-devをインストールしましょう。($ sudo apt-get install libgeos-dev)
Downloading Shapely-1.5.13.tar.gz (176kB)
    100% |████████████████████████████████| 184kB 936kB/s
    Complete output from command python setup.py egg_info:
    Failed `CDLL(libgeos_c.so.1)`
    Failed `CDLL(libgeos_c.so)`
    Traceback (most recent call last):
      File "<string>", line 1, in <module>
      File "/tmp/pip-build-lx_i2wdn/Shapely/setup.py", line 38, in <module>
        from shapely._buildcfg import geos_version_string, geos_version, \
      File "/tmp/pip-build-lx_i2wdn/Shapely/shapely/_buildcfg.py", line 167, in <module>
        fallbacks=['libgeos_c.so.1', 'libgeos_c.so'])
      File "/tmp/pip-build-lx_i2wdn/Shapely/shapely/_buildcfg.py", line 161, in load_dll
        libname, fallbacks or []))
    OSError: Could not find library geos_c or load any of its variants ['libgeos_c.so.1', 'libgeos_c.so']
学習済みのモデルをダウンロードします
https://drive.google.com/open?id=0B3APw5BZJ67ETHNPaU9xUkVoV0U
解凍。解凍したファルダをEastのディレクトリに移動します。
$ unzip east_icdar2015_resnet_v1_50_rbox.zip
削除
$ rm -rf east_icdar2015_resnet_v1_50_rbox.zip
試しに起動してみましょう。
$ python run_demo_server.py --checkpoint-path east_icdar2015_resnet_v1_50_rbox/
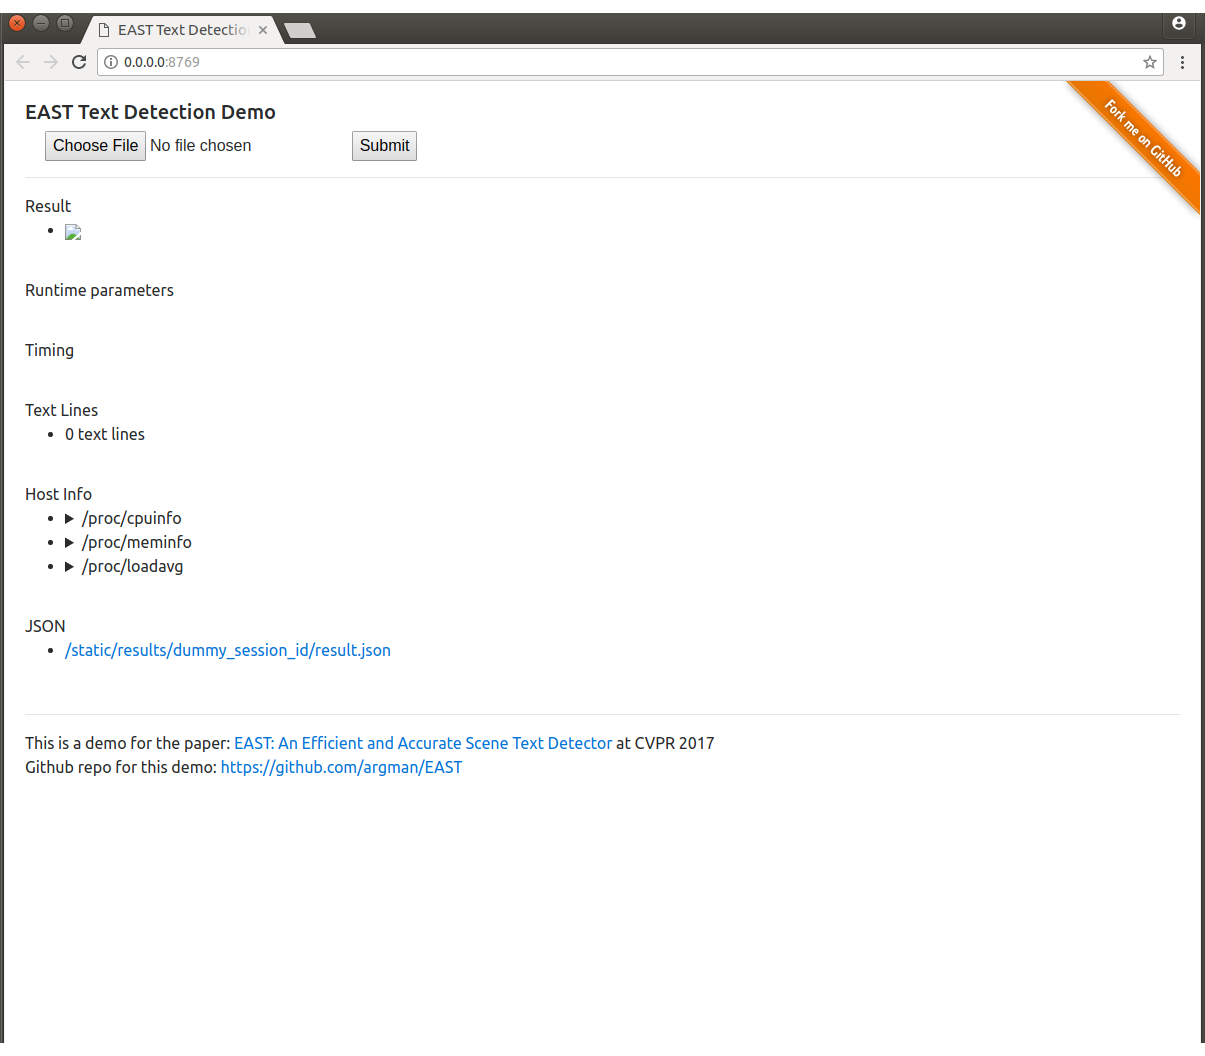
以下のように表示されるのでアクセスします
* Running on http://0.0.0.0:8769/ (Press CTRL+C to quit)
Choose Fileで使用したい画像を選択して、Submitボタンを押します(ここから失敗します)
するとInternal Server Errorと表示されました(※あとで実際のエラー画像を用意する)
このままでは詳細がわからないのでrun_demo_server.pyのdebugをTrueに変更します。
# app.debug = args.debug
    app.debug = True
一旦run_demo_server.pyを止めて(Ctrl+C)、再び起動したあと画像を選択してSubmitボタンを押します
$ python run_demo_server.py --checkpoint-path east_icdar2015_resnet_v1_50_rbox/
すると今度は以下のエラーが表示されていると思います
RuntimeError: module compiled against API version 0xc but this version of numpy is 0xa
requirements.txtでnumpyのバージョンを確認するとnumpy==1.12.1が記述されていました。一旦アンインストールします。
$ pip uninstall numpy
その後、1.14.1のバージョンのnumpyをインストール
$ pip install numpy==1.14.1
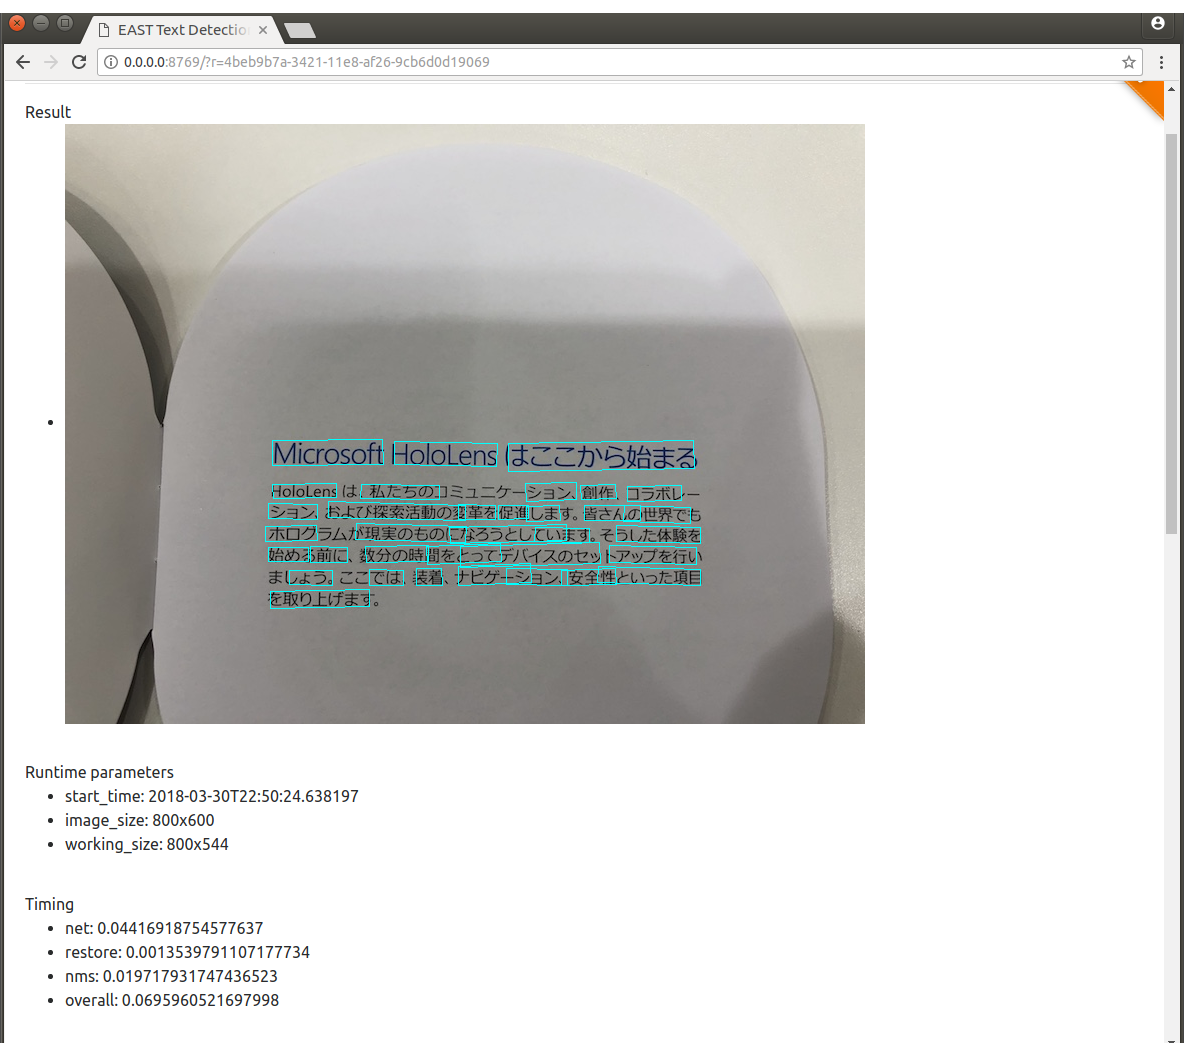
それではもう一度run_demo_server.pyを起動して画像を投げてみましょう (ノ・ω・)ノ:・
$ python run_demo_server.py --checkpoint-path east_icdar2015_resnet_v1_50_rbox/
動きました!

