Index
1.VueCLIでHelloWorld
2.Vue.jsでフォームを使おう
3.Vue.jsで単一ファイルコンポーネント
4.Vue.jsでAPI通信
5.Vue.jsで猫検索アプリ作成
6.おまけ
0. 事前準備
ソース・ファイルのチェックアウト
https://github.com/MariMurotani/my-project.git
ブランチを07_materialize_integrationに切り替えます。
1. Materialize CSSのとJqueryインテグレーション
今回はCDNを使って、html内に直接ロードします。
<link rel="stylesheet" href="https://cdnjs.cloudflare.com/ajax/libs/materialize/0.98.0/css/materialize.min.css">
<script
      src="https://code.jquery.com/jquery-3.2.1.min.js"
      integrity="sha256-hwg4gsxgFZhOsEEamdOYGBf13FyQuiTwlAQgxVSNgt4="
      crossorigin="anonymous"></script>
2.画像表示用の単一ファイルコンポーネント作成
2.1 データの設定
まずは、jsonデータをexport defaultのdata()内に設定します。
  data () {
    return {
      items: [
        {title: '猫1', comment: 'すき', image: '/static/images1.jpeg', like: true},
        {title: '猫2', comment: 'ラブ', image: '/static/images2.jpeg', like: false},
        {title: '猫2', comment: 'ラブ', image: '/static/images3.jpeg', like: true},
        {title: '猫1', comment: 'すき', image: '/static/images4.jpeg', like: false},
        {title: '猫2', comment: 'ラブ', image: '/static/images5.jpeg', like: false},
        {title: '猫2', comment: 'ラブ', image: '/static/images6.jpeg', like: false}
      ]
    }
  }
2.2 v-for構文を使ってitemsをループで回しましょう。
v-forの中で,先程設定したitem,indexが参照できるようになります。
<div class="float_image" v-for="(item, index) in items">
........
</div>
2.3 v-bindを使ってclassの出し分けをします。
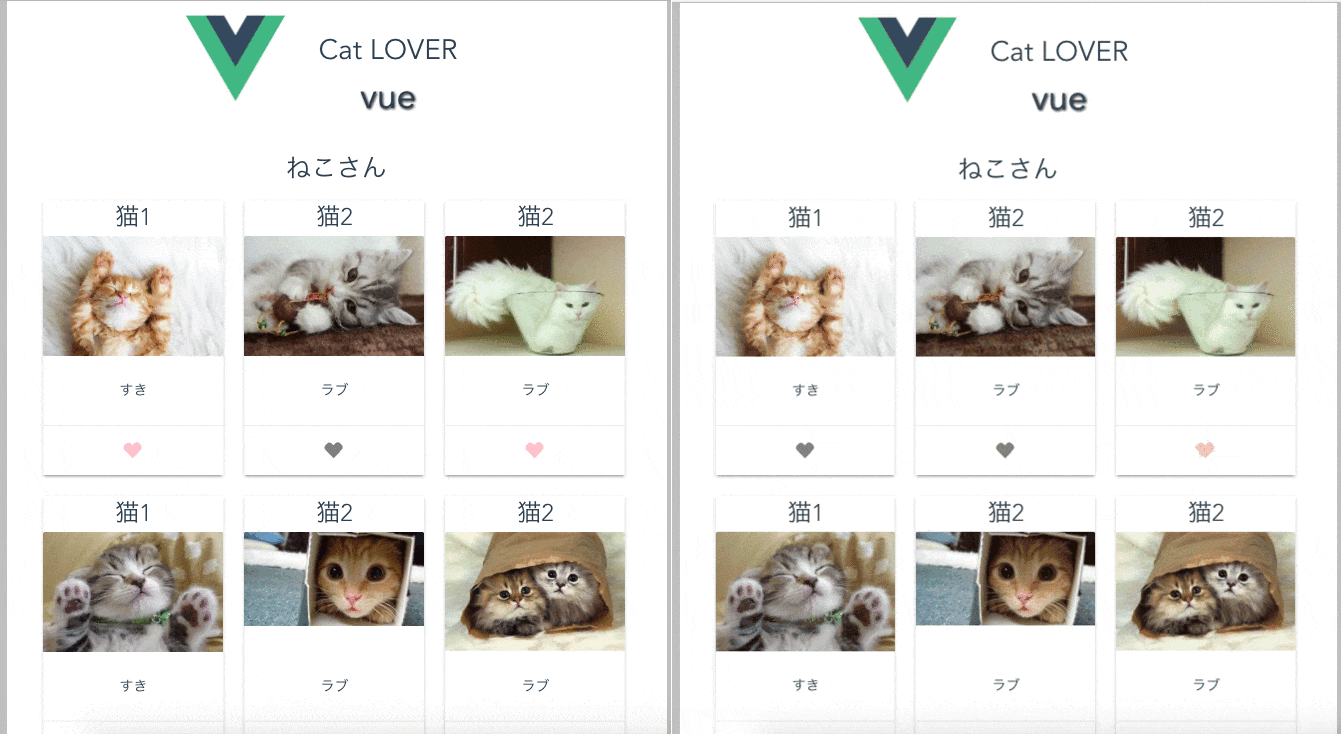
item.likeがtrueのときは、class="heart",item.likeがfalseのときは、class="heart_disable"になります。
v-n:clickをつかってクリックイベントにlikeメソッドを指定しましょう。
<div :class="{ heart: item.like , heart_disable: !item.like }" v-on:click="like(index, $event)"></div>
2.4 likeイベントの実装
methodsの中に、likeメソッドを作成しましょう。
this.items[index].like = !this.items[index].like
でデータのON/OFFを切り替えます。
データ更新を受取り、domが再描画され、ハートの色が灰色←→ピンクに変わっていきます。
 methods: {
    like: function (index, event) {
      this.items[index].like = !this.items[index].like
      this.send(index, this.items[index].like)
    },
    send: function (index, boolean) {
      //  send ajax request to add like!
    }
  }
3. Scene2に2で作成したコンポーネントを追加する
<image-panel-container class="image_panel"></image-panel-container>
