Index
1.VueCLIでHelloWorld
2.Vue.jsでフォームを使おう
3.Vue.jsで単一ファイルコンポーネント
4.Vue.jsでAPI通信
5.Vue.jsで猫検索アプリ作成
6.おまけ
1.前提条件
Vue-CLIのインストールを終わらせておく事
2.フォームを作成
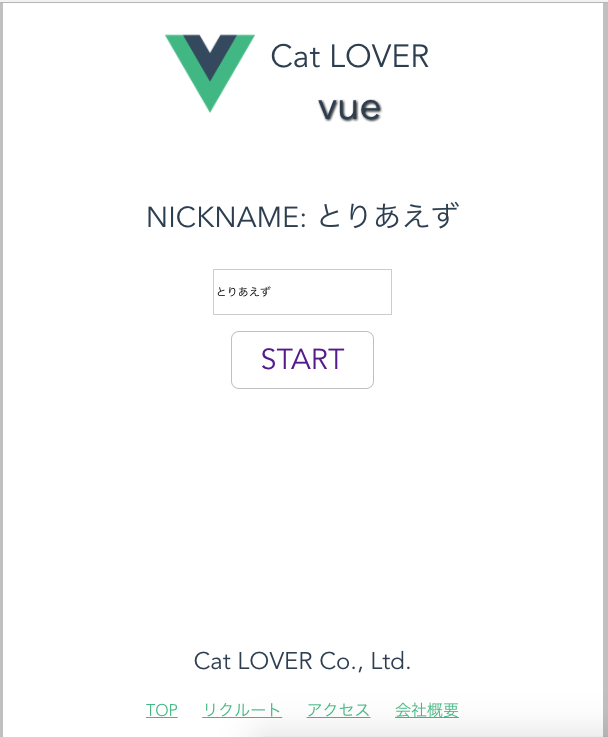
Scene1.vueを編集していきます。
まずは一番単純なテキストボックスとデータバインディングを試してみましょう。
テキストボックスに文字を入力するとそのまま上部に文字が表示されます。
これが有名な「バインディング」という機能です。
STARTボタンを押すとScene2がレンダリングされるようになっています。
<template>
  <div class="scene1">
    <p class="name">NICKNAME: {{ nickname }}</p>
    <input class="input" v-model="nickname" placeholder="NICKNAMEを入力してください。">
    <router-link to="/scene2" class="button">START</router-link>
  </div>
</template>

<script>
export default {
  name: 'nickname',
  data () {
    return {
      nickname: ''
    }
  }
}
</script>

  <!-- Add "scoped" attribute to limit CSS to this component only -->
<style scoped lang="scss">
.scene1{
  font-size: 1.8rem;
  text-align: center;
  a div p{
    display: block;
    margin: 0 auto;
    height:30pt;
  }
}
.input{
  width: 130pt;
  height:30pt;
}
.button {
  display: block;
  position: relative;
  margin: 0 auto;
  width: 70pt;
  border: solid 1px silver;
  border-radius: 0.5rem 0.5rem;
  padding: 0.5rem 1.5rem;
  margin-top: 1rem;
  text-decoration: none;
}
</style>
3. カスタムコンポーネントの作成
やがて、Scene2でも同じように名前を表示したいと思いますので、
ここで、再利用可能なコンポーネントを作ろうと思います。
まずは、Scene1のリファクタリングから入ります。
名前を表示するラベル「NickNameHeader」と入力フォームの「InputText」を作成します。
- Vue.extendを継承してコンポーネントを作成
- Vue.componentに登録
- <template></template>内で参照
<template>
  <div class="scene1">
    <nickname-header></nickname-header>
    <input-text></input-text>
    <router-link to="/scene2" class="button">START</router-link>
  </div>
</template>

<script>
//  インポートします。
import Vue from 'vue'

//  デフォルト値定義
export default {

}

//  ニックネーム表示用のヘッダーコンポーネントを作成
var NickNameHeader = Vue.extend({
  name: 'nickname_header',
  template: '<div class="nickname">{{ property.nickname }}</div>',
  data: function () {
    return {
      property: {
        nickname: 'Default value'
      }
    }
  }
})
//  コンポーネントを登録
Vue.component('nickname-header', NickNameHeader)

//  インプットフォーム用のコンポーネントを作成
var InputText = Vue.extend({
  name: 'nickname_input',
  template: '<input class="input" placeholder="NICKNAMEを入力してください。">',
  data: function () {
    return {
      property: {
        nickname: ''
      }
    }
  }
})
//  コンポーネントを登録
Vue.component('input-text', InputText)

</script>

<!-- Add "scoped" attribute to limit CSS to this component only -->
<style scoped lang="scss">
.scene1{
  font-size: 1.8rem;
  text-align: center;
  a div p{
    display: block;
    margin: 0 auto;
    height:30pt;
  }
}
.nickname{
  display: block;
  height: 3rem;
}
.input{
  width: 130pt;
  height:30pt;
}
.button {
  display: block;
  position: relative;
  margin: 0 auto;
  width: 70pt;
  border: solid 1px silver;
  border-radius: 0.5rem 0.5rem;
  padding: 0.5rem 1.5rem;
  margin-top: 1rem;
  text-decoration: none;
}
</style>
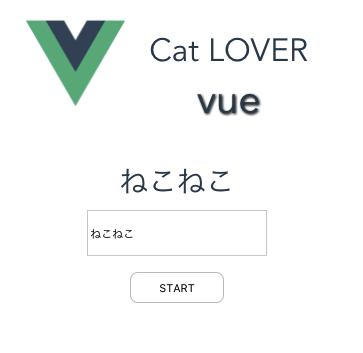
今回のサンプルではデータのバインディングをしていないので先程のようにフォームに入力してもテキストは変更されません。
4. データバインディングを実装
上述のサンプルのv-modelでのデータバインディングをより具体的に記述していきます。
[カスタムコンポーネント]
(https://jp.vuejs.org/v2/guide/components.html)と[状態管理](https://jp.vuejs.org/v2/guide/state-management.html)を利用します。
データバインドしつつ、ボタンを押したらバリデーションをする所までやってみます。
- Storeを作成
- コンポーネントのデータに設定
- Storeにバリデーションをつけてボタンクリックで呼び出し
- バリデーションが通ったらScene2にリダイレクト
<template>
  <div class="scene1">
    <nickname-header></nickname-header>
    <input-text></input-text>
    <input-button></input-button>
  </div>
</template>

<script>
//  インポートします。
import Vue from 'vue'

//  デフォルト値定義
export default {
  data () {
    return {

    }
  }
}

//  データストア
var PropertyStore = {
  debug: true,
  state: {
    property: {
      type: '1',
      nickname: ''
    }
  },
  validate () {
    this.debug && console.log('setMessageAction triggered with', this.state.property.nickname)

    console.log(this.state.property.nickname.length)
    if (this.state.property.nickname.length <= 3) {
      throw new Error('3文字以上入力してください')
    }
    return true
  }
}

//  ニックネーム表示用のヘッダーコンポーネントを作成
var NickNameHeader = Vue.extend({
  name: 'nickname_header',
  template: '<div class="nickname">{{ sharedState.state.property.nickname }}</div>',
  data: function () {
    return {
      privateState: {},
      sharedState: PropertyStore
    }
  }
})
//  コンポーネントを登録
Vue.component('nickname-header', NickNameHeader)

//  インプットフォーム用のコンポーネントを作成
var InputText = Vue.extend({
  name: 'nickname_input',
  template: '<input class="input" v-model="sharedState.state.property.nickname" placeholder="NICKNAMEを入力してください。">',
  data: function () {
    return {
      privateState: {},
      sharedState: PropertyStore
    }
  }
})

//  コンポーネントを登録
Vue.component('input-text', InputText)

//  ボタン用のコンポーネントを作成
var InputButton = Vue.extend({
  name: 'input-button',
  template: '<button class="button" v-on:click="validate">START</button>',
  data: function () {
    return {
      privateState: {},
      sharedState: PropertyStore
    }
  },
  methods: {
    validate: function (event) {
      console.log(this.$el)
      var valid = false
      try {
        valid = this.$data.sharedState.validate()
        if (valid) {
          this.$router.push('/scene2')
        }
      } catch (e) {
        alert(e.message)
      }
    }
  }
})
//  コンポーネントを登録
Vue.component('input-button', InputButton)
</script>

<!-- Add "scoped" attribute to limit CSS to this component only -->
<style scoped lang="scss">
.scene1{
  font-size: 1.8rem;
  text-align: center;
  a div p{
    display: block;
    margin: 0 auto;
    height:30pt;
  }
}
.nickname{
  display: block;
  height: 3rem;
}
.input{
  width: 130pt;
  height:30pt;
}
.button {
  display: block;
  position: relative;
  margin: 0 auto;
  width: 70pt;
  background-color: white;
  border: solid 1px silver;
  border-radius: 0.5rem 0.5rem;
  padding: 0.5rem 1.5rem;
  margin-top: 1rem;
  text-decoration: none;
}

</style>
5. リファクタリング
今回作成した部品を全てファイルに分割して適切な場所に配置します。
- Modelを分割
- カスタムコンポーネントを分割
- Scene2から参照
src配下にmodelsというディレクトリを作成してデータModelはこの配下に置くようにしましょう。
//  データストア
var PropertyStore = {
  debug: true,
  state: {
    property: {
      type: '1',
      nickname: ''
    }
  },
  validate () {
    this.debug && console.log('setMessageAction triggered with', this.state.property.nickname)

    console.log(this.state.property.nickname.length)
    if (this.state.property.nickname.length <= 3) {
      throw new Error('3文字以上入力してください')
    }
    return true
  }
}
export default PropertyStore
次にコンポーネントを分割します。componentsの下にformsディレクトリを作成してHeaders.jsをおきましょう。
//  インポートします。
import Vue from 'vue'
import PropertyStore from '../../models/PropertyStore.js'

//  ニックネーム表示用のヘッダーコンポーネントを作成
export var NickNameHeader = Vue.extend({
  name: 'nickname_header',
  template: '<div class="nickname">{{ sharedState.state.property.nickname }}</div>',
  data: function () {
    return {
      privateState: {},
      sharedState: PropertyStore
    }
  }
})

//  インプットフォーム用のコンポーネントを作成
export var InputText = Vue.extend({
  name: 'nickname_input',
  template: '<input class="input" v-model="sharedState.state.property.nickname" placeholder="NICKNAMEを入力してください。">',
  data: function () {
    return {
      privateState: {},
      sharedState: PropertyStore
    }
  }
})

//  ボタン用のコンポーネントを作成
export var InputButton = Vue.extend({
  name: 'input-button',
  template: '<button class="button" v-on:click="validate">START</button>',
  data: function () {
    return {
      privateState: {},
      sharedState: PropertyStore
    }
  },
  methods: {
    validate: function (event) {
      console.log(this.$el)
      var valid = false
      try {
        valid = this.$data.sharedState.validate()
        if (valid) {
          this.$router.push('/scene2')
        }
      } catch (e) {
        alert(e.message)
      }
    }
  }
})
最後に、分割したファイルをScene1で呼びます。
<template>
  <div class="scene1">
    <nickname-header></nickname-header>
    <input-text></input-text>
    <input-button></input-button>
  </div>
</template>

<script>
//  インポート
import Vue from 'vue'
import {NickNameHeader, InputText, InputButton} from './forms/Headers.js'

//  デフォルト値定義
export default {
  data () {
    return {

    }
  }
}
//  コンポーネントを登録
Vue.component('nickname-header', NickNameHeader)
//  コンポーネントを登録
Vue.component('input-text', InputText)
//  コンポーネントを登録
Vue.component('input-button', InputButton)

</script>

<!-- Add "scoped" attribute to limit CSS to this component only -->
<style scoped lang="scss">
.scene1{
  font-size: 1.8rem;
  text-align: center;
  a div p{
    display: block;
    margin: 0 auto;
    height:30pt;
  }
}
.nickname{
  display: block;
  height: 3rem;
}
.input{
  width: 130pt;
  height:30pt;
}
.button {
  display: block;
  position: relative;
  margin: 0 auto;
  width: 70pt;
  background-color: white;
  border: solid 1px silver;
  border-radius: 0.5rem 0.5rem;
  padding: 0.5rem 1.5rem;
  margin-top: 1rem;
  text-decoration: none;
}

</style>
随分にキレイなコードになりましたね!
6. カスタムコンポーネントを再利用
Scene2でScene1で使っているNickNameHeaderを再利用しましょう。
下記のようにScene2を書き換えます。
<template>
  <div class="scene2">
    <h2>シーン2だよ</h2>
    <nickname-header></nickname-header>

  </div>
</template>

<script>
//  インポート
import Vue from 'vue'
import {NickNameHeader} from './forms/Headers.js'

//  デフォルト値定義
export default {
  data () {
    return {

    }
  }
}
//  コンポーネントを登録
Vue.component('nickname-header', NickNameHeader)

</script>

  <!-- Add "scoped" attribute to limit CSS to this component only -->
<style scoped lang="scss">
.scene2{
  font-size: 1.8rem;
  text-align: center;
}
</style>
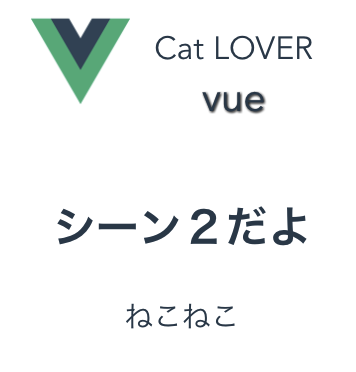
保存して実行すると、下記のような結果になります!
見事にScene1で使ったデータとコンポーネントをScene2へ引き継ぐ事ができました!
6. おまけ
........
      component: Hello
    },
    {
      path: '/',
      name: 'Index',
      redirect: { name: 'Scene1' }
    },
    {
      path: '/scene1',
........