今年(2022年)にAI画像生成ツールがラーメンを手で食べる画像が出来ると有名になった
・stable diffusionとは
Stable Diffusionは、2022年に公開されたディープラーニングのtext-to-imageモデルである。主にテキスト入力に基づく画像生成に使用されるが、他にもインペインティング、アウトペインティング、テキストプロンプトによって誘導される画像に基づく画像生成にも使用される。
※wikipediaより
絵のセンスが無い人でも、文字から画像生成出来るツールです。
・v1とv2の違い
生成される画像のデフォルトの解像度が512×512ピクセルとなるモデルと、768×768ピクセルとなるモデルを提供
画像を入力すると4倍の大きさにアップスケール可能なモデル
入力された画像の深度を推測し、深度とプロンプトから新たな画像を生成可能なモデル
画像(および変更したい部分を示すマスク画像)とプロンプトを入力すると、画像の一部だけをプロンプトに応じて書き換えるモデル
※ @IT atmarkit様より
v1が512x512ピクセルだけだったので、解像度が大きくなり良くなった。
他にはv1だと画像の一部編集ができなかったのが、v2で部分編集が実現したのが良かった。
・Stable Diffusion 2.0
Google Colabが無料で環境依存が無いので、Google Colabで画像生成することにします。
コードもnpaka様の作成を見て作ってみました。
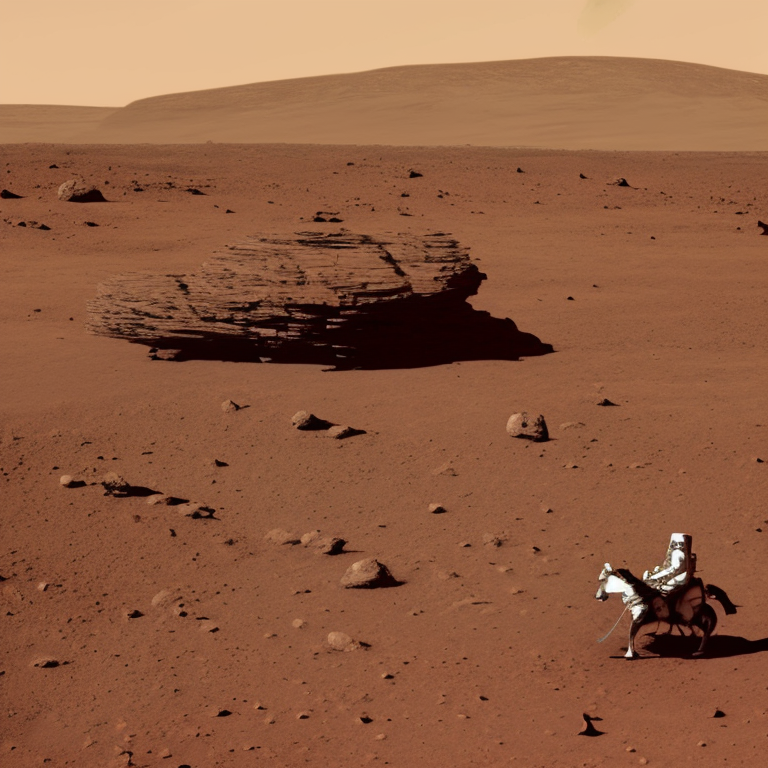
prompt = "a photo of an astronaut riding a horse on mars"
上記のダブルクォーテーション内に、画像生成したい文字列を英語で入れて、プログラムを動かします。
