経緯
先日,音と映像を用いたインタラクティブな作品を制作・展示しました
その際,いくつかVSTの形でサウンドエフェクトを作成し,そのノウハウが蓄積できたのでこちらに書き散らかそうと思います.
↓ その時の展示内容のシステムのデモを貼っておきます.
VSTとは
Steinberg's Virtual Studio Technology(一般的にはVST)とは、ソフトウェア・シンセサイザーやエフェクター・プラグインと波形編集ソフトウェアやデジタル・オーディオ・ワークステーション (DAW) 間のリアルタイムなデータ受け渡しを担い各種の加工などを施すプログラムを、プラグインとして提供するための標準的な規格の一つである。この規格に沿って制作されたプラグインは、多くが操作を容易にするためにGUIを採用している。(wikipediaより)
ここでは,サウンドエフェクトとしてのVST,その中でもVST3のサウンドエフェクトをいかに楽に開発できるかにフォーカスして書こうと思います.
開発
以下の手順で開発を行います.
- 仕様をまとめる
- 開発プロジェクトの作成
- Pythonでプロトタイプを作成
- Rust(nih-plug)でVST3を開発
- 実際に聞いて確かめる
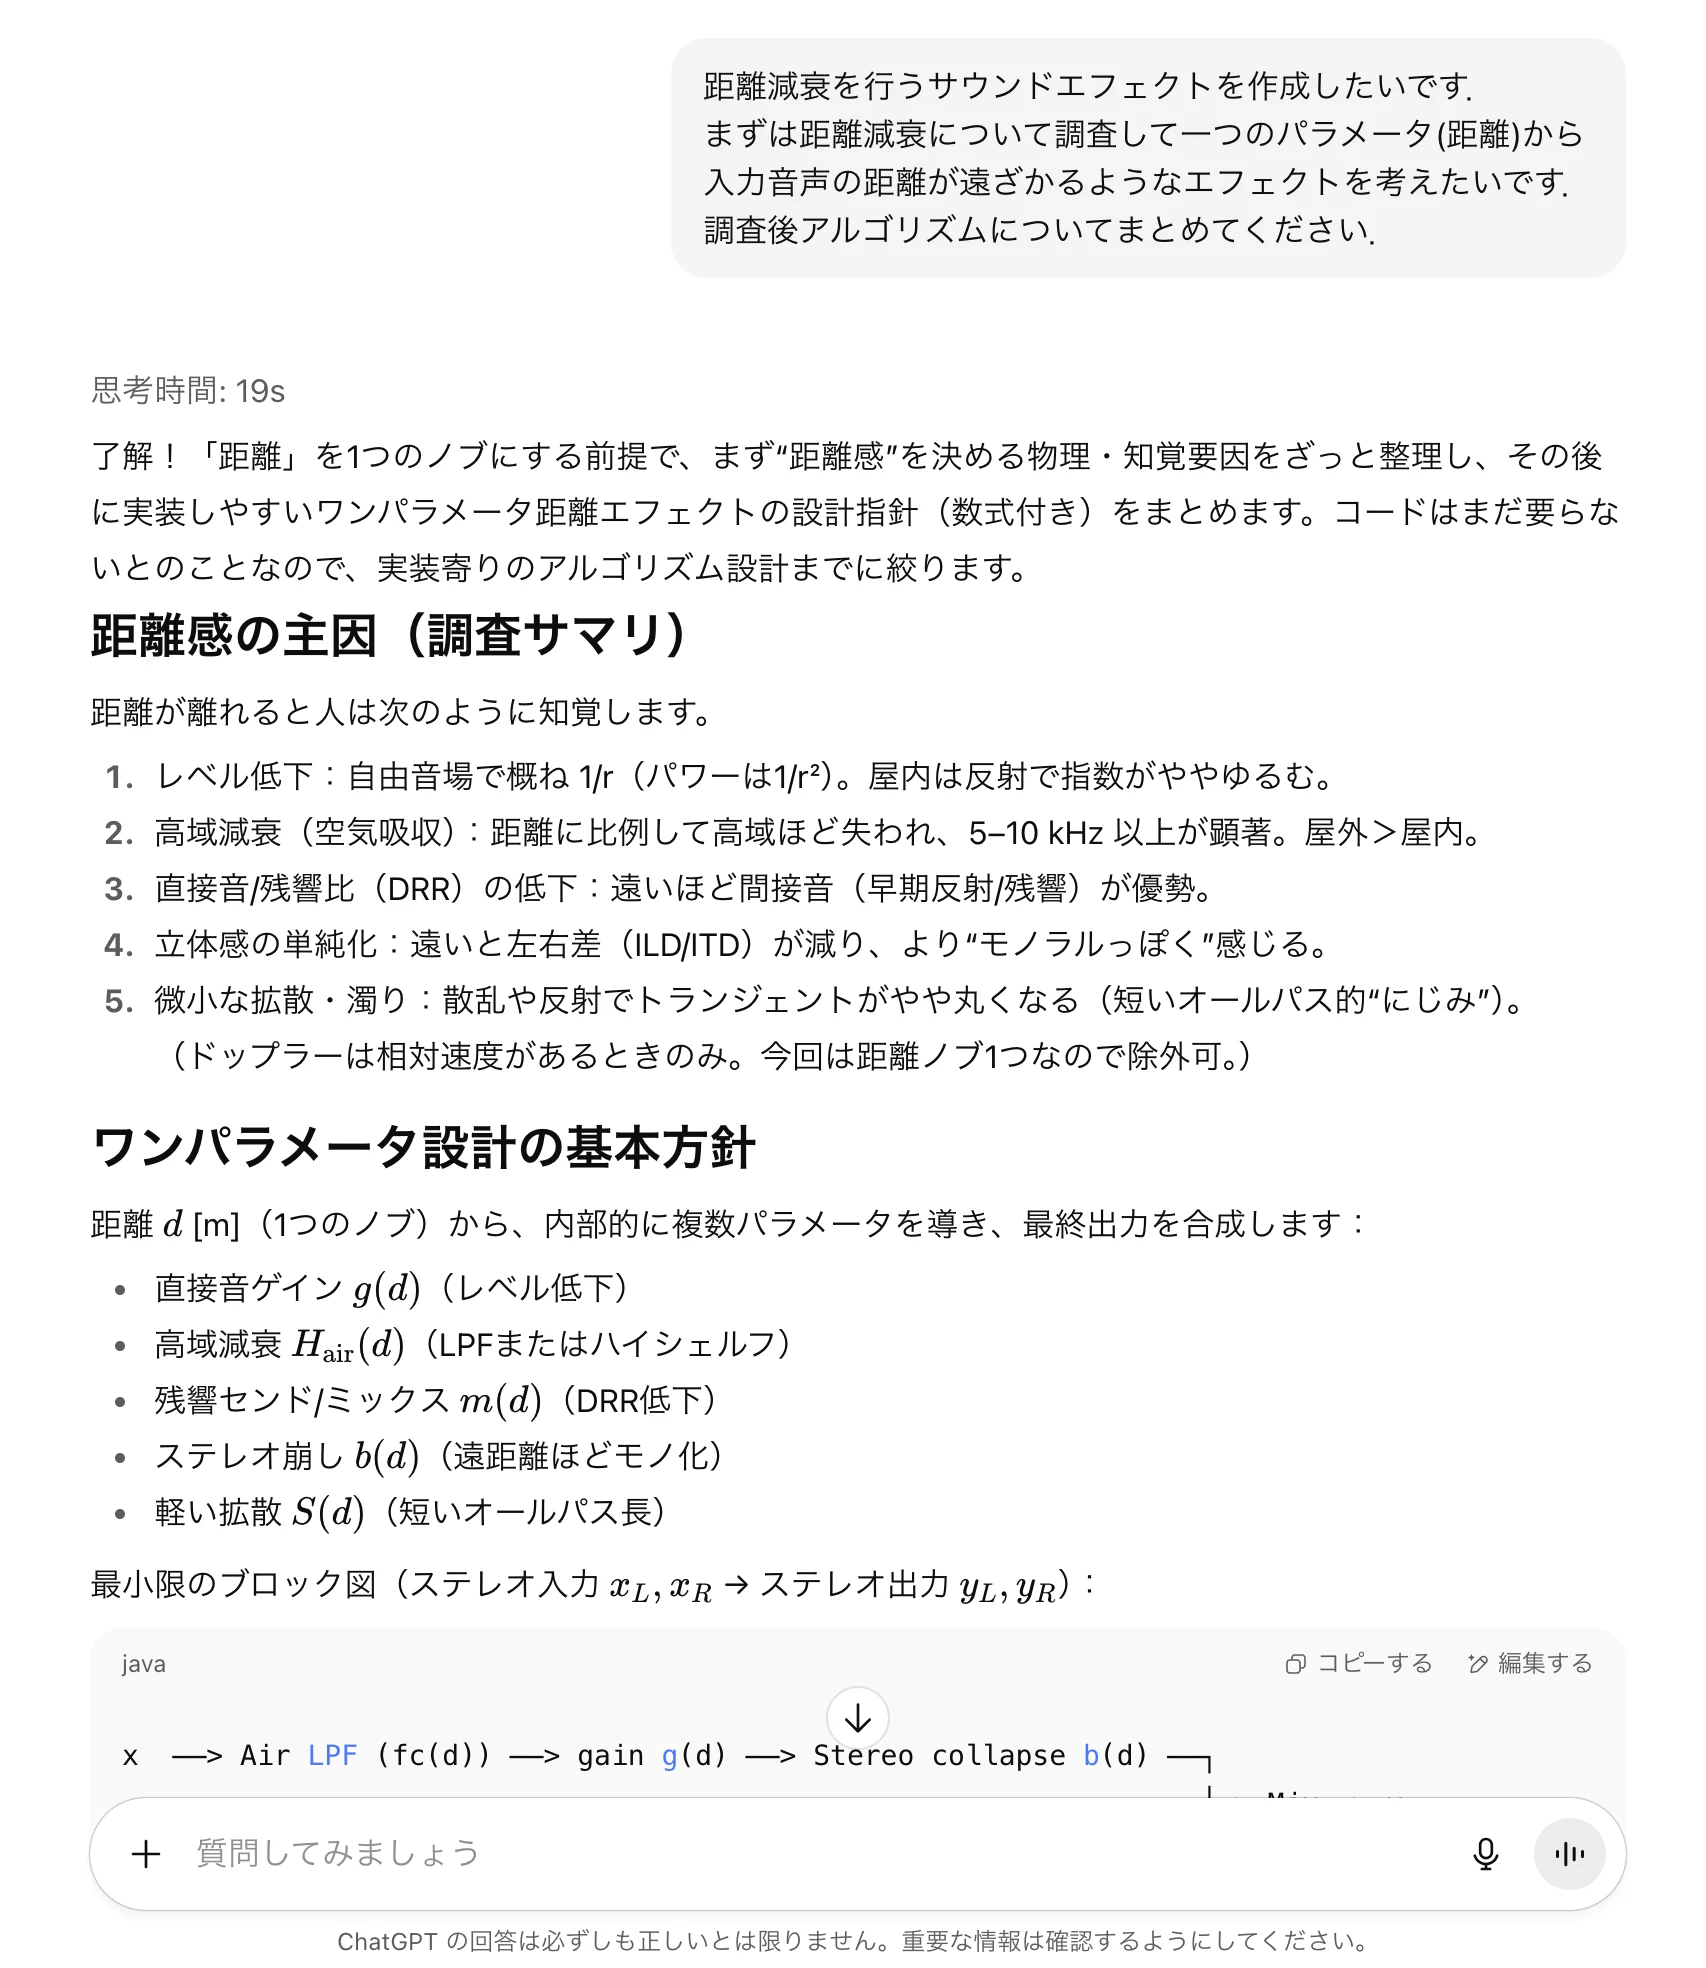
1. 仕様をまとめる
まず大前提として,どんなサウンドエフェクトを作りたいか考えましょう.
この時もChatGPT等のLLMと話しながら仕様を決めるといいと思います.
2. 開発プロジェクトの作成
プロトタイプ作成前に,先にプロジェクトフォルダの準備をしましょう.
今回はmac前提ですがwindowsの方は読み替えてお読みください.
$ pip install pipx
以下の項目は各々必要な情報を埋めてください.
$ pipx run cookiecutter gh:robbert-vdh/nih-plug-template
  [1/11] project_name (your_plugin_name (use underscores)): attenuation_plugin
  [2/11] struct_name (AttenuationPlugin):
  [3/11] plugin_name (Attenuation Plugin):
  [4/11] author (Your Name): zukky
  [5/11] email_address (your@email.com):
  [6/11] url (https://youtu.be/dQw4w9WgXcQ):
  [7/11] description (A short description of your plugin): This is a sound effect for distance attenuation
  [8/11] clap_id (com.your-domain.attenuation-plugin):
  [9/11] vst3_id (Exactly16Chars!!): Attenuation!!!!!
  [10/11] Select license
    1 - GPL-3.0-or-later
    2 - ISC
    3 - Other licenses can be set in Cargo.toml, but using the project needs to be GPLv3 compliant to be able to use the VST3 exporter. Check Cargo.toml for more information.
    Choose from [1/2/3] (1): 2
  [11/11]
Done
Make sure to change the CLAP features and VST3 categories in src/lib.rs (press enter to finish):
以下のようなプロジェクトが作成されます.
attenuation_plugin
├── bundler.toml
├── Cargo.toml
├── README.md
├── src
│   └── lib.rs
├── target
└── xtask
    ├── Cargo.toml
    └── src
        └── main.rs
次に,Pythonのプロジェクトを同じ場所に作成しましょう.(別の場所でも可)
$ uv init
以下のようになると思うので
attenuation_plugin
├── bundler.toml
├── Cargo.lock
├── Cargo.toml
├── main.py
├── pyproject.toml
├── README.md
├── src
│   └── lib.rs
├── target
└── xtask
    ├── Cargo.toml
    └── src
        └── main.rs
main.pyをprototypeというフォルダを掘って入れようと思います.(この辺は各々でお好きなように)
attenuation_plugin
├── bundler.toml
├── Cargo.lock
├── Cargo.toml
├── prototype
│   └── main.py
├── pyproject.toml
├── README.md
├── src
│   └── lib.rs
├── target
└── xtask
    ├── Cargo.toml
    └── src
        └── main.rs
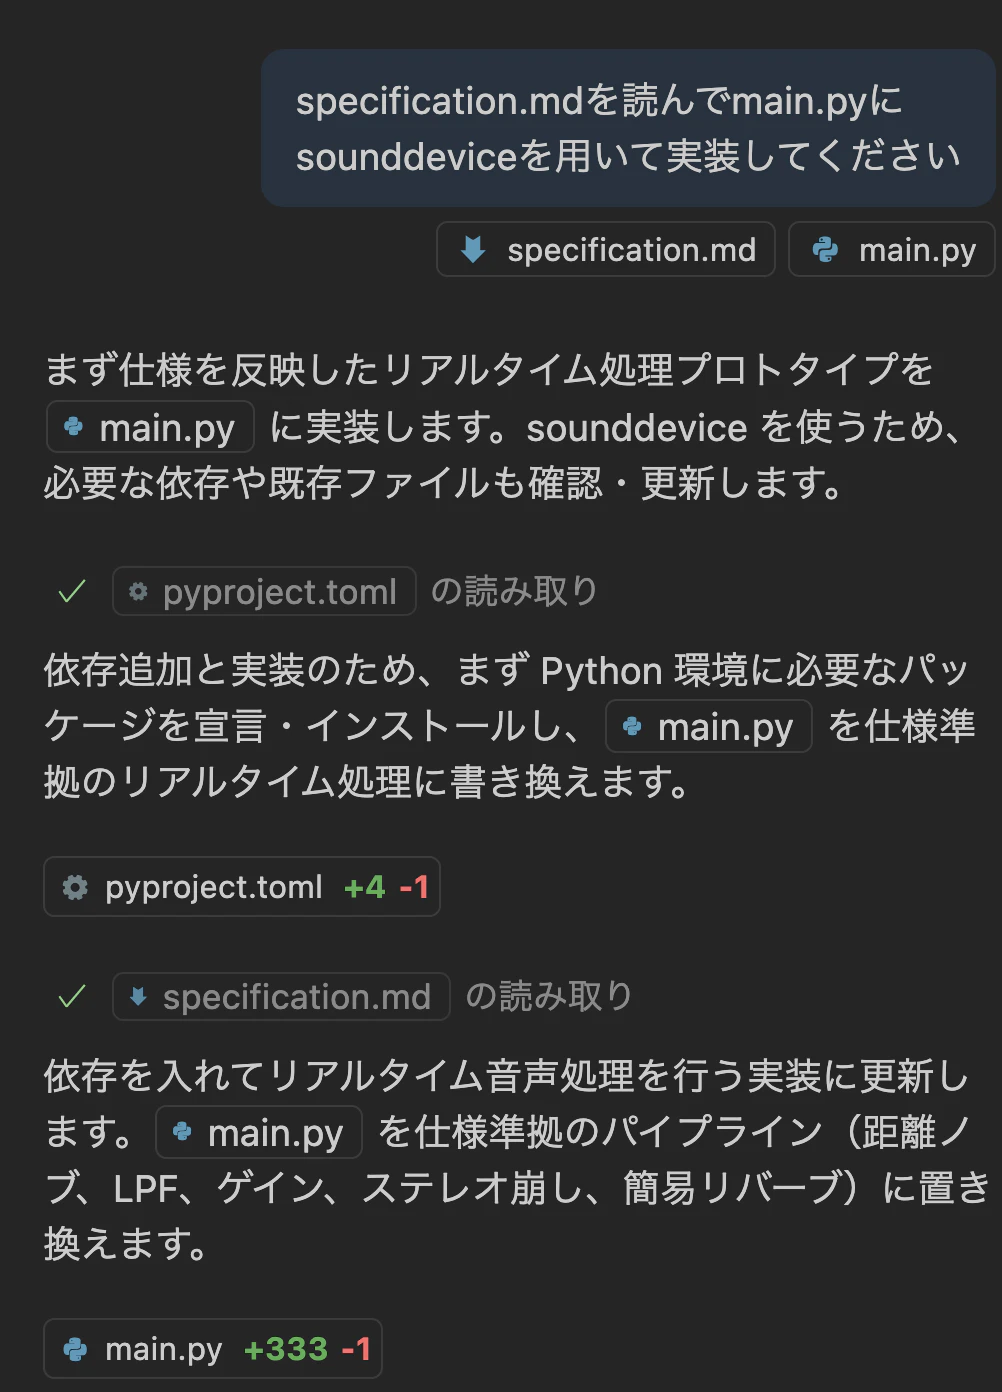
3. Pythonでプロトタイプを作成
まずはChatGPT等に聞いて仕様書いてもらってをプロジェクト内にmdファイルを作成して置きます.
Copilot等で以下のようなメッセージを書き込んでください.
コツとしては,なんのライブラリを実装するか,どんな実装をすればいいかを明確にしてください.
今回はマイク音声を入力としてエフェクトのかかりをチェックしようと思います.
プログラムが完成したら聴感上正しいかのチェックを行なってください.
サウンドプログラミングは他のジャンルに比べてテストが困難です.
もちろんテストはしっかり書くべきですが,自分の耳で聞いて正しく動作しているかをチェックすることが大切です.
また,この段階で仕様を確定させるとこの後の工程で手戻りが発生しなくて良いと思います.
もし,仕様の変更を行った場合はそれに基づいて,仕様の書いてあるmdを変更しましょう.
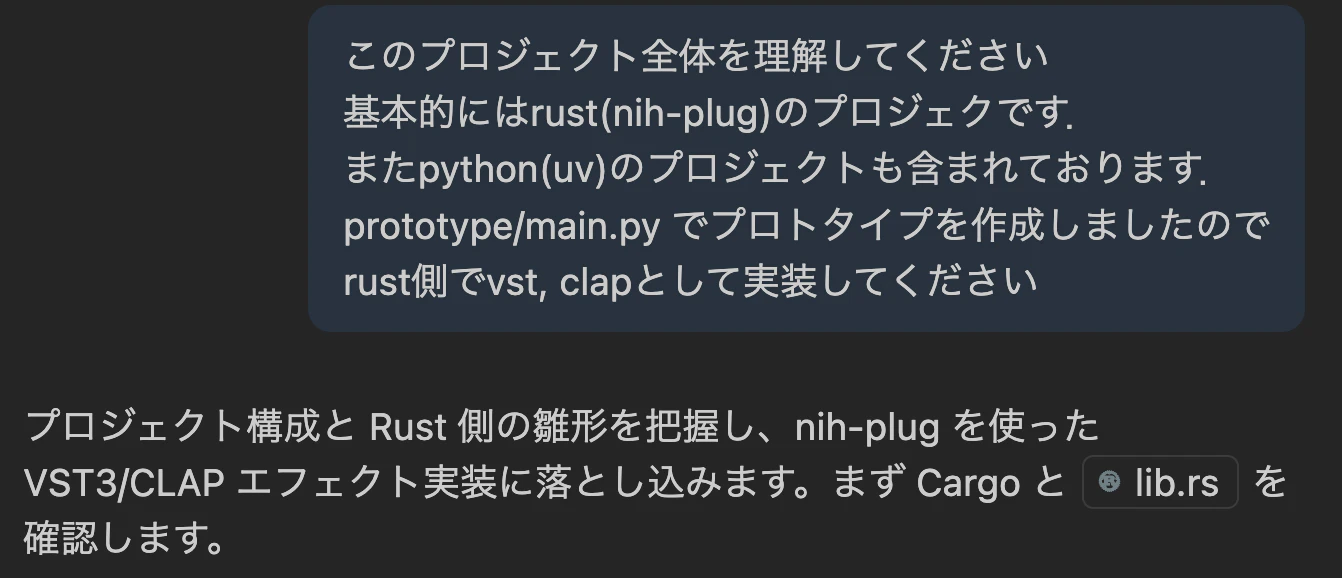
4. Rust(nih-plug)でVST3を開発
1. LLMにプロジェクト全体を理解させる
2. LLMに実装もお願いしましょう
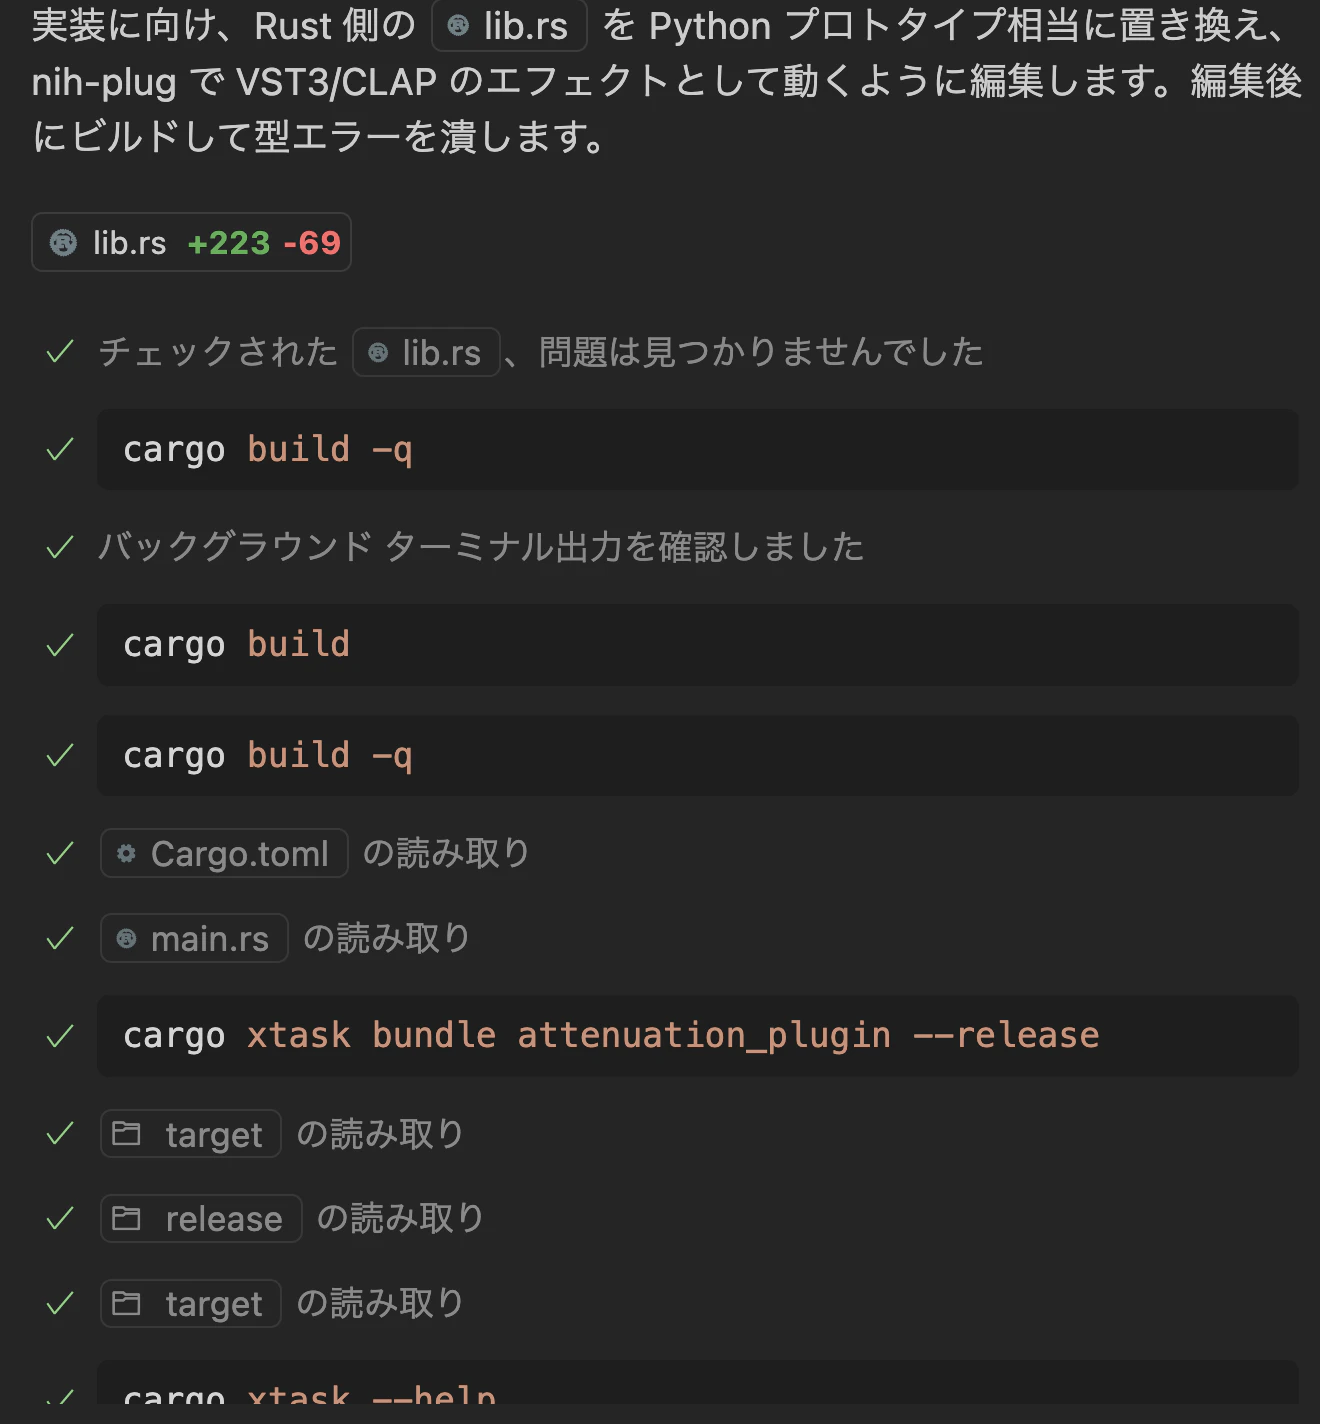
作成できたら
$ cargo xtask bundle attenuation_plugin --release
でVSTを作成しましょう.
3. Rust側のテスト
同じくLLMに書かせましょう!
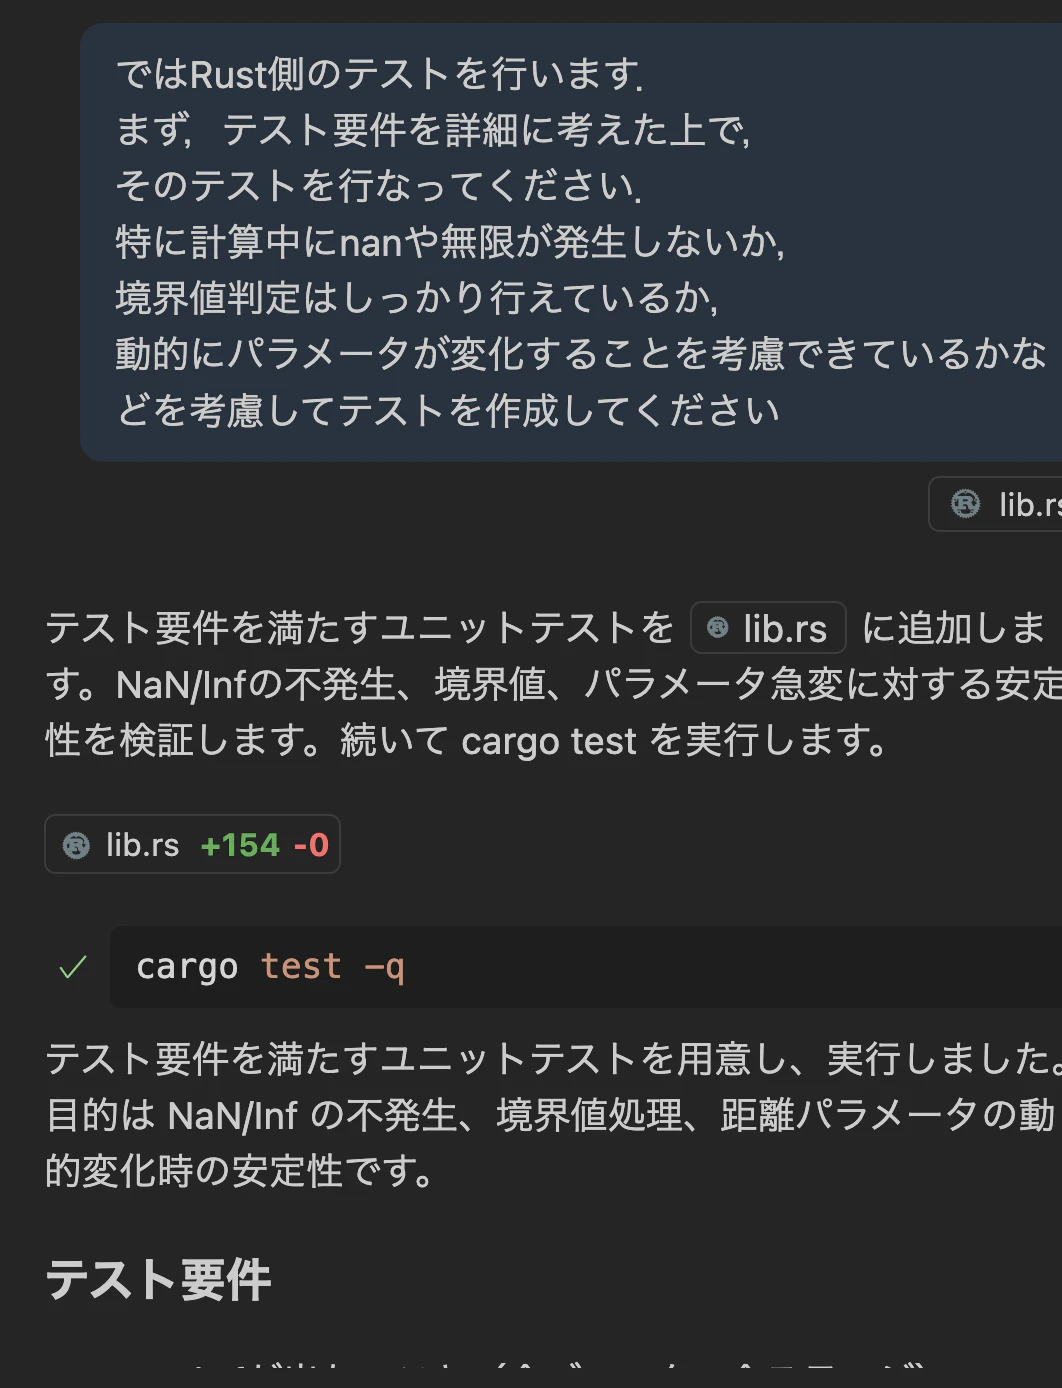
テストが完成したら実行して問題がなければ次に進みましょう
$ cargo test
running 6 tests
test tests::param_mappings_extremes ... ok
test tests::lpf_coef_in_0_1 ... ok
test tests::clamp_bounds ... ok
test tests::lpf_step_response_stable ... ok
test tests::full_chain_no_nan_dynamic_distance ... ok
test tests::allpass_stability_var_delay ... ok

test result: ok. 6 passed; 0 failed; 0 ignored; 0 measured; 0 filtered out; finished in 0.03s
4. VSTのテスト
今回伝えたいことのキモはここです!
Pythonのpedalboard本当に良いです!
PythonでVSTを読み込むことのできるライブラリになります(他のことも色々できます)
ありがとうSpotify!!
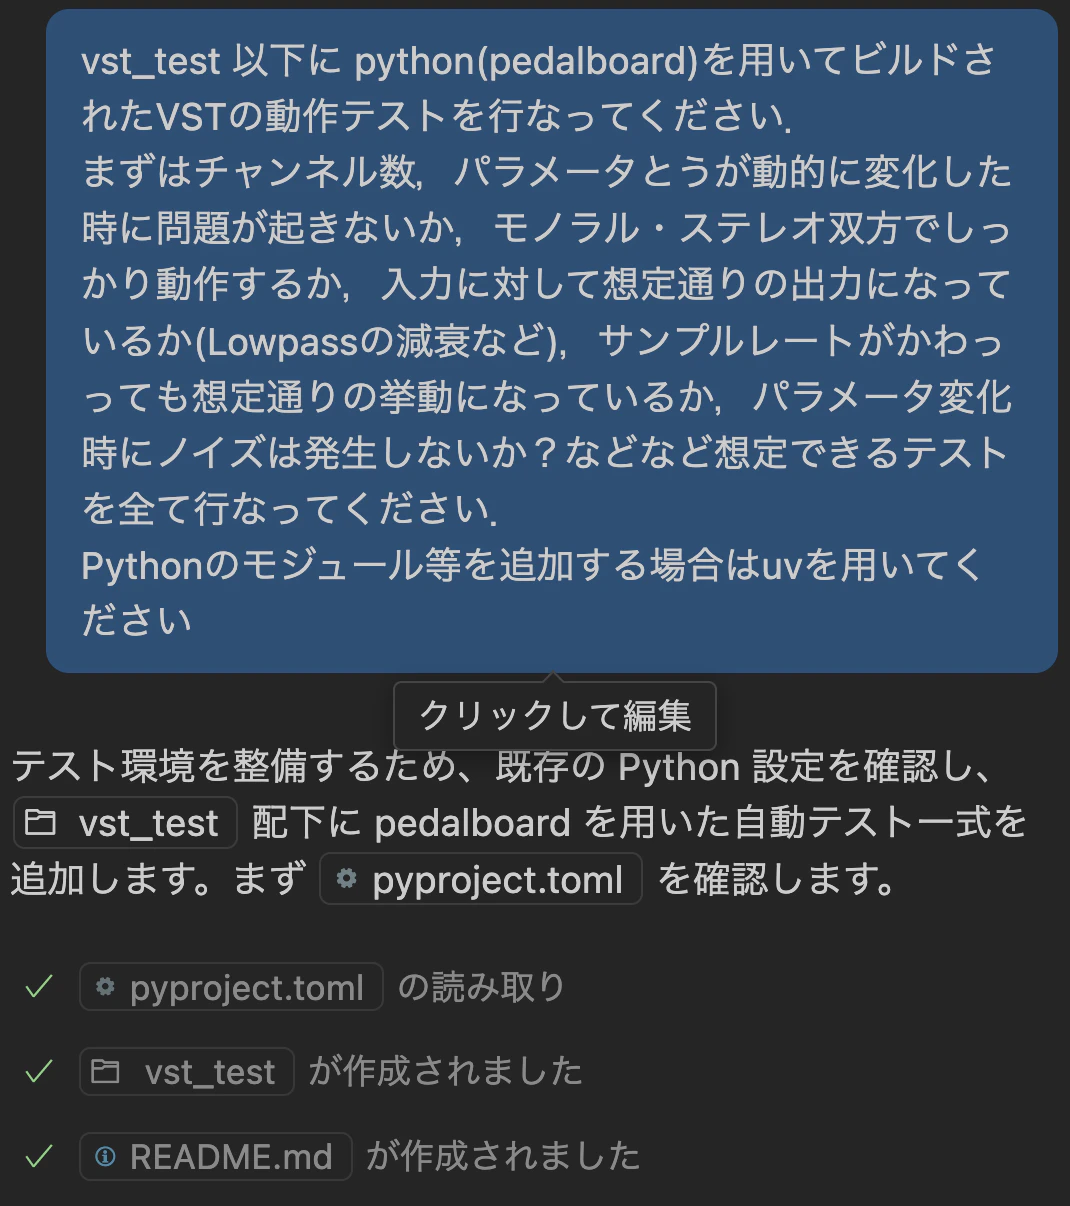
テストが通るまで,LLMに聞いてPython側,Rust側を修正し続けてください
5. 実際に聴いて確かめる
Reaper等のDAWを用いてVSTを差してください.
(うーん音はいまいちですが)今回は完成ということにしようと思います.
とりあえず動作はしました
音楽:魔王魂参考文献