Gravio 4を常時動作させたいのでRaspberry Pi 4にインストールしてみた。
使用環境
- Raspberry Pi 4 Model B w/4GB RAM
- Ubuntu Server 20.04.1 LTS
- Gravio HubKit v4.1.4049.0
- Gravio Studio v4.1.5432.0
事前準備
GravioをRaspberry Piで動かすときは、Raspberry Pi OSではなく、Ubuntuでの動作がサポートされているので、ここを参考にしてUbuntuを準備する。現時点ではUbuntu 18.04 LTSしかサポート対象にはないのだけれど、20.04を使ってみることにする。
https://ubuntu.com/tutorials/how-to-install-ubuntu-on-your-raspberry-pi#1-overview
ちなみに、Gravio 3のときと違って、DebianパッケージではなくDockerコンテナの中で動作するようになっているので、環境をきれいにするためにも、Gravio 3を使ってた環境ならOSから初期化しておいたほうがいいです。
ヘッドレスな画面のない環境なら、SSHのアクセスにこの記事も参考にしてください。
あと、ホスト名も変えておきたいですね。
ubuntu@ubuntu:~$ sudo hostnamectl set-hostname gravio-rpi4
手順
インストール手順はココに書いてあるとおりにすれば5分程度。
https://doc.gravio.com/manuals/gravio4/1/ja/topic/linux-raspberry-pi
必要なパッケージ等をインストール
まずはUbuntuを最新にします。
ubuntu@gravio-rpi4:~$ sudo apt update
ubuntu@gravio-rpi4:~$ sudo apt upgrade
次に転送したファイルを解凍するためのunzipとDocker関連をインストール。
ubuntu@gravio-rpi4:~$ sudo apt install unzip docker docker-compose
mDNSでHubKitを発見できるようにavahi-utilsをインストール。
ubuntu@gravio-rpi4:~$ sudo apt install avahi-utils
ここで一度再起動して、ホスト名.localでログインできるよいうになっていることを確認します。
HubKitのインストール
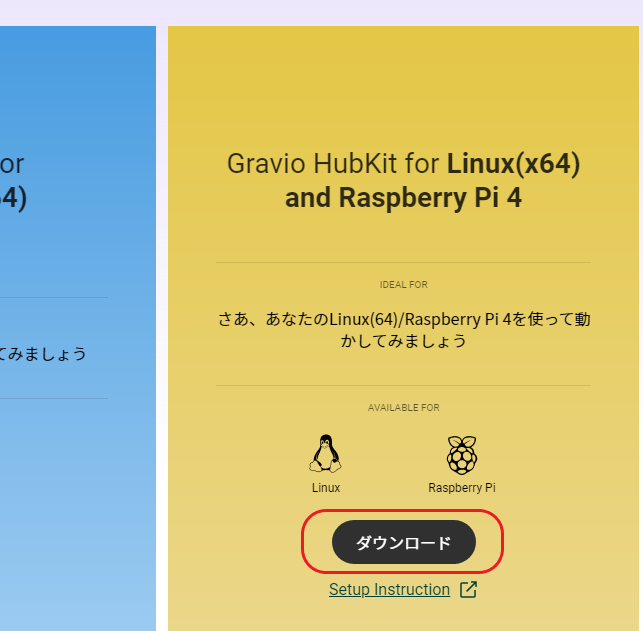
ここからはHubKitのインストール。まずは、下記サイトからLinux版のインストーラーをダウンロードします。
https://www.gravio.com/jp/product#Gravio-Server
ダウンロードした setup_linux_v4_2.4.zip をRaspberry Pi 4に転送します。
TeraTerm SSHなら、接続してウィンドウにファイルをドロップすると転送してくれます。
ubuntu@gravio-rpi4:~$ ls
setup_linux_v4_2.4.zip
あとは手順通りにコマンドを実行するだけです。
フォルダ作って、ファイルを展開します。
ubuntu@gravio-rpi4:~$ mkdir hubkit
ubuntu@gravio-rpi4:~$ cd hubkit/
ubuntu@gravio-rpi4:~/hubkit$ mv ~/setup_linux_v4_2.4.zip .
ubuntu@gravio-rpi4:~/hubkit$ unzip setup_linux_v4_2.4.zip
Archive:  setup_linux_v4_2.4.zip
  inflating: 90-gravio-serial-deivces.rules
  inflating: docker-compose.yml
  inflating: setupcoordinator_hubkit.sh
もろもろ設定します。
ubuntu@gravio-rpi4:~/hubkit$ sudo cp ./90-gravio-serial-deivces.rules /etc/udev/rules.d/
ubuntu@gravio-rpi4:~/hubkit$ chmod 755 setupcoordinator_hubkit.sh
ubuntu@gravio-rpi4:~/hubkit$ ./setupcoordinator_hubkit.sh
./hubkitrepo4 directory is created.
HUBKIT_REPOSITORY_ROOT_PATH is /home/ubuntu/hubkit/hubkitrepo4
Setup arm64 environemt...
90-gravio-serial-deivces.rules already existed
Setup is finished. '.env' file is created in this directory.
docker-composeでコンテナを起動します。
ubuntu@gravio-rpi4:~/hubkit$ sudo docker-compose up -d
.....
Status: Downloaded newer image for gravioservices/hubkit4-arm64:4.1.0
Creating hubkit-acm-1               ... done
Creating hubkit-sem-1               ... done
Creating hubkit-vim-1               ... done
Creating hubkit-bltm-1              ... done
Creating hubkit-ivm-1               ... done
Creating coordinator-gravio-redis-1 ... done
Creating hubkit-trim-1              ... done
Creating hubkit-mqtm-1              ... done
Creating hubkit-com-1               ... done
Creating coordinator-gravio-1       ... done
ubuntu@gravio-rpi4:~/hubkit$
ここまで来たら完了です。
一応、再起動して、起動してくることを確認しておきましょう。
ubuntu@gravio-rpi4:~/hubkit$ sudo reboot
起動してきて、しばらくするとGravio Studioに現れたら完了です。
ポイント
- Raspberry PI 4にはUbuntuをインストールする
- Gravio 4のLinux版HubKitはDockerコンテナで実装されている


