はじめに
本記事では、deviseでのログイン機能の実装方法をまとめます。
手順
Gemfile
gem 'devise'
上記を記入後、ターミナルで、bandle install。
その後、下記を実行。
$ rails generate devise:install
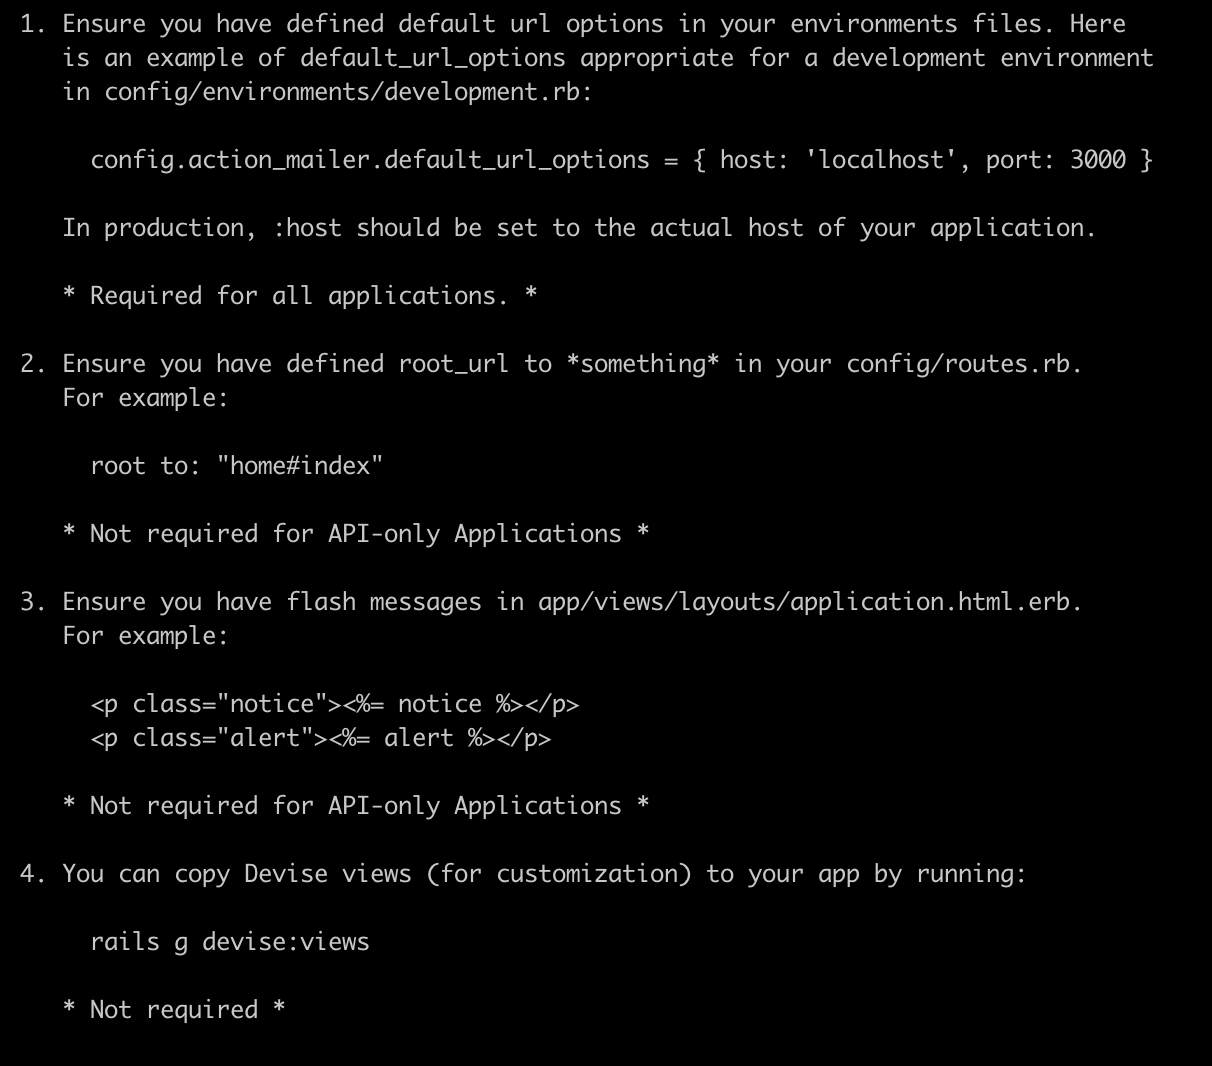
下記の画面が出てきたら、インストールできています。
ただ、1~4の設定が必要です。

1.config/environments/development.rbに下記コードを追加。
config/environments/development.rb
config.action_mailer.default_url_options = { host: 'localhost', port: 3000 }
2.ルートパスを設定。
既に設定できていれば、そのままで大丈夫です。
config/routes.rb
root to: "home#index
3.フラッシュメッセージの追加
application.html.erb
<p class="notice"><%= notice %></p>
<p class="alert"><%= alert %></p>
4.deviseのビューのカスタマイズ
deviseのビューファイルがデフォルトで用意されているので、使用する方は下記コマンドを実行。
$ rails g devise:views
1~4が完了したら、Userモデルを作って完了です。
$ rails g devise User
忘れずに、rails db:migrateを実行して、実装完了です。
参考