Prisamを使ってGraphQL環境をサクッと作って見ましょう。
今回データストアはMySQLを使います。
前提
上記はすでにインストールされている前提で進めます。
1.Prismaのインストール
$ npm install -g prisma
2. Prismaプロジェクトの作成
$ prisma init {プロジェクト名}
今回は test-app というプロジェクト名で進めます。
実行すると対話式で進みます。
$ prisma init test-app

? Set up a new Prisma server or deploy to an existing server? (Use arrow keys)

  Set up a new Prisma server for local development (based on docker-compose):
  Use existing database      Connect to existing database
❯ Create new database        Set up a local database using Docker

  Or deploy to an existing Prisma server:
  Demo server                Hosted demo environment incl. database (requires login)
  Use other server           Manually provide endpoint of a running Prisma server
Create new database を選んで新しくデータベースを作成しましょう。
? What kind of database do you want to deploy to? (Use arrow keys)
❯ MySQL             MySQL compliant databases like MySQL or MariaDB
  PostgreSQL        PostgreSQL database
  MongoDB           Mongo Database
MySQLを選択します。
? Select the programming language for the generated Prisma client (Use arrow keys)
❯ Prisma TypeScript Client
  Prisma Flow Client
  Prisma JavaScript Client
  Prisma Go Client
  Don't generate
使用したいものを選んでください。
今回は Prisma TypeScript Client を使用します。
Next steps:

  1. Open folder: cd test-app
  2. Start your Prisma server: docker-compose up -d
  3. Deploy your Prisma service: prisma deploy
  4. Read more about Prisma server:
     http://bit.ly/prisma-server-overview

Generating schema... 16ms
Saving Prisma Client (TypeScript) at
プロジェクトの作成はこれでOKです。
3. Dockerのセットアップ
$ cd test-app
プロジェクトディレクトリに入って
$ docker-compose up -d
Creating network "test-app_default" with the default driver
Creating volume "test-app_mysql" with default driver
Pulling prisma (prismagraphql/prisma:1.30)...
1.30: Pulling from prismagraphql/prisma
.
.
.
Dockerのセットアップが始まります。
Creating test-app_mysql_1  ... done
Creating test-app_prisma_1 ... done
これでDockerのセットアップ完了です。
Prismaデプロイ
$ prisma deploy
Creating stage default for service default ✔
Deploying service `default` to stage `default` to server `local` 557ms

Changes:

  User (Type)
  + Created type `User`
  + Created field `id` of type `ID!`
  + Created field `name` of type `String!`
  + Created field `updatedAt` of type `DateTime!`
  + Created field `createdAt` of type `DateTime!`

Applying changes 1.1s

Your Prisma GraphQL database endpoint is live:

  HTTP:  http://localhost:4466
  WS:    ws://localhost:4466

You can view & edit your data here:

  Prisma Admin: http://localhost:4466/_admin
スキーマなどの作成が行われて管理画面にアクセスできるようになります。

まだデータベースにデータが入っていないため、空っぽです。
MySQLにデータを追加する
Dockerを直接操作してもいいですが、今回はクライアントアプリを使って操作します。
クライアントアプリからDockeへ接続するために設定ファイルを書き換えます。
mysql:
    image: mysql:5.7
    restart: always
    environment:
      MYSQL_ROOT_PASSWORD: prisma
    volumes:
      - mysql:/var/lib/mysql
+   ports:
+     - "4467:3306"
設定を反映するため、Dockerの再起動を行います。
$ docker-compose stop
※ restart もあるが、何故か反映されないためstopする
$ docker-compose up -d
完了した後、Dockerステートを確認
$ docker ps
Dockerのステートを確認する
CONTAINER ID        IMAGE                       COMMAND                  CREATED              STATUS              PORTS                               NAMES
532cfa5d7aff        mysql:5.7                   "docker-entrypoint.s…"   About a minute ago   Up About a minute   33060/tcp, 0.0.0.0:4467->3306/tcp   hello-world_mysql_1
57133a0b6409        prismagraphql/prisma:1.30   "/bin/sh -c /app/sta…"   16 hours ago         Up About a minute   0.0.0.0:4466->4466/tcp              hello-world_prisma_1
mysql:5.7 の項目の PORTS 0.0.0.0:4467->3306になっていればOK
クライアントアプリからログインする
今回は Sequel Proを使います
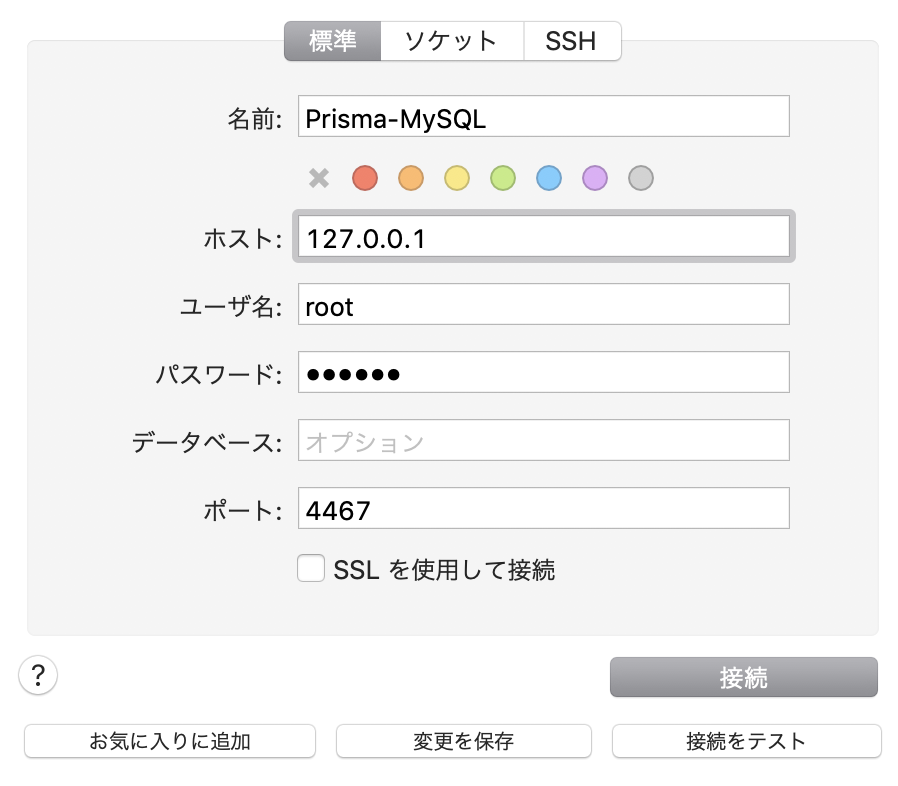

default@default に入ると、 User テーブルが存在するので
試しにデータを入れてみましょう。

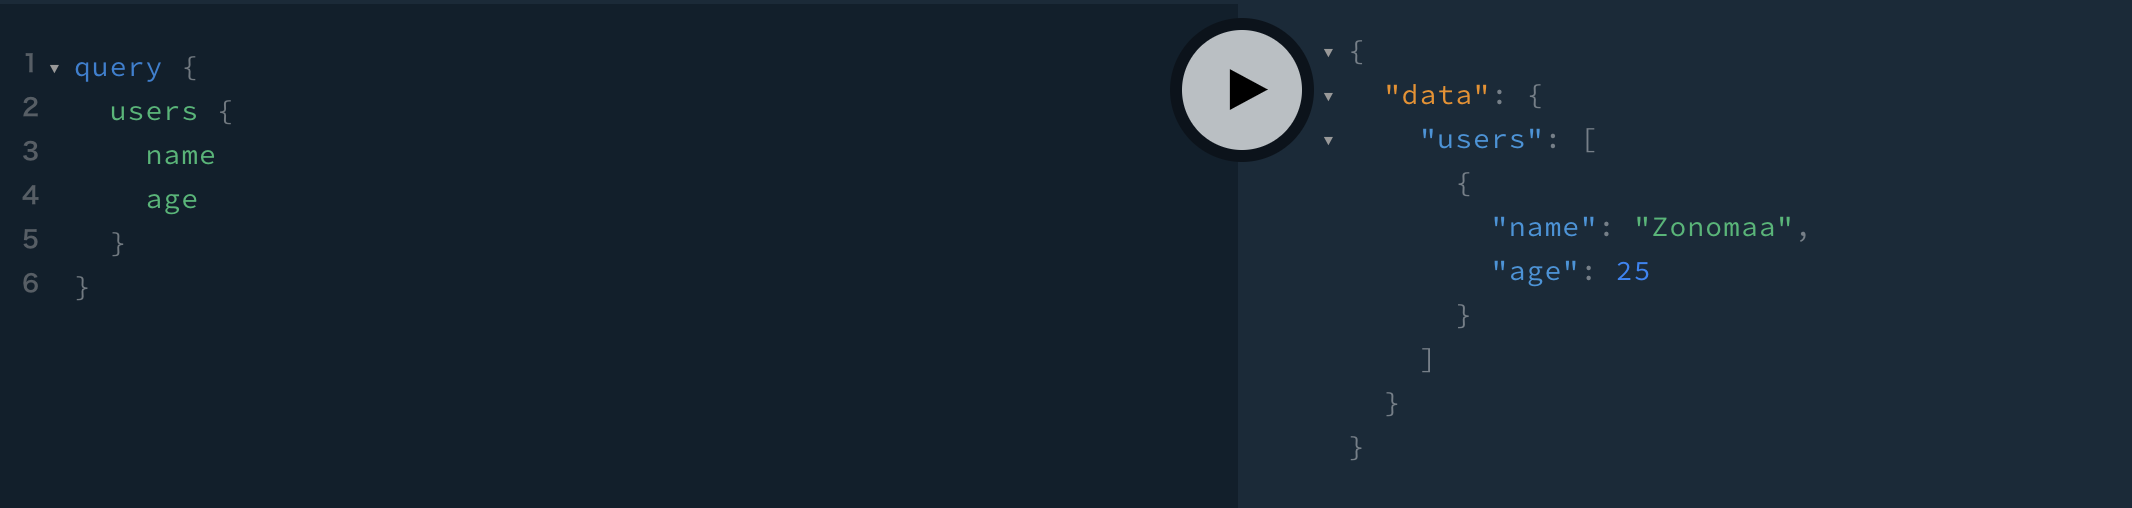
では、反映されているか確認するため、管理画面でクエリを叩いてみましょう。

反映されました!
[おまけ]カラムを追加する
User に age を追加してみます。
type User {
  id: ID! @unique
  name: String!
+ age: Int!
}

prisma deploy
変更をデプロイします
Deploying service `default` to stage `default` to server `local` 272ms

Changes:

  User (Type)
  + Created field `age` of type `Int`

Applying changes 1.1s

Your Prisma GraphQL database endpoint is live:

  HTTP:  http://localhost:4466
  WS:    ws://localhost:4466

You can view & edit your data here:

  Prisma Admin: http://localhost:4466/_admin
変更が検知されました!
管理画面をリロードして確認しましょう。
これで、カラムの追加分が反映されました!