前提条件
- VS Code (https://code.visualstudio.com/)
- Node.js(10以降)+npm (https://nodejs.org/ja/)
※ローカルで起動&動作確認までとしており、Azureへのデプロイまでは行わないのでAzureのアカウントは不要
環境構築
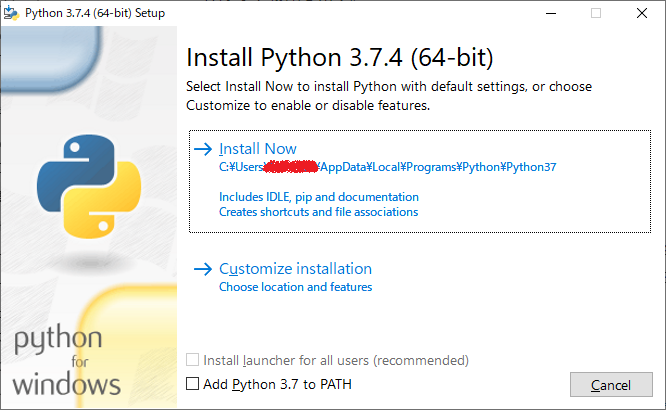
Python(3.7.x)
以下から3.7.4の64bit版をダウンロードしてインストール
プロセスの終了時にDisable Path length limit(パスの長さの制限を無効にする)を実施
※32bit版だとローカルデバッグ時に異常が発生したので64bit版にする
https://www.python.org/downloads/
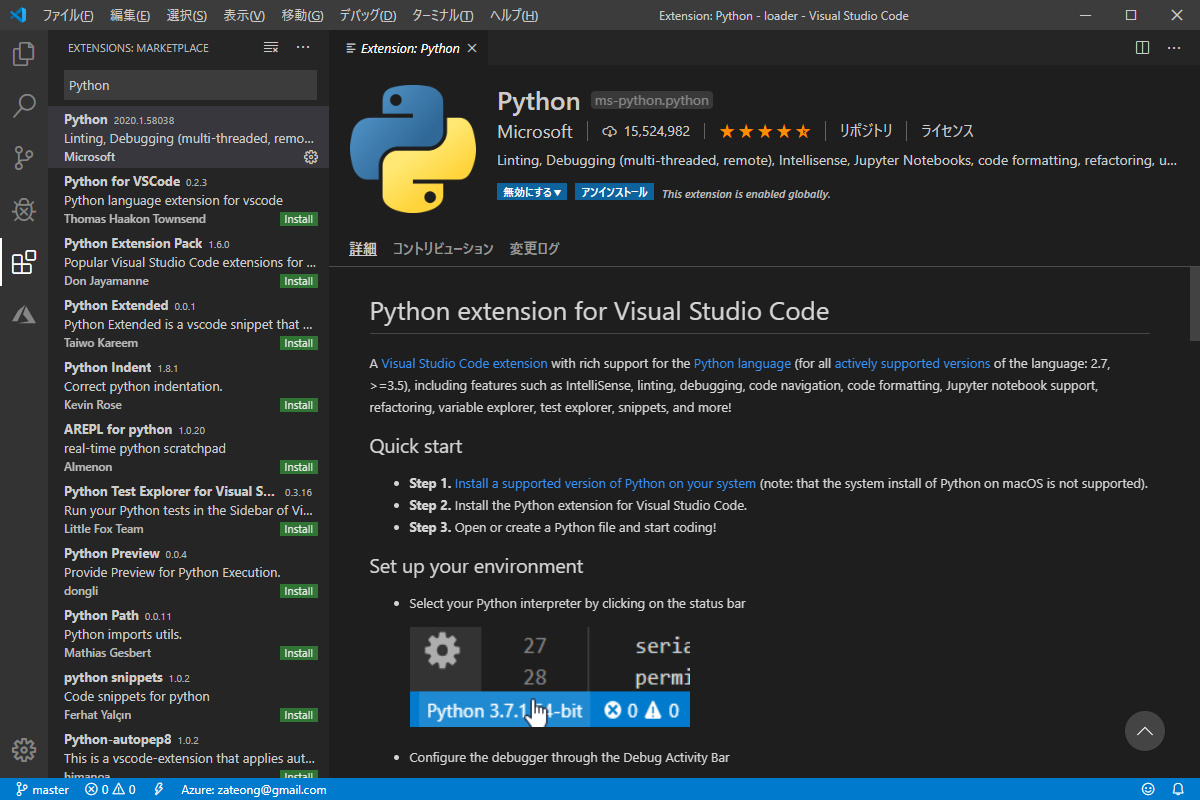
VS Codeプラグインのインストール
-
Python
-
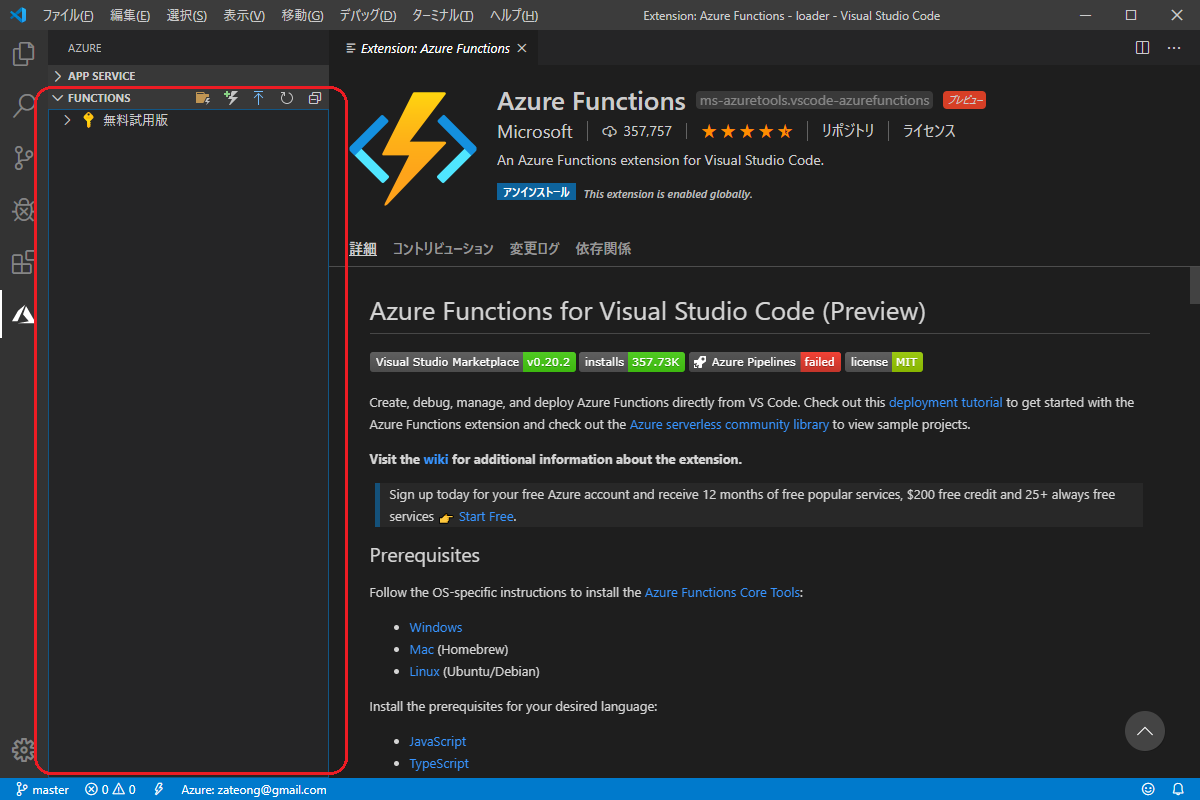
Azure Functions
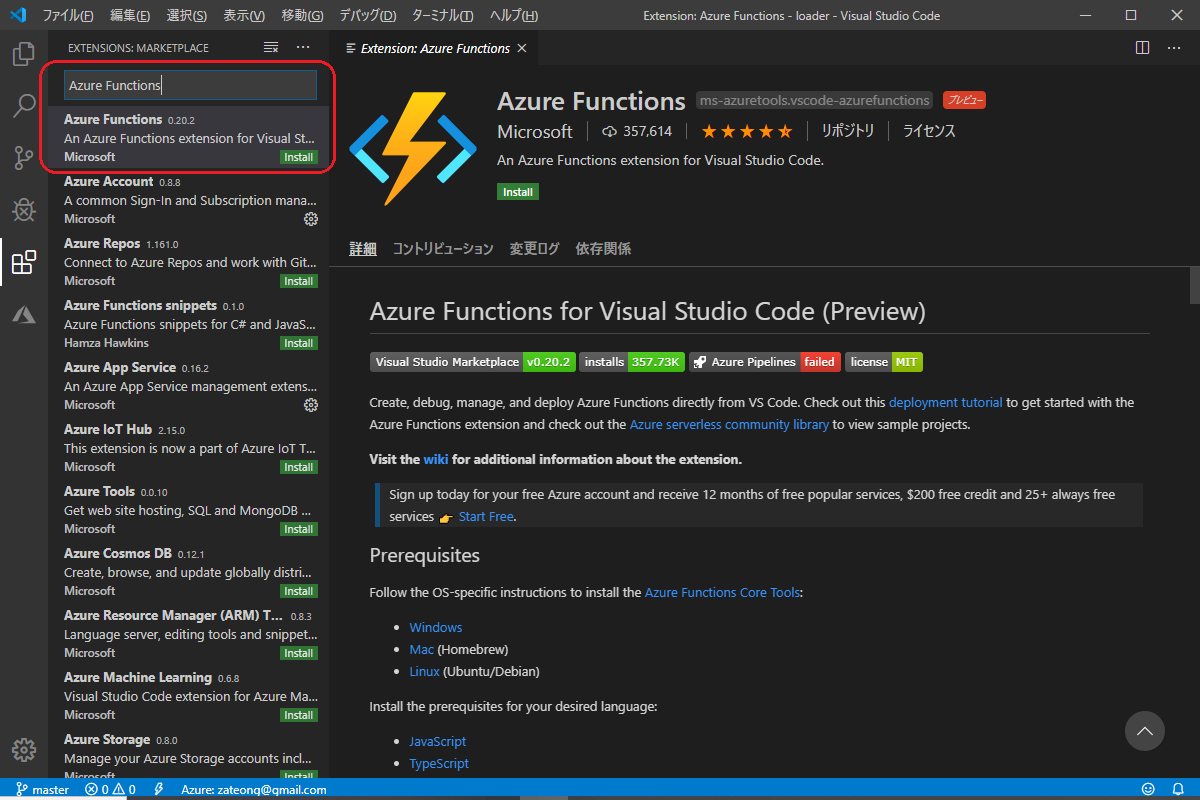
インストール完了すると左のメニューにAzureのボタンが増え選択すると「FUNCTIONS」表示が増える
Azure Functions Core Tools
VS Code上で「F1」押下⇒「Azure Functions: Install or Update Azure Functions Core Tools」と入力してEnter
※参照
https://docs.microsoft.com/ja-jp/azure/javascript/tutorial-vscode-serverless-node-01#install-the-azure-functions-core-tools

「Azure Functions v3」を選択してEnter
⇒インストール完了するまで待つ

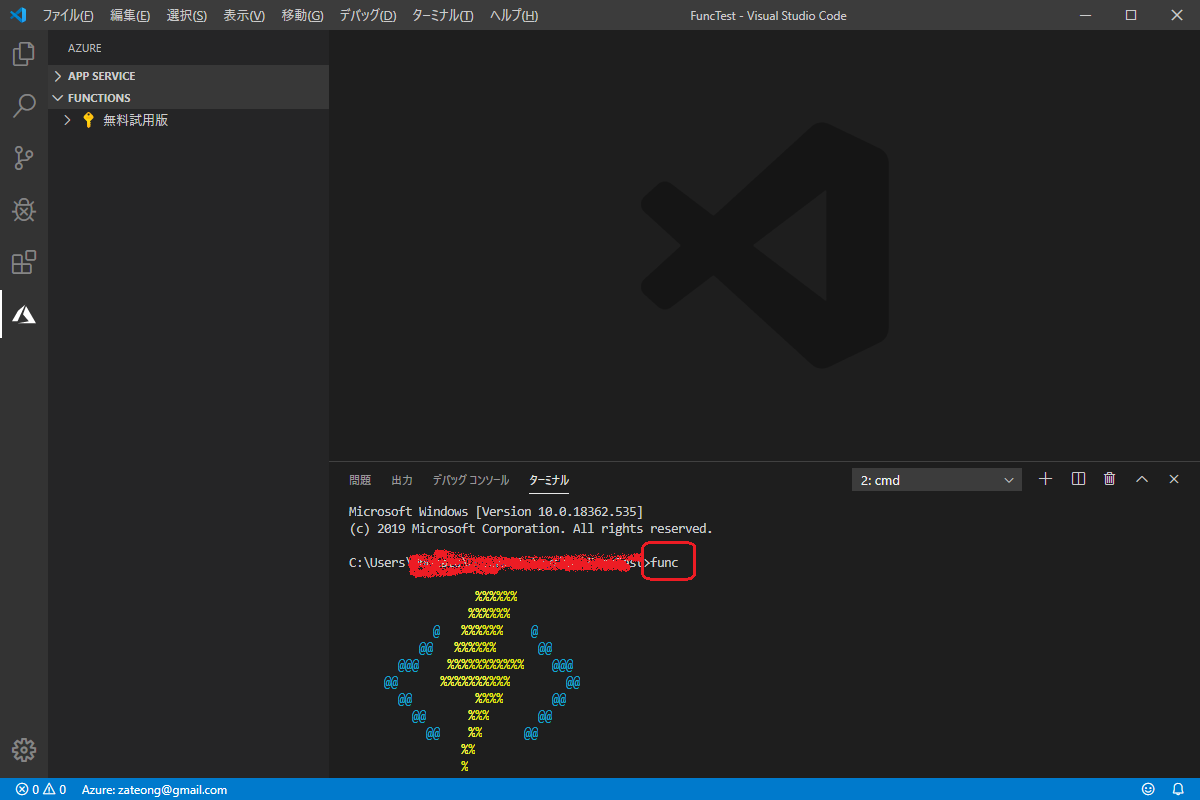
ターミナルからfuncと叩いてAzure Functionsマークetcが表示がされること
Azure Functionsプロジェクト(Python)の作成
以下を参考にAzure Functionsのプロジェクトを作成する
https://docs.microsoft.com/ja-jp/azure/python/tutorial-vs-code-serverless-python-02
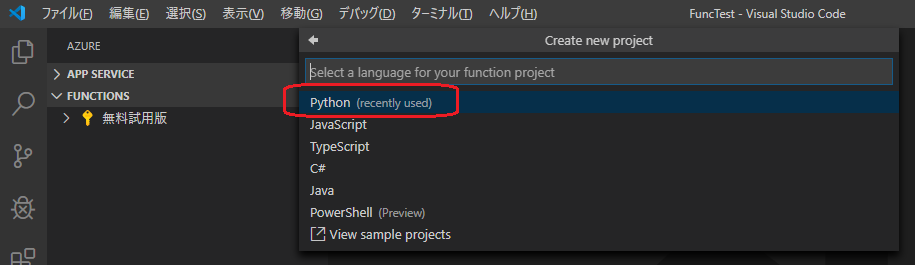
- フォルダを選択

- 言語(Python)を選択
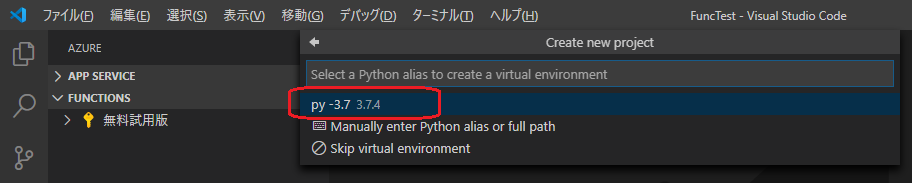
- Pythonのバージョン(3.7.4)を選択
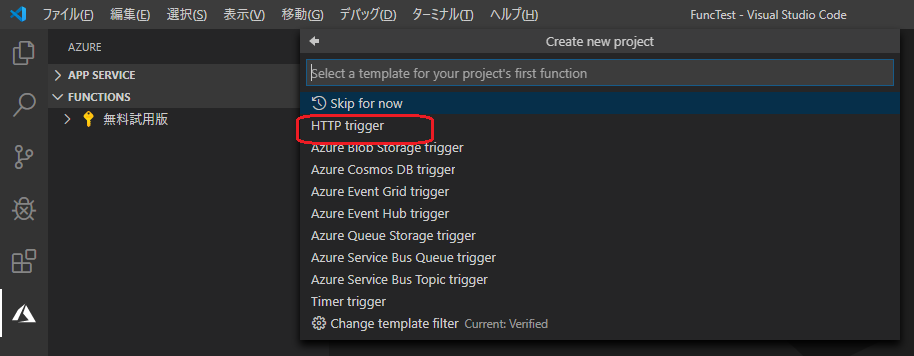
- トリガーを選択(APIにするので
HTTP triggerを選択)
- 関数名を設定(関数名=エンドポイントになる)

- 承認レベル(Anonymous)を選択

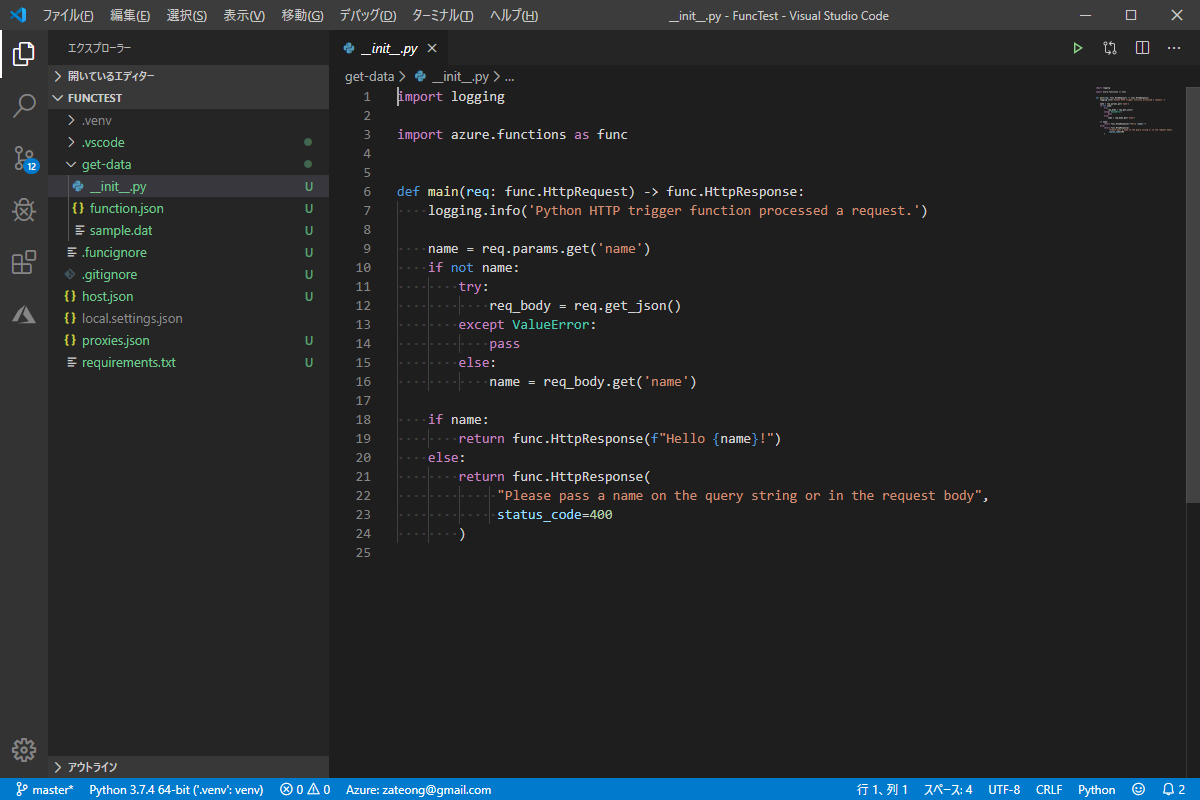
- プロジェクトの作成が完了すると1.で選択したフォルダにプロジェクトが作成され
__init__.pyが表示される
起動&動作確認
メニューの「デバッグ」⇒「デバッグの開始」などからFunctionsを起動
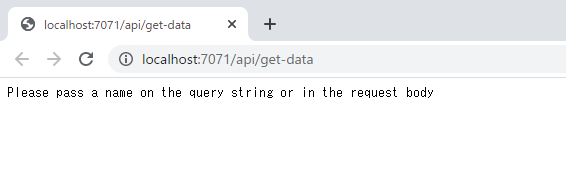
起動が完了するとURLが表示されるのでCtrl+クリックでブラウザからアクセス
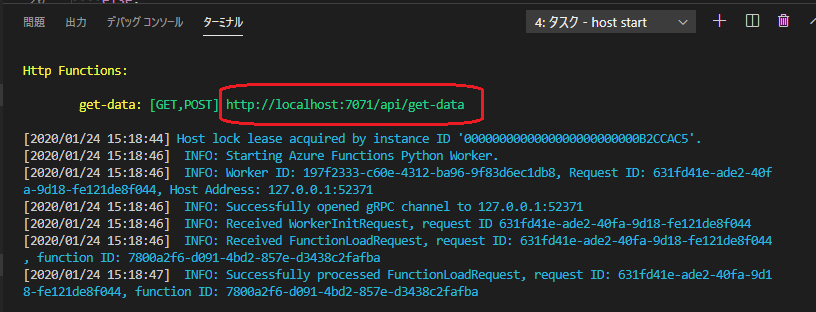
以下のように表示されAPIが実行されていることが確認できる
※クエリストリングorリクエストボディにnameパラメータを設定することでHello {name}!と表示されるようにデフォルトはなっている