本記事は「Ansible Advent Calendar 2020」の16日目のエントリとなります。
先日別のアドベントカレンダーで公開した「ESXi上でvim-cmdを使ってVM操作するAnsibleコレクション (無償ライセンス利用可)」で紹介したコレクションをどうやって作って公開したか、という内容になります。
前置き
本記事では「モジュールの作り方」自体は説明しないので、基本的には「作成済みの自作モジュールをどうすればコレクションにできるのか」という観点の内容になります。
また、対象とするのはモジュールプラグインのみです。
(callbackやlookupなどは扱ってません)
(準備) Ansible Galaxyにアカウントを作る
※ コレクションを作るのみで公開しないのであればGalaxyのアカウントは必要ではないです。
GitHubのアカウントが必要。
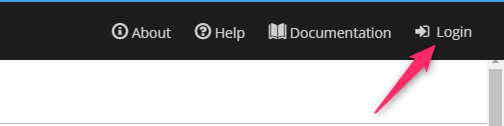
画面右上の「Login」から。
押下するとGitHubとの連携が要求されるのでアイコンを押下して連携します。
公開前提でないのであればアカウントを作る必要はないけれど、公開する__かもしれない__場合は、ネームスペースってどう決めるのかはアカウント作っておくとすぐわかるので、作った方が良いかも。
平たく言うと、個人作成の場合はGitHubアカウント名.コレクション名となります。
(コレクション名は機能などをベースに自由に決めてよい)
namespaceの決め方
Ansible 2.10からモジュールなどにネームスペース(名前空間)という概念が標準機能に加わりました。
これは、コレクションがネームスペースで分類されているためです。
で、自作コレクションのネームスペースは自由に決めていいといえば良いと思いますが、Ansible Galaxyで公開前提にする場合はGalaxyのネームスペースと同じものにする必要があります。
なのでGitHubのアカウントでGalaxyのアカウントを作る(場合が個人ではほとんどな)ので、基本的にはGitHubアカウント名.コレクション名で作るのが都合が良いということです。
It is convenient if the organization and repository names on GitHub (or elsewhere) match your namespace and collection names on Ansible Galaxy, but it is not required. The plugin names you select, however, are always the same in your code repository and in your collection artifact on Galaxy.
ちなみに私の場合はGitHubのアカウント名はzaki-lknrでハイフンを含むのですが、コレクションのネームスペースに使用できる文字はm/[a-zA-Z0-9_]/のため、ハイフンはアンダーバーに変換します。
というかAnsible GalaxyにこのGitHubアカウント名でアカウント作ると、Ansible Galaxy上ではユーザー名はzaki_lknrになります。
GitHubアカウント名でなく専用のネームスペース(たとえば共同開発してるプロダクト名など)を作りたい場合は、GalaxyのIssueで依頼する必要があるっぽいです。
コレクションの作成
作業用ディレクトリ作成
まずプレイブックのある場所でディレクトリcollections/ansible_collectionsを作成します。
作成するコレクション自体のパスは任意だけど、作ったコレクションを手元のプレイブックから簡単に利用するために、このディレクトリ構造にしています。
(実行時には「コレクションのパス」以下にあるansible_collections/<namespace>/<collections>というパスを認識するため)
(2.10) [zaki@cloud-dev esxi-ansible]$ mkdir -p collections/ansible_collections
※ collectionsというディレクトリは既定のものではないので特になんでも良いです。
コレクション雛形の作成
ansible-galaxy collection initで作成できます。
書式は<namespace>.<collection>を引数に指定します。
オプション--init-path collectionsを付与して、前述のcollections/ansible_collectionsディレクトリ配下に作成しています。
(2.10) [zaki@cloud-dev esxi-ansible]$ ansible-galaxy collection init zaki_lknr.esxissh --init-path collections/ansible_collections
- Collection zaki_lknr.esxissh was created successfully
--init-path collectionsが未指定であれば実行時のカレントディレクトリに作成されます。
作成されるファイル群はこんな感じ。
(2.10) [zaki@cloud-dev esxi-ansible]$ find collections/
collections/
collections/ansible_collections
collections/ansible_collections/zaki_lknr
collections/ansible_collections/zaki_lknr/esxissh
collections/ansible_collections/zaki_lknr/esxissh/README.md
collections/ansible_collections/zaki_lknr/esxissh/galaxy.yml
collections/ansible_collections/zaki_lknr/esxissh/docs
collections/ansible_collections/zaki_lknr/esxissh/plugins
collections/ansible_collections/zaki_lknr/esxissh/plugins/README.md
collections/ansible_collections/zaki_lknr/esxissh/roles
これでzaki_lknr.esxissh.hogehogeとかzaki_lknr.esxissh.foobarという名前のモジュールを作っていくひな形ができました。
Ansibleモジュールを作成
今回はコレクション配下にモジュールを作成します。
コレクションはモジュールだけのものでなく、callbackプラグインやlookupプラグインなど、各種プラグインの集合体になっています。
これは、現在のAnsible Documentationサイトで「Collection Index」から1件ピックアップすると「Plugin Index」になるのを見れば階層構造のイメージはつきやすいと思います。
例えば標準のコレクションである「ansible.builtin collection」を見ると、以下のように分類されています。
- Become Plugins
- Cache Plugins
- Callback Plugins
- Connection Plugins
- Inventory Plugins
- Lookup Plugins
- Modules
- 今回これを作ります☆彡
- Shell Plugins
- Strategy Plugins
- Vars Plugins
詳しくは雛形として作成されたplugins/README.mdと、Working With Plugins — Ansible Documentationを参照。
ということで話を戻し、作成したzaki_lknr.esxisshコレクションに、ESXi上のゲストOSの電源on/offを行うためのesxissh_guest_powerAnsibleモジュールを作成してみます。
Ansibleモジュールのソースは、ひな形で作成されたディレクトリ群の中のplugins以下にmodulesというサブディレクトリを作成し、その配下に作成することでモジュールプラグインとして機能します。
今回で言うとcollections/zaki_lknr/esxissh/plugins/modules以下にesxissh_guest_power.pyを作成。
/home/zaki/src/esxi-ansible/collections/
└── ansible_collections
    └── zaki_lknr
        └── esxissh
            ├── README.md
            ├── docs
            ├── galaxy.yml
            ├── plugins
            │   ├── README.md
            │   ├── module_utils
            │   │   └── esxissh.py
            │   └── modules
            │       ├── esxissh_guest.py
            │       └── esxissh_guest_power.py      <- これ
            └── roles
ここでは非コレクション環境での作成済みモジュールlibrary/esxissh_guest_power.pyを配置します。
(2.10) [zaki@cloud-dev esxi-ansible]$ mkdir collections/ansible_collections/zaki_lknr/esxissh/plugins/modules
(2.10) [zaki@cloud-dev esxi-ansible]$ cp sample-playbook/library/esxissh_guest_power.py collections/ansible_collections/zaki_lknr/esxissh/plugins/modules/
ここに配置したソースファイルのファイル名がモジュール名になります。
モジュールからimportされるPythonパッケージ
Ansibleモジュールからimportされる外部ファイルに処理を実装する場合(例えば複数のAnsibleモジュールを作り、共通処理を外部ソースファイルに実装、など)、従来のAnsibleモジュールと同じようにmodule_utilsというディレクトリをmodulesと同じ階層に作成し、そこへソースファイルを配置すればimportできます。
/home/zaki/src/esxi-ansible/collections/
└── ansible_collections
    └── zaki_lknr
        └── esxissh
            ├── README.md
            ├── docs
            ├── galaxy.yml
            ├── plugins
            │   ├── README.md
            │   ├── module_utils
            │   │   └── esxissh.py                 <- これ
            │   └── modules
            │       ├── esxissh_guest.py
            │       └── esxissh_guest_power.py
            └── roles
(2.10) [zaki@cloud-dev esxi-ansible]$ mkdir collections/ansible_collections/zaki_lknr/esxissh/plugins/module_utils
(2.10) [zaki@cloud-dev esxi-ansible]$ cp sample-playbook/module_utils/esxissh.py collections/ansible_collections/zaki_lknr/esxissh/plugins/module_utils/
そして、importするときのパスときの書式はfrom ansible_collections.<namespace>.<collection>.plugins.module_utils import <my-module>となります。
(from ansible.module_utils import <my-module>になってるはずの部分を変更 → 変更サンプル)
from ansible_collections.zaki_lknr.esxissh.plugins.module_utils import esxissh
これで、コード部分は変更不要。
モジュールのソース内のコメントからドキュメントファイル生成
docsというディレクトリが雛形として作成されていて、ここにコレクションの各プラグインのドキュメントを「モジュールのソース内の指定コメントとは別に」用意するわけですが、さすがに自動生成するべきだけどどうすればいいのかなーとちょっと保留していましたが、Ansibleアドカレ12日目でsky_jokerさんが素晴らしい記事を作成されています。
Ansible Collectionsのモジュールドキュメントを自動生成する | 日常系エンジニアのTech Blog
collection_prepというツールを使ってrst形式でドキュメントを生成することができます。
ちなみに手元の環境では
docker run -itd --name py38 -v $PWD:/usr/src/work --rm python:3.8
として、コンテナ内でローカルのソースコード一式を参照できるようにボリューム設定してドキュメンテーションしましたが、root権限で動かした影響で生成されるファイルのownerがrootになるのでそういう点は注意。(gitでブランチ変えたときにファイル変更できなかったw)
生成したドキュメントはこちら。
https://github.com/zaki-lknr/esxissh-ansible/tree/main/docs
モジュールのソースコードへのコメント作成については以下を参照。
Module format and documentation — Ansible Documentation
Ansible実行時のコレクションのローカル参照
これでcollectionsディレクトリ以下にzaki_lknr.esxisshというコレクションを配置し、このコレクションにesxissh_guest_powerというモジュールができました。
次はこのモジュールを使用するプレイブック修正と設定を行います。
モジュールをFQCN指定
まず、既存モジュールを使っているプレイブックのモジュール指定部分をFQCNにします。
プレイブックの編集はこれで終わりです。
index 43b96ba..d76cb17 100644
--- a/sample-playbook/create_vm.yml
+++ b/sample-playbook/create_vm.yml
@@ -3,7 +3,7 @@

   tasks:
   - name: create vm
-    esxissh_guest:
+    zaki_lknr.esxissh.esxissh_guest:
       esxiaddress: '{{ esxiaddr }}'
       esxiusername: '{{ esxiuser }}'
       esxipassword: '{{ esxipass }}'
コレクションのパス指定
ここまででコレクション本体と、コレクション配下のモジュールを指定するプレイブックはできました。
肝心の「実行時にこのパスにあるコレクションを使用する」については、ansible.cfgに指定するのが簡単。
ちなみにコレクションはデフォルトではAnsible実行時のユーザーの$HOME/.ansible/collections以下を見る設定になっています。
これは特にvenv使用時に注意が必要で、venvで作った環境の外部を参照するため、デフォルトの状態だと「venvで環境を切り出したつもりが複数のvenv環境で同じ部分を見ていた」ということが起こり得て、パス設定を特に指定せずにansible-galaxy collection installでインストールすると環境が混ざってしまう可能性があります。
ではどうすれば良いかと言うと、ansible.cfgに
collections_path = /home/zaki/src/esxi-ansible/collections/
のように記述しておけば、$HOME/.ansibleでなく指定したパスのコレクションを参照するようになります。
ここで指定したパス以下は、ansible_collections/<namespace>/<collectionname>/と続き、その配下にplugins/modules/<module-name>.pyという構成になります。
/home/zaki/src/esxi-ansible/collections/
└── ansible_collections
    └── zaki_lknr
        └── esxissh
            ├── README.md
            ├── docs
            ├── galaxy.yml
            ├── plugins
            │   ├── README.md
            │   ├── module_utils
            │   │   └── esxissh.py
            │   └── modules
            │       ├── esxissh_guest.py
            │       └── esxissh_guest_power.py
            └── roles
自作コレクションのモジュールを使ったAnsible Playbook実行
- playbookからFQCNでモジュール指定
- コレクションのパスを
ansible.cfgのcollections_pathで指定
この2点でプレイブックからは任意のパスにあるコレクションのモジュールを参照できるので、自作コレクションのモジュールでansible-playbookを実行できます。
ここまでのまとめ
ここまでをまとめると以下のようになります。
-
ansible-galaxy collection init <namespace>.<collection> --init-path /path/toでひな形作成 -
ansible.cfgでcollections_pathを指定 -
collections_pathのパス以下にコレクションを配置 - PlaybookではFQCNでモジュール名を指定
個人環境などで、プレイブックの作成とコレクションの作成を並行してすすめる場合や、コレクションの配布など行わない場合はこれで良いと思います。
配布する
コレクションをパッケージング
配布用パッケージを作るには、ansible-galaxy collection buildを使用します。
引数にコレクションのパス(<namespace>.<collection>/まで。この直下にgalaxy.ymlがあるパス)を指定します。(省略時はカレントディレクトリにgalaxy.ymlがある前提)
Collection Galaxy metadata structure — Ansible Documentation
また、パッケージングにはgalaxy.ymlファイルといういわゆるマニフェスト的な定義ファイルを作成(テンプレート作成されているので必要か所を記入)します。
内容については中身を見るのが早いと思いますが、GalaxyのページでリポジトリやIssueへのリンクや、コレクション名・バージョンなどの定義などを記述します。
パッケージング時に除外するファイルも指定できるので、環境固有の記述をしてるファイルとか中間ファイルとかvenvディレクトリなどを除いておくと良いです。
galaxy.ymlの主な記述箇所は以下の通り。
| item | description |
|---|---|
| namespace | Galaxy上のネームスペース(アカウント名) |
| name | コレクション名 |
| version | コレクションバージョン (数値でx.y.z形式) |
| readme | Galaxy用readmeファイルのパス |
| author | コレクション作成者(リスト形式) |
| repository | ソースのリポジトリURL |
| issues | IssueのURL |
| build_ignore |
collectoin build時に除くファイルパターン |
準備ができたらansible-galaxy collection build <path>を実行します。
(2.10) [zaki@cloud-dev esxi-ansible (features/collections)]$ ansible-galaxy collection build collections/ansible_collections/zaki_lknr/esxissh/
Created collection for zaki_lknr.esxissh at /home/zaki/src/esxi-ansible/zaki_lknr-esxissh-1.0.0.tar.gz
成功すると、実行ディレクトリに<namespace>-<collection>-<version>.tar.gzという名前でコレクションが作成されます。(--output-path /path/toで出力先は変更可能)
ちなみに中身はこんな感じ。
(2.10) [zaki@cloud-dev esxi-ansible (features/collections)]$ tar tf zaki_lknr-esxissh-1.0.0.tar.gz
MANIFEST.json
FILES.json
docs/
roles/
README.md
plugins/
plugins/README.md
plugins/module_utils/
plugins/module_utils/esxissh.py
plugins/modules/
plugins/modules/esxissh_guest.py
plugins/modules/esxissh_guest_power.py
パッケージングされたコレクションをファイルからインストール
コレクションのインストールはAnsible Galaxyを使用しなくても、ローカルのファイルを指定してインストールできます。
 (venv) [zaki@cloud-dev esxissh]$ ansible-galaxy collection -h
usage: ansible-galaxy collection [-h] COLLECTION_ACTION ...

positional arguments:
  COLLECTION_ACTION
    ...

    install          Install collection(s) from file(s), URL(s) or Ansible
                     Galaxy
お試し用に、新しく別のパスに環境を作成してファイルを配置
(venv) [zaki@cloud-dev esxissh]$ ls -F
venv/  zaki_lknr-esxissh-1.0.0.tar.gz
(venv) [zaki@cloud-dev esxissh]$ which ansible-galaxy
~/src/tmp/esxissh/venv/bin/ansible-galaxy
インストール先を指定しないと前述の通り$HOME/.ansible/以下になってしまうため、ここでは-pでカレントのcollectionsを指定します。
(venv) [zaki@cloud-dev esxissh]$ ansible-galaxy collection install zaki_lknr-esxissh-1.0.0.tar.gz -p collections
Starting galaxy collection install process
[WARNING]: The specified collections path '/home/zaki/src/tmp/esxissh/collections' is not part of the configured Ansible
collections paths '/home/zaki/.ansible/collections:/usr/share/ansible/collections'. The installed collection won't be picked up
in an Ansible run.
Process install dependency map
Starting collection install process
Installing 'zaki_lknr.esxissh:1.0.0' to '/home/zaki/src/tmp/esxissh/collections/ansible_collections/zaki_lknr/esxissh'
zaki_lknr.esxissh (1.0.0) was installed successfully
(venv) [zaki@cloud-dev esxissh]$ ls -F
collections/  venv/  zaki_lknr-esxissh-1.0.0.tar.gz
この通りインストールされました。
(venv) [zaki@cloud-dev esxissh]$ tree collections/
collections/
└── ansible_collections
    └── zaki_lknr
        └── esxissh
            ├── FILES.json
            ├── MANIFEST.json
            ├── README.md
            ├── docs
            ├── plugins
            │   ├── README.md
            │   ├── module_utils
            │   │   └── esxissh.py
            │   └── modules
            │       ├── esxissh_guest.py
            │       └── esxissh_guest_power.py
            └── roles

8 directories, 7 files
任意のHTTPサーバーからのインストール
例えば、ローカルネットワーク内webサーバー上に http://192.168.0.19/ansible/zaki_lknr-esxissh-1.0.0.tar.gz みたいな場所にコレクションファイルを配置しておけば、URL指定でインストールもできます。
(venv) [zaki@cloud-dev esxissh]$ ansible-galaxy collection install http://192.168.0.19/ansible/zaki_lknr-esxissh-1.0.0.tar.gz -p collections
Starting galaxy collection install process
[WARNING]: The specified collections path '/home/zaki/src/tmp/esxissh/collections' is not part of the configured Ansible
collections paths '/home/zaki/.ansible/collections:/usr/share/ansible/collections'. The installed collection won't be picked up
in an Ansible run.
Process install dependency map
Downloading http://192.168.0.19/ansible/zaki_lknr-esxissh-1.0.0.tar.gz to /home/zaki/.ansible/tmp/ansible-local-3625522b6vz_fk/tmpng661w25
Starting collection install process
Installing 'zaki_lknr.esxissh:1.0.0' to '/home/zaki/src/tmp/esxissh/collections/ansible_collections/zaki_lknr/esxissh'
zaki_lknr.esxissh (1.0.0) was installed successfully
(venv) [zaki@cloud-dev esxissh]$ ls
collections  venv
(venv) [zaki@cloud-dev esxissh]$ tree collections/
collections/
└── ansible_collections
    └── zaki_lknr
        └── esxissh
            ├── FILES.json
            ├── MANIFEST.json
            ├── README.md
            ├── docs
            ├── plugins
            │   ├── README.md
            │   ├── module_utils
            │   │   └── esxissh.py
            │   └── modules
            │       ├── esxissh_guest.py
            │       └── esxissh_guest_power.py
            └── roles

8 directories, 7 files
(venv) [zaki@cloud-dev esxissh]$
業務などで作成したコレクションをプライベートネットワーク上の複数ホストなどで利用するには簡単に使えると思います。
Ansible Galaxyで公開
Ansible Galaxyの自分のネームスペースにアップロードすることで、全世界に公開することもできます。
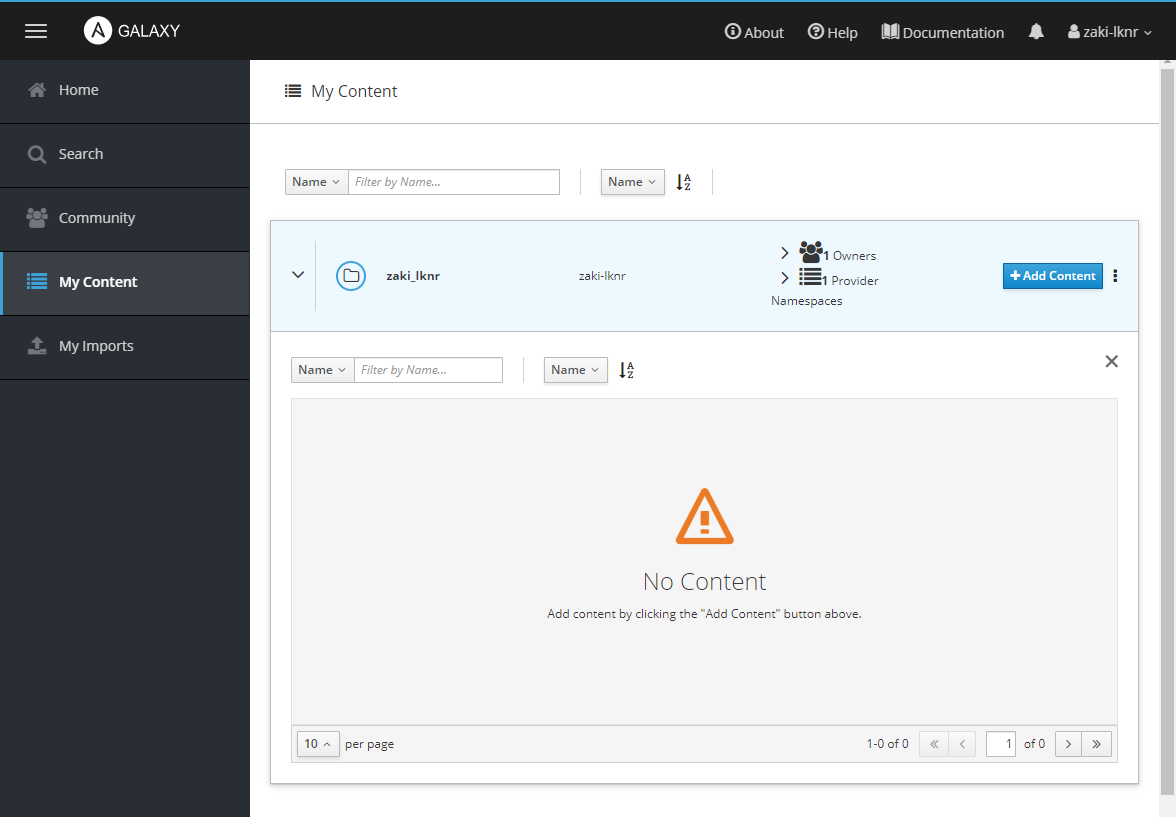
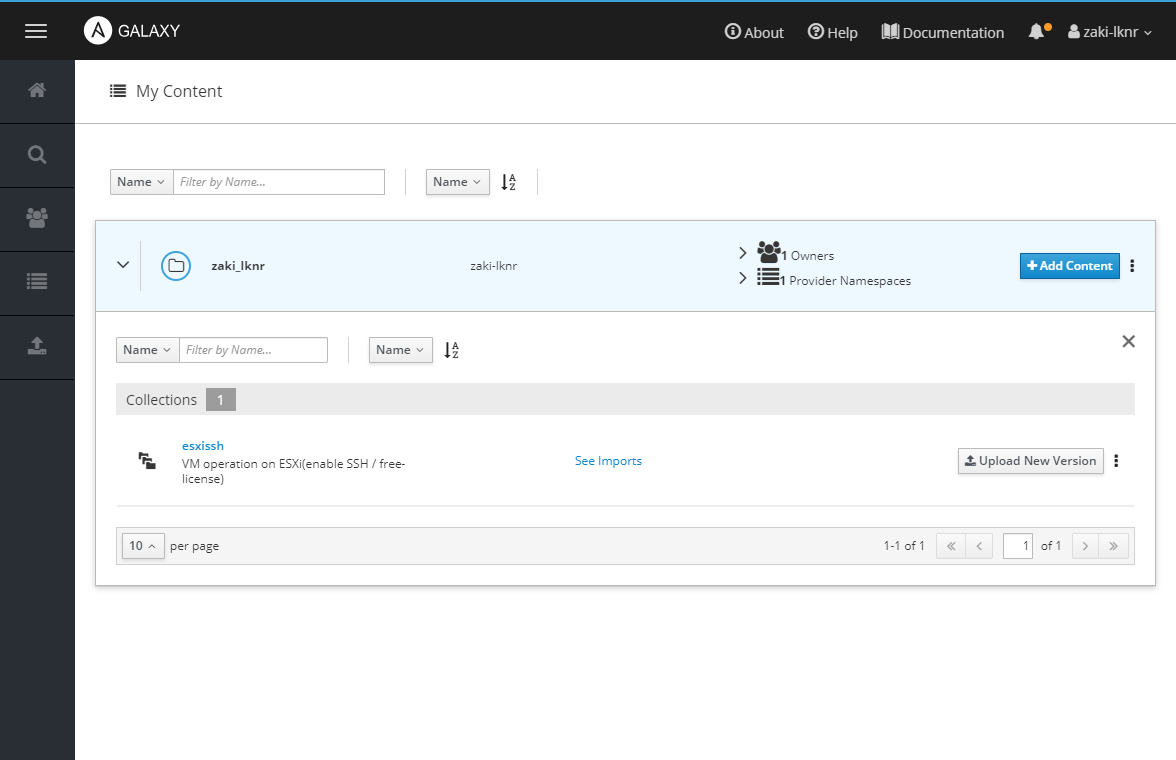
「Add Content」押下
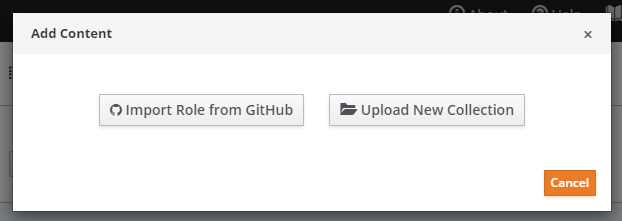
「Import Role from GitHub」は、
Legacy Role import. Does not support Collection format.
とのことで、コレクションのリポジトリ設定はできないみたい。
ということで「Upload New Collection」押下して、作成したコレクションのパッケージファイルを…

なんか、何やっても「Invalid file format」と表示されてうまくいかん。。。
なのでCLIからのアップロードをやってみます。
これはansible-galaxyコマンドを使ったアップロード操作で、アップロード用のトークンを指定します。
このトークンはログインした画面右上の「Preferences」から。
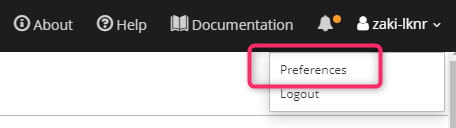
Preferences画面が開いたら、画面内の「Show API Key」ボタン押下で、APIキーが表示されます。
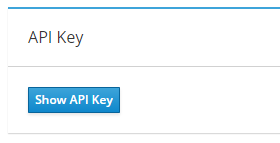
あとはこのAPIキーを--token=というオプションで指定、ansible-galaxy collection publishでパッケージングしたtar.gzファイルを引数に実行します。
(2.10) [zaki@cloud-dev tmp (fix/collection-structure-dirs)]$ ansible-galaxy collection publish --token=${GALAXY_API_TOKEN} zaki_lknr-esxissh-1.0.0.tar.gz
Publishing collection artifact '/home/zaki/src/esxi-ansible/tmp/zaki_lknr-esxissh-1.0.0.tar.gz' to default https://galaxy.ansible.com/api/
Collection has been published to the Galaxy server default https://galaxy.ansible.com/api/
Waiting until Galaxy import task https://galaxy.ansible.com/api/v2/collection-imports/6382/ has completed
Collection has been successfully published and imported to the Galaxy server default https://galaxy.ansible.com/api/
(2.10) [zaki@cloud-dev tmp (fix/collection-structure-dirs)]$ echo $?
0
アップロードできました。
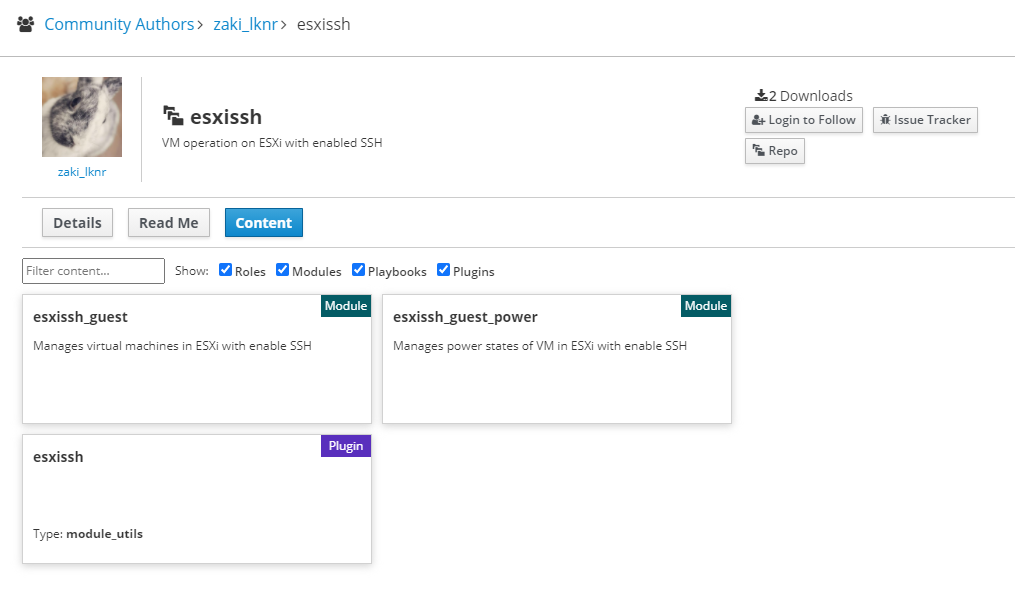
実際のコレクションのページはこちら
https://galaxy.ansible.com/zaki_lknr/esxissh
このコレクションの使い方については、「ESXi上でvim-cmdを使ってVM操作するAnsibleコレクション (無償ライセンス利用可)」をご参考ください。
アップロードしてみるとわかりますが、画面右上の「Repo」や「Issue Tracker」のボタンのリンク先や、「Read Me」で表示される内容、「Content」にリストされる項目が、galaxy.ymlや、コレクションに含まれるプラグイン類が表示されます。
やらかし
Galaxyにアップロードしたコレクションは__ユーザーは削除することができません__。(多分)
少なくとも削除操作のためのボタンの類はどこにもなく、Issueを検索すると削除リクエストがいくつか見つかります。
なので、buildの際に含めてはいけないファイルが含まれていないか十分確認しましょう。。。(訳: .gitignoreは設定してたけどgalaxyのbuildは関係ないのでうっかりやらかした、ということです←)
なお、buildから除外するファイルは、galaxy.ymlのbuild_ignore:で指定できます。
venvや*.tmp、*.bakなんかは指定しておきましょう。
(※ アップロード可能なパッケージサイズは最大2MBなので、venvを入れているとアップロードはまず間違いなく失敗します)
Issueの削除リクエストは1日で対応されることもあれば1週刊くらい管理者の目に留まらない?こともあるみたいなので、機微な情報をアップロードしないように気を付けましょう。約束ですよ!
あとおそらく削除時は指定バージョンだけでなくコレクション丸ごと削除しているように見えるのでほんとに気を付けましょう。(未確認情報)
参考にしたもの
公式ドキュメントと言いたいところだけど、頭から順に読むのって初めてはなかなか難しいので、実際に公開されているコレクションが参考になりました。
(GitHub上のソースのここがGalaxyのここに相当しているんだな、みたいな感じで)
その上で公式ドキュメントを確認すると理解しやすかったです。
- コレクションやドキュメントの実装例
- Ansibleドキュメント
- Developer Guide — Ansible Documentation
-
Ansible module development: getting started — Ansible Documentation
- モジュール作成例
-
Module format and documentation — Ansible Documentation
- モジュール作成時の書式やコメントの書き方
-
Collection Galaxy metadata structure — Ansible Documentation
-
galaxy.ymlの書き方
-
-
Creating a new collection — Ansible Documentation
- 命名規則など。。。ここはもしかするとコントリビュートするための情報かも
-
Developing collections — Ansible Documentation
- コレクションのディレクトリ構造やファイル、
ansible-galaxyの使い方など、コレクション開発全般
- コレクションのディレクトリ構造やファイル、
-
Galaxy Documentation — Ansible Documentation
- Ansible Galaxyのドキュメント
-
Sample Ansible setup — Ansible Documentation
- 現verのAnsibleディレクトリ構造など