Firebase Hostingでは1つのプロジェクトで複数のサイト(サブドメイン)のHostingができるようです。
例えば、
- user.hogehoge.com
- admin.hogehoge.com
という感じです。では試してみます。
準備
作業場所の確保
cd
mkdir multi-hosting-test
cd multi-hosting-test
firebaseの設定
firebase initを実行して環境設定を行います。
firebase init
まあ、HostingなのでHostingを選びます。
? Which Firebase CLI features do you want to set up for this folder? Press Space to select features,
then Enter to confirm your choices.
 ◯ Database: Deploy Firebase Realtime Database Rules
 ◯ Firestore: Deploy rules and create indexes for Firestore
 ◯ Functions: Configure and deploy Cloud Functions
❯◉ Hosting: Configure and deploy Firebase Hosting sites
 ◯ Storage: Deploy Cloud Storage security rules
 ◯ Emulators: Set up local emulators for Firebase feature
今回は既存の要素の影響を排除するためにCreate a new projectを選んで見ます。
? Please select an option:
  Use an existing project
❯ Create a new project
  Add Firebase to an existing Google Cloud Platform project
  Don't set up a default project
プロジェクトID名を付けます。これは標準でサブドメイン名になるので(Firebase Hosting上の)他のサイトと重複しているとエラーとなります。固有の名前を付けます。(ここではmh-12345)としました。
? Please specify a unique project id (warning: cannot be modified afterward) [6-30 characters]:
 mh-12345
プロジェクトIDは冗長になりがちなので、別名を付けられます。が、ここではプロジェクトIDをそのまま名称としても使います。
? What would you like to call your project? (defaults to your project ID)
どこをPublicとするか?といわれるのでそのまま(public)。
? What do you want to use as your public directory? (public)
SPAにするか?と聞かれるのでそのまま(No)
? Configure as a single-page app (rewrite all urls to /index.html)? (y/N)
動作
firebase deploy

.
.

Hosting URL: https://mh-12345.firebaseapp.com
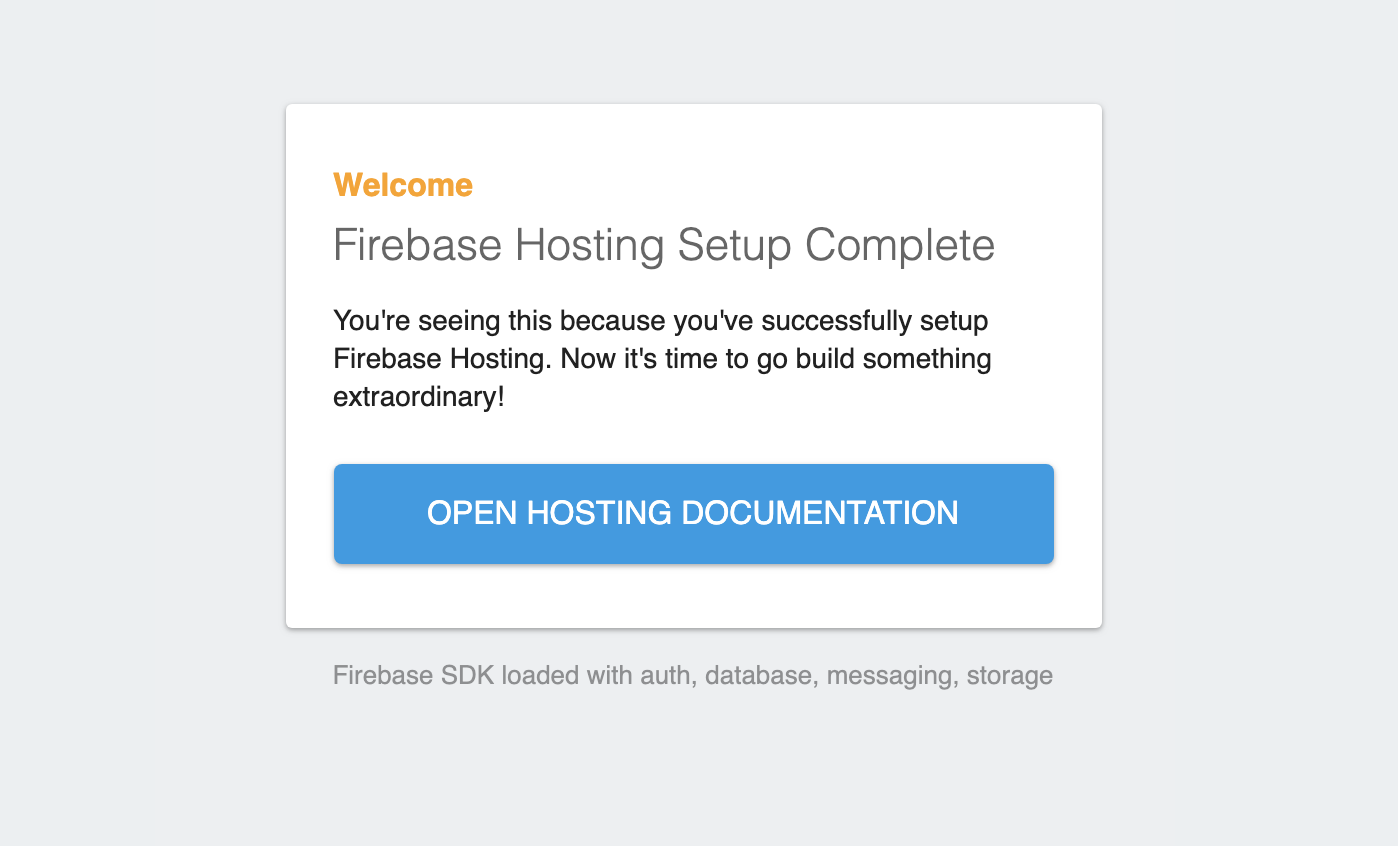
下記のような画面がでればOKです。
複数サイトの設定
サイトの追加
まず、Web ConsoleのHoting(の下の方)にて、[別サイトを追加]をクリックします。
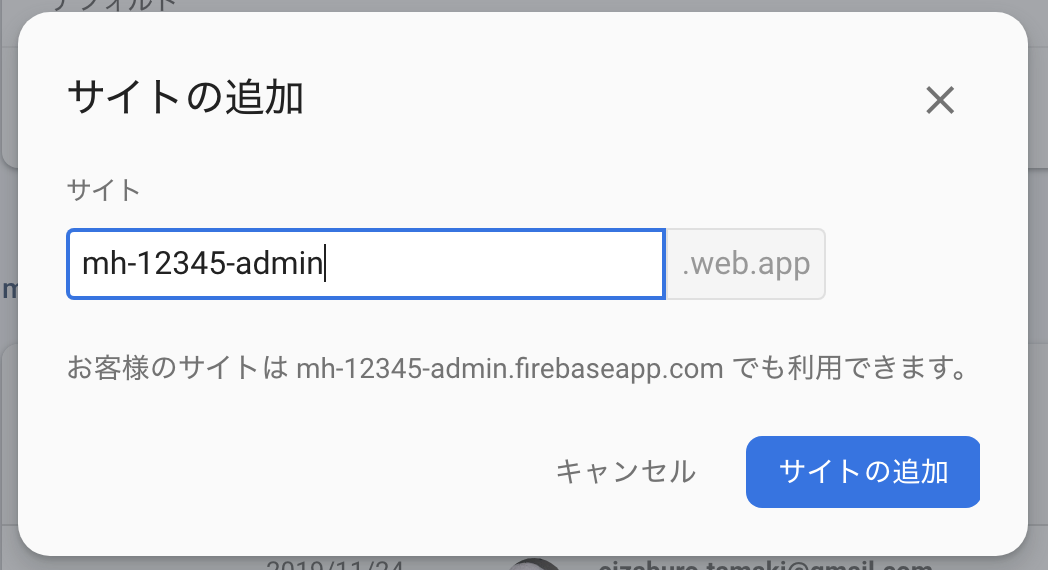
そして、サイト名を設定します。
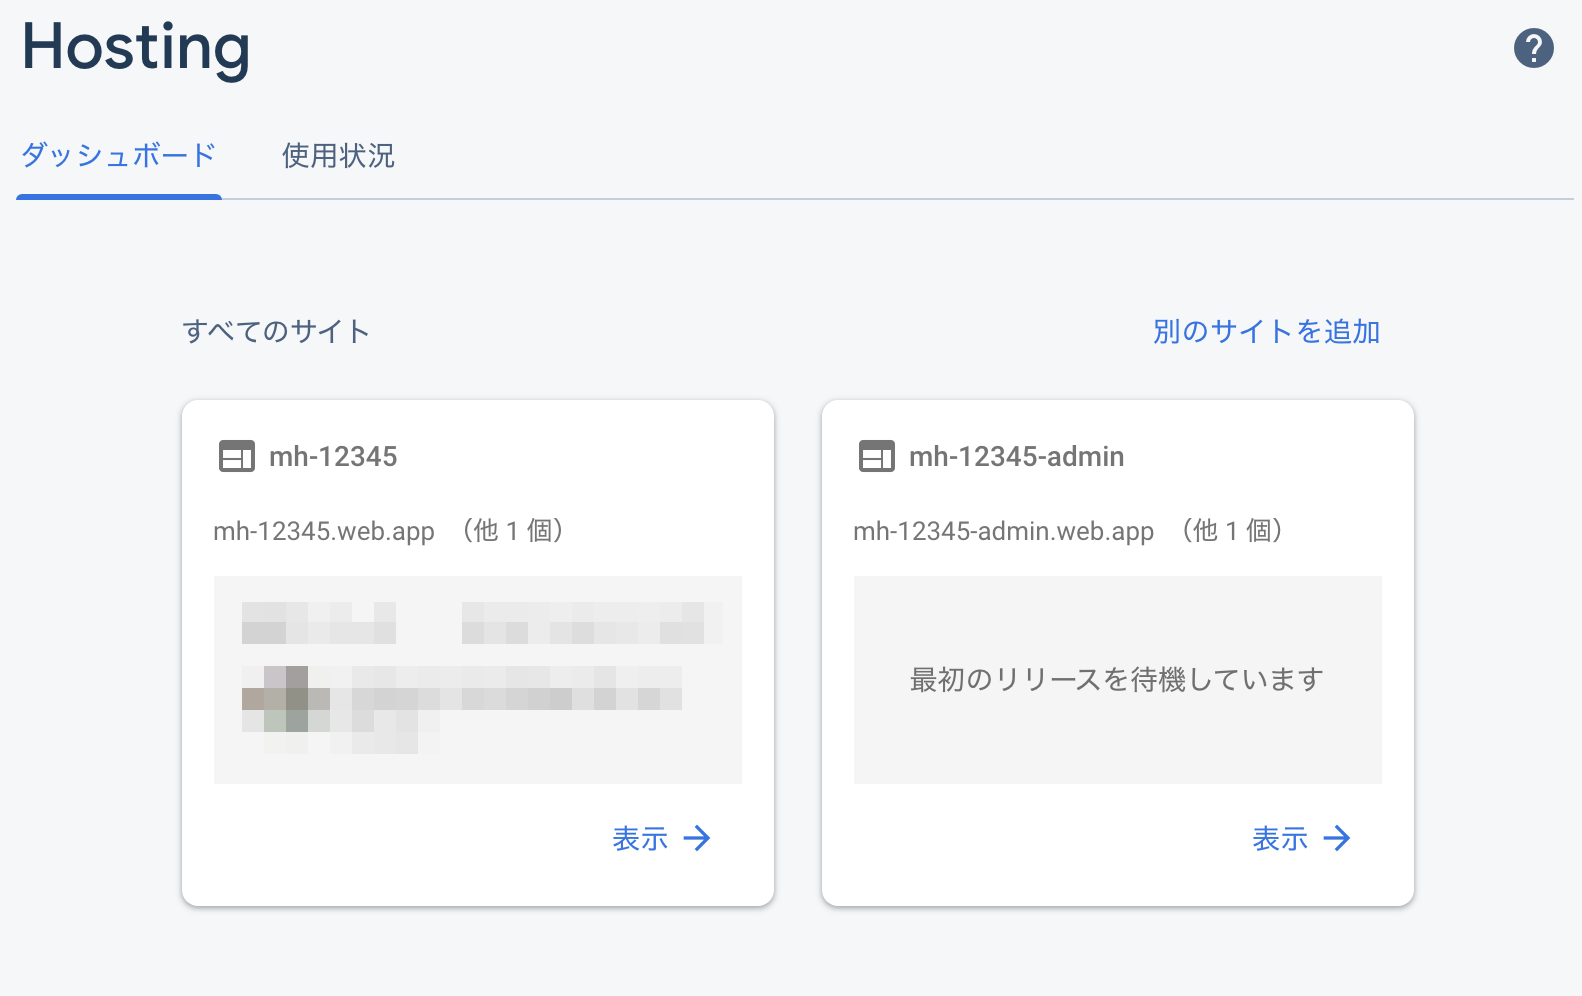
すると、こんな感じになります。
デプロイの設定
各サイトをデプロイ時に区別するためにtarget名を設定します。設定は、
firebase target:apply hosting <target-name> <resource-name>
という構文で行うことができ、target-nameは任意、resource-nameは各サイト(サブドメイン)メインになります。
ここでは、最初からあったデフォルトのサイトをuser-site, 後から追加したサイトをadmin-stieとしてみます。
既存サイトにtarget名を設定。
firebase target:apply hosting user-site mh-12345
追加サイトにtarget名を設定。
firebase target:apply hosting admin-site mh-12345-admin
ここで.firebasercファイルを確認してみると、targetが追加され、各サイトの記述も確認できます。
{
  "projects": {
    "default": "mh-12345"
  },
+  "targets": {
    "mh-12345": {
      "hosting": {
        "user-site": [
          "mh-12345"
        ],
        "admin-site": [
          "mh-12345-admin"
        ]
      }
    }
  }
}
firebase.jsonの編集
firebase.jsonのhostingセクションを配列にし、各ターゲットに関する設定を行います。
adminサイトに関してはpublic-adminというフォルダの内容を反映させるようにします。
{
  "hosting": [
    {
      "target": "user-site",
      "public": "public",
      "ignore": [
        "firebase.json",
        "**/.*",
        "**/node_modules/**"
      ]
    },
    {
      "target": "admin-site",
      "public": "public-admin",
      "ignore": [
        "firebase.json",
        "**/.*",
        "**/node_modules/**"
      ]
    }
  ]
}
firebase.jsonを各フォルダに配置する方法もありますが、ここは最初からあったfirebase.jsonを利用してみます。
各サイトのindex.htmlの編集
反映がわかりやすいように各サイトのindex.htmlを下記のように編集しました。
・public/index.html
<!doctype html>
<html lang="ja">
  <head>
    <meta charset="utf-8">
  </head>
  <body>
    user-site.
  </body>
</html>
・public-admin/index.html
<!doctype html>
<html lang="ja">
  <head>
    <meta charset="utf-8">
  </head>
  <body>
    admin-site.
  </body>
</html>
public-adminは手動で生成してください。
デプロイ
ここまでできたら、デプロイします。
firebase deploy
targetを特定してdeployするには、下記のようにします。
firebase deploy --only hosting:admin-site
デプロイできたか確認してください。
画面が更新されていない場合はcacheの消して更新してください。
とりあえず以上です。


