この記事やこの記事の続き。というかメイン。
Laravel BroadcastingはReactNativeともスムーズに連携可能です。
準備
私はexpoを使ってます。
expo init echo-react
cd echo-react
必要モジュールのインストール
npm install --save laravel-echo socket.io-client
npm install
実装
今回はApp.jsに全てのコードを書きます。
App.js
基本的にReactと同じなのですが、接続情報に client: Socketio, が追加されています。
import React from 'react';
import { StyleSheet, Text, View } from 'react-native';

import Echo from 'laravel-echo/dist/echo';
import Socketio from 'socket.io-client';

export default class App extends React.Component {

  constructor() {
    super();
    this.state = {
      public_message: 'aaa',
      private_message: 'bbb',
    }
  }

  componentDidMount() {

    window.Echo = new Echo({
      broadcaster: 'socket.io',
      host: 'http://localhost:6001',
      client: Socketio,
      auth: {
        headers: {
          'Authorization': 'Bearer hogehoge',
        }
      }
    });

    window.Echo.channel('public-event')
      .listen('PublicEvent', (e) => {
        // console.log(e);
        this.setState({
          public_message: e.message
        });
      });

    const user_id = 1;
    window.Echo.private('private-event.' + user_id.toString())
      .listen('PrivateEvent', (e) => {
        // console.log(e);
        this.setState({
          private_message: e.message
        });
      });

  }

  render() {
    return (
      <View style={styles.container}>
        <Text>Event</Text>
        <Text>Public Message: {this.state.public_message}</Text>
        <Text>Private Message: {this.state.private_message}</Text>
      </View>
    );
  }
}

const styles = StyleSheet.create({
  container: {
    flex: 1,
    backgroundColor: '#fff',
    alignItems: 'center',
    justifyContent: 'center',
  },
});
動作確認
動作確認してみます。
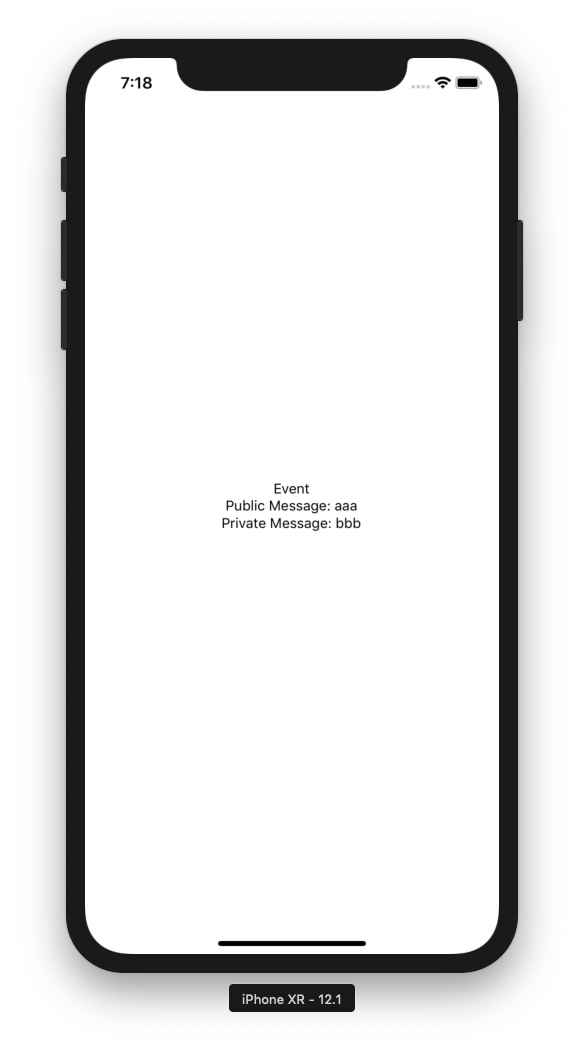
初期状態
stateに設定した値が表示されています。
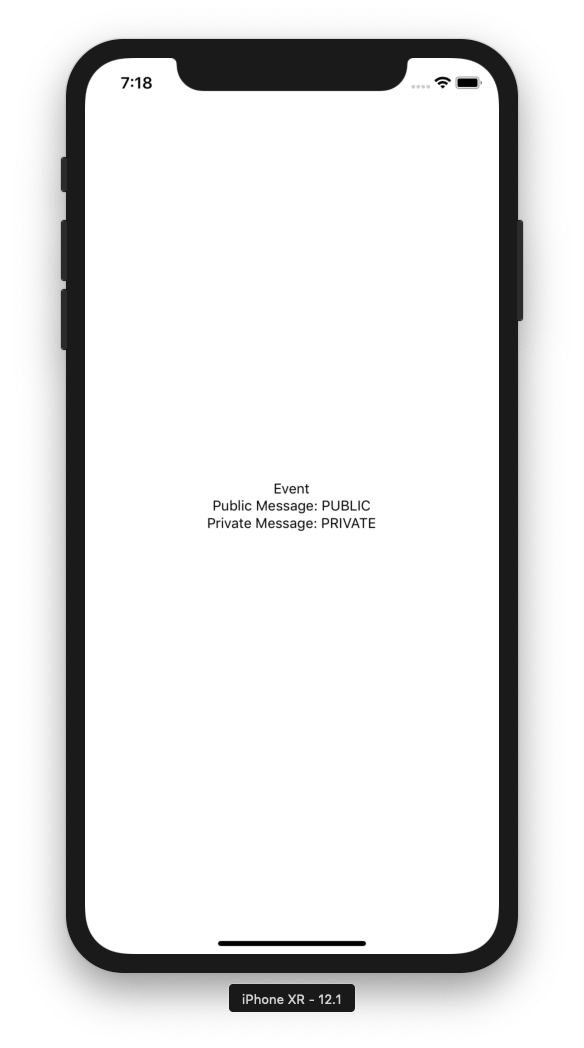
Event発生
Public, Privateのイベントを発生させると表示が更新されます。便利。

