ExpoへのSentry導入方法。非常に簡単なのですが、ネット記事と少々やりかたが変わっているようだったのでメモ。
Sentryとは
Sentryはエラートラッキングシステムで、アプリでおこるエラーを収集・閲覧・アラート発火等ができる。サーバサイド系のエラーはサーバに残るけどアプリとかはわからないのでエラートラッキングシステムが必要となる。
Sentryはいろいろな言語に対応しているが、React Nativeにも対応しており、かつ、Expoでは標準でSentryと連携するためのモジュールを提供しているのでそれを利用してみる(RNとExpoでは若干導入方法が異なる)。
準備
Sentryへの登録
何はなくともまずはsentryに登録します。
サーバ利用(設定)情報の入手
トラッキング対象のアプリでSentryを使うにはAuth TokenやらDSNといった情報が必要になるので取得します。
- Auth Token(API Key) → アカウント(Organization)に1つで、手動でCreateする必要がある
- DSN → プロジェクトに1つ(プロジェクトを作れば自動生成される)
- その他、Project名とかOrganization名とかあるけど、調べるほどのものではない
これらの情報は初期ウィザード中でも取得できますが、後からでも取得できます。
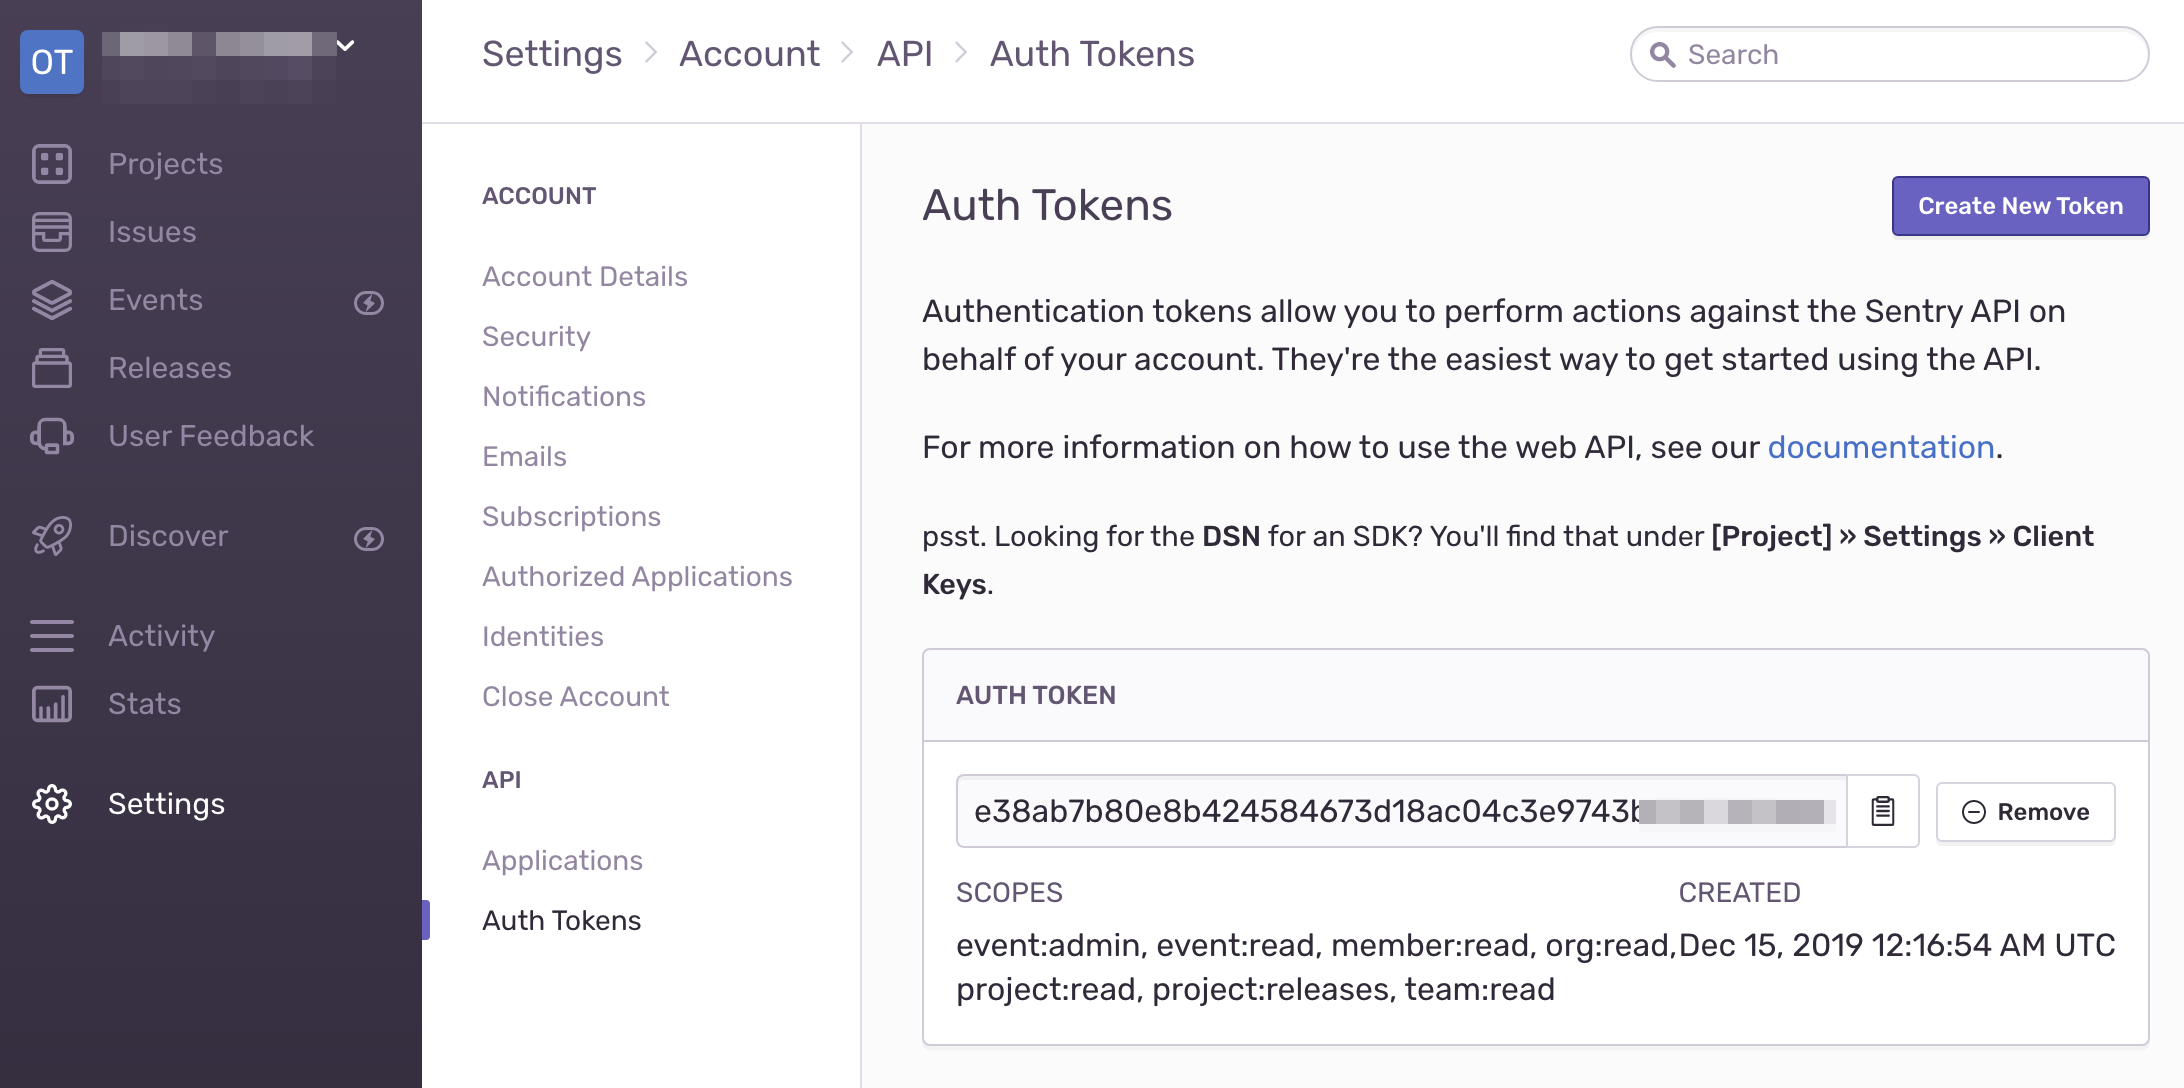
Auth Token
こんな画面があるので生成、取得します。
DSN
こんな画面があるので取得します。
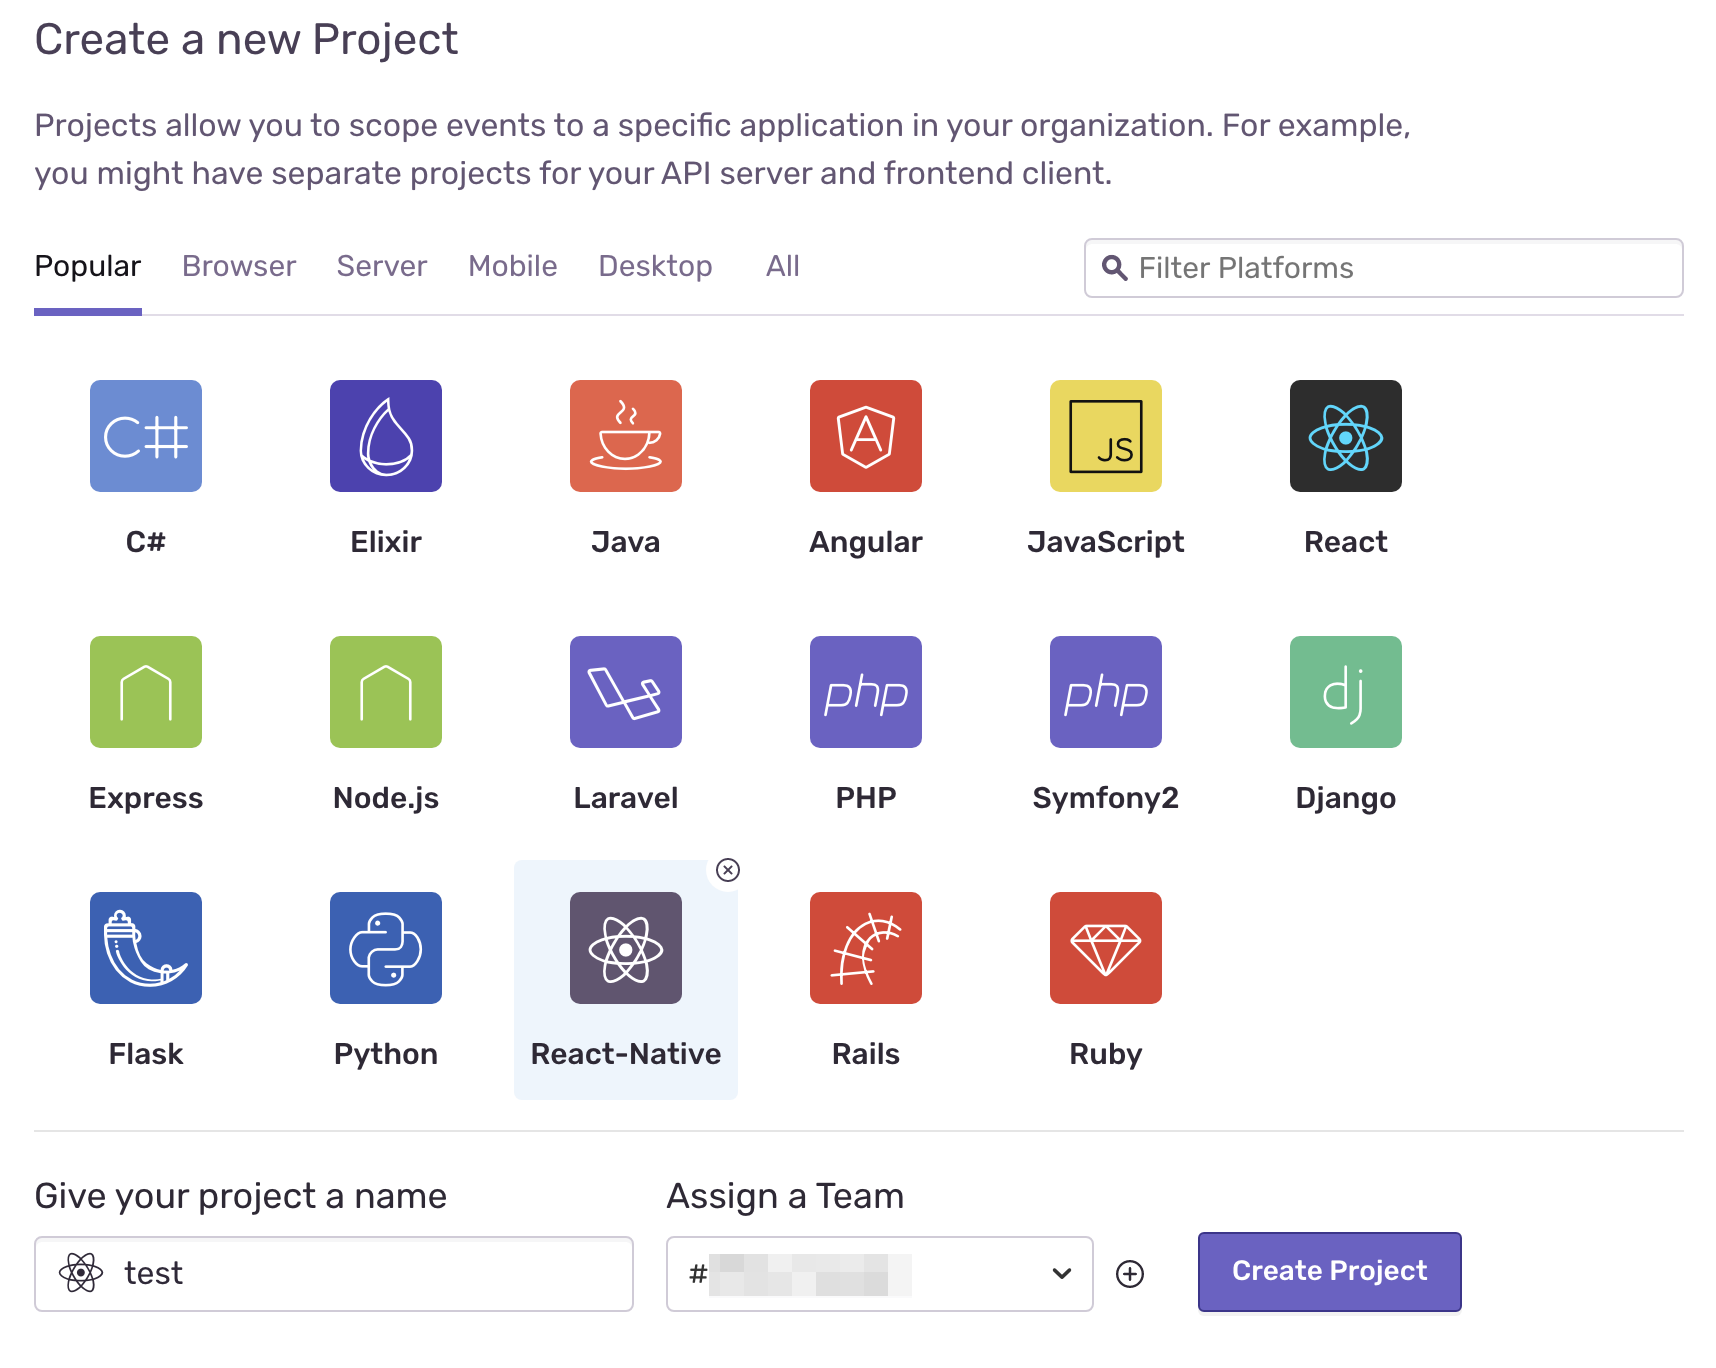
プロジェクトの作成
適当にUIを見てればわかります。入会時は自動的にウィザードが起動するかもしれません。
React-Native用のプロジェクトを作っておきます。
Expoにコードを仕込む
基本的にはExpoページの通りにやればよいだけ。いじるファイルはApp.jsとapp.jsonの2つ。
App.js
初期化とエラーの発生。初期化にはDSN情報が必要です。
import React from 'react';
import { StyleSheet, Text, View, Button } from 'react-native';
+import * as Sentry from 'sentry-expo';

+//Sentry初期化
+Sentry.init({
+  dsn: 'https://04770839cdf74bfca91ea8xxxxxxxxxx@sentry.xxxxxxxxxx',
+  enableInExpoDevelopment: true,
+  debug: true
+});

export default class App extends React.Component {
  render() {
    return (
      <View style={{ flex: 1, justifyContent: 'center' }}>
        <Text>App</Text>
        <Button
          title="throw error"
          onPress={() => {
+            throw new Error('test error'); //button pushでエラー発生させる
          }}
        />
      </View>
    );
  }
}
app.json
app.jsonにhookを追加し、各種情報を設定します。
{
  "expo": {
    "name": "test",
    "slug": "test",
    "privacy": "public",
    "sdkVersion": "36.0.0",
    "platforms": [
      "ios",
      "android",
      "web"
    ],
    "version": "1.0.0",
    "orientation": "portrait",
    "icon": "./assets/icon.png",
    "splash": {
      "image": "./assets/splash.png",
      "resizeMode": "contain",
      "backgroundColor": "#ffffff"
    },
    "updates": {
      "fallbackToCacheTimeout": 0
    },
    "assetBundlePatterns": [
      "**/*"
    ],
    "ios": {
      "supportsTablet": true
    },
+    "hooks": {
+      "postPublish": [
+        {
+          "file": "sentry-expo/upload-sourcemaps",
+          "config": {
+            "organization": "xxxxxxxxxx",
+            "project": "test",
+            "authToken": "e38ab7b80e8b424584673d18ac04c3e9743b7287967b4cf08857c8xxxxxxxxxx",
+            "url": "option"
+          }
+        }
+      ]
+    }
  }
}
動作確認
エラーが発生するとSentryに表示されるようになります。
その他
デフォルトでエラー時にメールが送信されるようです(当然On,Off可)。またSlackと連携してエラーを通知することも可能です。


