特に困ることはないけど、一応メモ。
MailTrapでアカウントを作って、アクセス情報を取得します。
MailTrapのサイトでアカウント作ります。
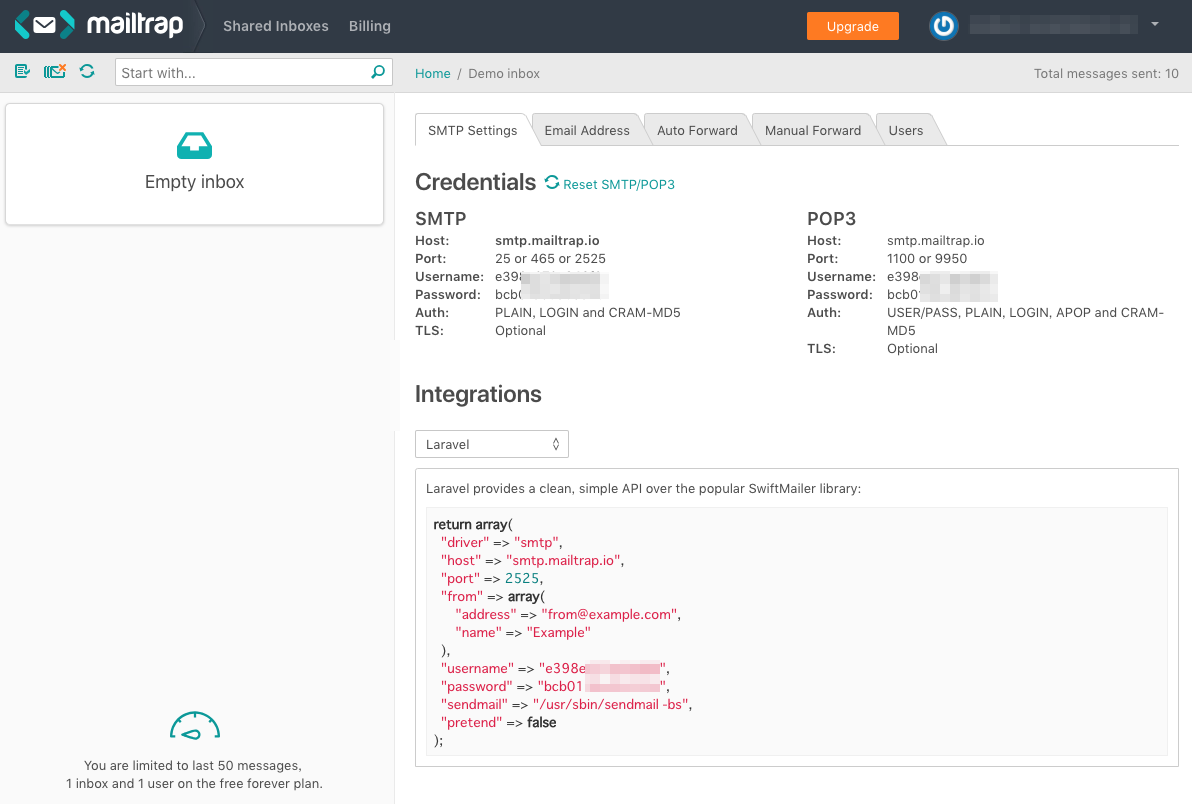
アカウントを作ったら、DemoInboxってのができるので、アクセス情報を確認します。
インストール
composer使います。
mkdir mailer
cd mailer
composer require phpmailer/phpmailer
index.phpってファイル作ってそこに記述する想定。本家サイトのサンプルを参考に。
index.php
<?php

    use PHPMailer\PHPMailer\PHPMailer;
    use PHPMailer\PHPMailer\Exception;

    require 'vendor/autoload.php';

    $mail = new PHPMailer(true);

    try{

        //server
        $mail->SMTPDebug = 2; //本番では0とかにする。
        $mail->isSMTP();
        $mail->Host = 'smtp.mailtrap.io';
        $mail->SMTPAuth = true;
        $mail->Username = 'e398e3xxxxxxxx'; //ここにusername入れる
        $mail->Password = 'bcb019xxxxxxxx'; //ここにpassword入れる
        $mail->SMTPSecure = 'tls';
        $mail->Port = 2525;

        //Recipients
        $mail->setFrom('from@example.com', 'Mailer'); //アドレスだけでも動きます
        $mail->addAddress('to@example.com', 'Mr To');

        //Content
        $mail->CharSet = 'UTF-8'; //文字化け防止
        $mail->Subject = 'メールのタイトル';
        $mail->Body    = 'メールの本文';

        //送信
        $mail->send();

        echo "send";

    }catch(Exception $e){
        echo "error:".$mail->ErrorInfo;
    }
確認
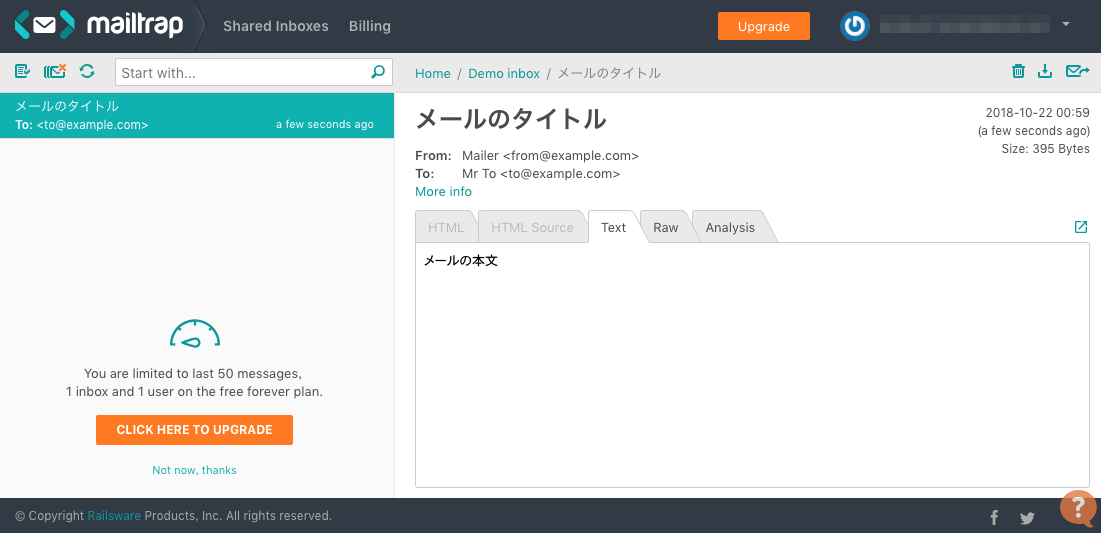
プログラムを実行してメールが届くか確認します。
php index.php
うまく行けばメールが届きます。