こんにちは、株式会社運動通信社のバックエンドエンジニア横山です![]()
私と同じで以下に該当する方
- AWS知識に自信がないので勉強したい
- Terraformに興味がある
ご一緒に手を動かしながらお勉強する旅へ出かけましょう。
この記事のゴール
- Terraformを実行できる環境の作成
前提条件
- Mac OS Big Sur 11.2.3
- Docker for Mac version 20.10.6
- aws-cli 2.3.4
- AWSアカウントを持っていること
事前準備
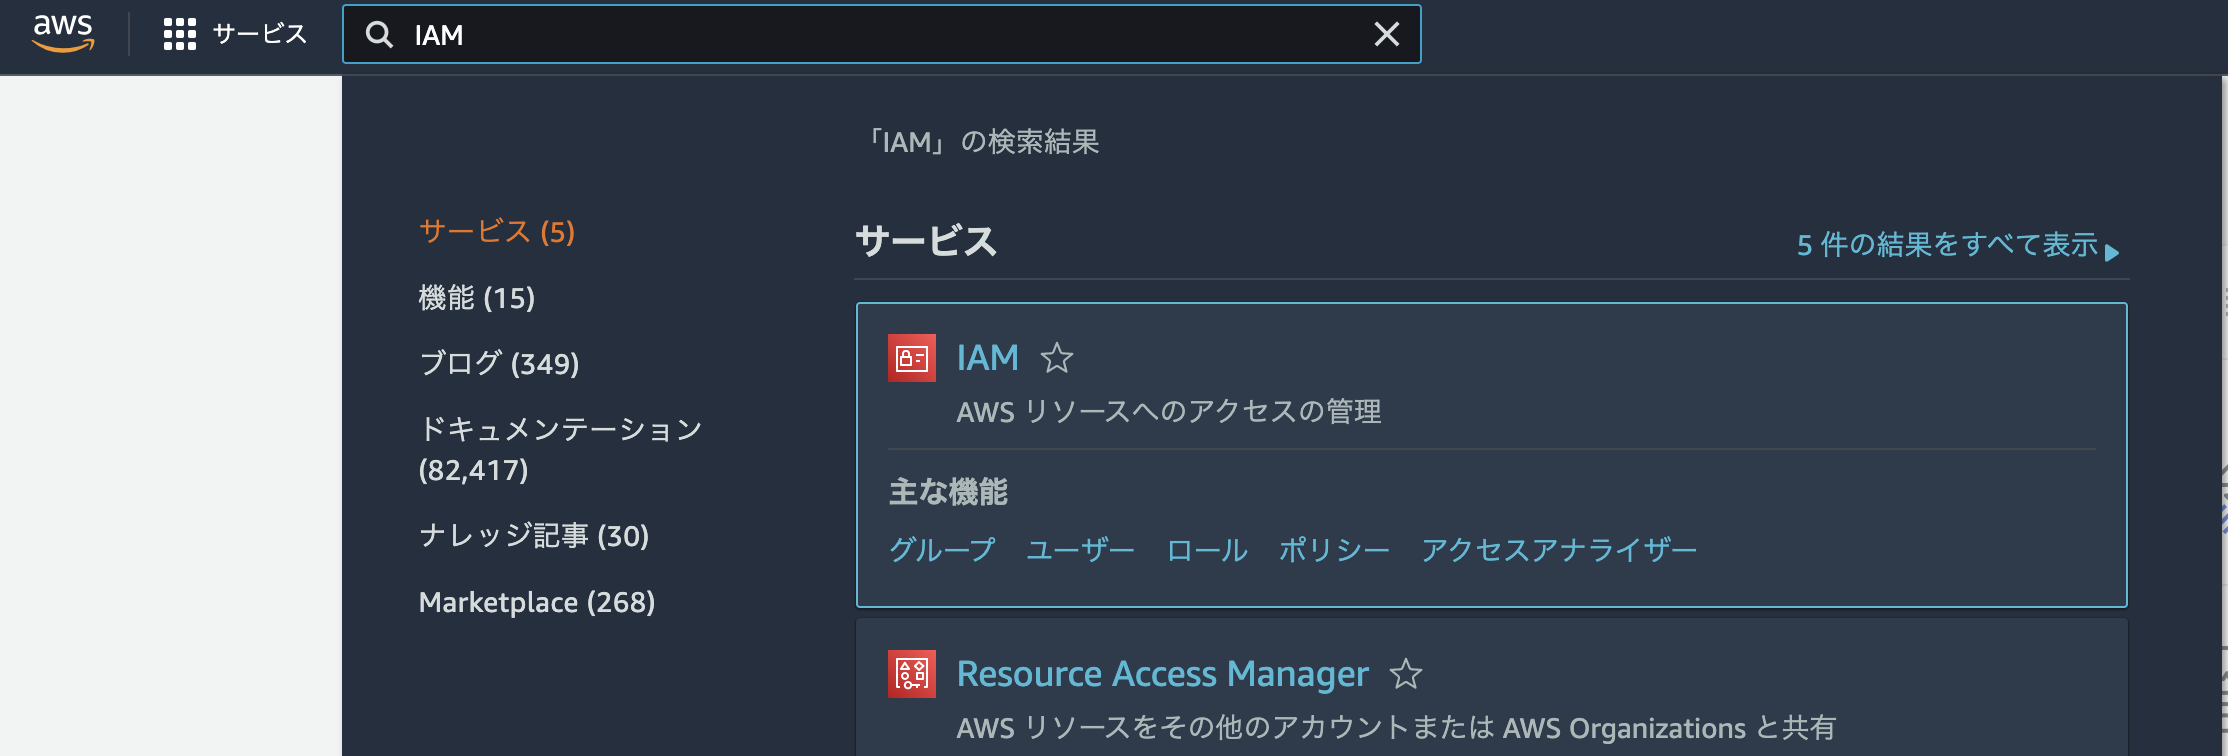
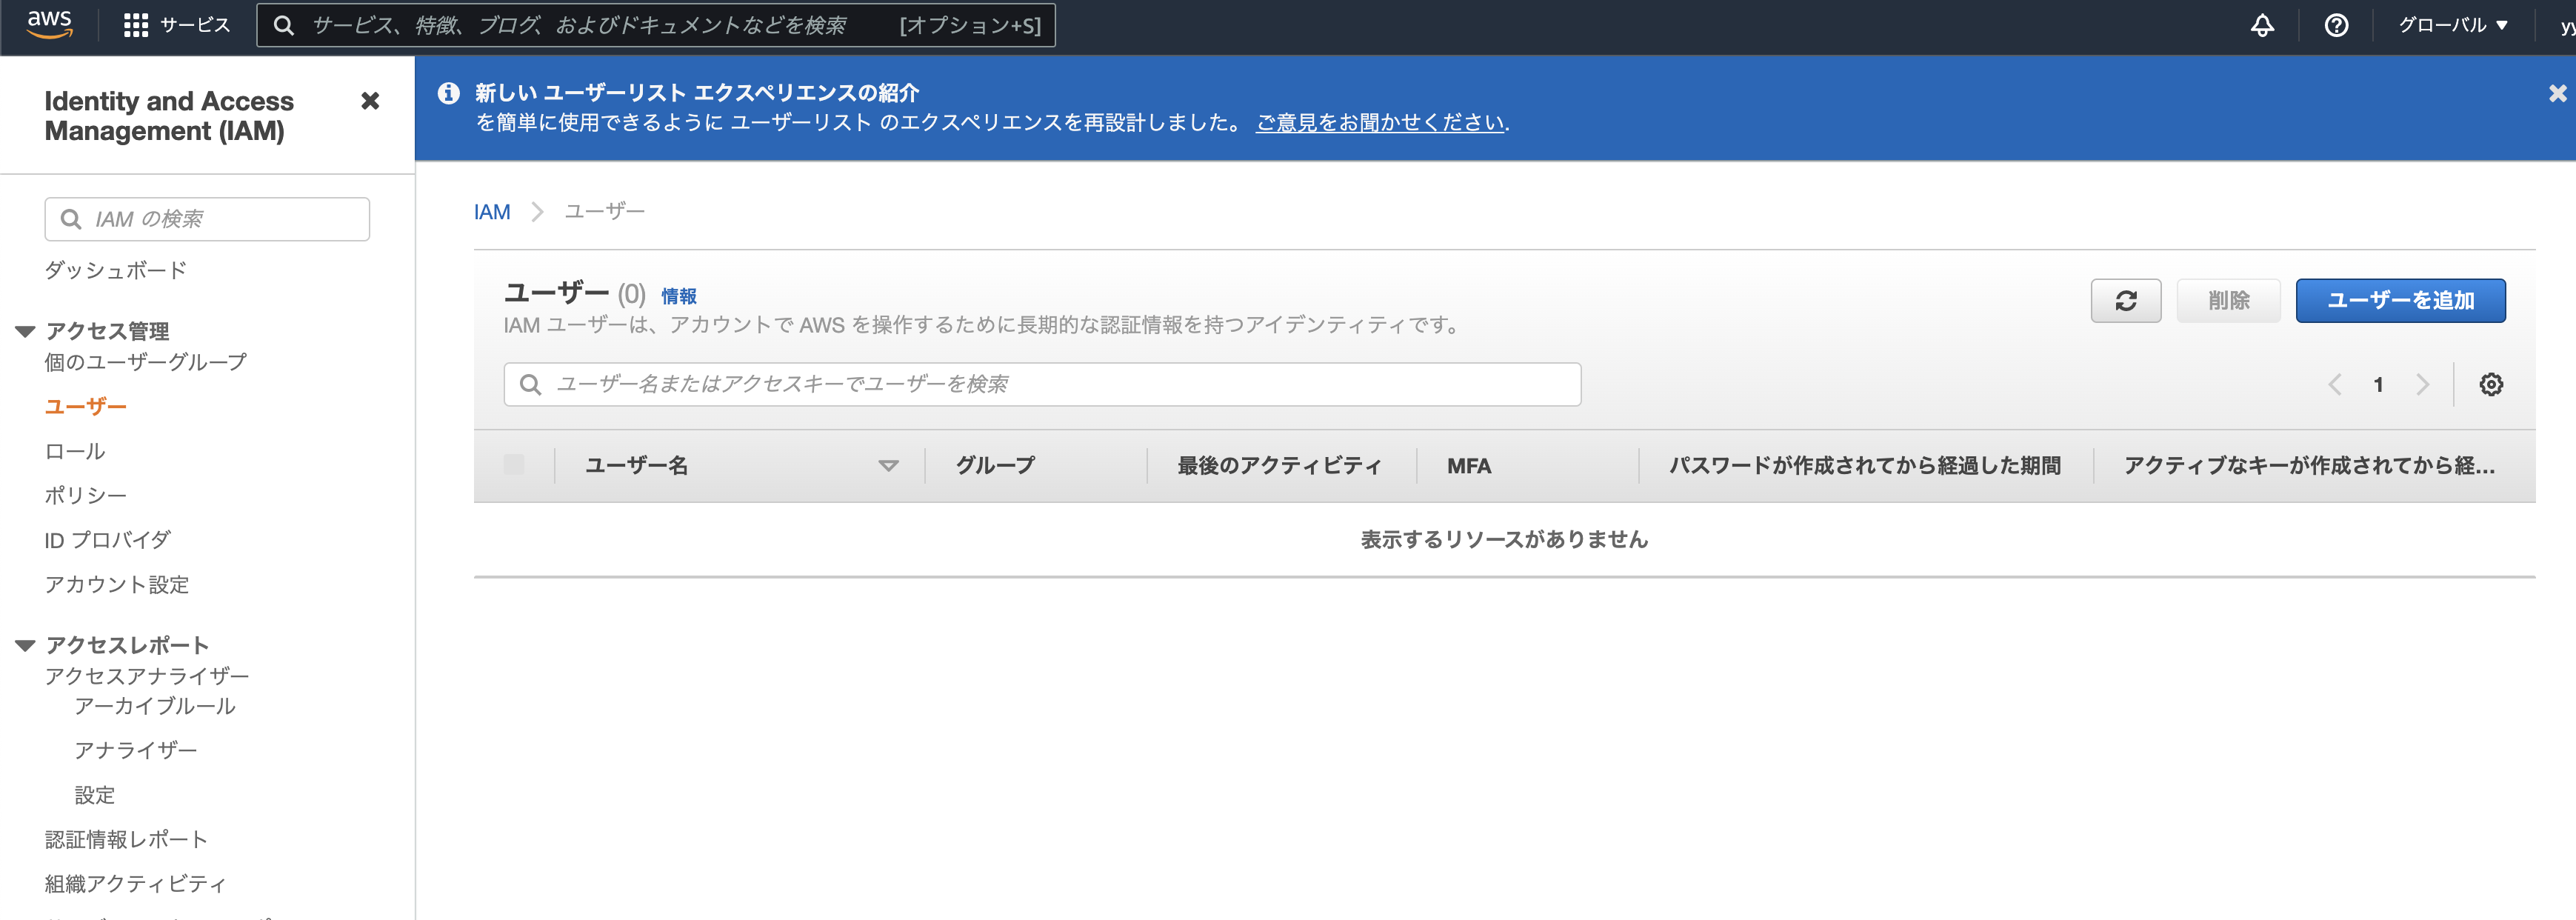
Terraform CLI 用のIAMユーザ作成
まずはTerraform CLIで用いるIAMユーザを作成しましょう。
-
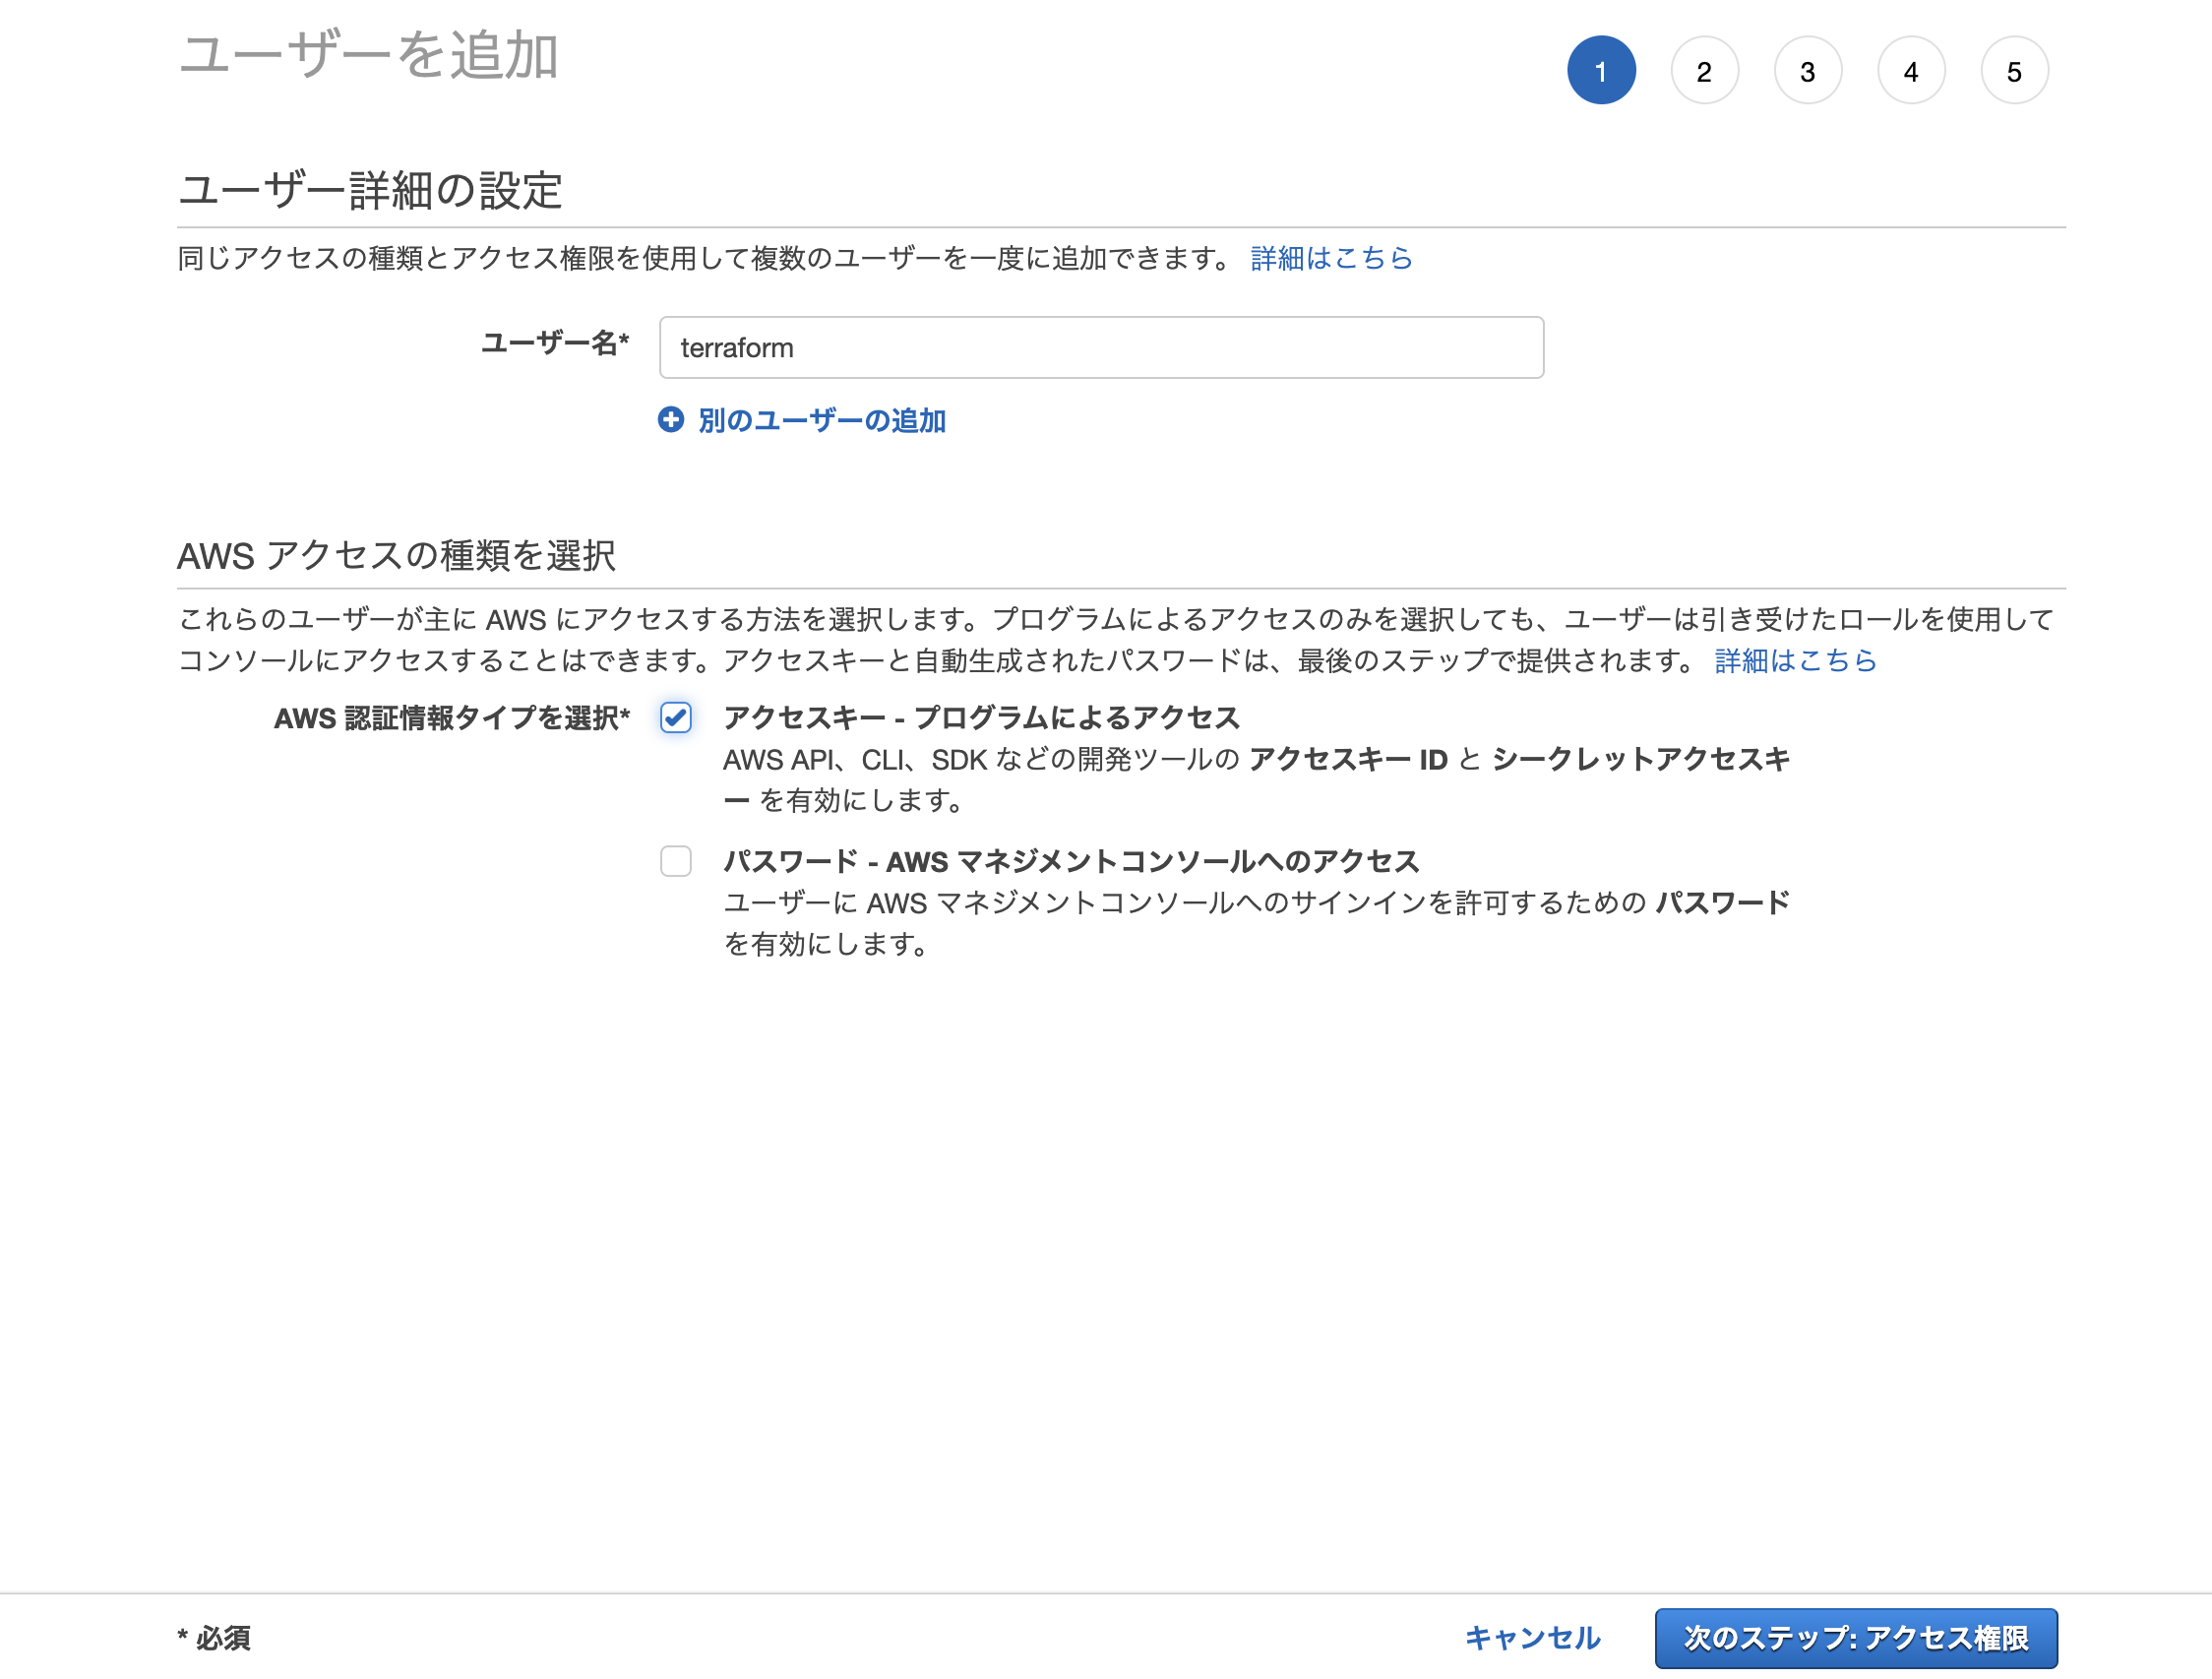
IAMユーザの名前とアクセスの種類を選択
ユーザ名は任意ですがここではterraformとします。
AWSアクセスの種類を選択では今回はTerraform CLIからのアクセスのためアクセスキー- プログラムによるアクセスをチェック
-
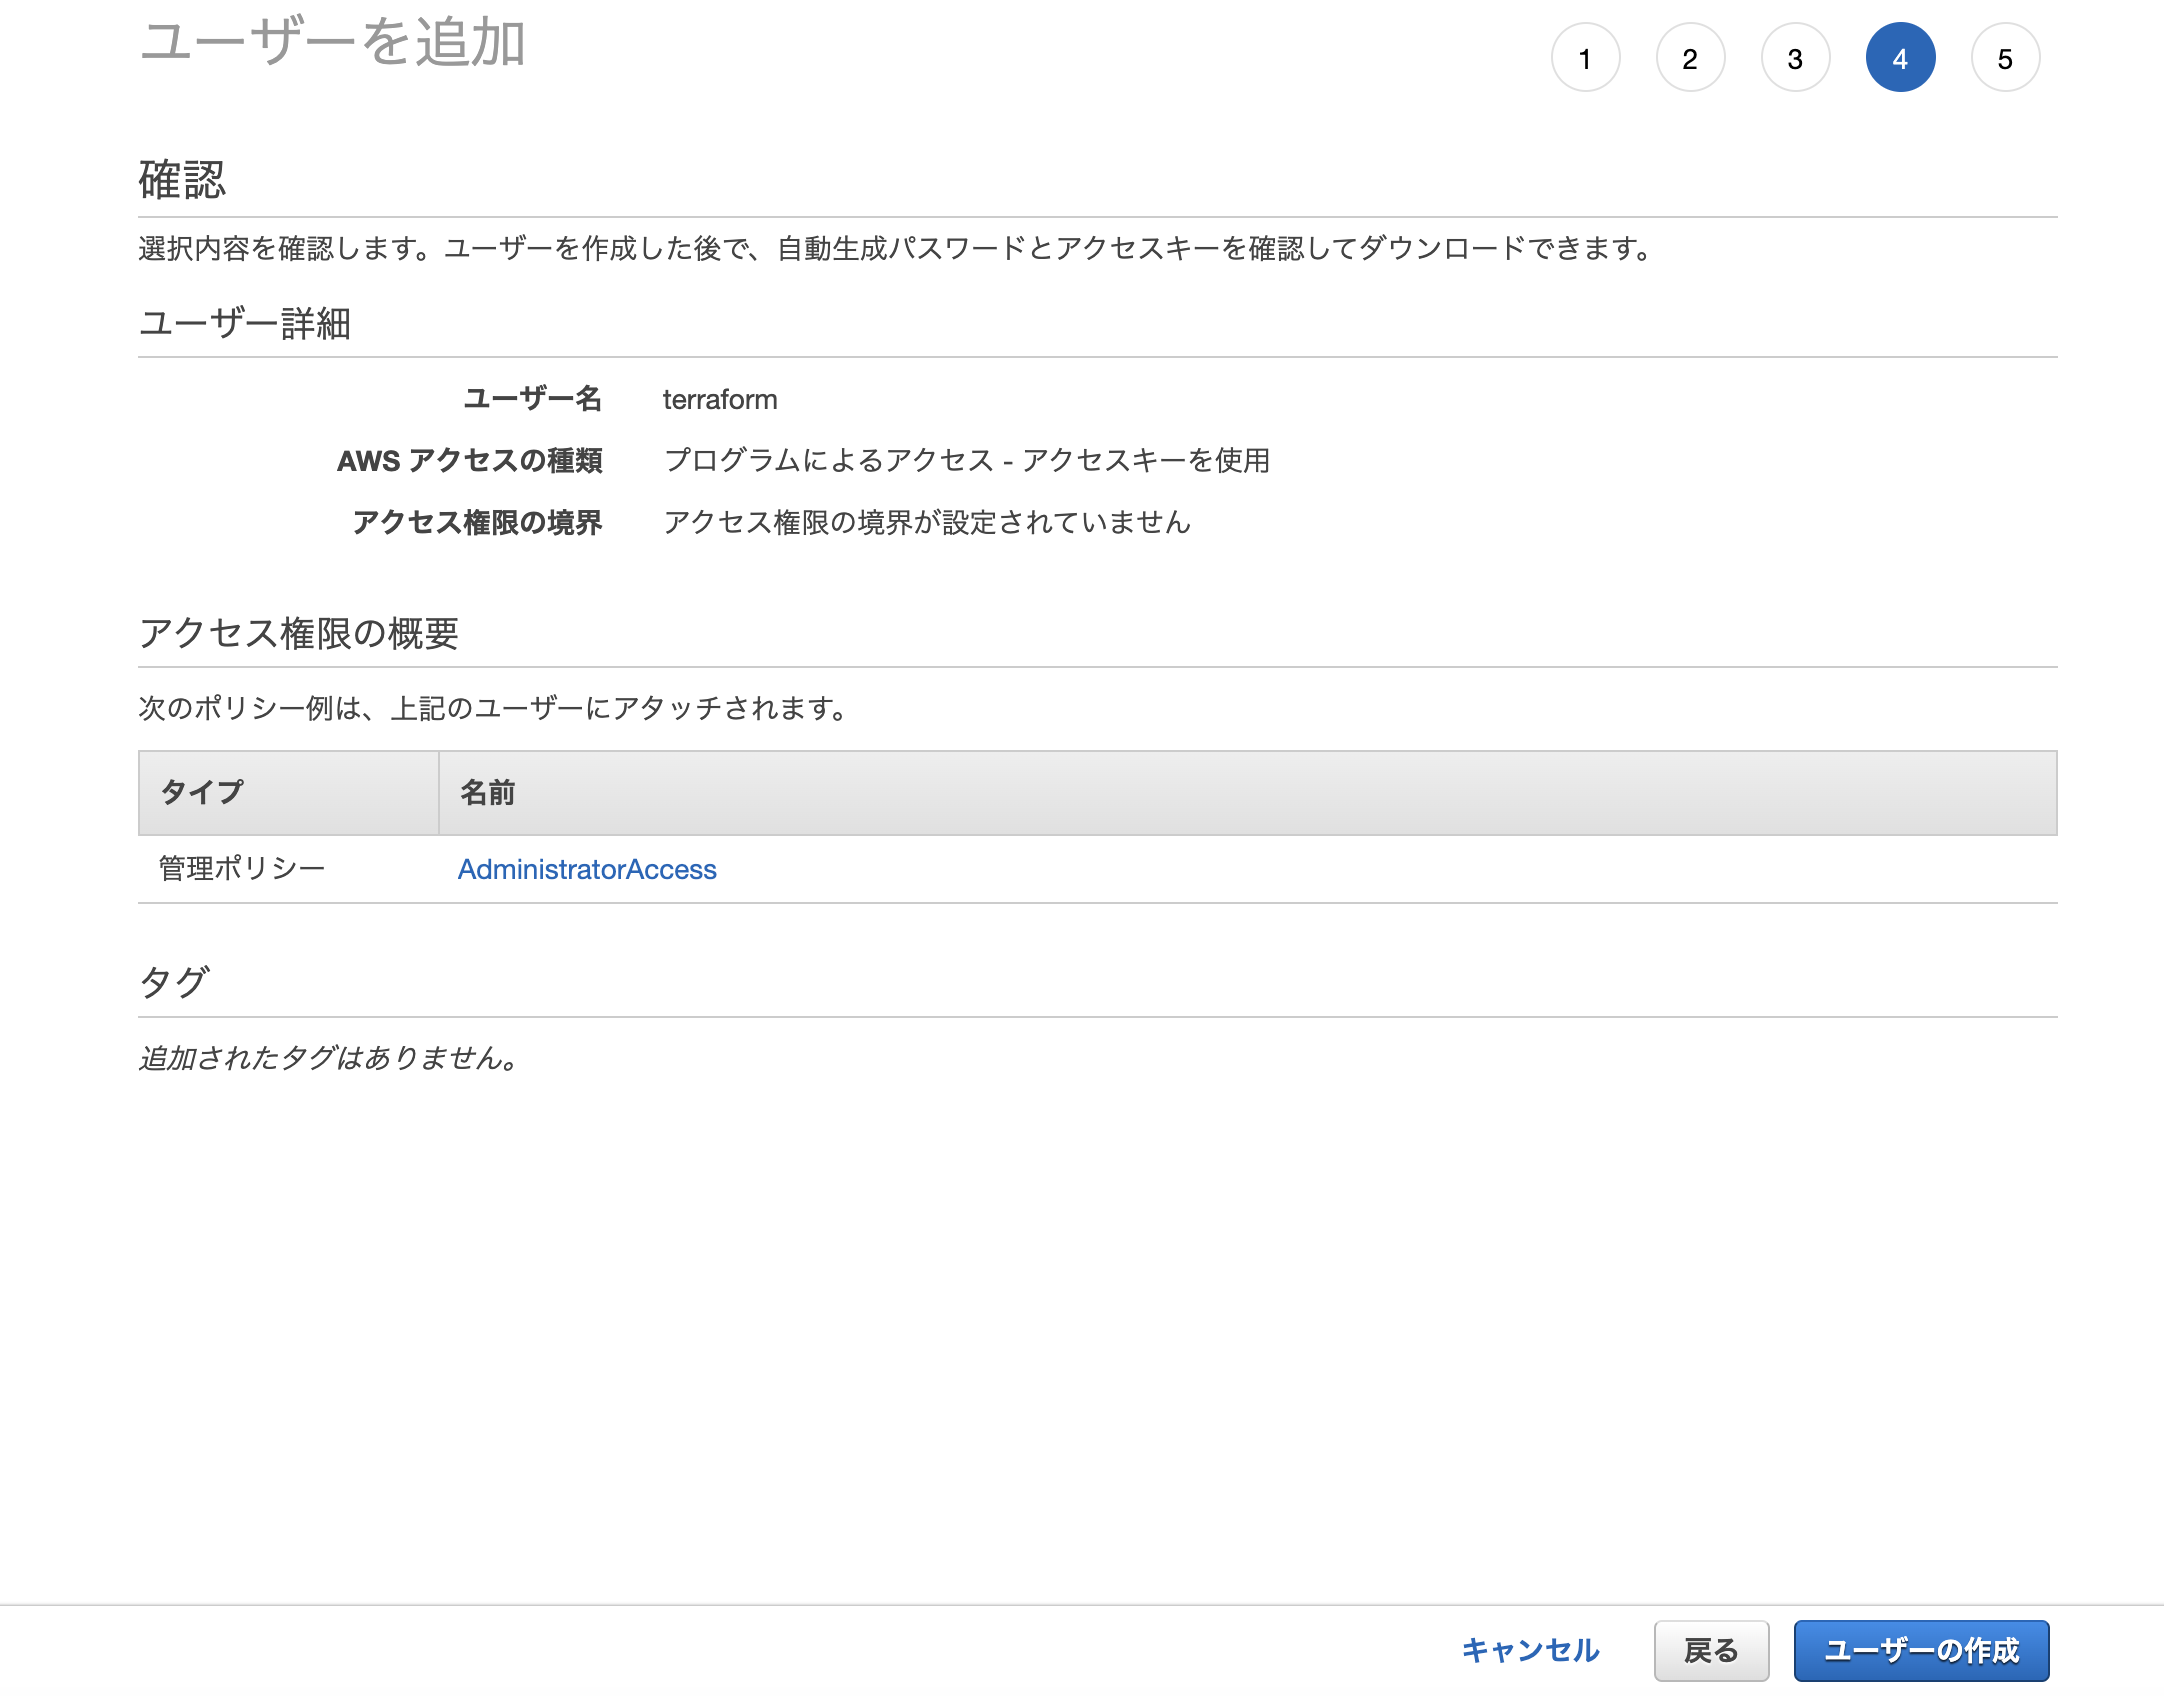
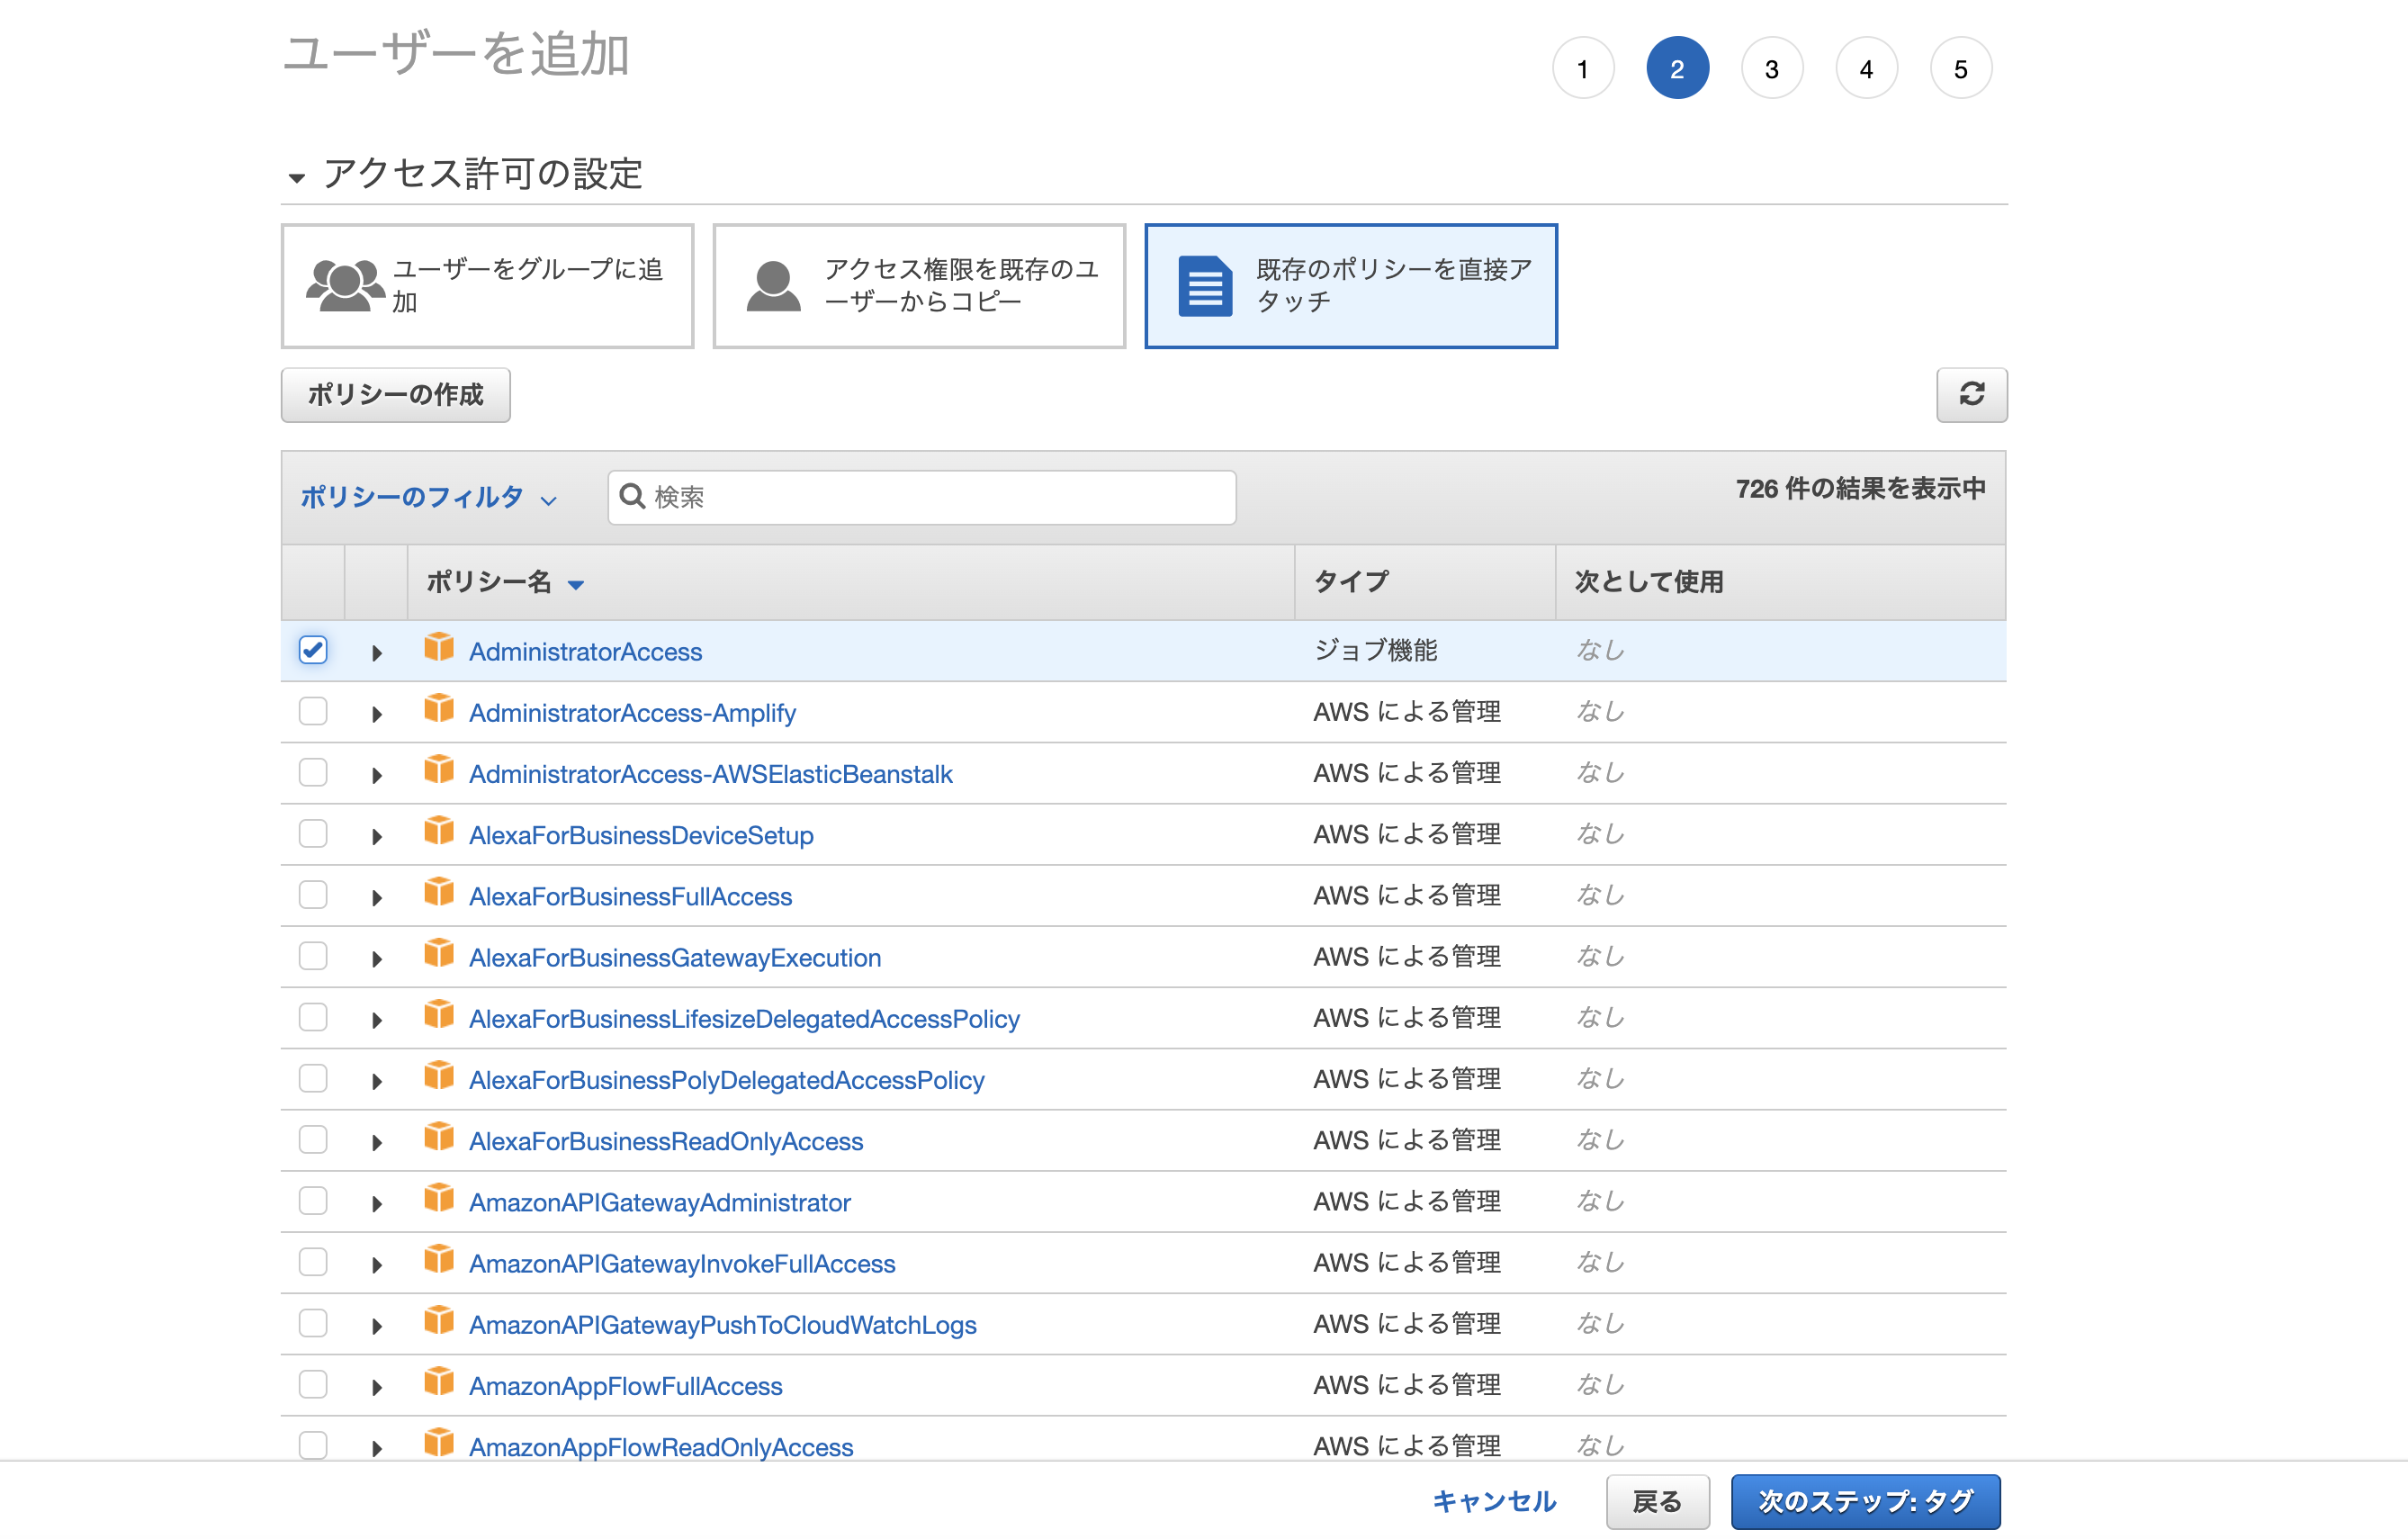
IAMユーザに管理者権限を付与
AWS 管理ポリシーAdministratorAccessをアタッチして管理者権限を付与します。
Terraformは様々なリソースを作成・参照・更新・削除するため、その都度サービス毎に必要な権限を付与していては手間がかかってしまうからです。
-
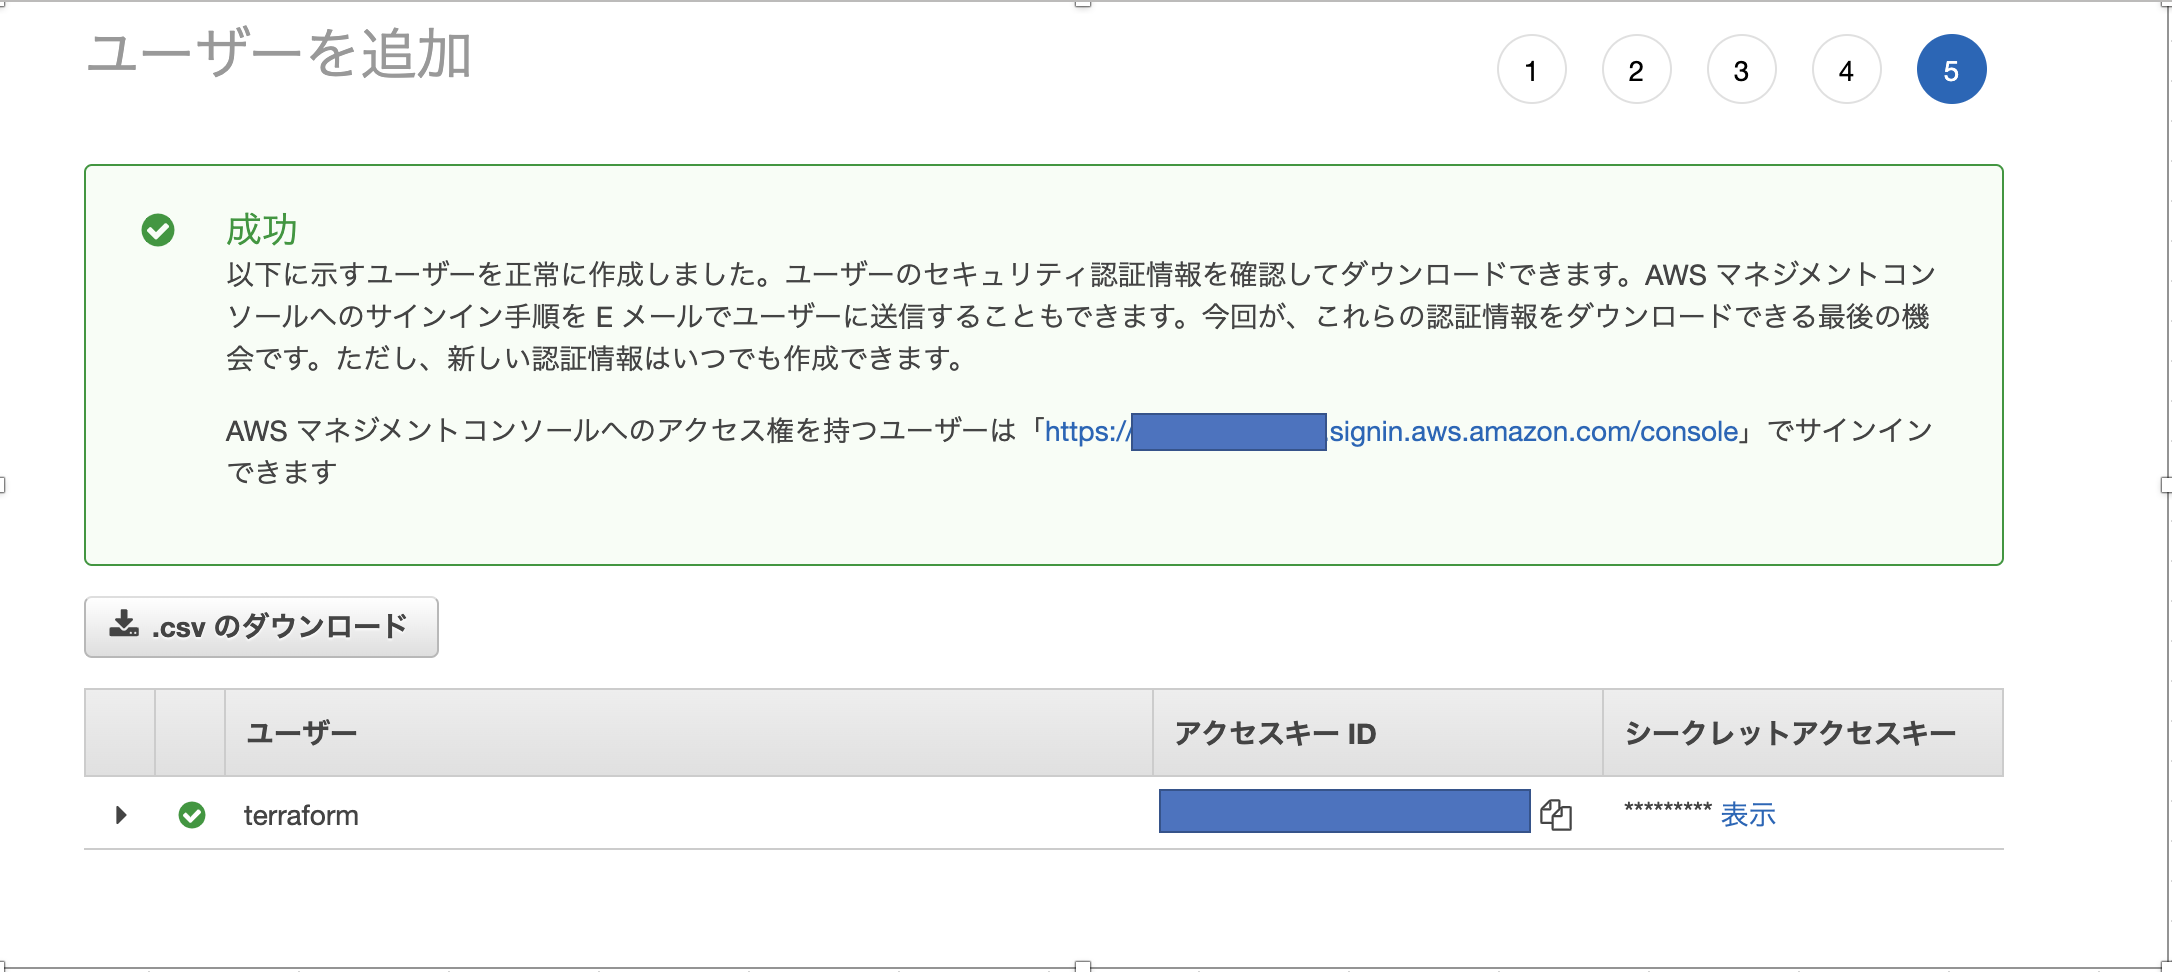
認証情報を取得
流失&紛失しないようにアクセスキーなどはしっかりと保管しておきましょう。
悪い人に漏れると仮想通貨マイニング用のハイパースペックEC2などを建てられて1日500万の請求とか来ちゃうぞ
プロファイルの設定
aws-cliにてプロファイル情報を追加しましょう。
# プロファイル名
> aws configure --profile terraform

AWS Access Key ID [None]: ***** # 上記7. 取得したアクセスキーID
AWS Secret Access Key [None]: ***** # 上記7. 取得したシークレットアクセスキー
Default region name [None]: ap-northeast-1 # デフォルトのリージョンを東京
Default output format [None]: json # デフォルトの出力形式をjson

# 名前付きプロファイルが追加されたことを確認
> cat ~/.aws/credentials

[terraform]
aws_access_key_id = *****
aws_secret_access_key = *****
Terraform 用コンテナの作成
Terraformの実行ファイルをラップしたHashiCorp社公式イメージのhashicorp/terraformがあるのでこちらを元にコンテナを建てます。
以下のComposeファイルを作りましょう。
version: '3'

services:
  terraform:
    container_name: terraform
    image: hashicorp/terraform:latest
    volumes:
      - type: bind
        source: ".."
        target: "/src"
      - type: bind
        source: "${HOME}/.aws"
        target: "/root/.aws"
    working_dir: /src
    entrypoint: [ "/bin/ash" ]
    tty: true
-
学習用のためlatestタグ
Terraformは開発が盛んなため実運用ではタグを固定しましょう。 -
IAMの認証情報はホスト側の
{home}/.awsをマウント
env_fileで別途ファイルを分けて環境変数としてIAMの認証情報をコンテナに設定するのが主流らしいが、こちらの方が開発・本番などで環境ごとにprofileを分けている場合切り替えをしやすい。 -
entrypoint: [ "/bin/ash" ]
デタッチモードでコンテナを起動したままにしたいが、ベースイメージの方でENTRYPOINT ["/bin/terraform"]が指定されている影響でできない。そのため上書き。
プロジェクト作成
最小構成で作っていきます。
- 上記で作成したComposeファイルを
(プロジェクトroot)/docker/docker-compose.ymlとして配置します。
(root)
  └── docker
      └── docker-compose.yml
- イメージをPull&コンテナ起動
# Composeファイルが置いてあるディレクトリへ移動
> cd (プロジェクトroot)/docker/

# イメージをPull&デタッチモードでコンテナ起動
> docker-compose up -d

Creating network "docker_default" with the default driver
Creating terraform ... done

# コンテナが起動されていることを確認
> docker container ls

CONTAINER ID   IMAGE                        COMMAND                  CREATED          STATUS          PORTS                                                 NAMES
04db7023a025   hashicorp/terraform:latest   "/bin/ash"               34 seconds ago   Up 32 seconds                                                         terraform

# コンテナのシェル起動
> docker-compose exec terraform ash

# コンテナ内でTerraform CLIを使えることを確認
> terraform -version

Terraform v1.1.5 # その時の最新版のバージョン
on linux_amd64

# exit
> exit
動作確認
長かったですね。お疲れ様です。
いよいよTerraformで動作確認してみましょう。
(root)
  ├── docker
  │   └── docker-compose.yml
  └── ** maint.tf **
Terraformは拡張子として.tfのファイルがソースコードとなります。
main.tf を作成し、簡単な動作確認として適当にhello-terraformという名前のIAMユーザを作成してみます。
provider "aws" {
  profile = "terraform" # 使用するプロファイル
  region  = "ap-northeast-1" # デフォルトのリージョン
}

# IAMユーザー作成
resource "aws_iam_user" "hello-terraform" {
  name = "hello-terraform" # IAMユーザ名
}
IAMユーザの名前だけ設定し、最小限で実行してみます。
詳しい記述の内容に触れていくのはまた別の機会とし、とりあえず動くことを確認しましょう。
# Composeファイルが置いてあるディレクトリへ移動
> cd (プロジェクトroot)/docker/

# コンテナのシェル起動
> docker-compose exec terraform ash

# 初期化
> terraform init

Initializing the backend...

Initializing provider plugins...
- Finding latest version of hashicorp/aws...
- Installing hashicorp/aws v3.74.1...
- Installed hashicorp/aws v3.74.1 (signed by HashiCorp)

Terraform has created a lock file .terraform.lock.hcl to record the provider
selections it made above. Include this file in your version control repository
so that Terraform can guarantee to make the same selections by default when
you run "terraform init" in the future.

Terraform has been successfully initialized!

You may now begin working with Terraform. Try running "terraform plan" to see
any changes that are required for your infrastructure. All Terraform commands
should now work.

If you ever set or change modules or backend configuration for Terraform,
rerun this command to reinitialize your working directory. If you forget, other
commands will detect it and remind you to do so if necessary.


# IAMユーザを実際に生成
> terraform apply -auto-approve

Terraform used the selected providers to generate the following execution plan. Resource actions are indicated with the following symbols:
  + create

Terraform will perform the following actions:

  # aws_iam_user.hello-terraform will be created
  + resource "aws_iam_user" "hello-terraform" {
      + arn           = (known after apply)
      + force_destroy = false
      + id            = (known after apply)
      + name          = "hello-terraform"
      + path          = "/"
      + tags_all      = (known after apply)
      + unique_id     = (known after apply)
    }

Plan: 1 to add, 0 to change, 0 to destroy.
aws_iam_user.hello-terraform: Creating...
aws_iam_user.hello-terraform: Creation complete after 1s [id=hello-terraform]

Apply complete! Resources: 1 added, 0 changed, 0 destroyed.
プロジェクトフォルダにいくつかファイルが作られていることを確認してください。
(root)
  ├── docker
  │   └── docker-compose.yml
  ├── maint.tf
  ├── .terraform
  ├── .terraform.lock.hcl
  └── terraform.tfstate
それではterraform apply -auto-approveによって作られたIAMユーザが正常に作られているか、AWSコンソールより確認してみましょう。
hello-terraformがいることが確認できますね!!お疲れ様でした!
これでTerraformの環境構築は以上になります。
次回
そもそも今回の環境構築の前にTerraformがそもそも何なのか、
一番基本的なサービスであるIAM, EC2あたりの記述の仕方
自動的に作られたファイル群はなんなのか、
Terraformをチームで運用していく方法など追って記事をかけていけたらと思います。
