Raspberry Pi4 B(4GB版) へUnifiコントローラーのインストールを行ったのですが、地味に大変辛かったので、備忘録代わりにインストール手順を記載します。
主に下記の記事を参考にしています。
また、使用したラズベリーパイおよびOSの詳細は下記のとおりです
cappuccino@unifi-console:~$ cat /etc/lsb-release
DISTRIB_ID=Ubuntu
DISTRIB_RELEASE=22.04
DISTRIB_CODENAME=jammy
DISTRIB_DESCRIPTION="Ubuntu 22.04.3 LTS"
cappuccino@unifi-console:~$  cat /proc/device-tree/model
Raspberry Pi 4 Model B Rev 1.2
使用したラズベリーパイのOS(Ubuntu)の用意
Raspberry Pi Imagerでラズパイへ挿すmicroSDカードの準備を行います
「other general-purpose OS」> 「Ubuntu」 > 「Ubuntu Server 22.04.3 LTS (64-bit)」をインストールします
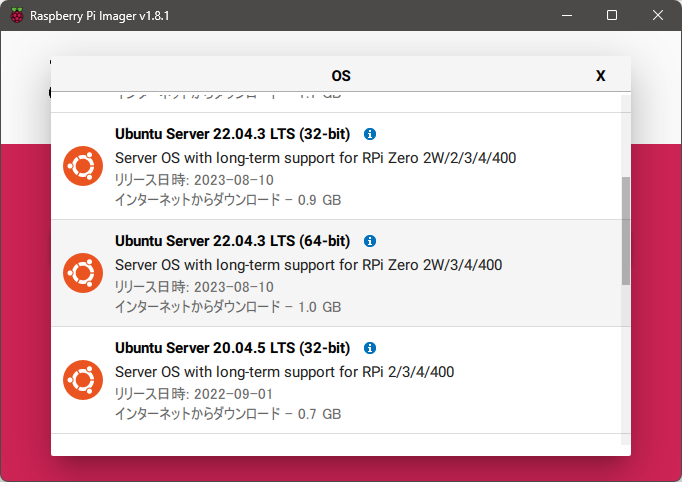
その他によしなに必要な設定を実施し、microSDカードへOSの書き込みを行います。

Unifiコントローラーにはmongodb3.6が必要だが、raspberry pi osのリポジトリには64bit版のmongodb3.6が含まれていない?&unifiコントローラー7.5以上は64bitOSでないと動かない・・・という罠があるようなので、raspberry pi OSはおすすめしません
まぁubuntuも古いバージョンのリポジトリにしか mongodb3.6のarm64版は入っていないんですが・・・
ラズベリーパイの設定
ラズベリーパイのコンソールへアクセスし、下記設定を行います
インストール操作に必要なパッケージをインストールします
sudo apt-get update -y && sudo apt-get install -y ca-certificates apt-transport-https
ついでにアップデートもしておきます
sudo apt-get upgrade -y
リポジトリの設定を変更(mongoDBの設定を追加)します
mongoDB3.6のarm64版が必要になるので、リポジトリ指定を昔のubuntuのリポジトリからゴニョゴニョしてこれを取得できるようにしています
wget -qO - https://www.mongodb.org/static/pgp/server-3.6.asc | sudo apt-key add -
echo "deb [ arch=amd64,arm64 ] https://repo.mongodb.org/apt/ubuntu xenial/mongodb-org/3.6 multiverse" | sudo tee /etc/apt/sources.list.d/mongodb-org-3.6.list
sudo apt-get update
参考:
https://qiita.com/n0bisuke/items/76afae90635264797ba1
https://www.mongodb.com/docs/v3.6/tutorial/install-mongodb-on-ubuntu/
https://www.mongodb.com/docs/v3.6/administration/production-notes/#prod-notes-supported-platforms
libssl1.0.0の追加
mongoDB3.6の依存パケージらしいのですが、ubuntu22.04にはもう存在していないようです。
そのため、こちらも昔のubuntuのパッケージを持ってきてインストール無理やりインストールします
wget http://launchpadlibrarian.net/668090466/libssl1.0.0_1.0.2n-1ubuntu5.13_arm64.deb
sudo dpkg -i libssl1.0.0_1.0.2n-1ubuntu5.13_arm64.deb
参考:
https://askubuntu.com/questions/1403619/mongodb-install-fails-on-ubuntu-22-04-depends-on-libssl1-1-but-it-is-not-insta
https://launchpad.net/ubuntu/focal/arm64/libssl1.1/1.1.1f-1ubuntu2
unifiコントローラーをインストールします
wgetの引数は、下記URLから適当なバージョンのダウンロードリンク(Linux版のURLをコピーしてください)を渡します
https://www.ui.com/download/releases/network-server
wget https://dl.ui.com/unifi/8.0.7/unifi_sysvinit_all.deb
sudo dpkg -i unifi_sysvinit_all.deb; sudo apt install -f -y
systemctlで一応プロセスとして動いていることを確認します
~$ systemctl status unifi
● unifi.service - unifi
     Loaded: loaded (/lib/systemd/system/unifi.service; enabled; vendor preset: enabled)
     Active: active (running) since Thu 2023-11-30 01:09:58 JST; 3min 24s ago
    Process: 112656 ExecStartPre=/usr/sbin/unifi-network-service-helper init (code=exited, status=0/SUCCESS)
    Process: 112706 ExecStartPre=/usr/sbin/unifi-network-service-helper init-uos (code=exited, status=0/SUCCESS)
    Process: 112718 ExecStartPost=/usr/sbin/unifi-network-service-helper healthcheck (code=exited, status=0/SUCCESS)
   Main PID: 112716 (java)
      Tasks: 90 (limit: 4416)
     Memory: 633.2M
        CPU: 2min 54.715s
     CGroup: /system.slice/unifi.service
             ├─112716 /usr/bin/java -Dfile.encoding=UTF-8 -Djava.awt.headless=true -Dapple.awt.UIElement=true -Dunifi.c>             └─113374 bin/mongod --dbpath /usr/lib/unifi/data/db --port 27117 --unixSocketPrefix /usr/lib/unifi/run --l>

Nov 30 01:07:35 unifi-console systemd[1]: Starting unifi...
Nov 30 01:07:36 unifi-console unifi[112704]: init complete...
Nov 30 01:07:36 unifi-console unifi-network-service-helper[112704]: <13>Nov 30 01:07:36 unifi: init complete...
Nov 30 01:07:40 unifi-console java[112716]: WARN Unable to load properties from '/usr/lib/unifi/data/system.properties'>Nov 30 01:09:59 unifi-console unifi-network-service-helper[114864]: <13>Nov 30 01:09:58 unifi: unifi is up and running.>Nov 30 01:09:58 unifi-console systemd[1]: Started unifi.
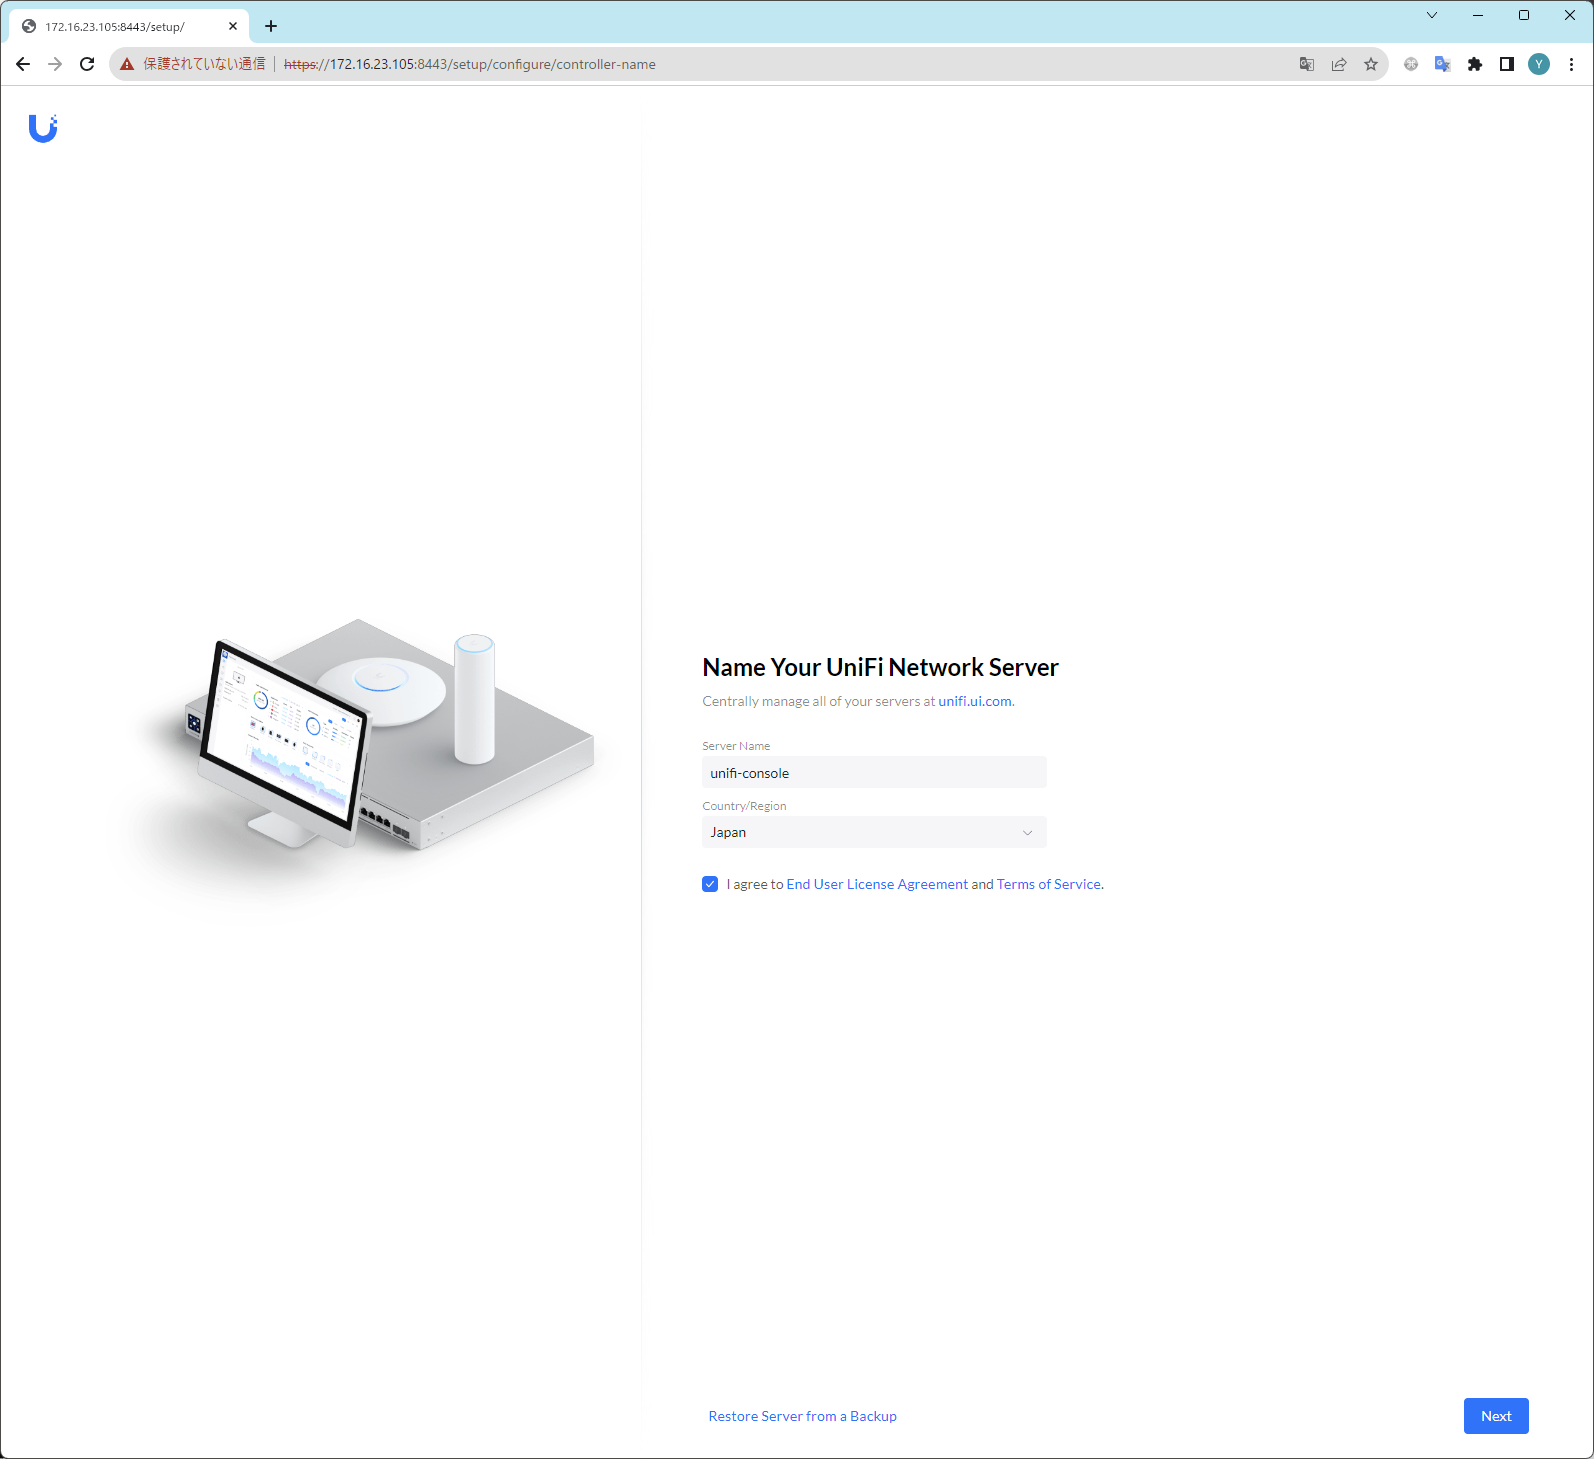
Unifiコントローラーのセットアップ
ブラウザからhttps://<ラズベリーパイのIPアドレス>:8443でアクセスします
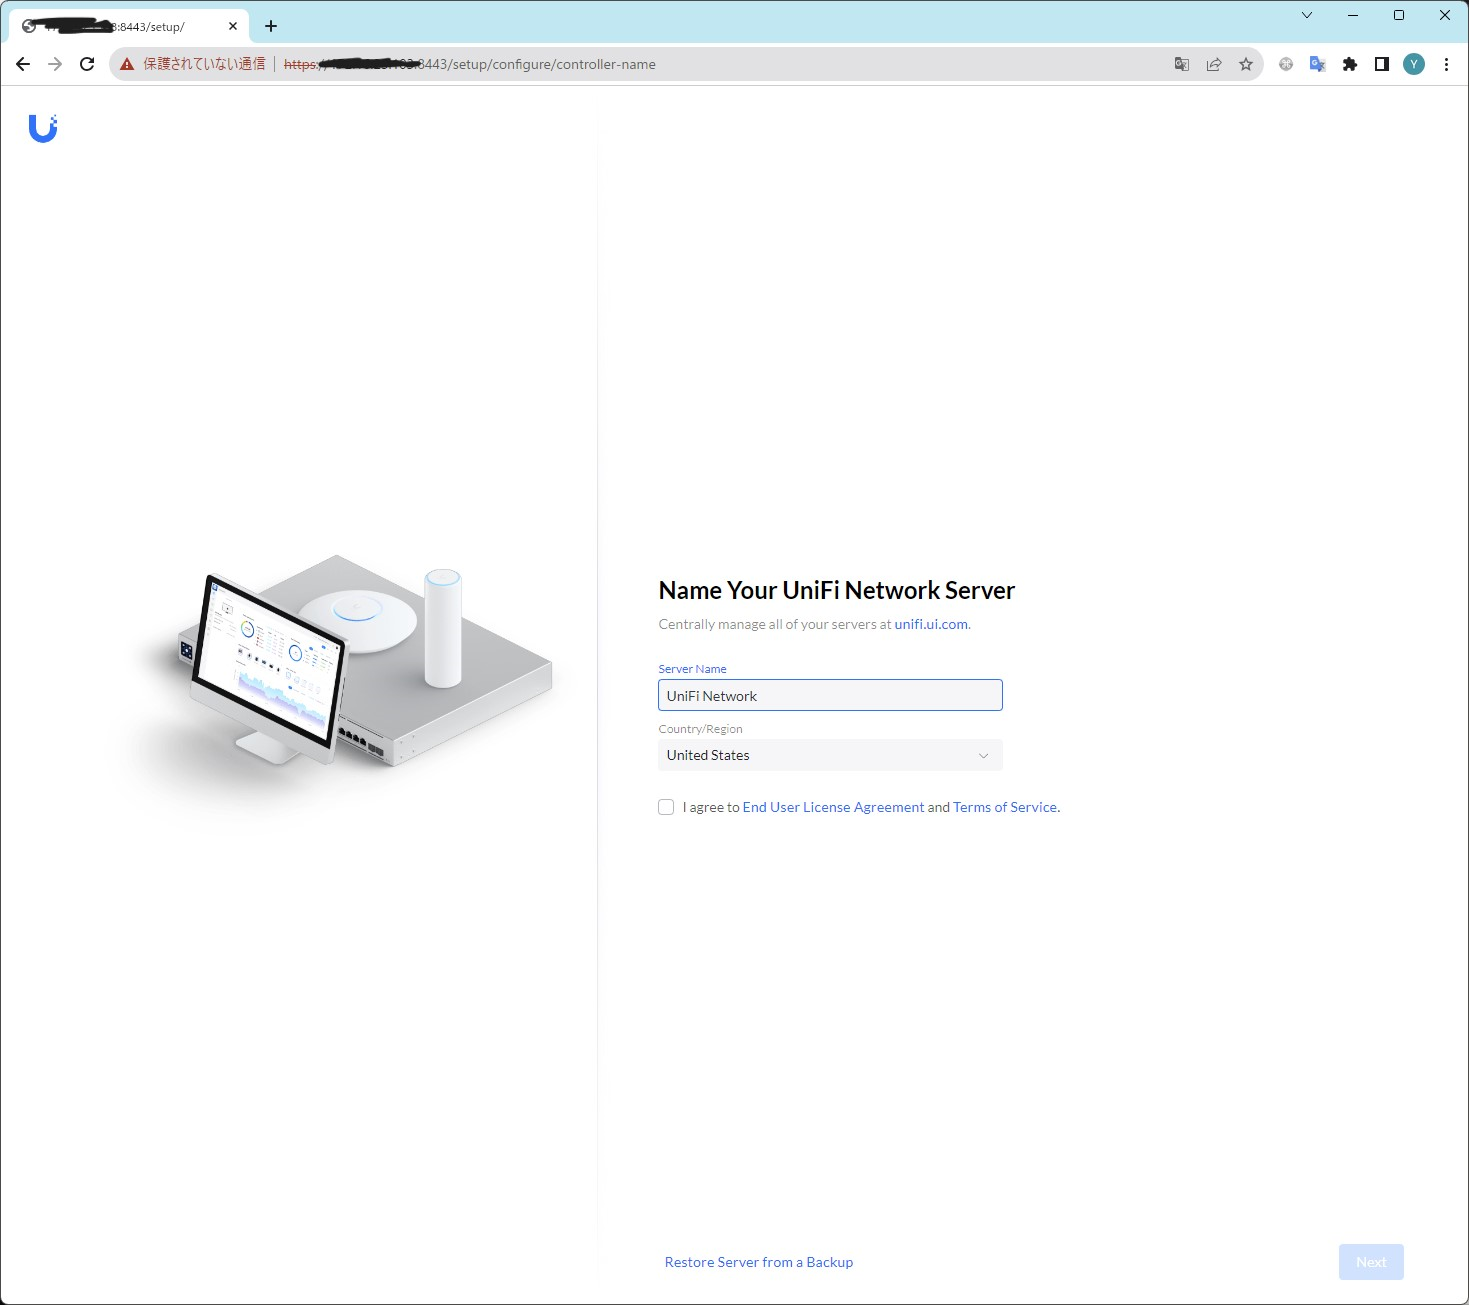
ホスト名と地域名の設定、そして利用規約への同意を行います
UIアカウントでログインします
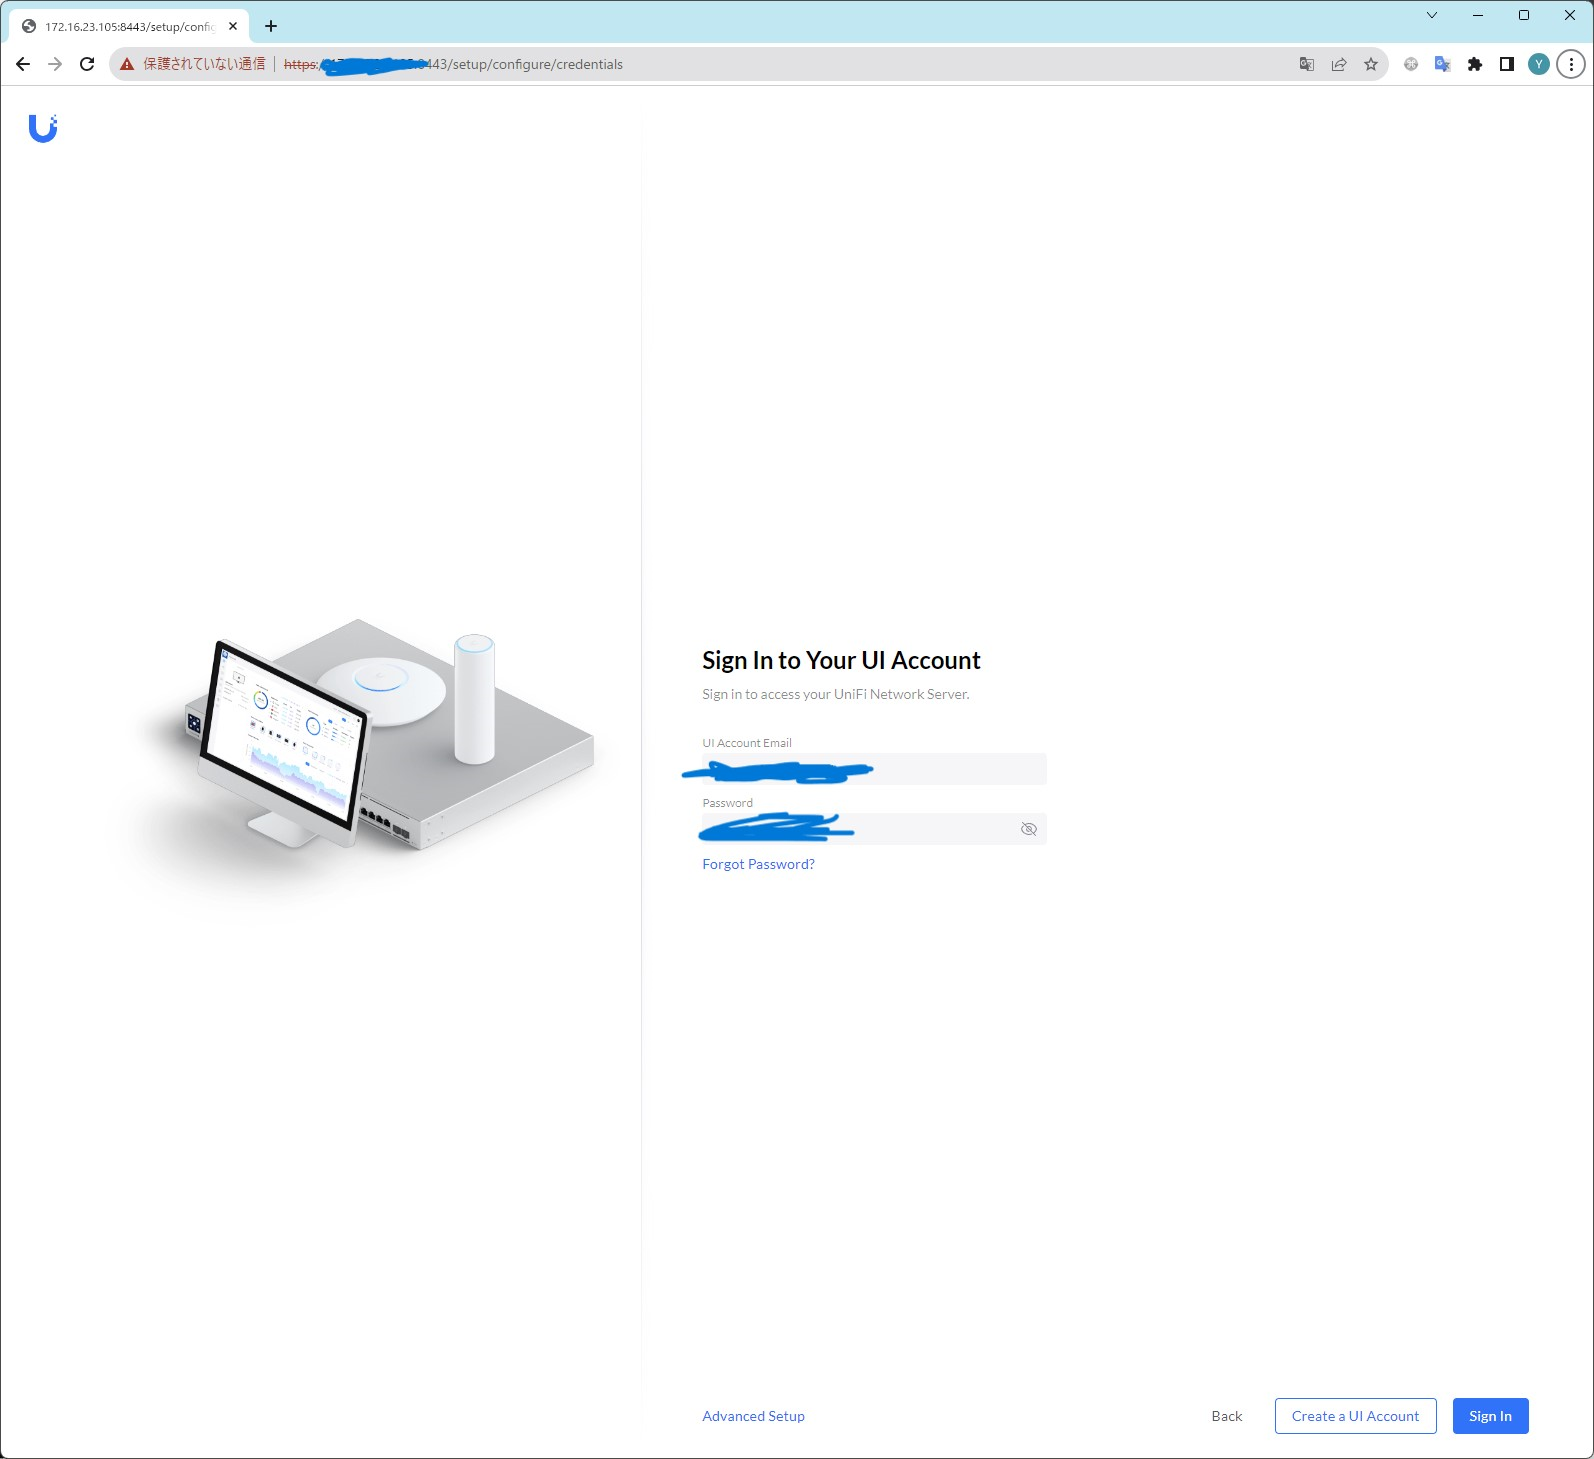
ubiquitiアカウントがない方はよしなにアカウントを作成してください
どこかにusernameかどこかに日本語文字列が混ざるとどこかの処理が一生進まないみたいな罠があった記憶なので、一応留意していただければと思います。
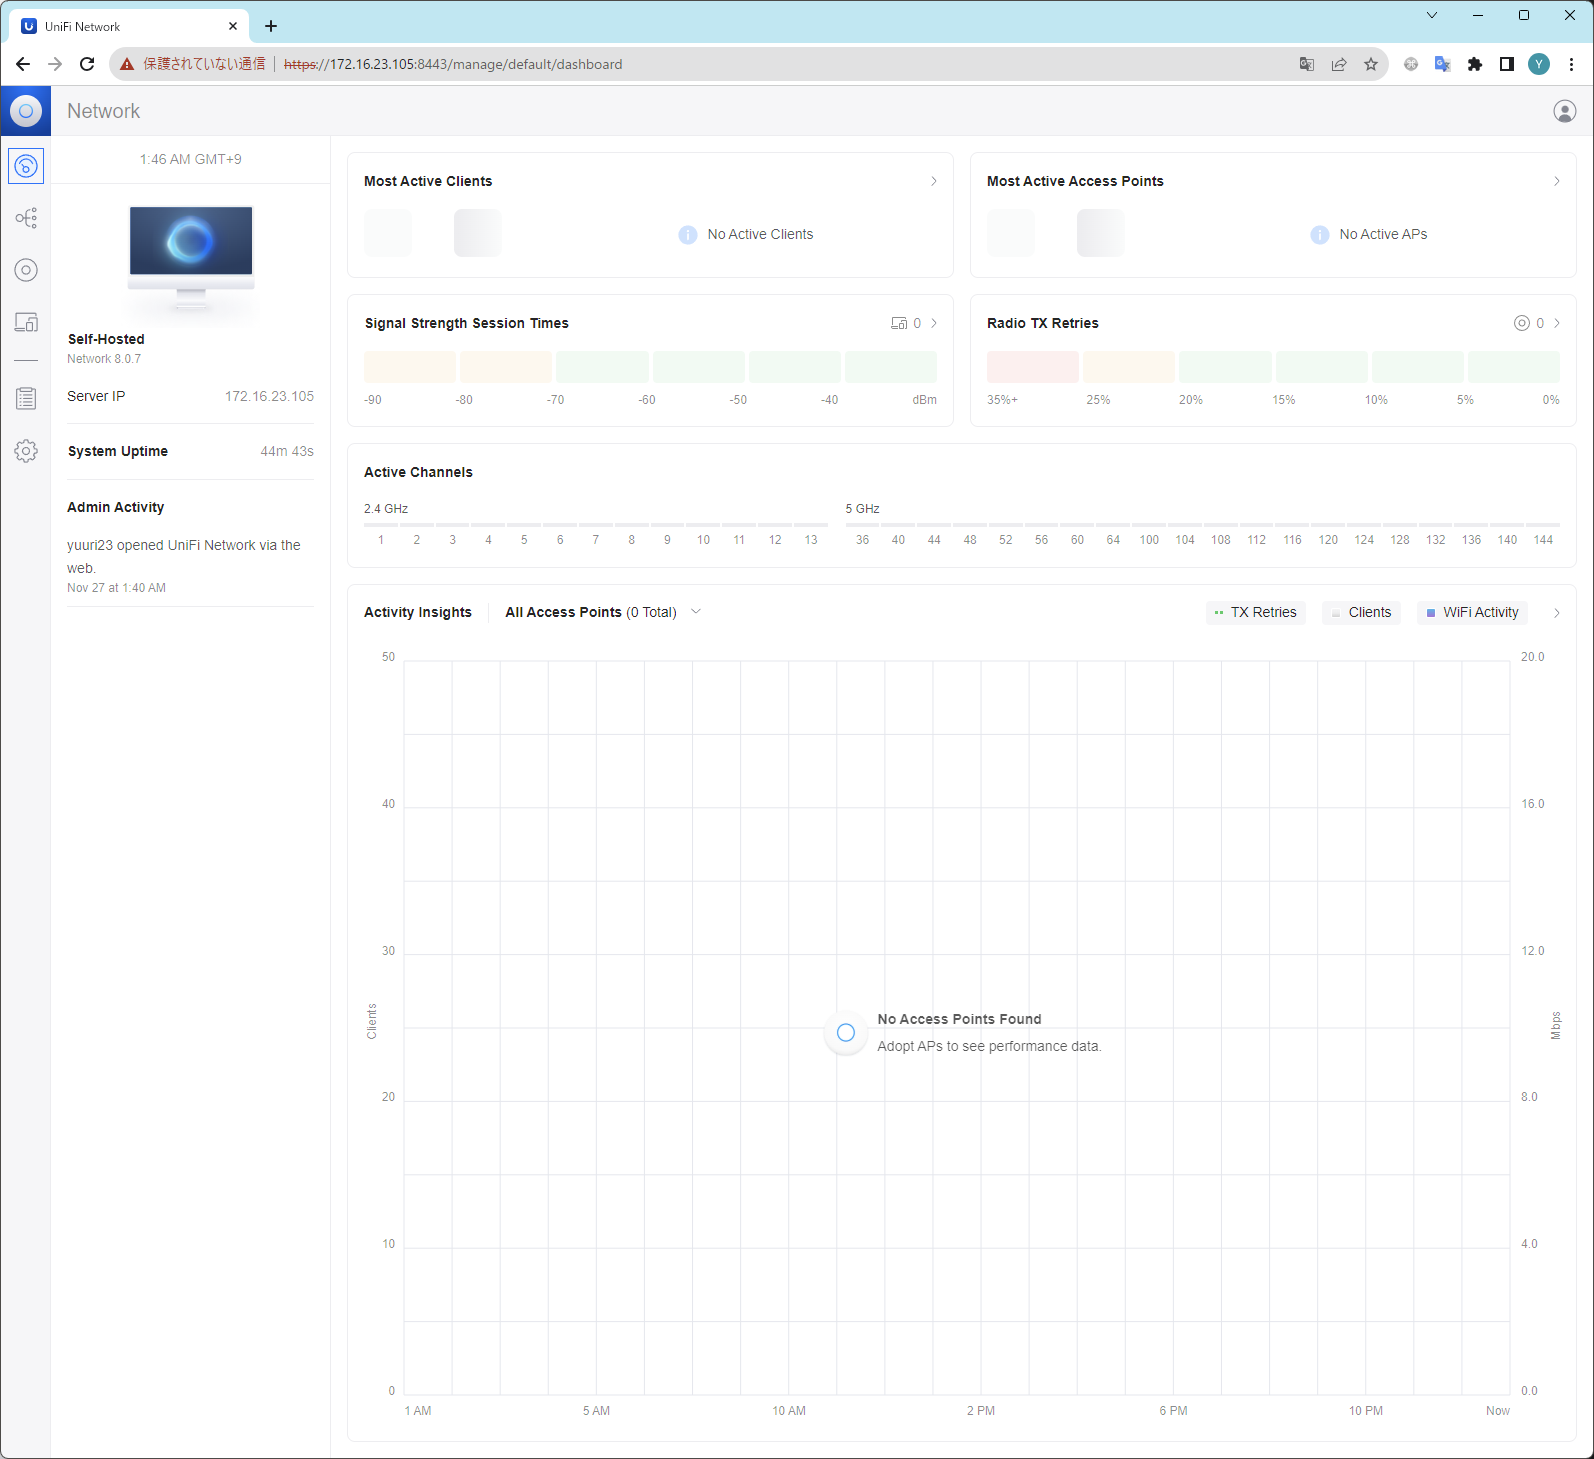
完成!!!
ダッシュボードを拝むことができました
バージョン8.0.7がインストールされていますね
その他メモ
下記手順で固定IPを割り当てます
ubuntuではnetplanを使用してIPアドレスの設定を行います
cd /etc/netplan
sudo touch 99-config.yaml
sudo vim 99-config.yaml
下記のような感じで、設定ファイルに設定を記載します
network:
  ethernets:
    eth0:
      optional: true
      dhcp4: no
      dhcp6: no
      addresses:
      - 172.16.23.2/24
      nameservers:
        addresses:
        - 8.8.8.8
        - 8.8.4.4
      routes:
        - to: default
          via: 172.16.23.1
    wlan0:
      optional: true
  version: 2
- gateway4でのデフォゲの指定はdeprecatedになったようです
https://rohhie.net/ubuntu22-04-netplan-gateway4-has-been-deprecated/
https://tex2e.github.io/blog/linux/ubuntu-netplan
設定完了後、設定ファイルの権限を修正したうえでnteplanの提要を行います
 sudo chmod 600 *
 sudo netplan apply
Ubiquitiのスイッチを参加させる
今回作成したラズパイと同一のサブネットに、ubiquitiのスイッチを接続し起動します。(もしくは本体正面左下のResetボタンを5秒以上押してリセットします)
その後、サイドメニューの二重丸アイコン(Unifi Devices)を押下して管理する機器一覧を表示すると、自動的にこちらに表示されます。
「Click to Adopt」を押下し、ubiquitiのスイッチをunifiコントローラーへ参加させます
