Gulp with Raspberry Pi
Gulpの通知にRaspberry PiのLチカを使います![]()
はじめに
Gulpで通知を出したい時はgulp-notifyなどが使われると思いますが、
Raspberry Piでフロントエンド開発をやるにあたってLチカで代用できないかと思い、試してみることにしました。
環境
Raspberry Pi 3
Lチカのキット(LED、抵抗、デュポンケーブル、ブレッドボード)
以下、Raspberry PiでのOSなどのセットアップは終わっているという前提で始めます。
nodeのインストール
Gulpと連携するために、まずはnodeをインストール。
ここではLXTerminalからnvmを使ってやります。
curl -o- https://raw.githubusercontent.com/creationix/nvm/v0.33.6/install.sh | bash
nvm install node
gulpのインストール
次にgulpをインストール。
npm install --global gulp-cli
npm install --save-dev gulp
gulp-babel、gulp-plumberのインストール
babelのビルドエラーを検知する想定で、gulp-babelとgulp-plumberをインストール。
npm install --save-dev gulp-babel babel-preset-env
npm install --save-dev gulp-plumber
ここまでは他の環境でやる場合と変わらないと思います。
gulpfileを用意
gulpfile.js
const gulp = require("gulp");
const babel = require("gulp-babel");
const plumber = require("gulp-plumber");

gulp.task("build", () => {
  let is_success = true;
  gulp.src("./scripts/*.js")
  .pipe(plumber({
    errorHandler: (err) => {
      console.log("err");
      is_success = false;
    }
  }))
  .on('end', () => {
    if (is_success) {
      console.log("success");
    }
  })
  .pipe(babel());
});
ビルドの成否で出し分けられるようにしておきます。
Lチカ by node.js
Lチカさせるためにnode.jsからGPIOにアクセスします。
ここでは、
・ビルドエラー時はGPIO#4に接続した赤色のLED
・ビルド成功時はGPIO#26に接続した青色のLED
をそれぞれ5秒間発光させます。
gulpfile.js
const gulp = require("gulp");
const babel = require("gulp-babel");
const plumber = require("gulp-plumber");

const fs = require("fs");
const path = require("path");

const dir = "/sys/class/gpio/";
const pin_error = 4;
const pin_success = 26;
const gpio_error = path.join(dir, `gpio${pin_error}`);
const gpio_success = path.join(dir, `gpio${pin_success}`);

fs.writeFileSync(path.join(dir, "export"), pin_error);
fs.writeFileSync(path.join(dir, "export"), pin_success);

gulp.task("build", () => {
  let is_success = true;
  gulp.src("./scripts/*.js")
  .pipe(plumber({
    errorHandler: (err) => {
      console.log("err");
      is_success = false;
      //console.log(err);
      fs.writeFileSync(path.join(gpio_error, "direction"), "out");
      fs.writeFileSync(path.join(gpio_error, "value"), 1);
      setTimeout(() => {
        fs.writeFileSync(path.join(gpio_error, "value"), 0);
        fs.writeFileSync(path.join(dir, "unexport"), pin_error);
        fs.writeFileSync(path.join(dir, "unexport"), pin_success);
      }, 5000);
    }
  }))
  .on('end', () => {
    if (is_success) {
      console.log("success");
      fs.writeFileSync(path.join(gpio_success, "direction"), "out");
      fs.writeFileSync(path.join(gpio_success, "value"), 1);
      setTimeout(() => {
        fs.writeFileSync(path.join(gpio_success, "value"), 0);
        fs.writeFileSync(path.join(dir, "unexport"), pin_error);
        fs.writeFileSync(path.join(dir, "unexport"), pin_success);
      }, 5000);
    }
  })
  .pipe(babel());
});
冗長なところがあるかもしれませんが、わかりやすさ優先で記述しています。
回路
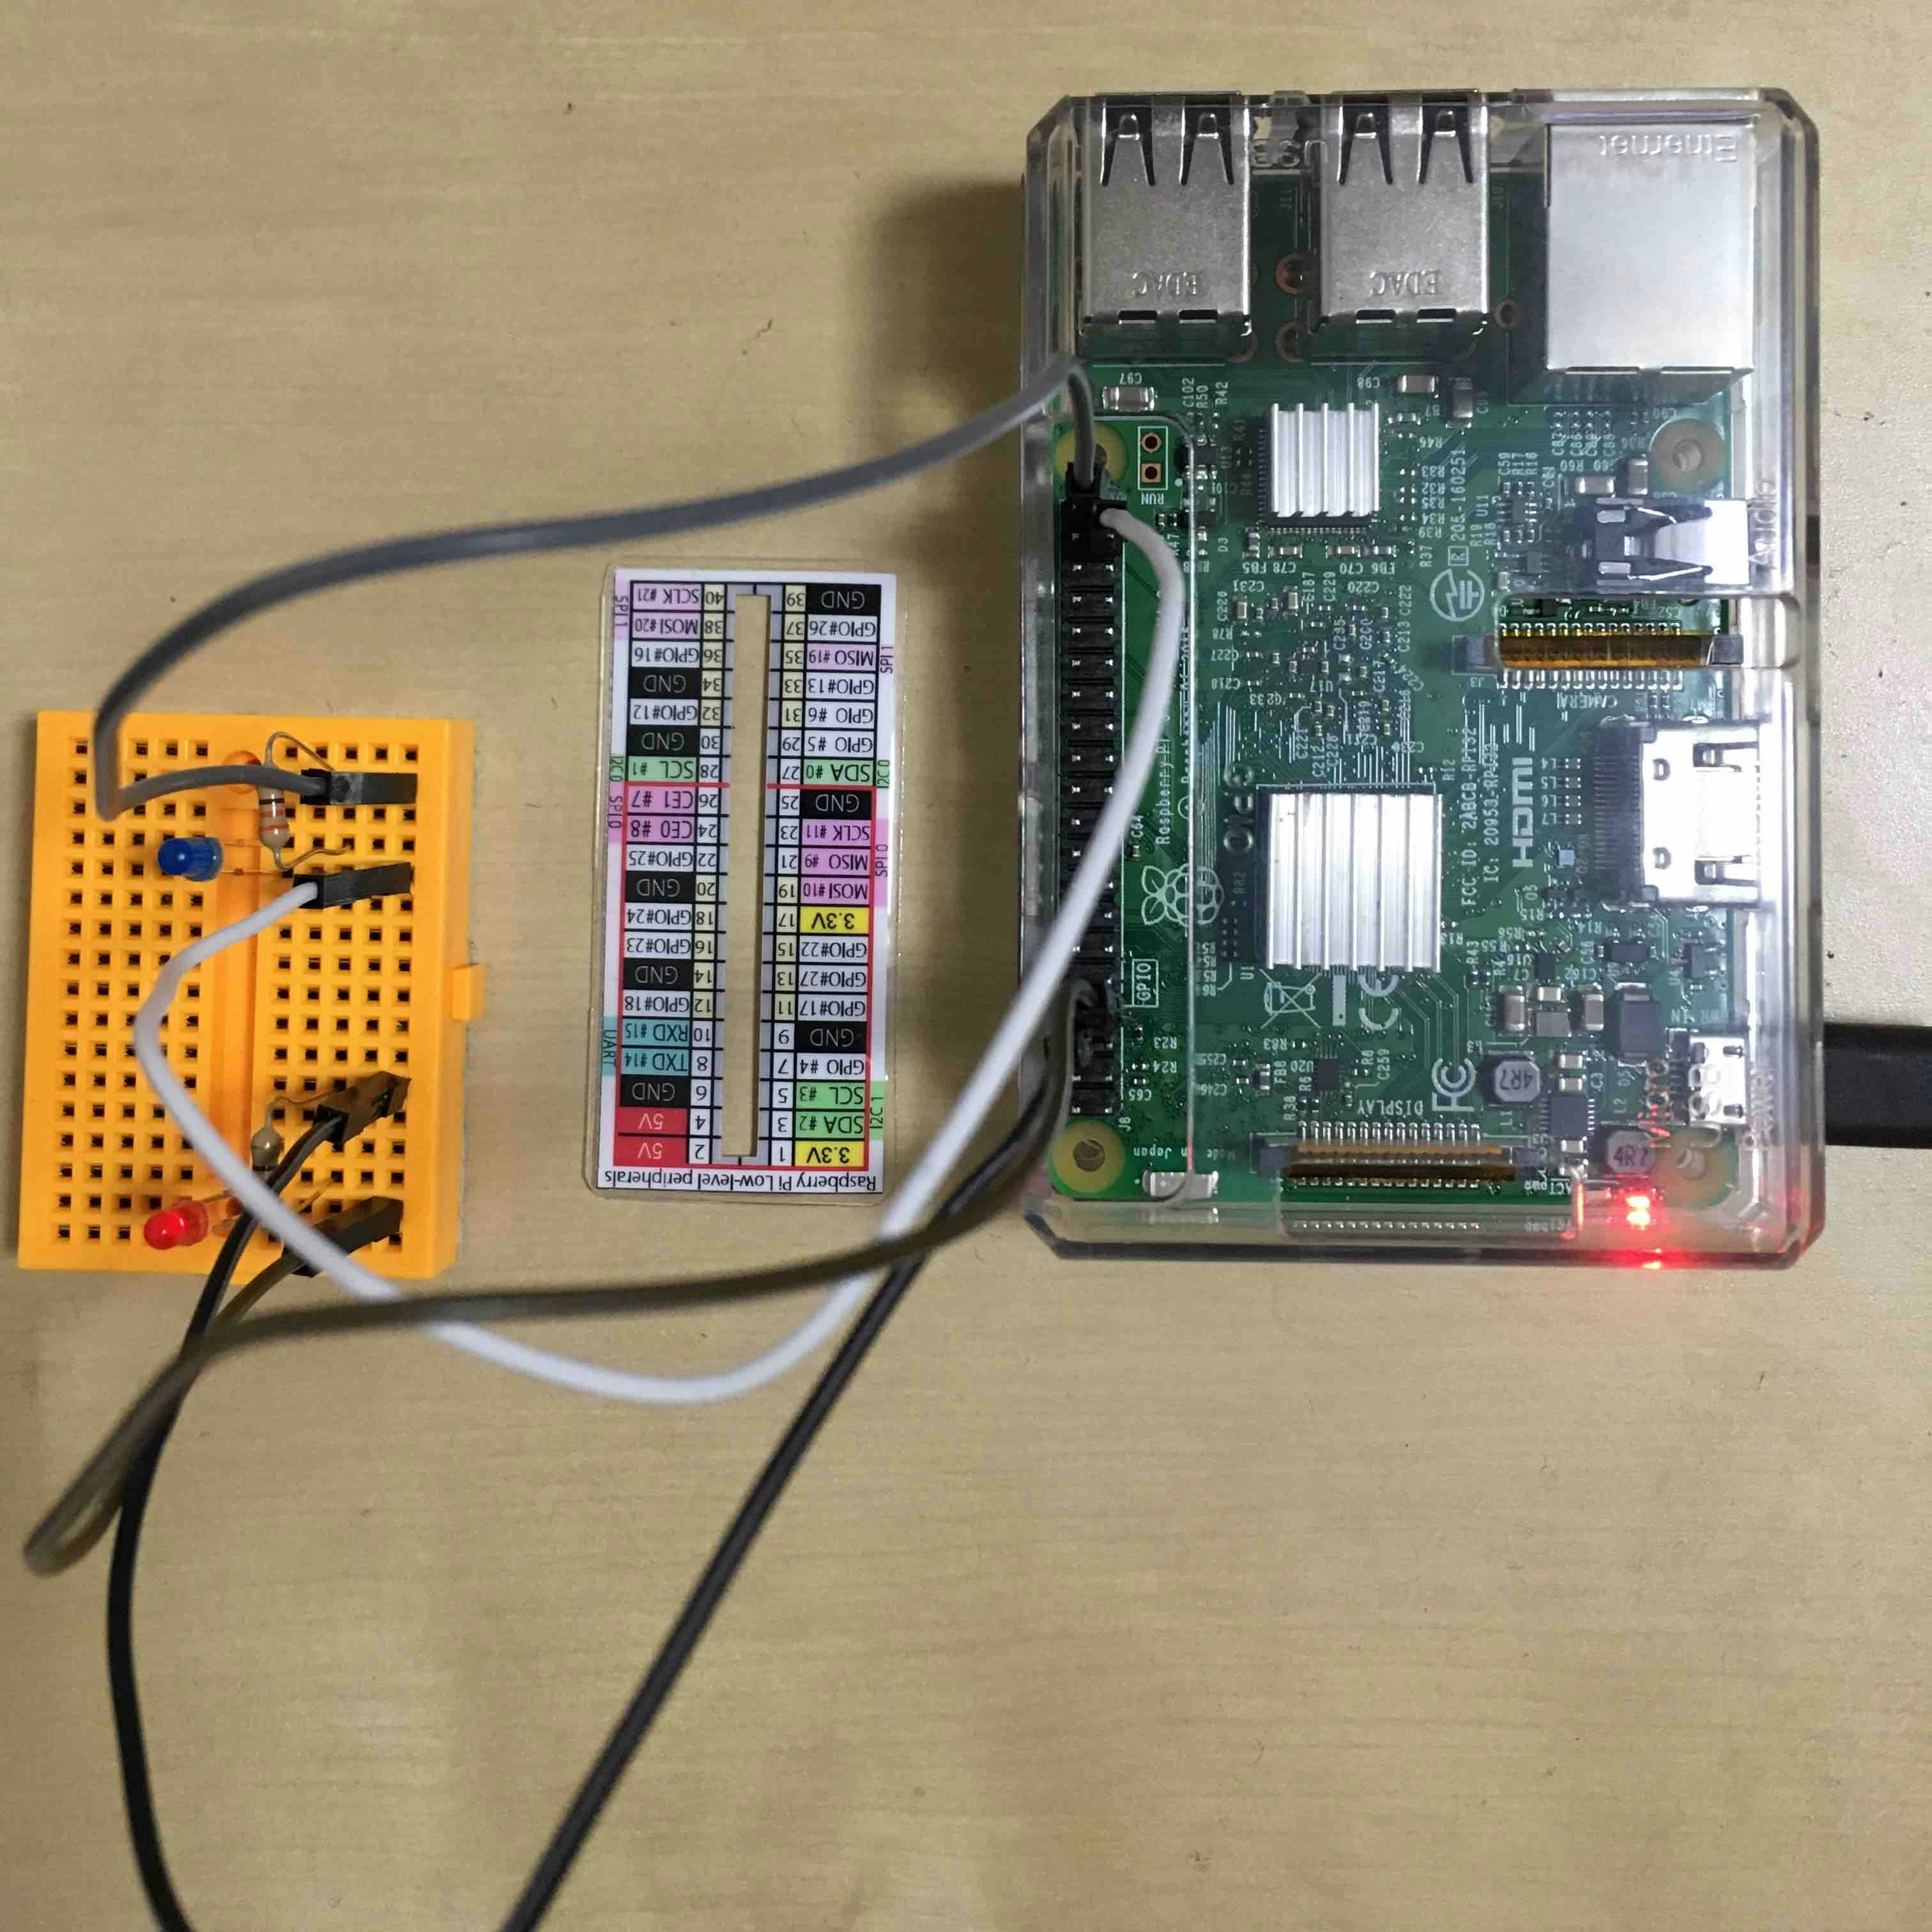
準備が整ったので実際に試してみます。
エラー時
構文エラーのある適当なJSファイルを用意します。
./scripts/sample.js
console.log("test";
gulp build
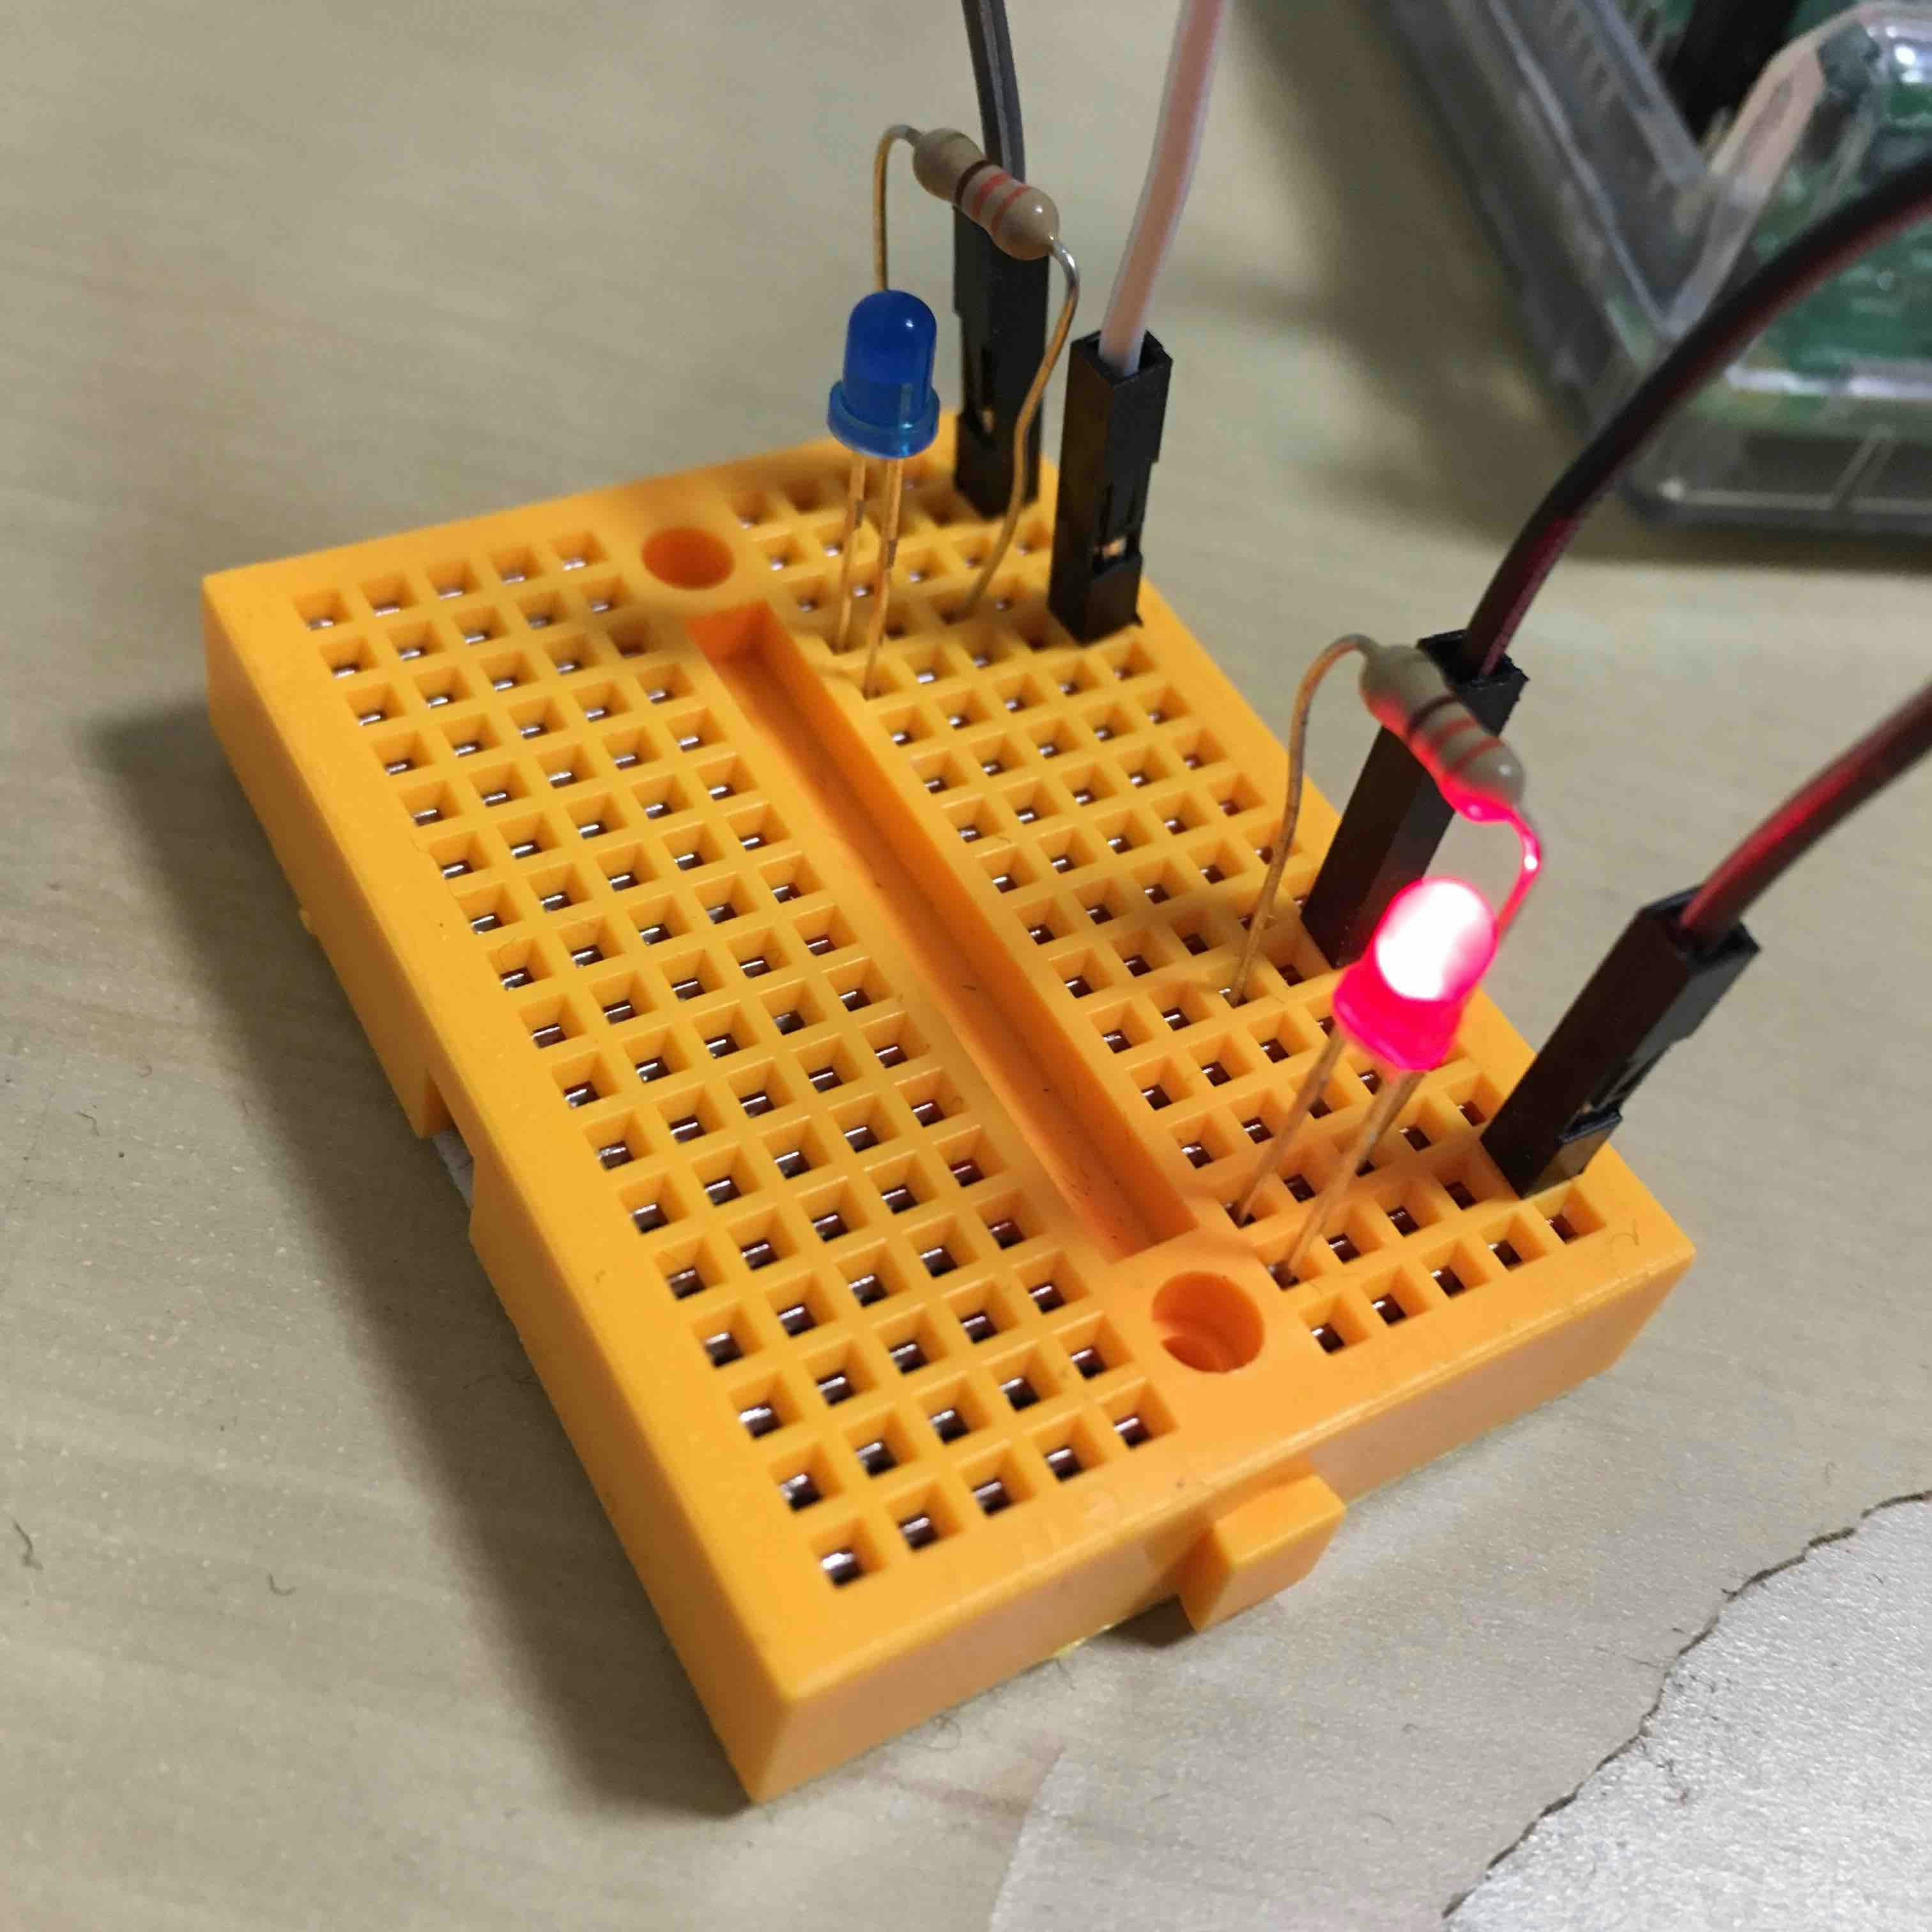
静止画で申し訳ありませんが、赤色のLEDが光っています。
ビルド成功時
続けてエラーを解消して実行してみます。
./scripts/sample.js
console.log("test");
gulp build
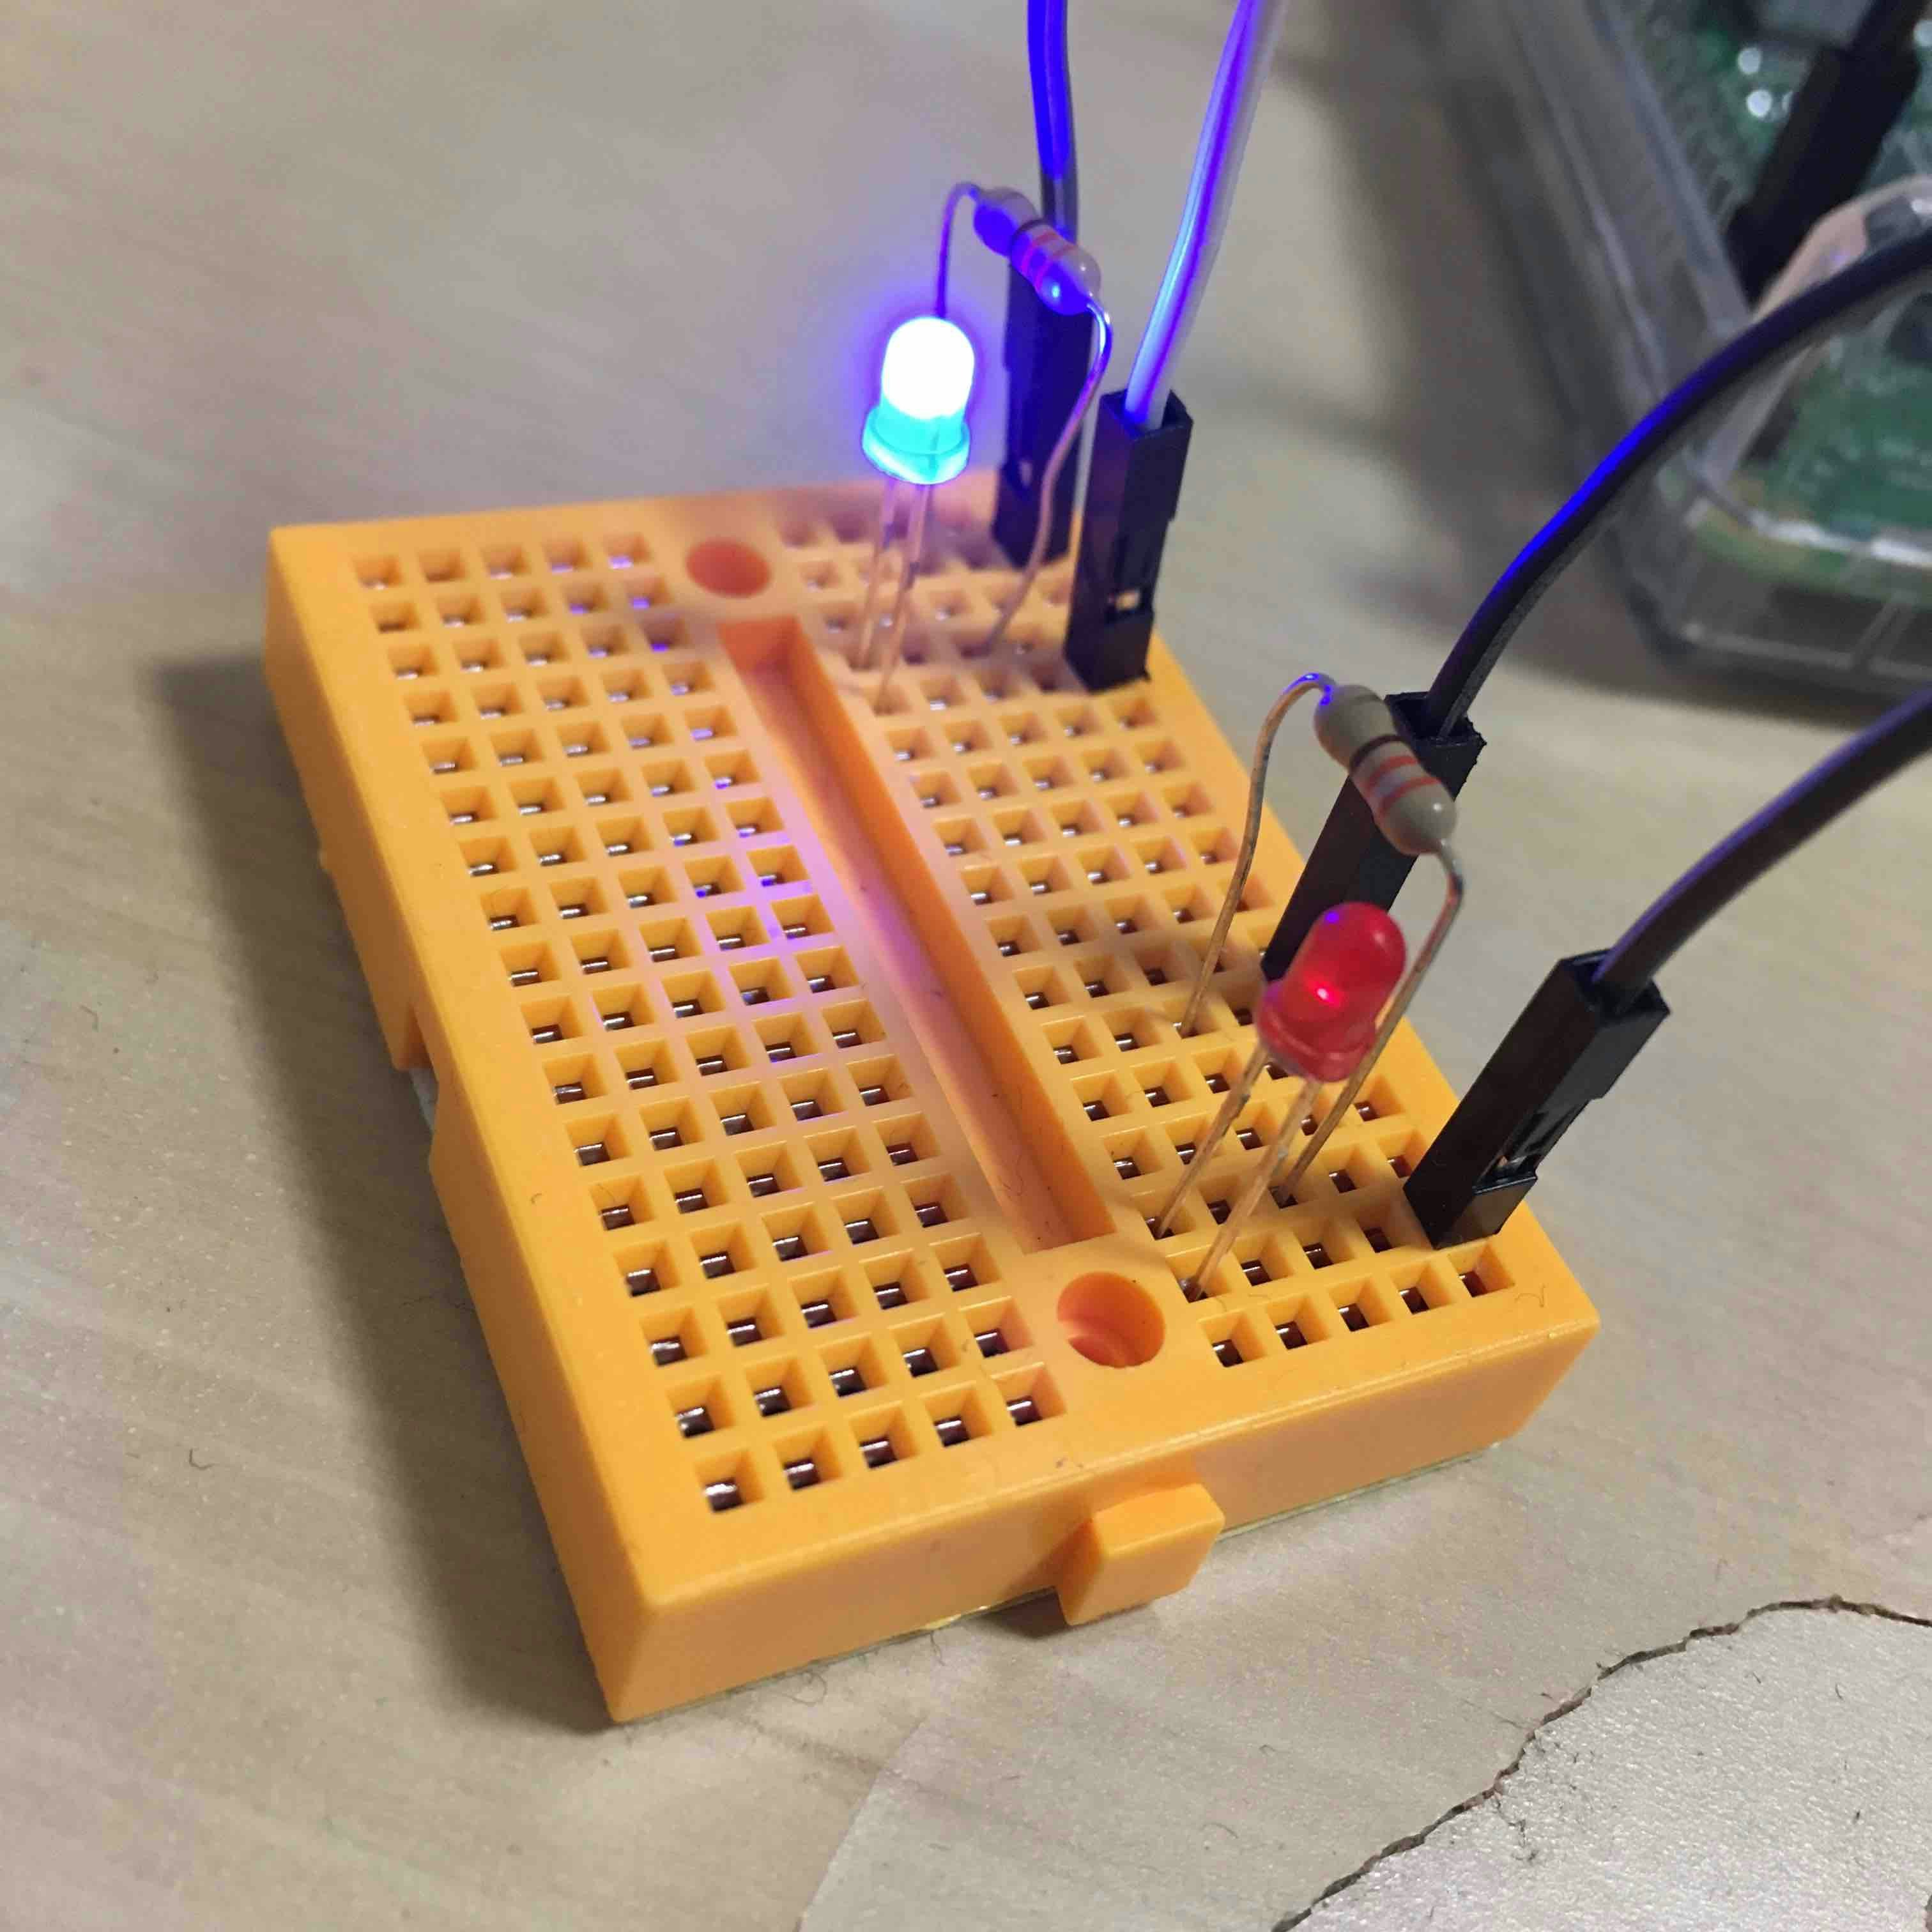
無事にビルドが成功し青色のLEDが光りました!
まとめ
Lチカを他のものに代用することで色々できそうです。
煮詰まった時の気分転換に使えると良さそうだと思いました。